- Loading…
In this lesson students will design custom cookie cutters in 3D modeling software and then 3D print them to produce a functional object.
Materials List
3D Printing Filament
Digital Fabrication Equipment Details
Hardware
3D Printer
Software
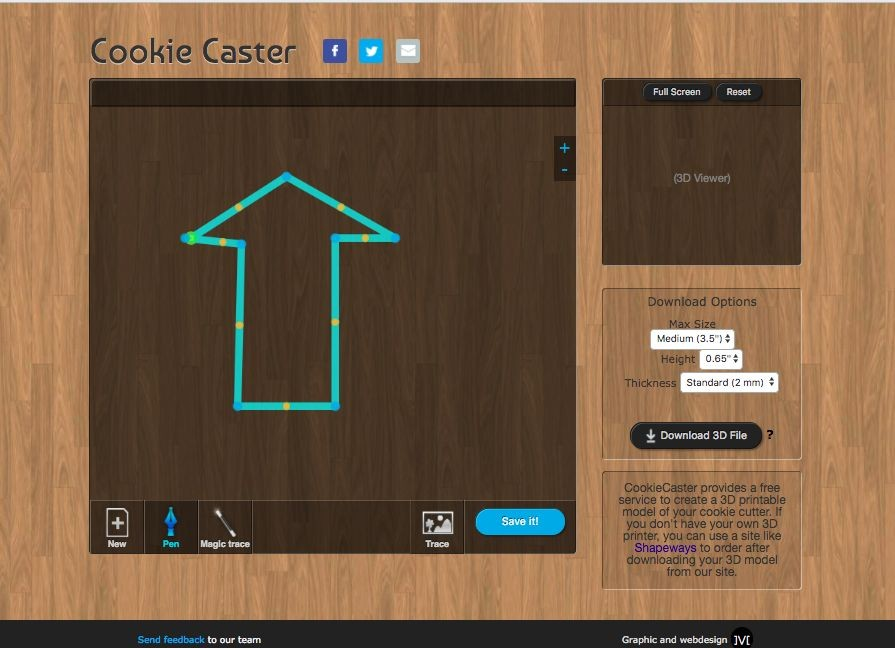
CookieCaster
Slicer (Cura or other
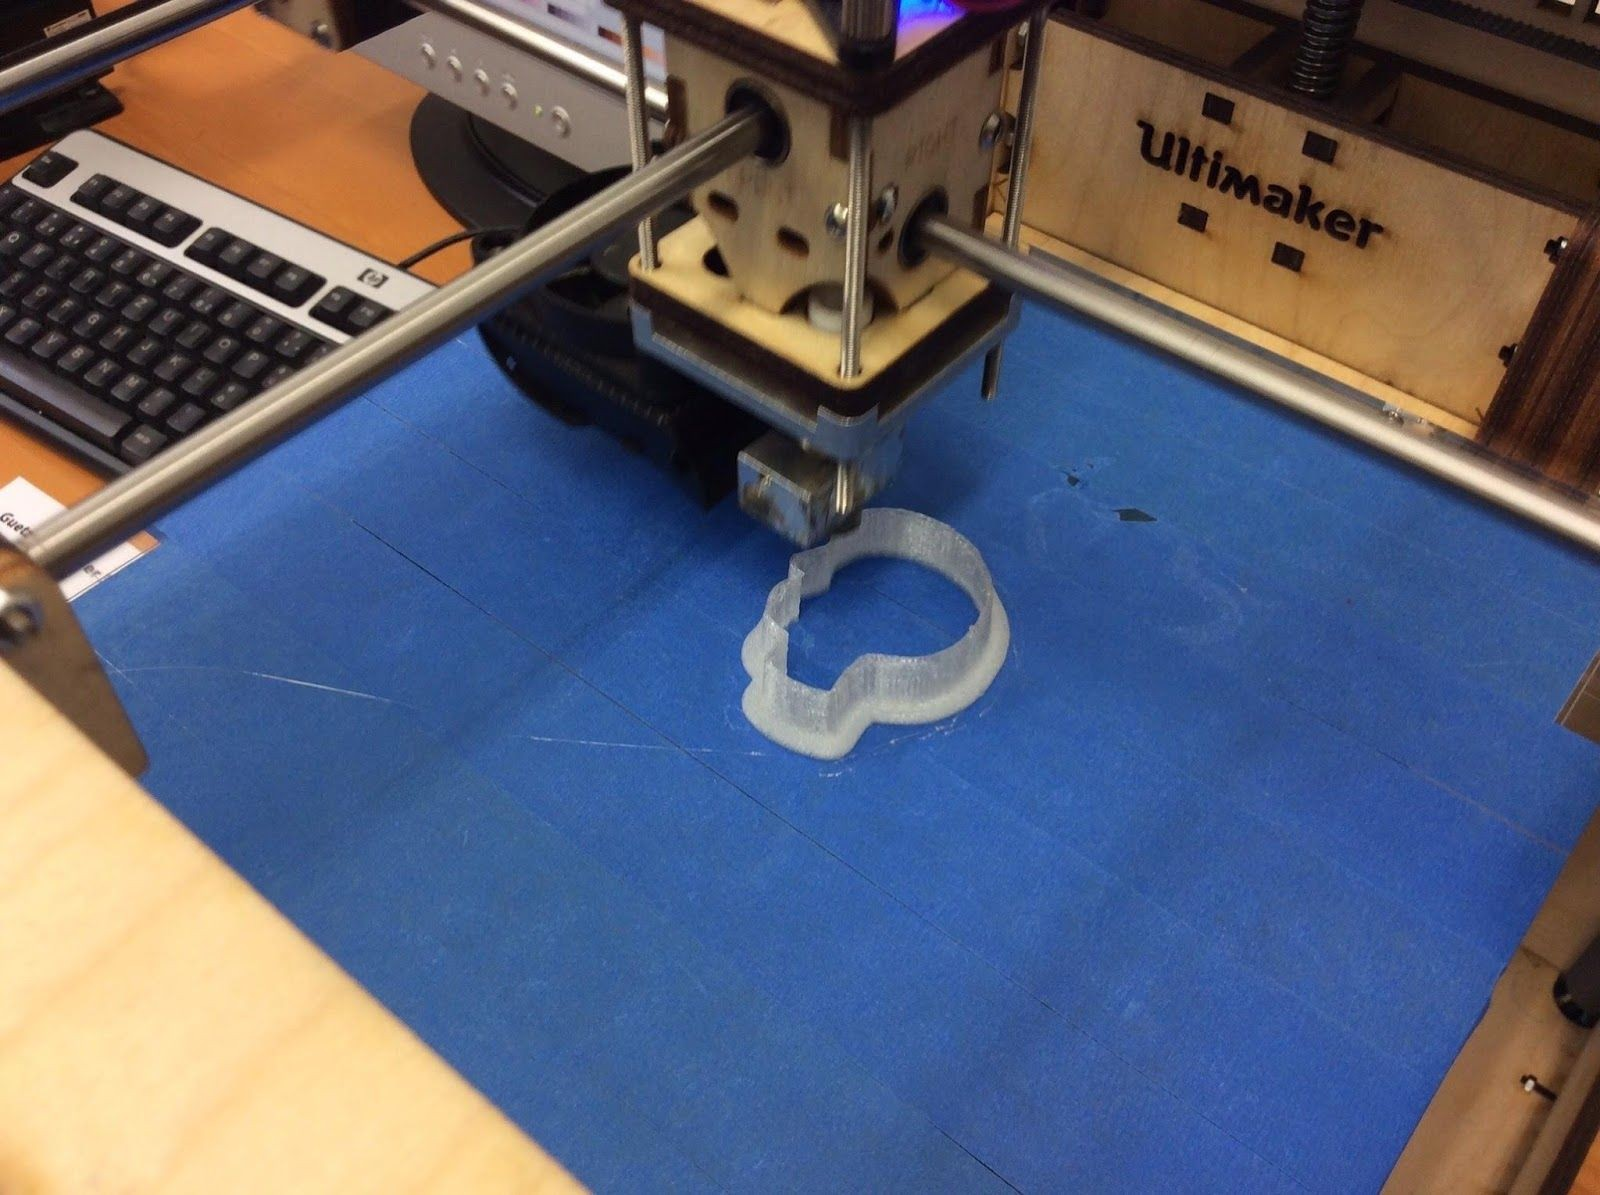
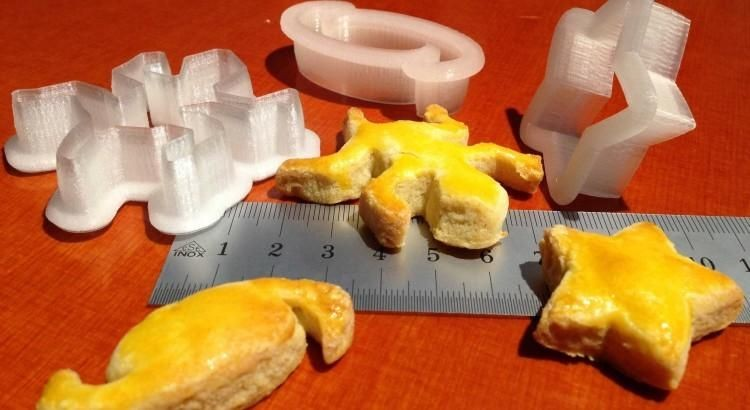
(photo FABLAB WINTERTHUR, AleaF)
Step One: Introduction and presentation of 3D printing – 15 mins
In whole class, Introduce 3D printing with a video and presentation of your local equipment.
Recommended by Techno Culture Club: https://abc3d.technoculture.club/en/resources/presentation PBS Off the Book:
https://www.pbs.org/video/-book-will-3d-printing-change-world/
Future Engineers: https://www.youtube.com/watch?v=XTP-WBrAnPY Coursera – 3D printing at Fab Lab Champaign Urbana IL (start at 4:22):
https://www.coursera.org/learn/3d-printing-applications/lecture/PuC0A/learning-by-making-and-making-for-f un-at-the-fab-lab

Step Two: Overview of the activity – 5 mins
Extension: Explore A Product Design Process (from Apple Valley High School Fabrication Lab, Minnesota) https://avhsfablab196.files.wordpress.com/2016/01/1-fab-lab-essentials-3d-printer_cookie-cutter-project.pdf
In this activity your team will act as designers in a company that will be at a tradeshow. Your task is to create an attractive cookie cutter design that will be a marketing giveaway item for potential customers to remember your company by. A design process that progresses from brainstorming to presenting a final design will be used and documented. Each member of the team will have a product to present to the company executives for final approval.
Step Three: Log in each student to the software Cookie Caster – 2 min
Step Four: Demo Cookie Caster software– 10 min
Step Five: Use Cookie Caster to Design and Print
TEACHER NOTE: Follow steps for using Cookie Caster to 3D print designs
With students, guide them through a first design process:
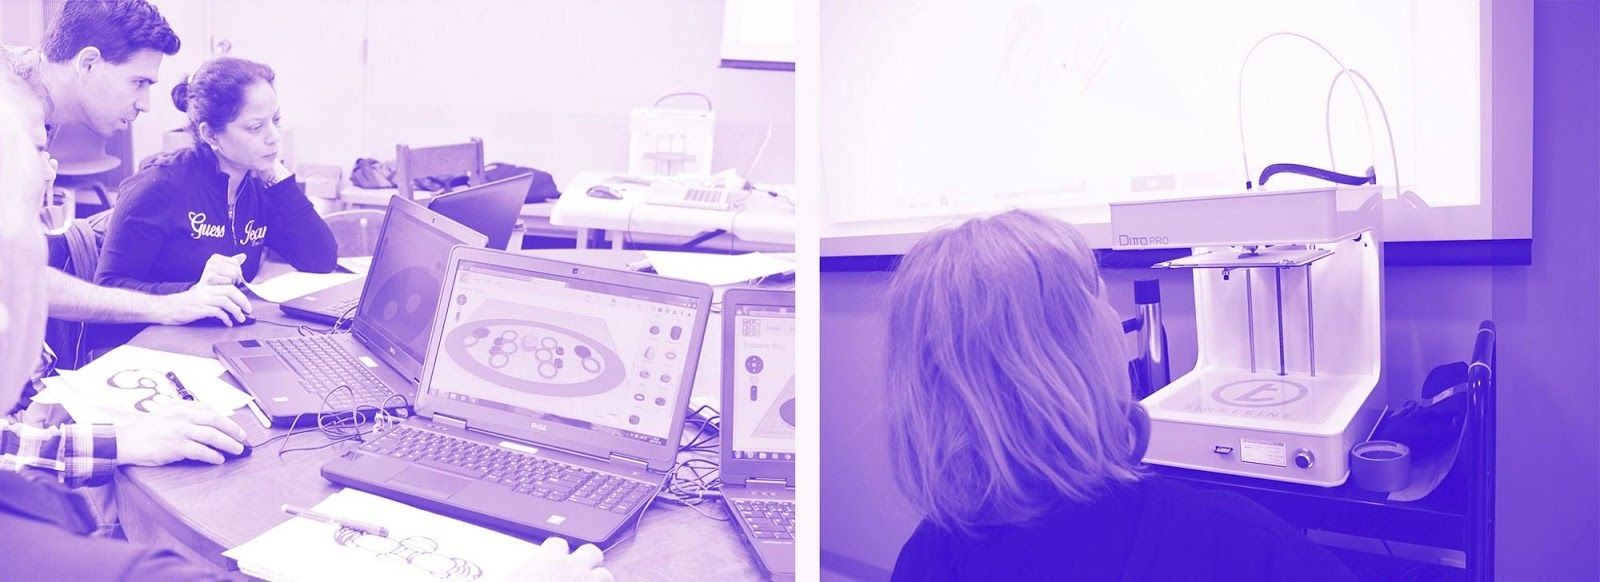
(photo FABLAB WINTERTHUR, AleaF)
Feedback – 5 min
Ask participants for feedback on the workshop while the models are being printed.
Extension: Explore other 3D Design Software (from Fab Lab Zurich)
Try perfecting the shape of your cookie cutter in other 3D design software such as Inkscape and Blender. Read this blogpost from Fab Lab Zurich for inspiration!
Having trouble? Let us know by completing the form below. We'll do our best to get your issues resolved quickly.
"*" indicates required fields