- Loading…
Students will learn what phenology is and create an object to record the changes in seasons in their local ecosystem.
The example project in this lesson includes two main parts: card stock and the wooden base. While you can make it with these materials, you can also make it with any materials you have around. Cardboard, standard paper, acrylic. Feel free to use scrap material of whatever you have!
The materials in the example project include:
General introduction of phenology and the project students will make.
Start a discussion with students about the seasons in their area. What are the ‘main indicators’ or ‘signals’ that a new season is happening?
Author’s Note: Students live in vastly different ecosystems from around the world, so the examples in this lesson will be where the author lives (Northern Appalachia). Feel free to use examples from where you live!
Here is an example of how you can wrap up the general discussion. “For me, when the leaves become golden I know fall has arrived. And when the dogwoods bloom I know spring can’t be too far away. Some scientists study these changes from year to year. As our climate is changing every year, it is important to study what is happening and when in our ecosystems. This field of study is called Phenology.
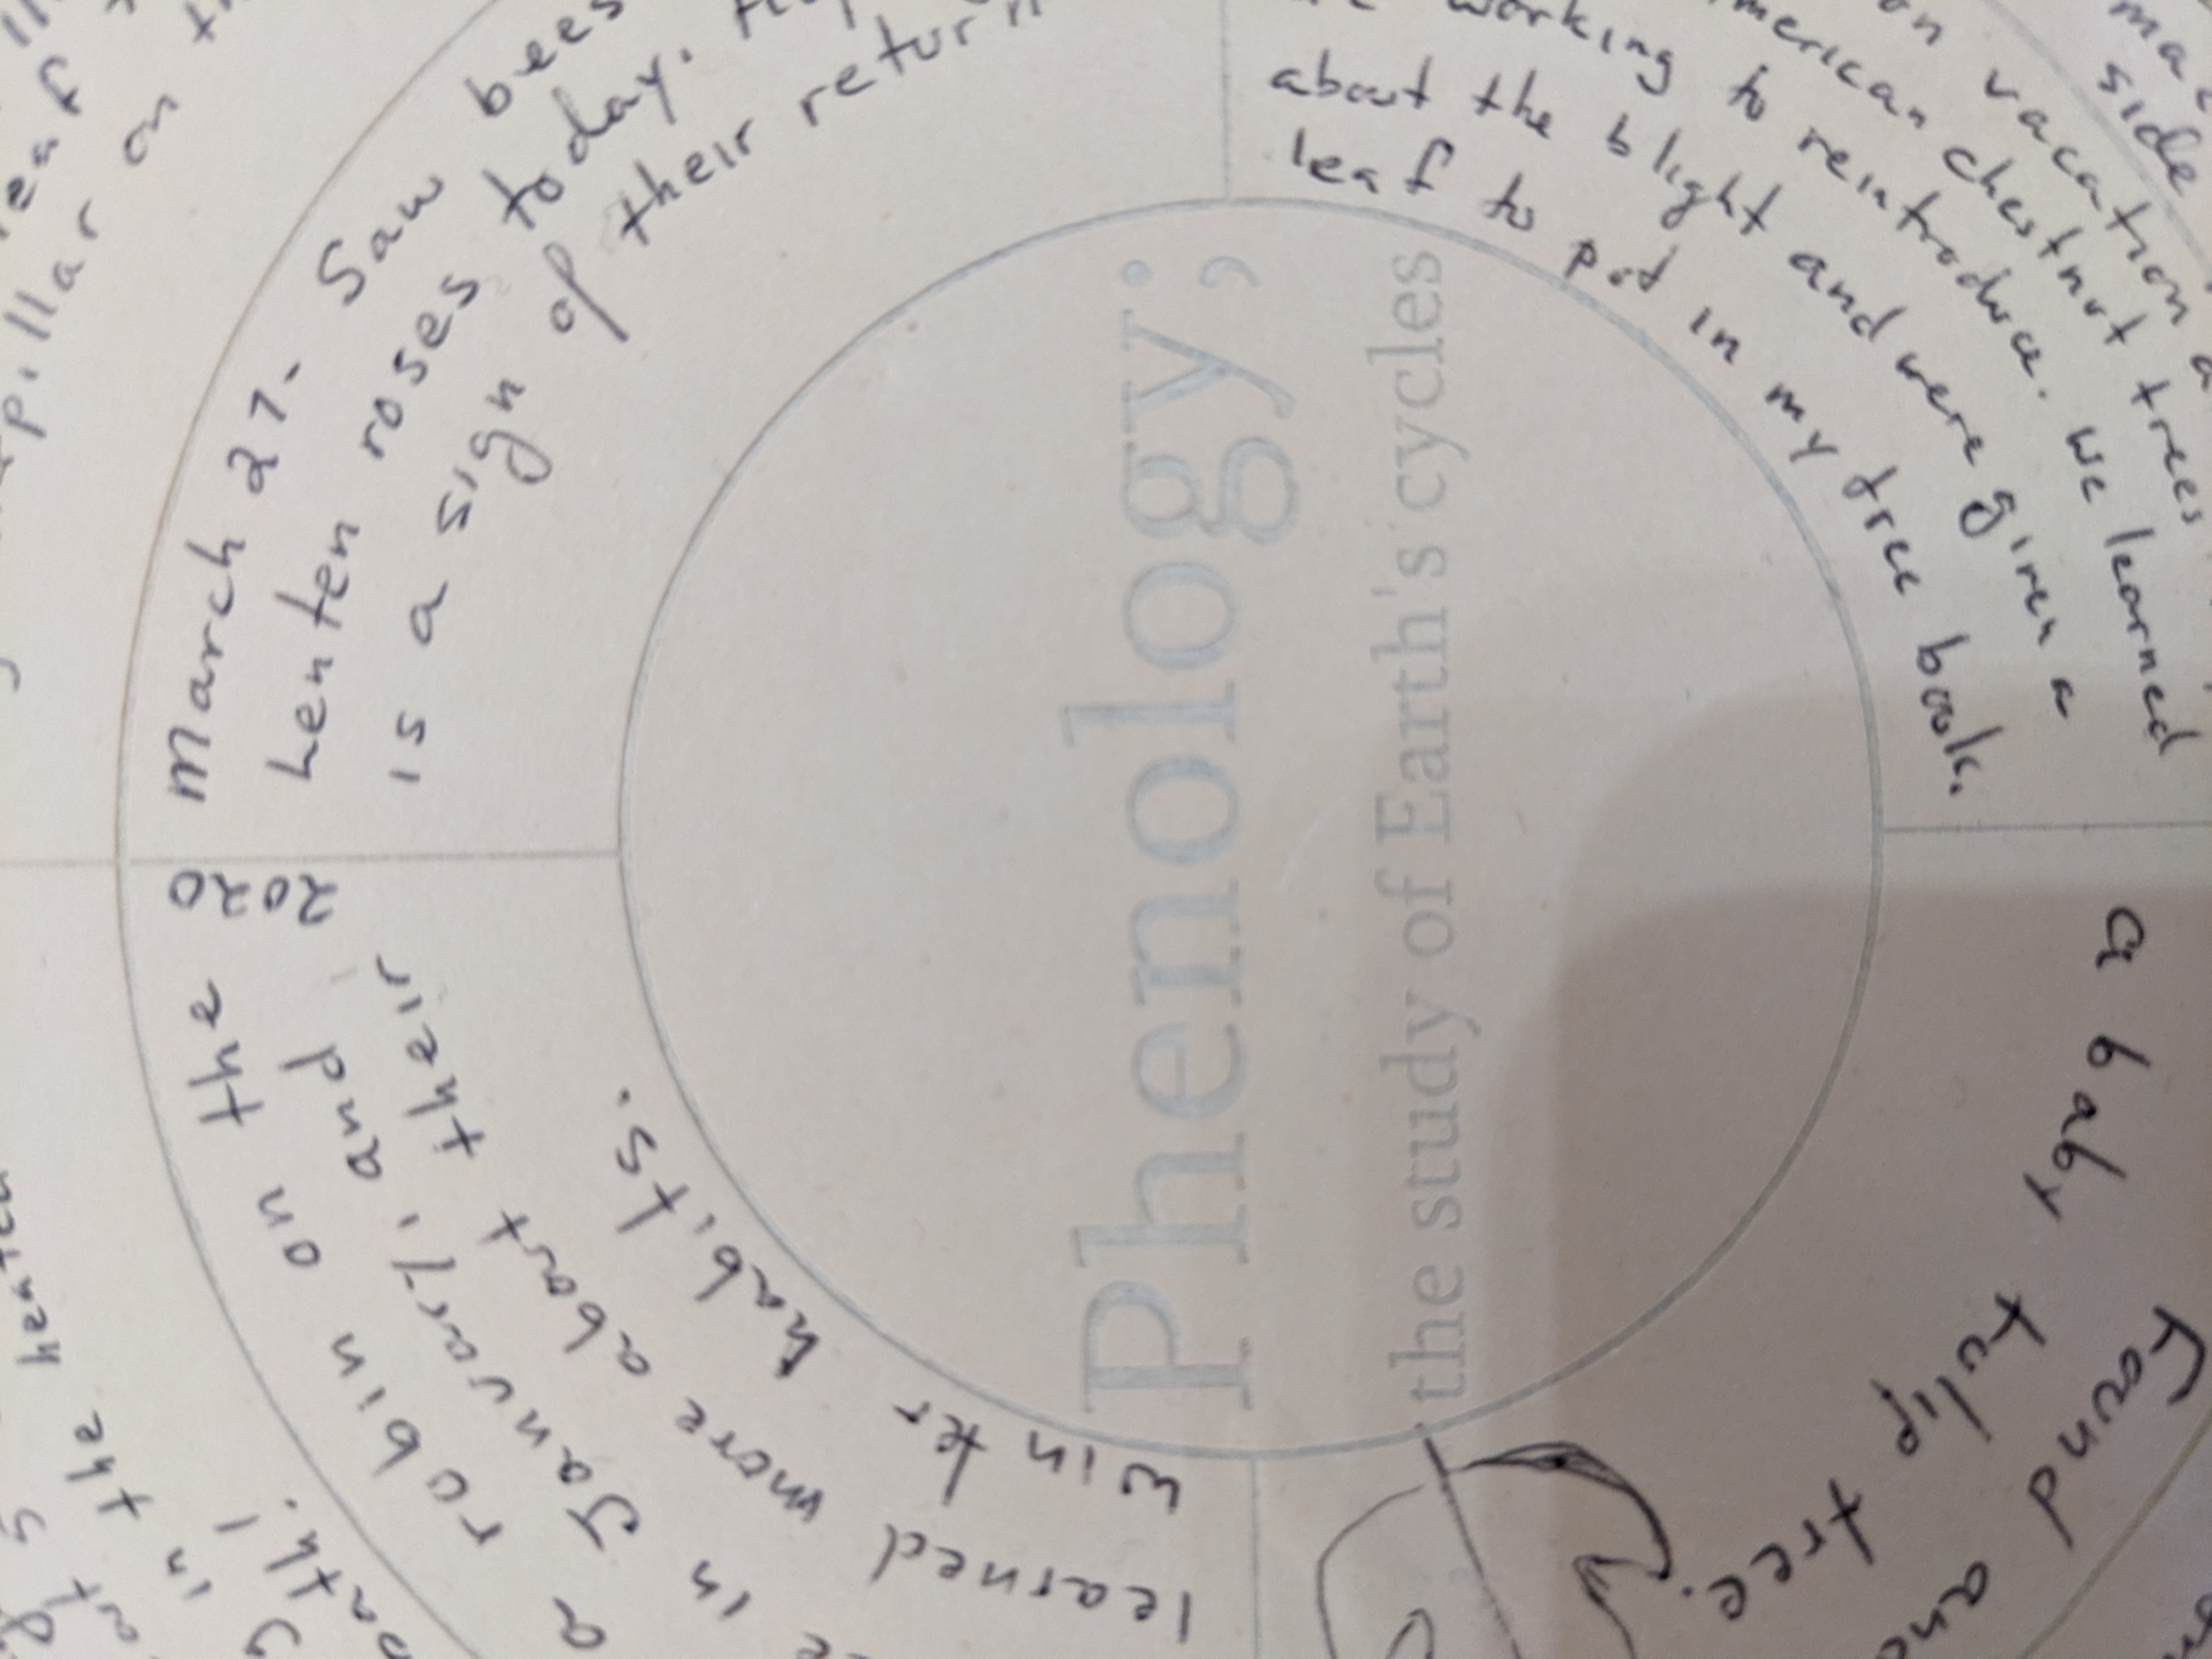
Phenology is the study of the cyclical changes in our natural ecosystems. Or, in other words, the study of changes throughout the year. You are going to create a ‘phenology calendar’ so you can keep track of the changes you notice here in our ecosystem.”
Steps outlining the fabrication of the calendar.
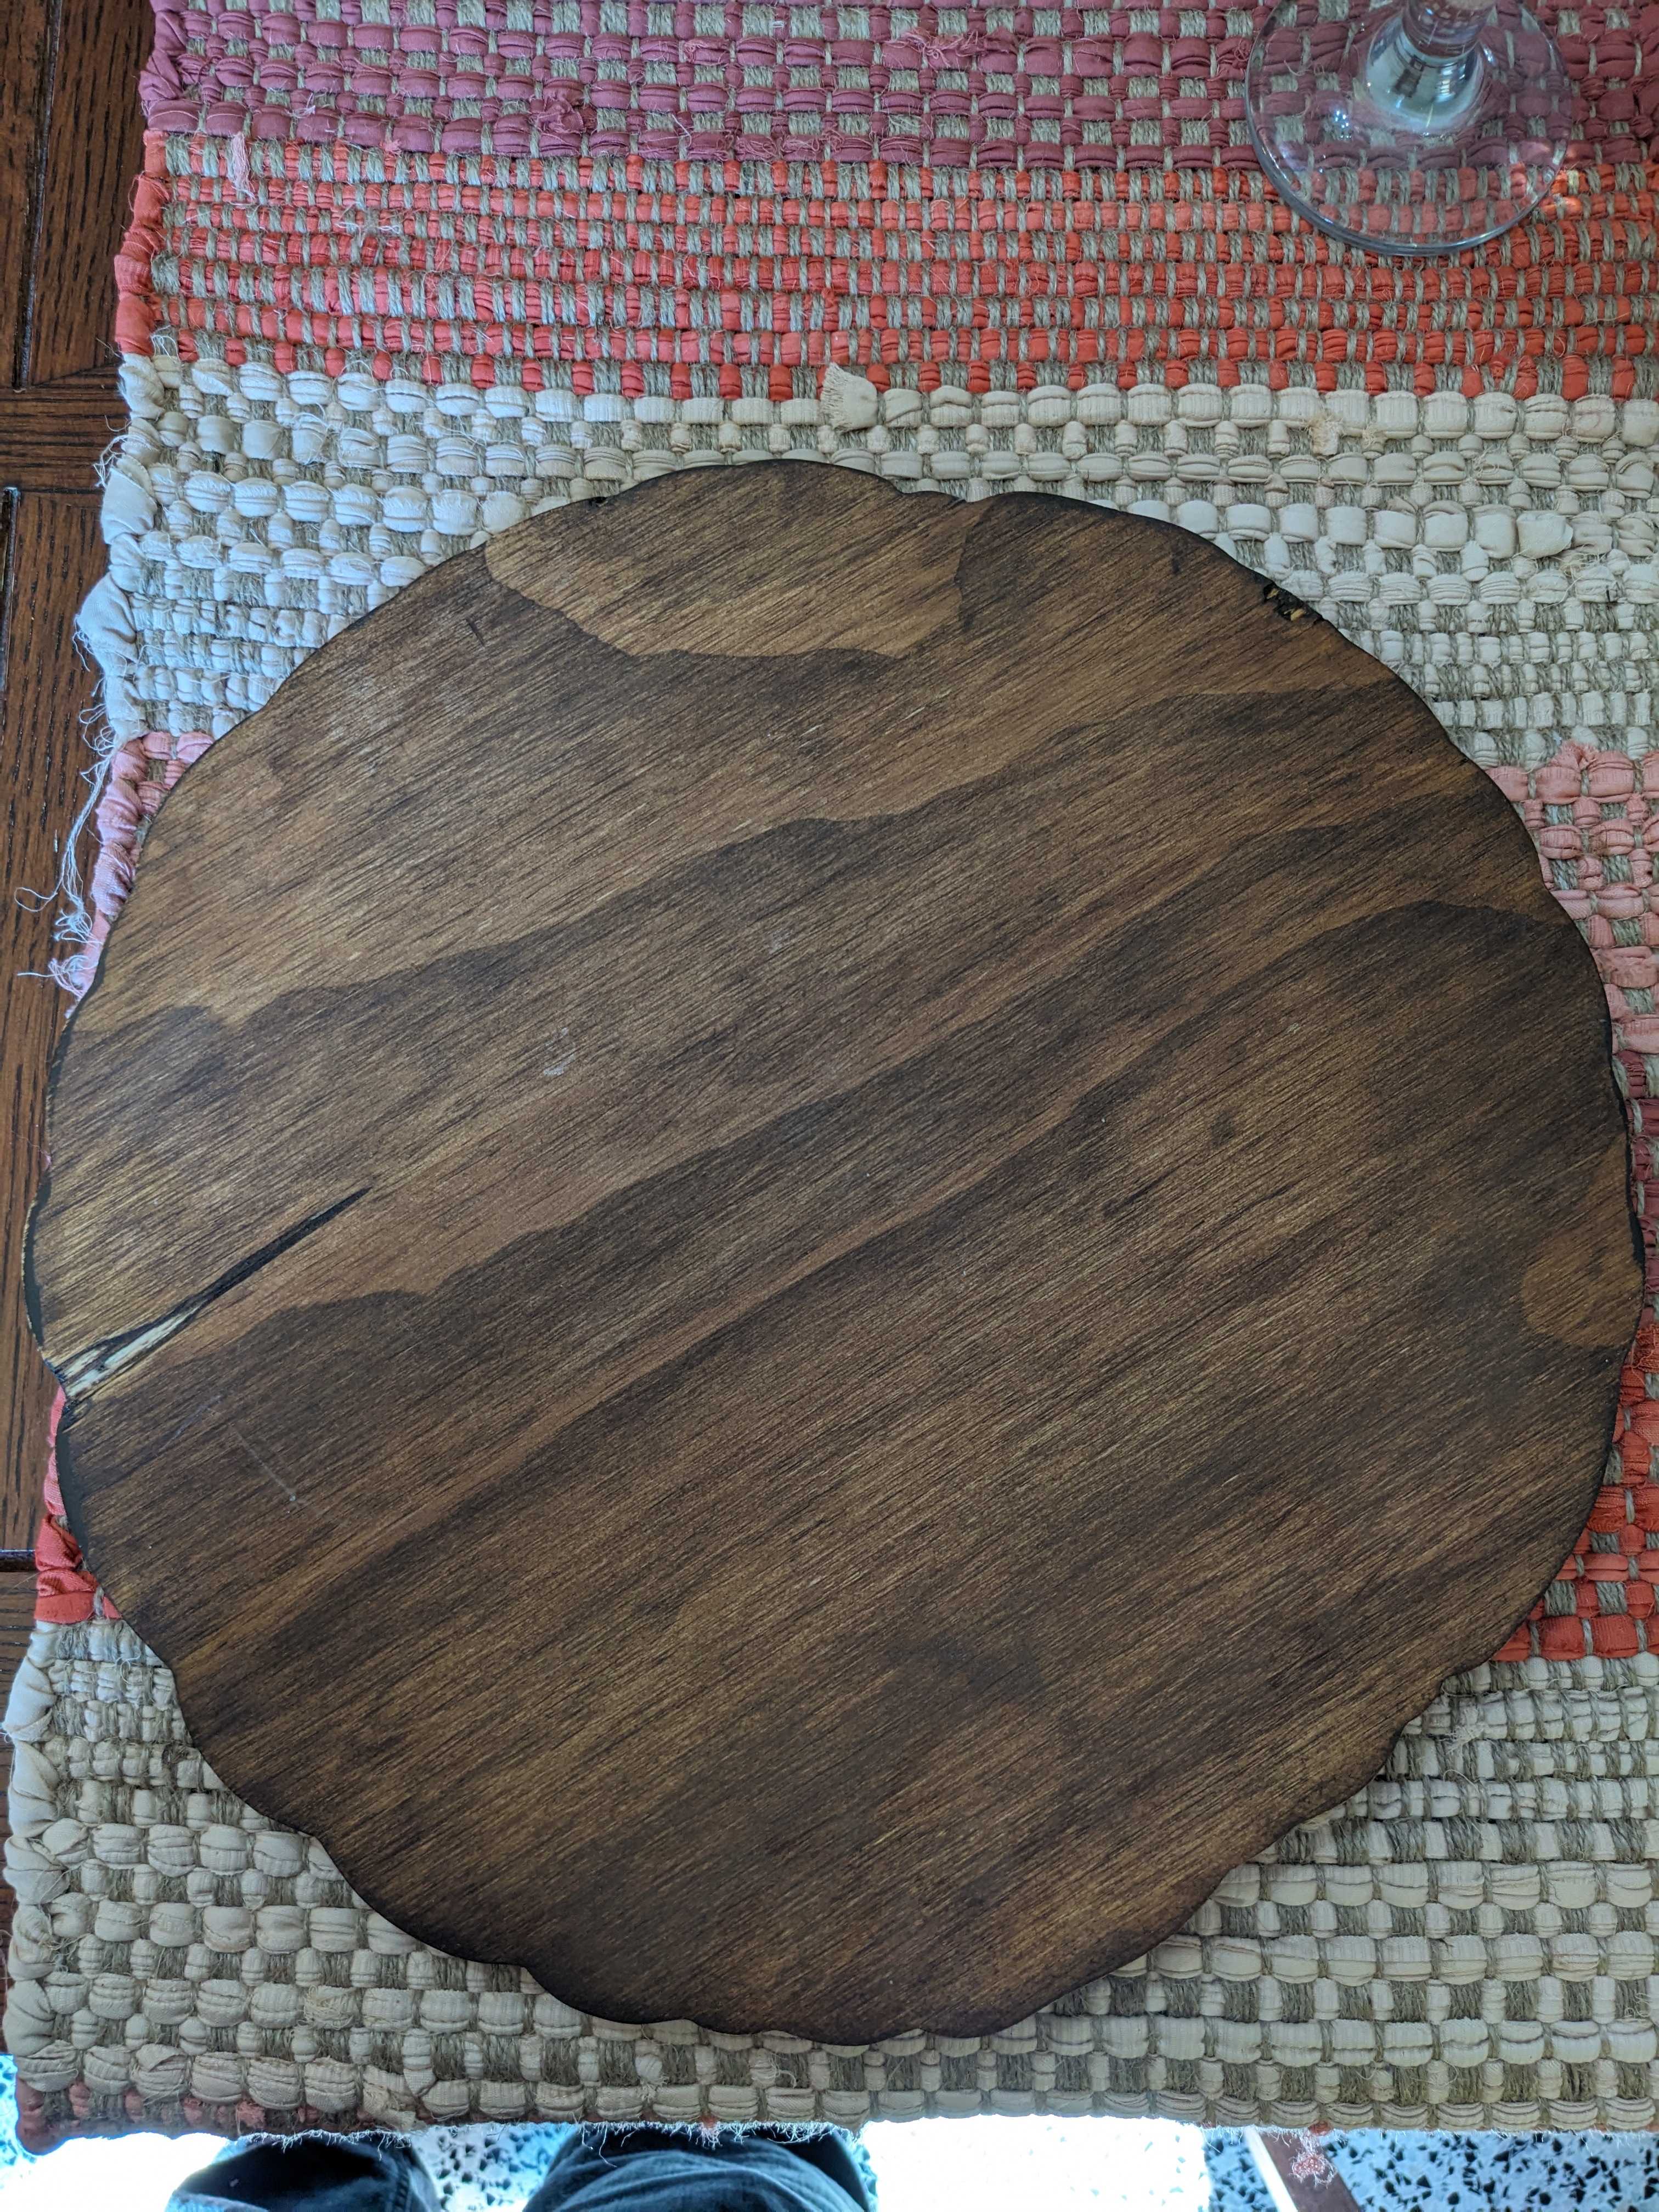
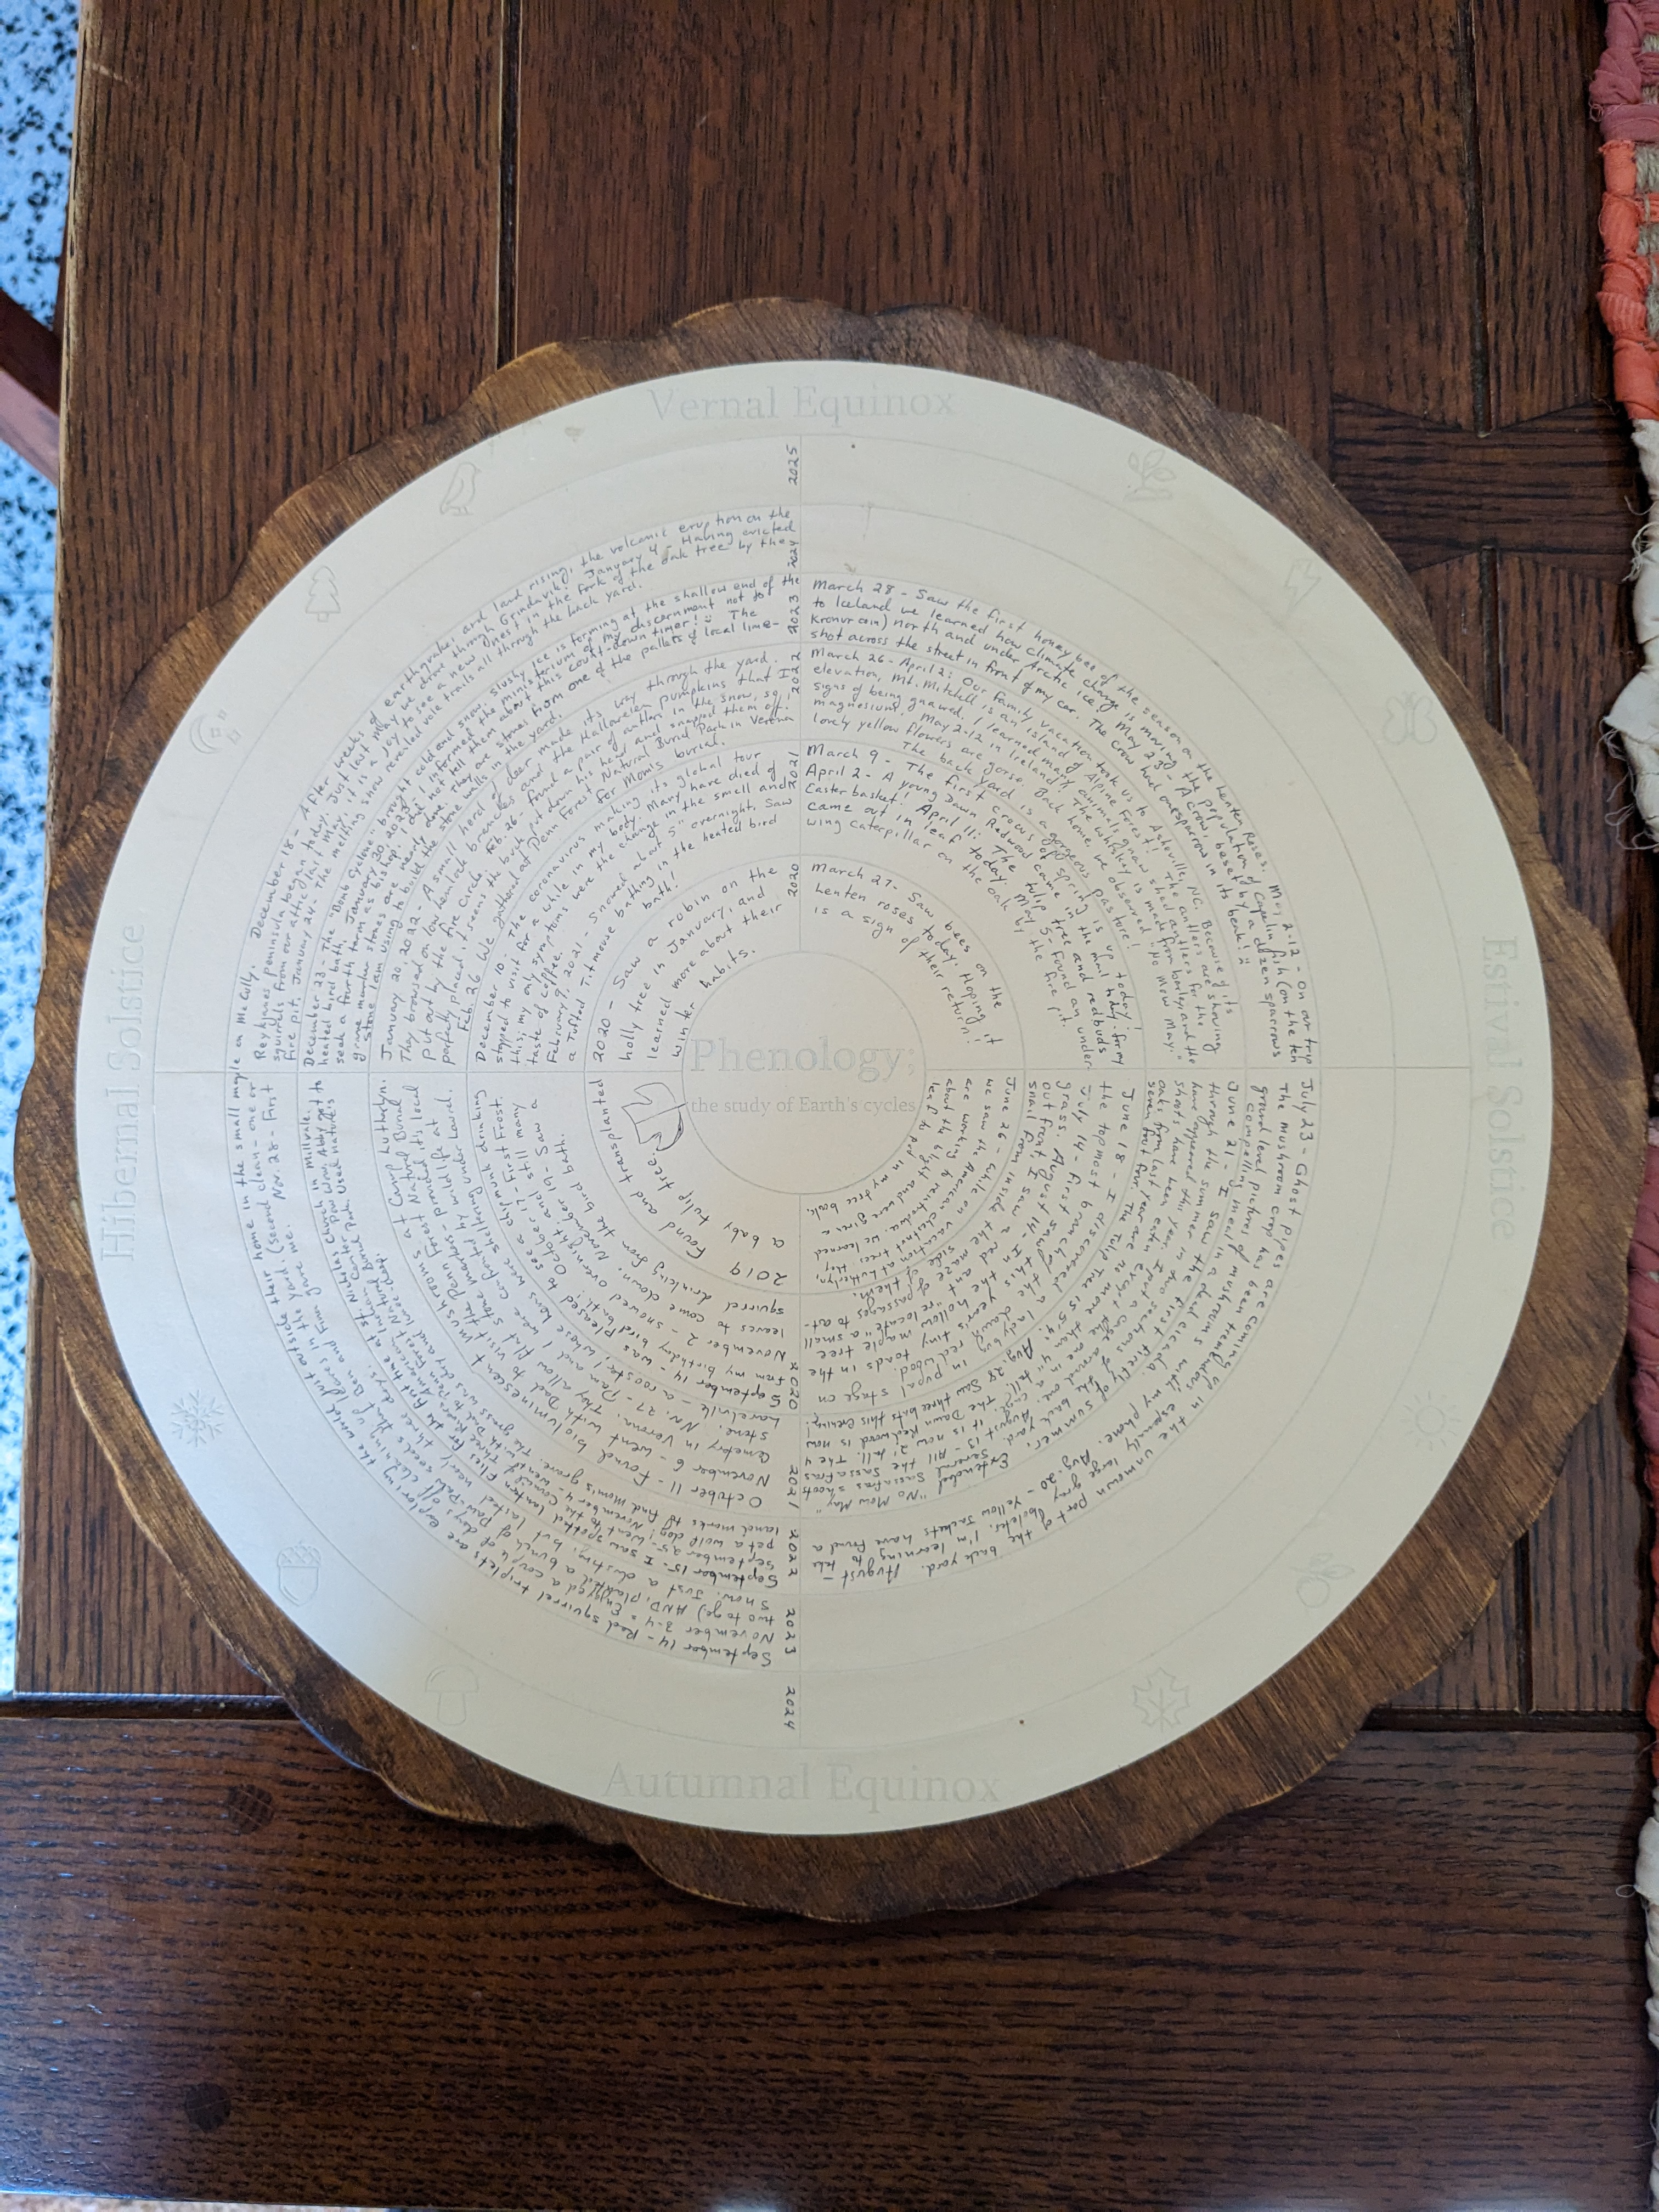
Author’s Note: The example calendar has two main parts; the base and the paper. Together it looks like tree rings. You do not need to use stained wood to get his effect, and feel free to allow students to create a calendar based off of something they see in their region. The most important aspect is easily seeing how each season compares to each other.
For the base, use the CNC router to design an 19 inch diameter circle. If students want to add some ‘bumps’ to the bark, they can add some nodes to edit the shape. After it is cut out on the CNC router, stain it with a dark stain. Below is an example.

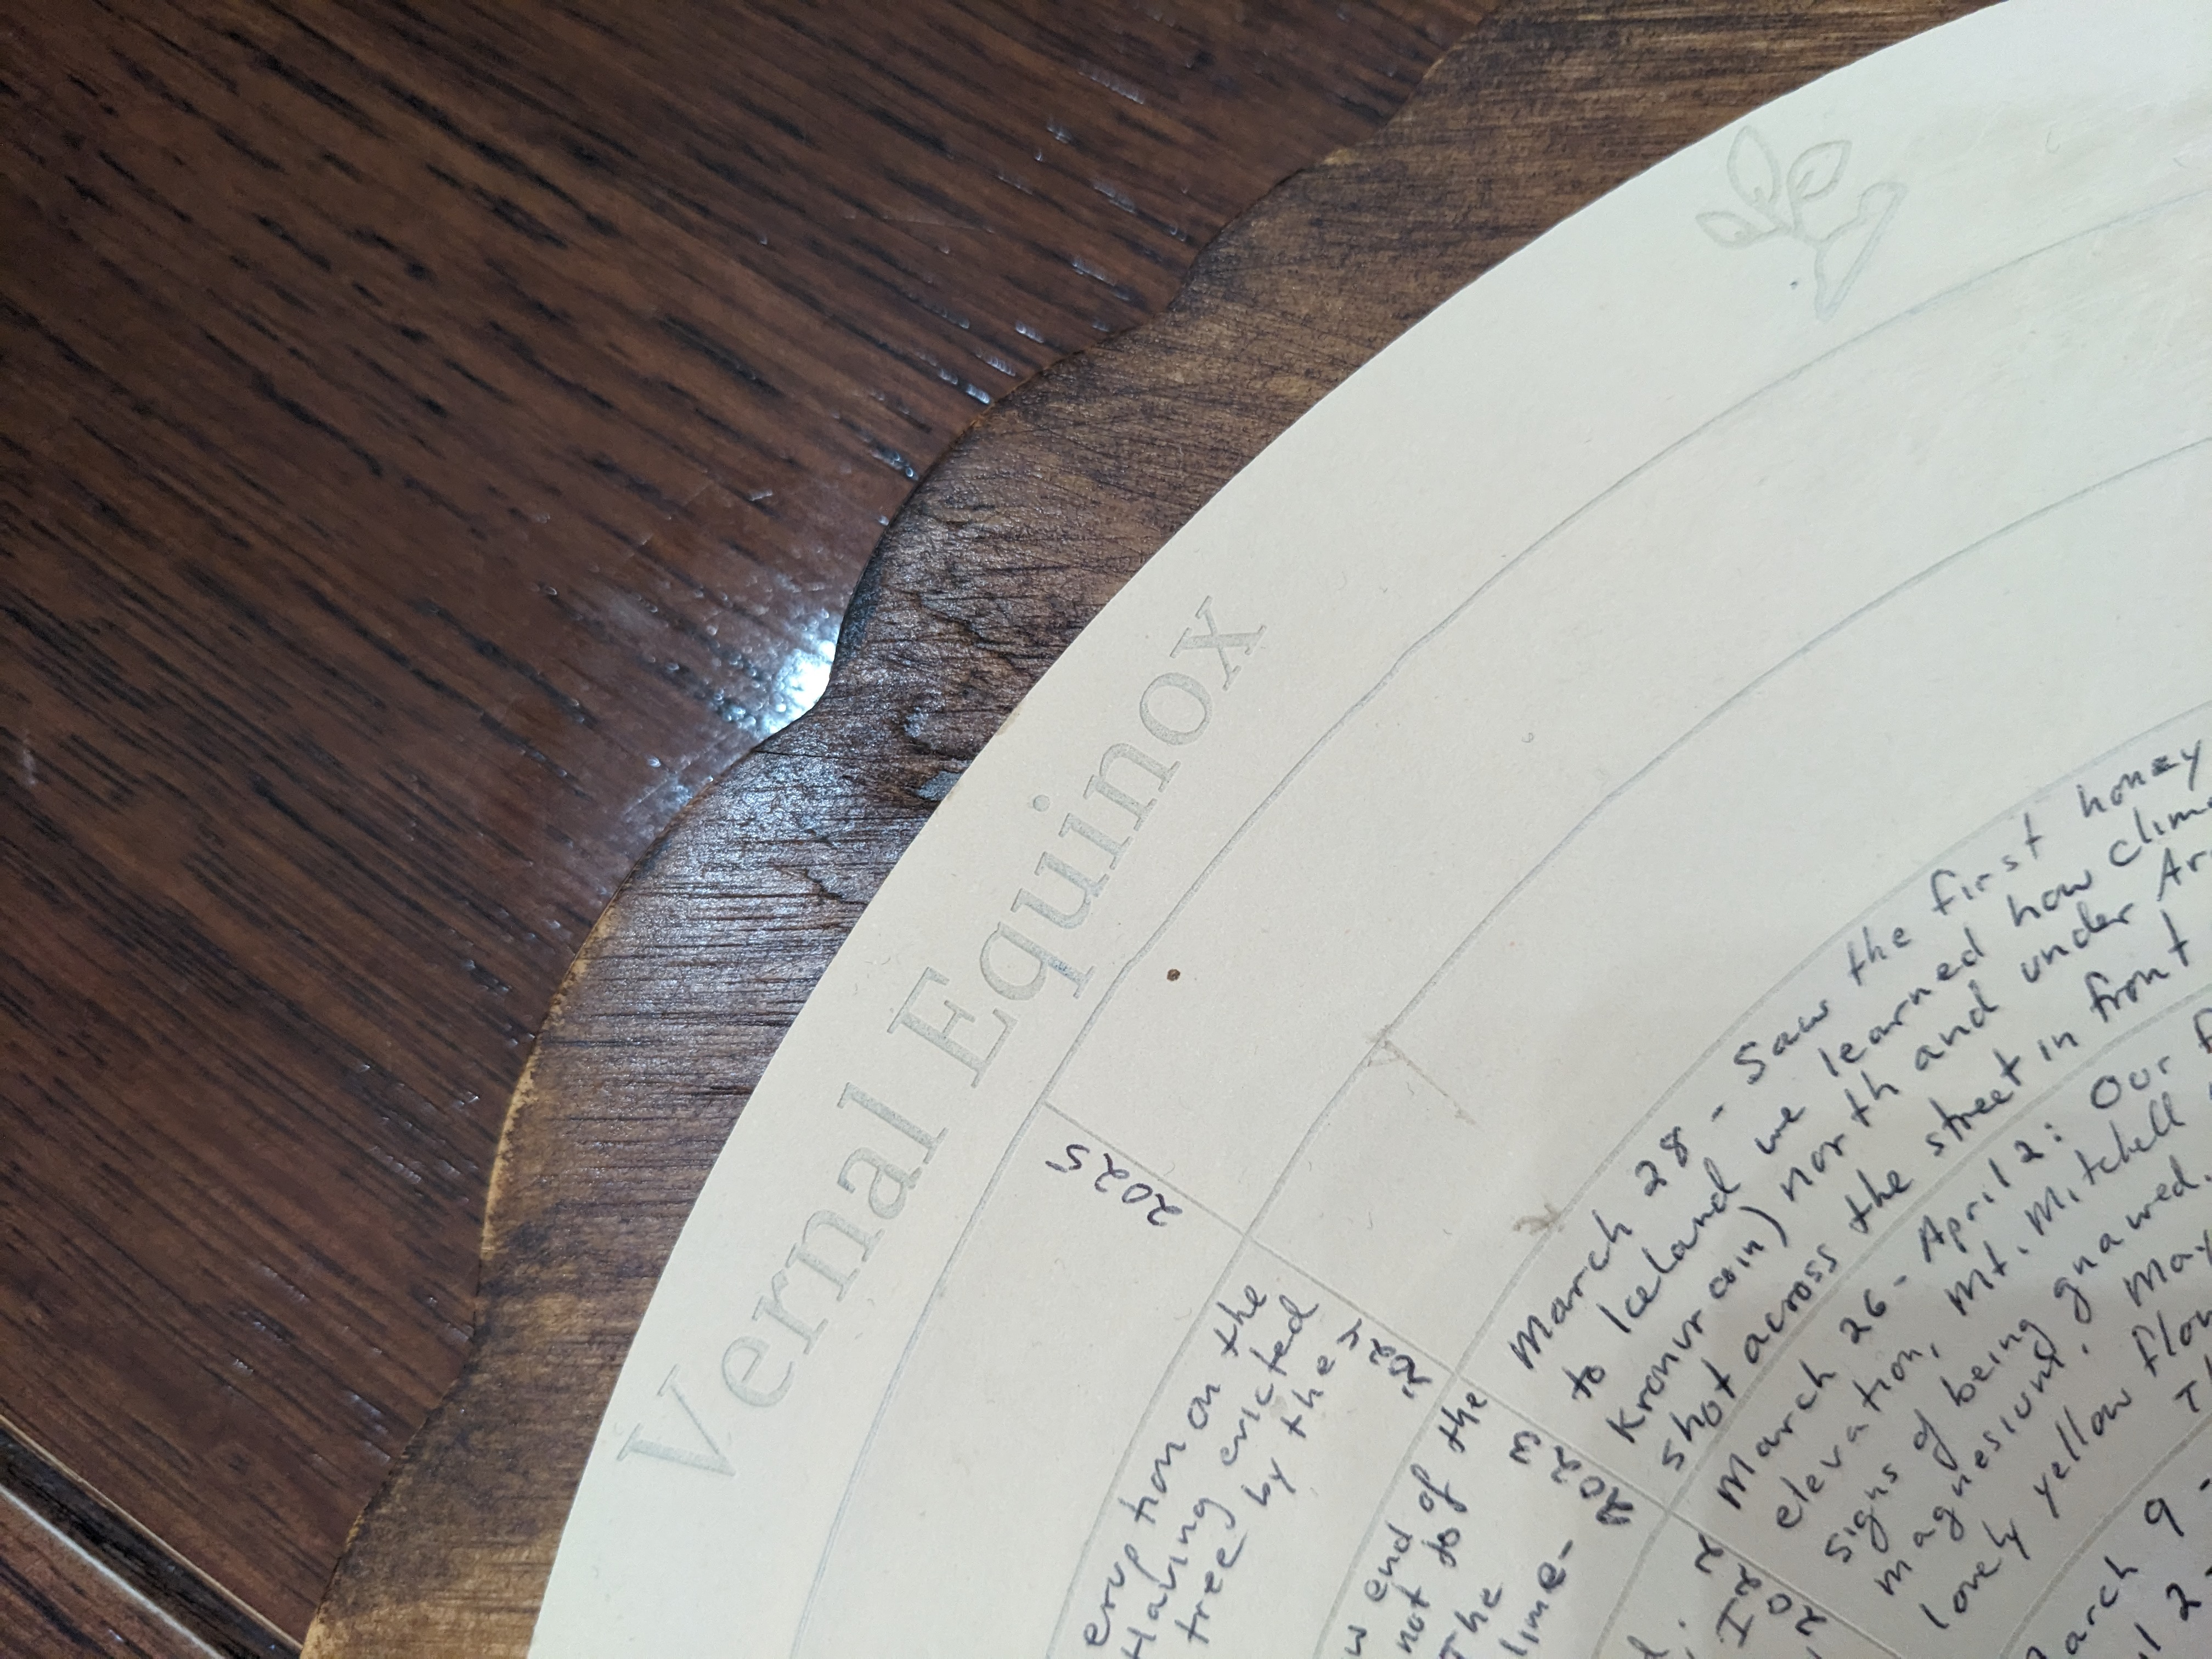
For the calendar, students should design rings divided into sections. For the example, it was 6 years with 4 seasons a year. Stick with whatever makes sense for you and your students. Does 4 years make sense? 10? How many seasons should each year include? Feel free to also include flourishes such as symbols that represent each season and seasonal markers such as the Vernal Equinox.

You can simply etch in the circles and dividers into paper using a laser cutter. You can also cut the calendar out in a perfect 18 inch diameter circle. Below is an example project more than halfway done!
After the paper is etched and the wood stain is dry, attach the paper to the wood using any standard glue.
After students are able to make some notes on their calendars, they will present their findings.
This portion of the lesson might be immediately after, if students were able to make one observation that day. But it can also be months or seasons later, after they are able to create multiple findings.
No matter when they present their findings, they should be able to articulate where and when they made their observation, and how it differs from other observations.
At the end conclude about the importance of stopping to notice what is happening around them.
Having trouble? Let us know by completing the form below. We'll do our best to get your issues resolved quickly.
"*" indicates required fields