- Loading…
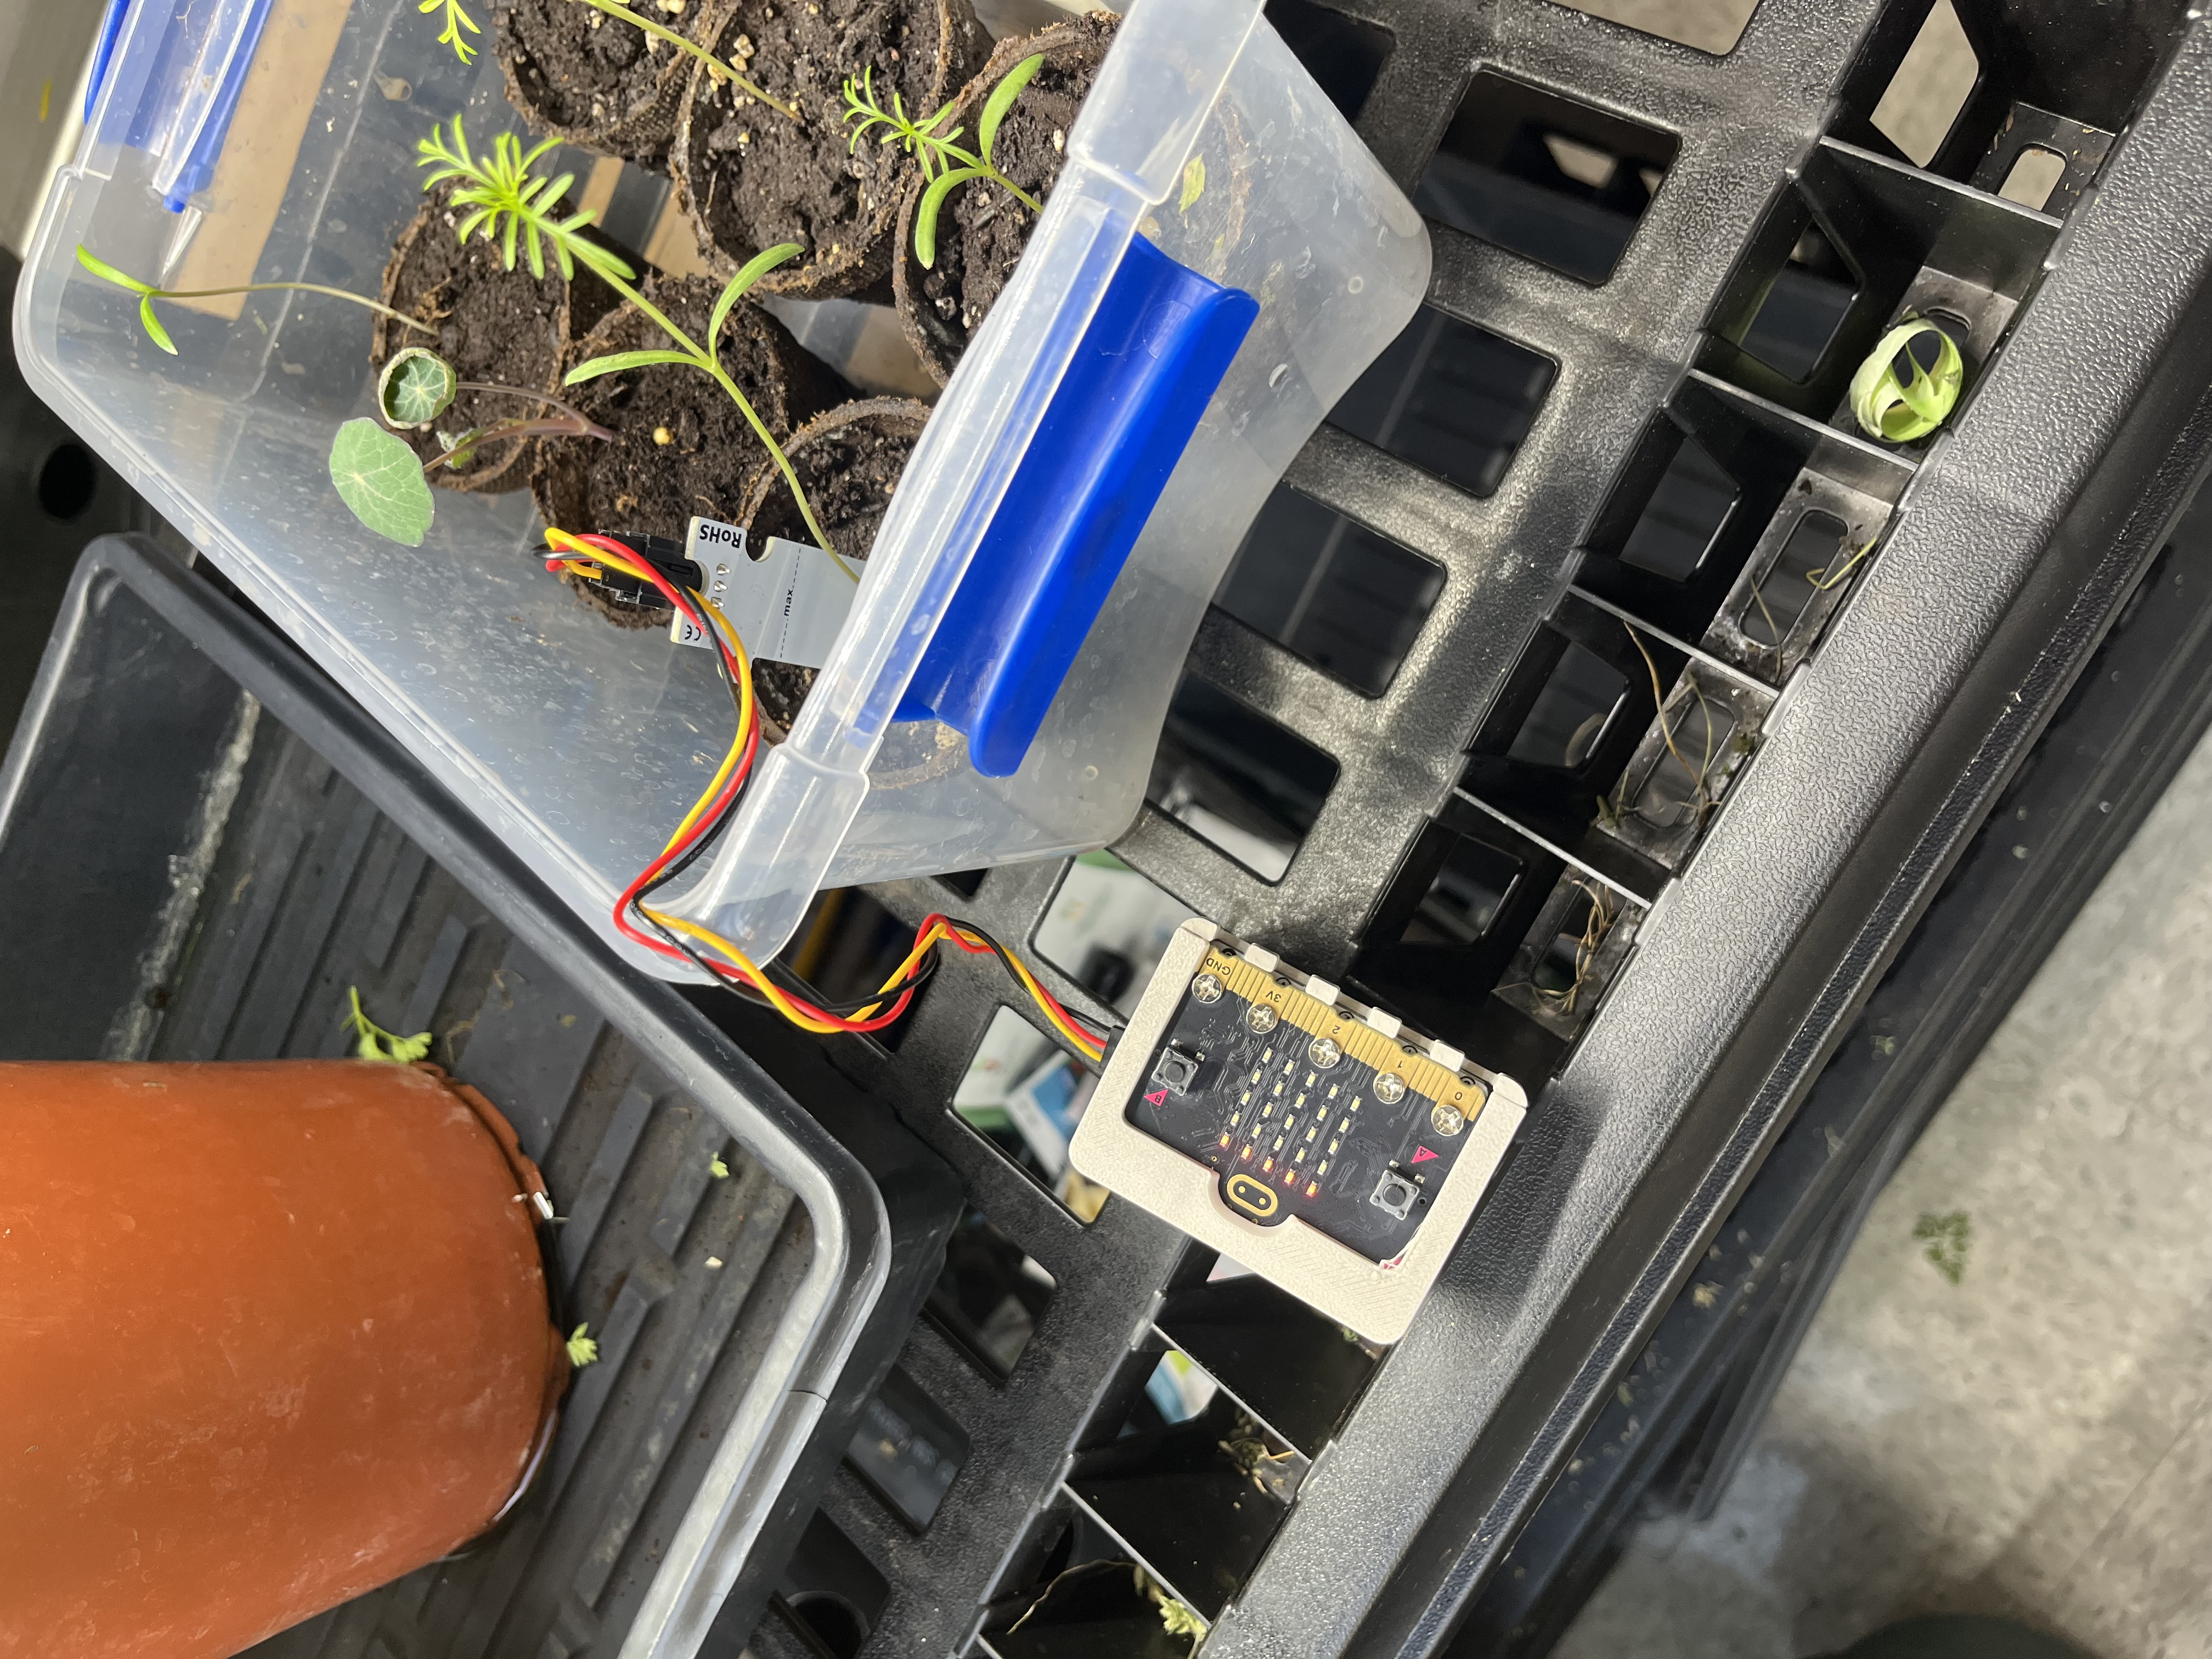
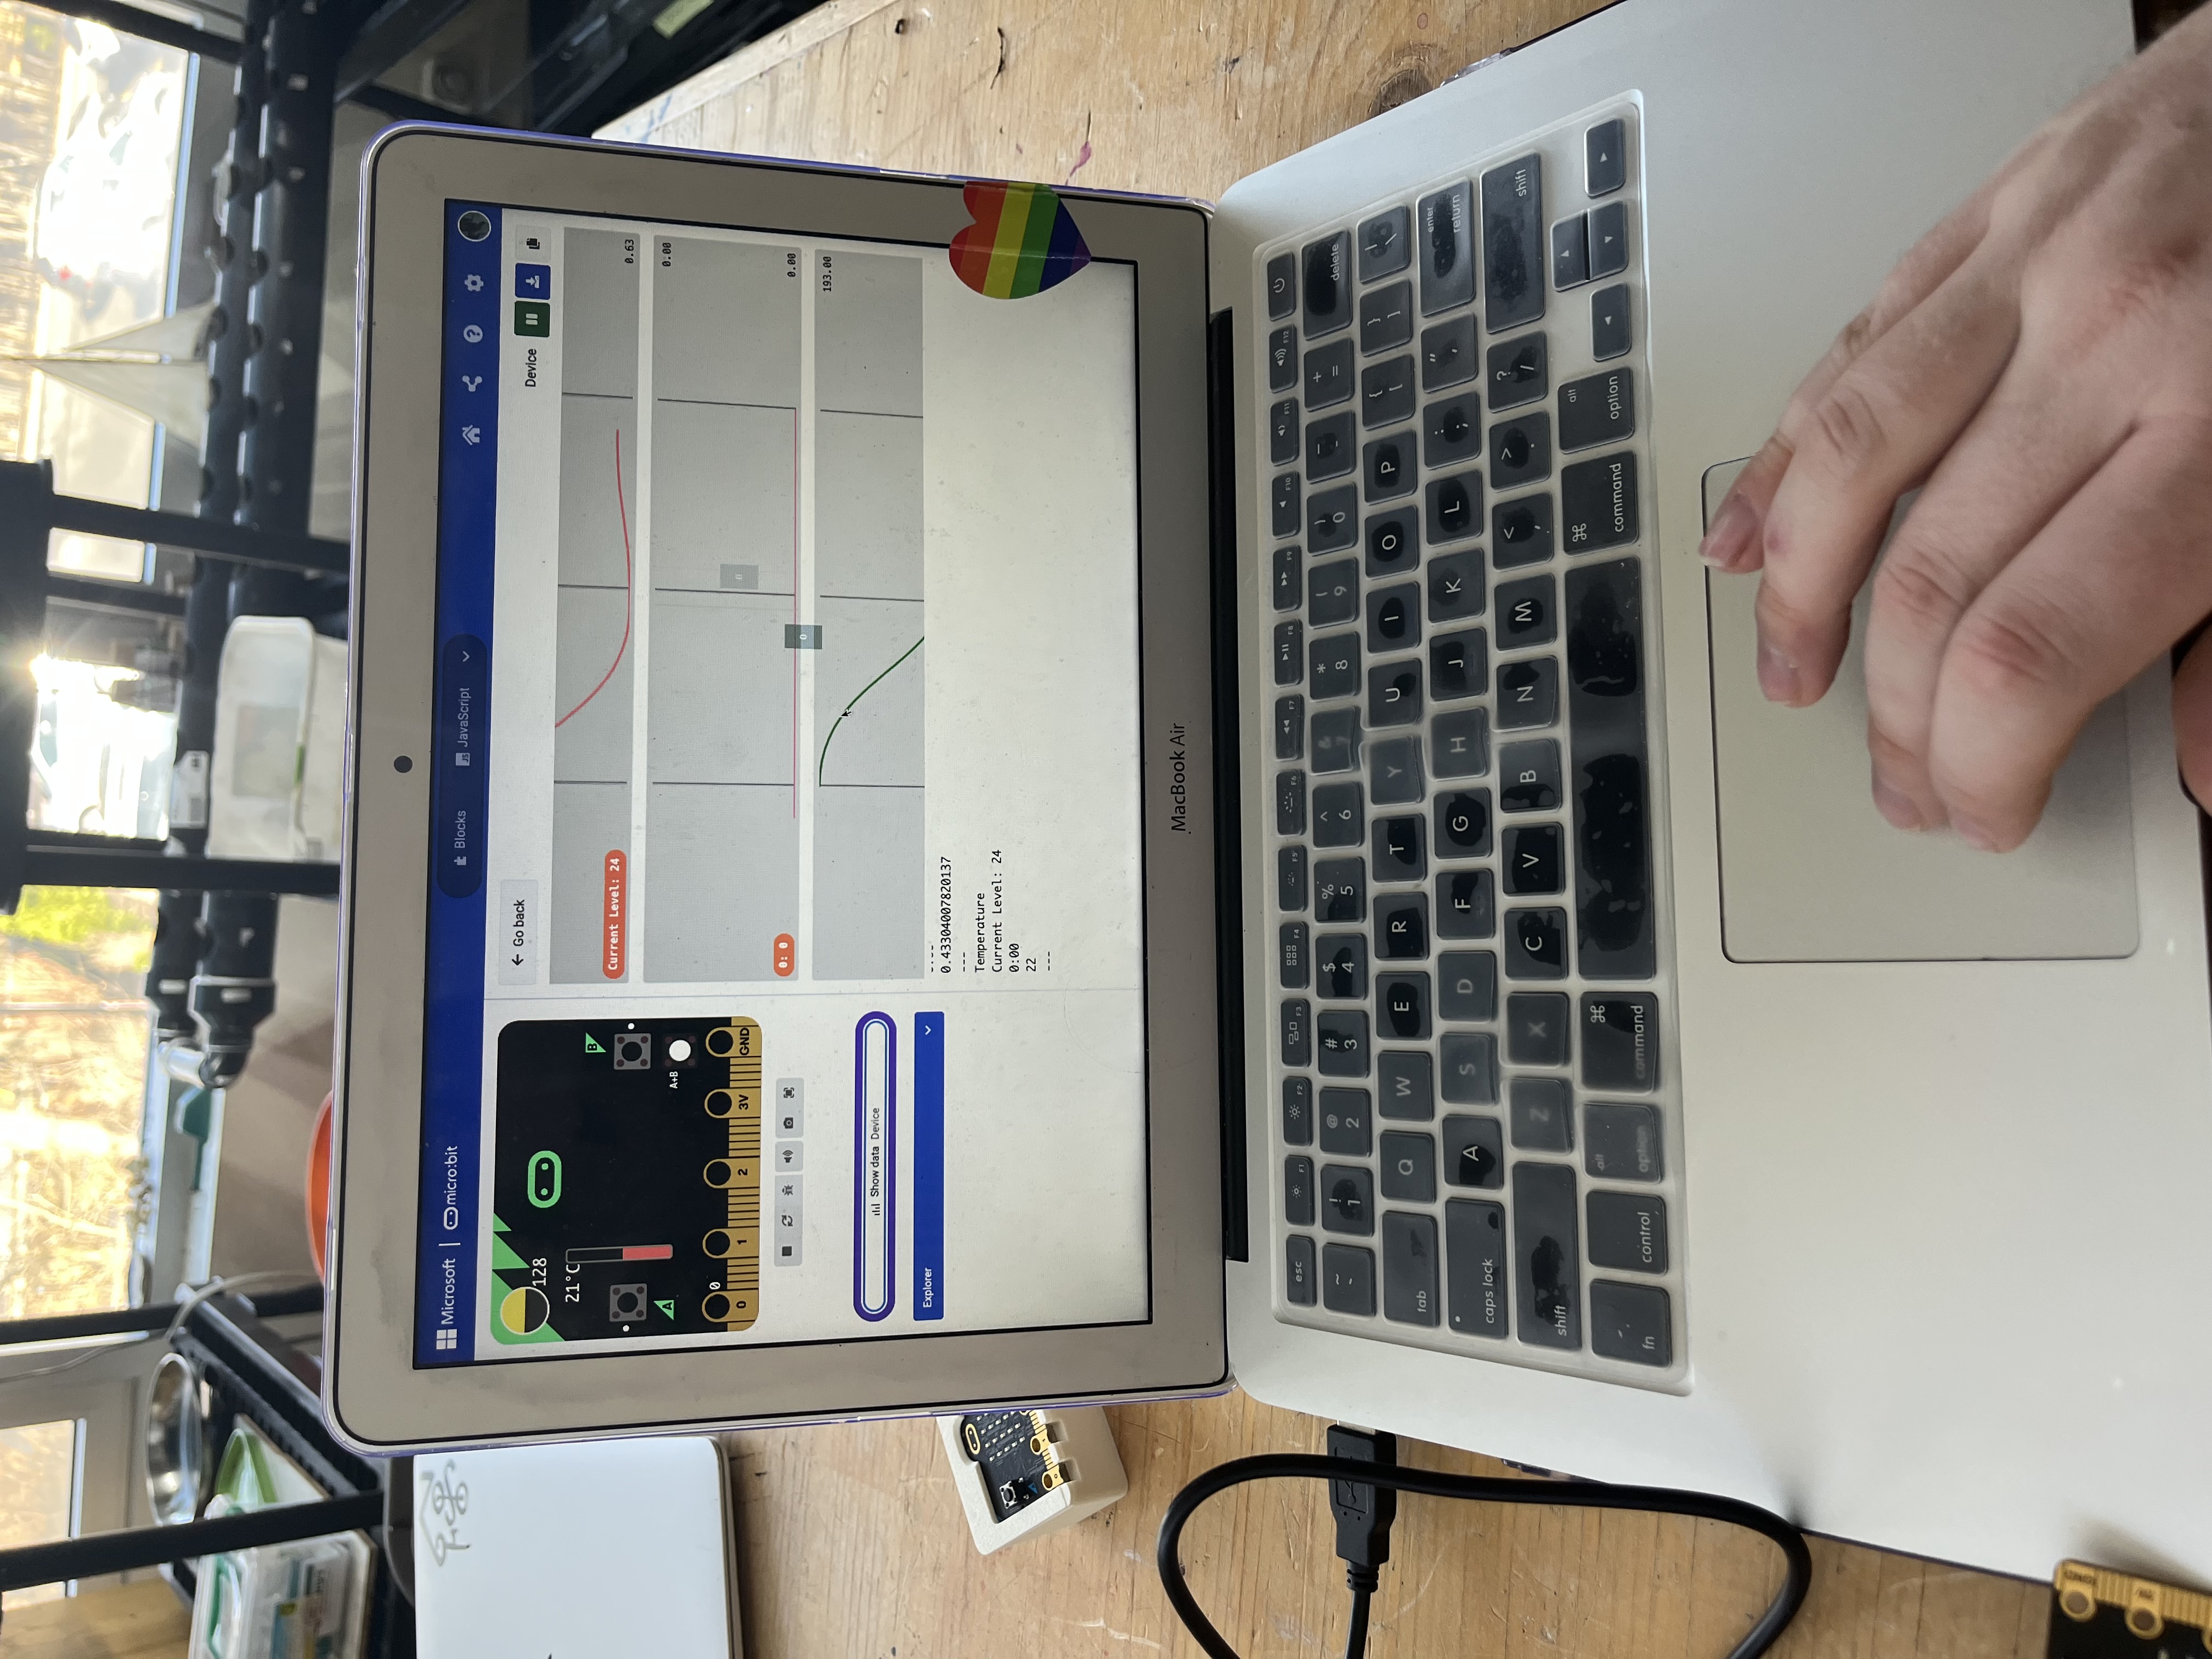
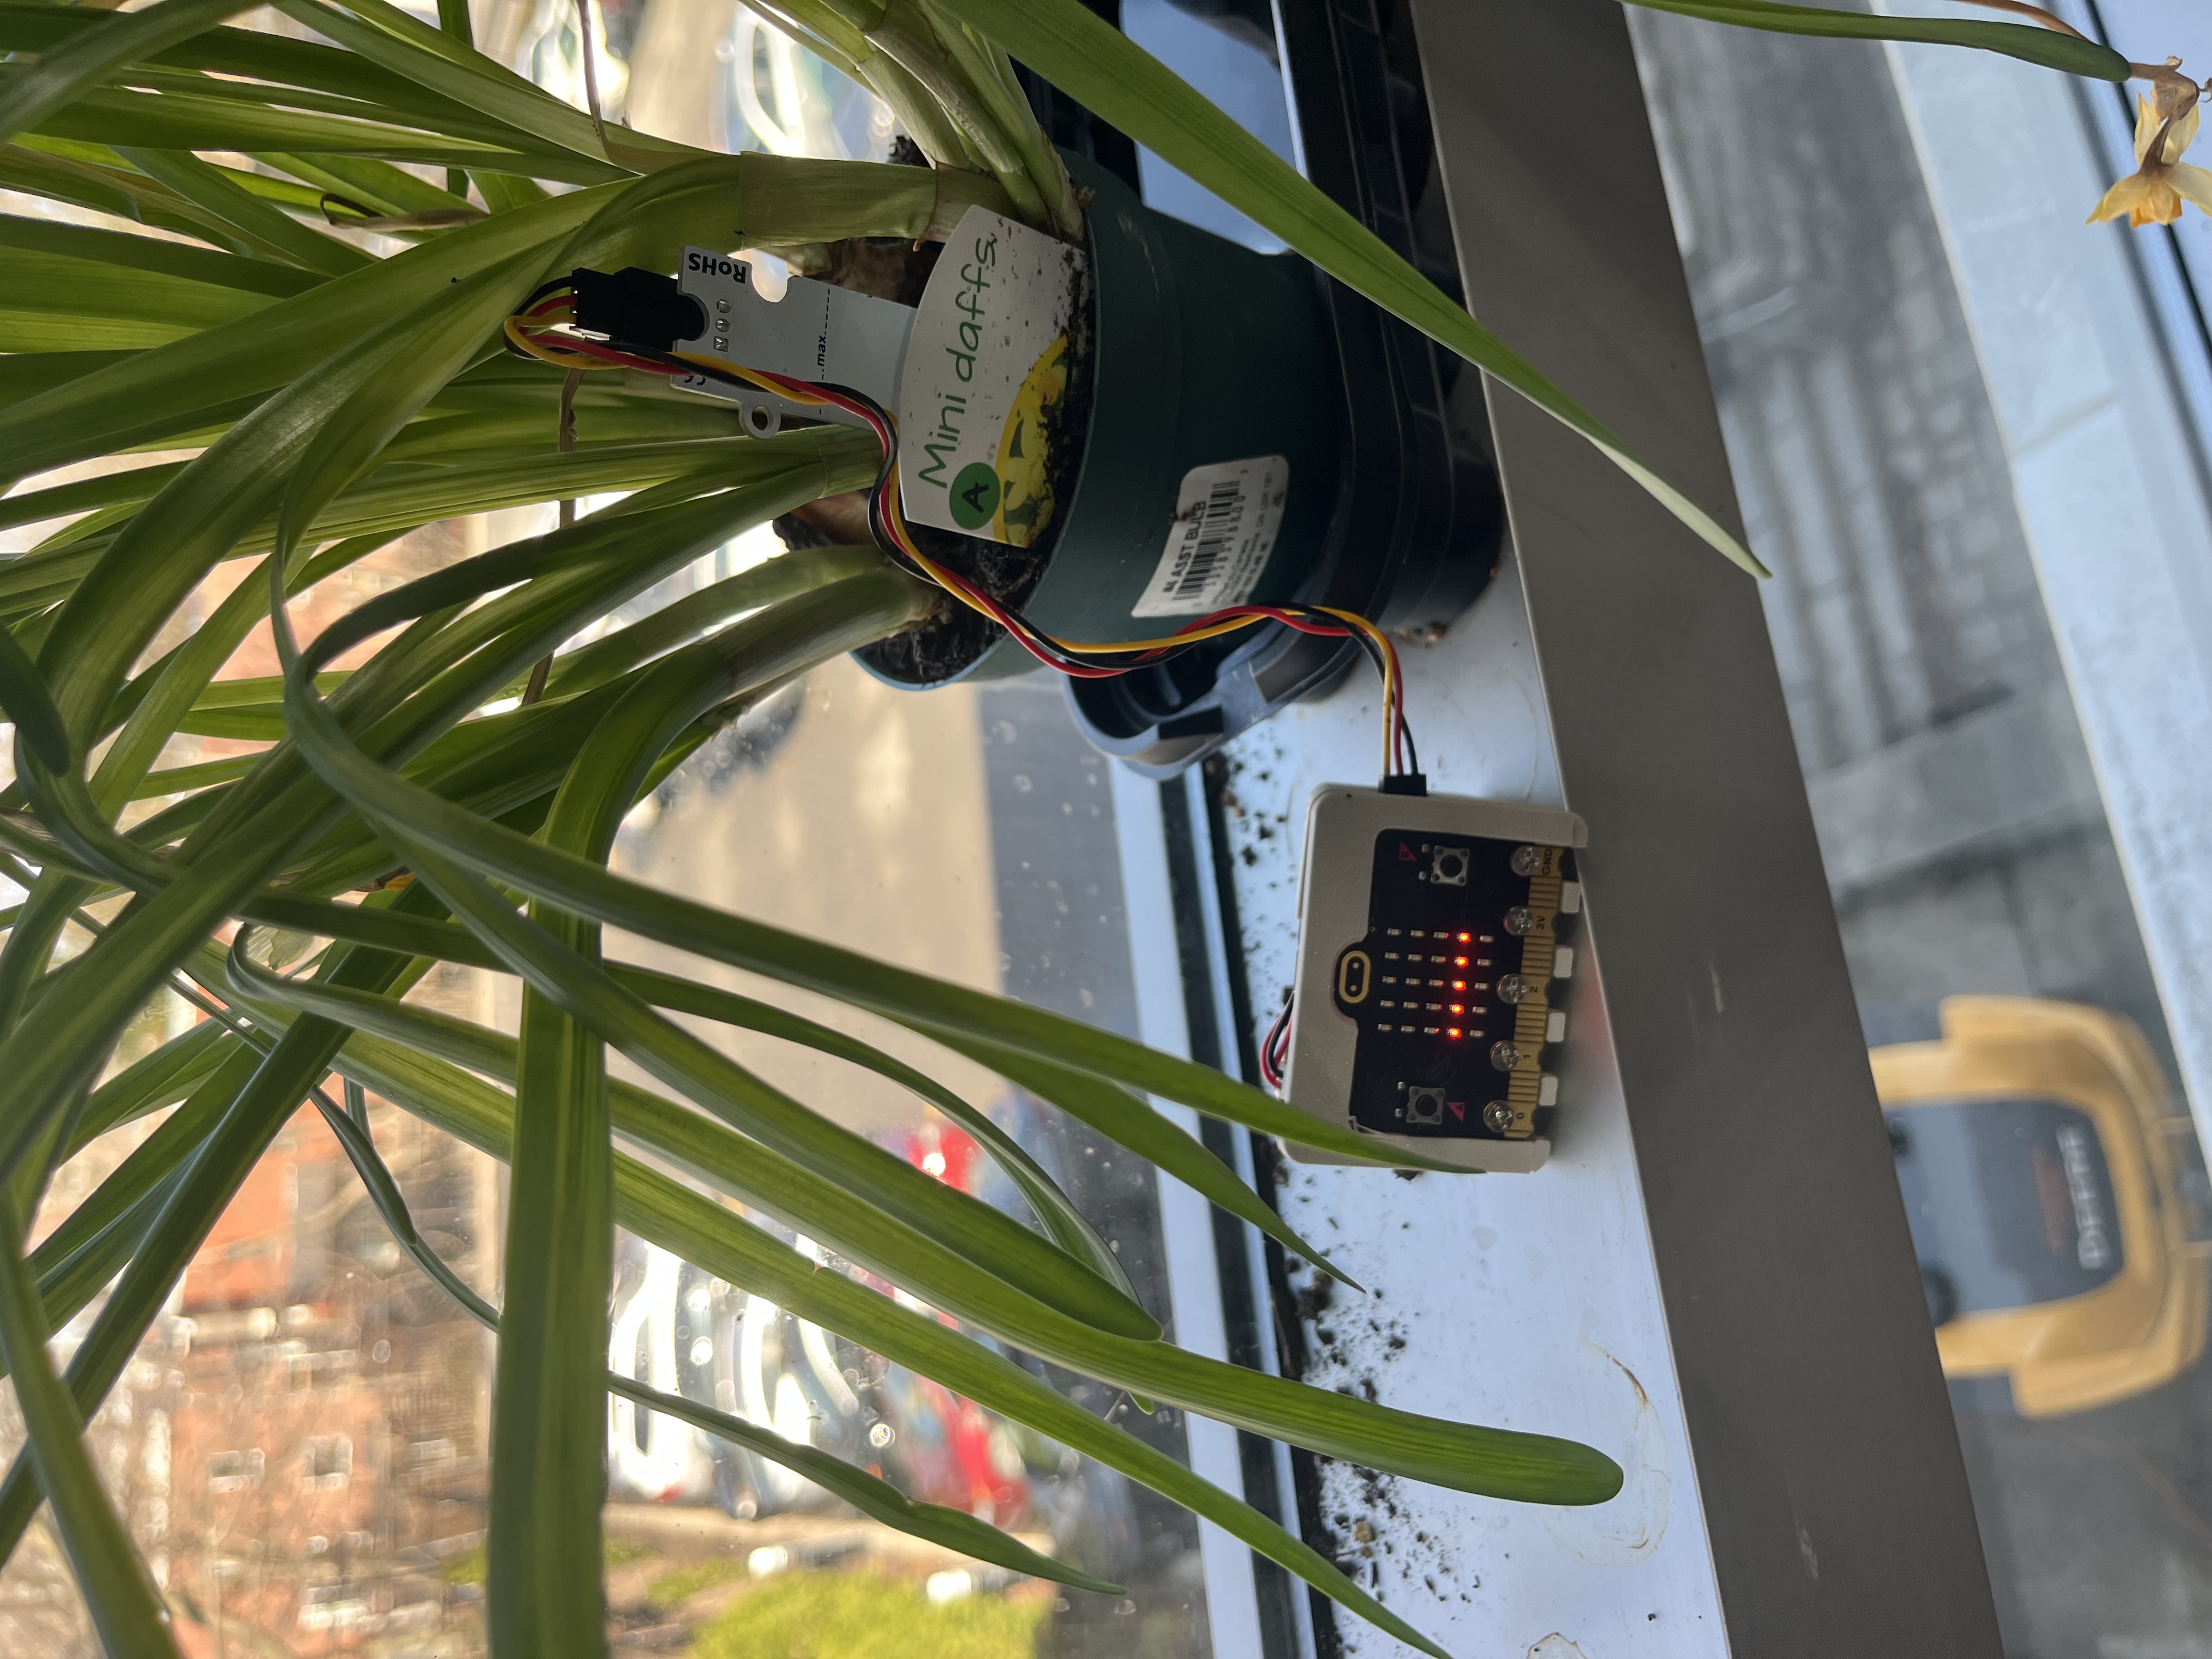
Students will design and grow a plant in a custom 3D-printed pot while building a micro:bit-based sensor system to monitor environmental conditions (light, temperature, and soil moisture). After researching their plant’s needs, they will use data collected from the sensor to make informed decisions about plant care.
The primary learning objectives for this activity are for students to understand:
Secondary learning objectives include:
Collaboration: Reflect on how you worked with colleagues or FLA participants during the Field Activity. At what stages of development and testing did the collaborator contribute? Please be detailed in your description. How did your collaborator’s perspective change the way you developed the lesson? In this Field Activity, I collaborated with colleagues and another FLA participant.
My original intention was to build a lesson around optics, as a collaboration between Physics, Design, and Environmental Systems Science. I discussed with an ESS teacher at LCC, and he contributed the idea for a lab experiment examining the relationship between ocean salinity and light refraction. I was going to use this as an opportunity for students to construct their own sensors for the lab, which would allow them to consider the thought that goes into the development of devices like light sensors. However, as the project increased in complexity and the IoT/microcontroller element became less and less central to the design, I pivoted to a new project.
At the same time, Noel returned to school from parental leave, and he came in with an idea for a project that was perfect for the work that I had done on my light sensor idea. With his experience in 3D design and mine in programming and electronics, we put together the Smart Plant Systems project.
Instructional Challenges: What challenges did you encounter while teaching this lesson? How did you address or plan to address them? How are diverse learners’ needs being met in the lesson plan facilitation? This lesson has not yet been implemented in the classroom. Challenges that I anticipate include:
Integrating Disciplines: Where does your lesson plan fall on the continuum and why? How might you move the lesson plan along the continuum to the next level?
While this lesson has elements of transdisciplinary integration in the use of techniques from one discipline being used to solve a problem involving another, it is mostly interdisciplinary, with a larger focus on the design elements than the science elements. To move towards transdisciplinary, I would involve the science teachers at the grade level in question and include more of a focus on studying why particular plants have different needs. What is biologically different about a succulent like echevaria and a herb like Thai basil? This could lead into a larger discussion about biodiversity, while still retaining focus on the “problem” of the characteristic properties of the chosen plant.
AI Usage: If you used AI, describe how it was used and in which steps of the Field Activity.
The only stage at which I used any LLM input was as a critical review after the completion of the lesson plan. No GPTs were involved in the development of the procedure or technical elements of this lesson.
Reflect on the course in general: How has your teaching changed as a result of this course? What are some concepts that you would like to learn more about? How can you support other teachers in your practice to use digital fabrication with their students?
Throughout this course, I have continually challenged my ideas of how design technology and digital fabrication can be used in classes besides simply design- and art-related courses. I still need to work on my implementation of Design by Students in the classroom and trusting that these types of activities and lessons can be used alongside traditional methods of teaching, but I think that I have grown a great deal in my consideration of Design for Students. Next year, I will try to find time to attempt some of the lessons that I designed this year in the classroom to encourage students to physically build solutions to Physics problems. I still have much to learn about specific DF methods, but I feel much more confident about going into the LCC Fab Lab and trying just about anything.
I think the first step in supporting other teachers is modelling. If I can show other teachers in my department that it is not just possible, but rewarding to implement DF into the classroom, then I can begin encouraging them to try themselves. Additionally, Noel and I both intend to give a presentation at a future staff meeting about this course to encourage others at LCC to sign up to be FLA certified, by sharing our experiences and how we have grown as designers and teachers through participation in the Fab Learning Academy.
Students will research the plants that they will be caring for, and assess their most essential needs.
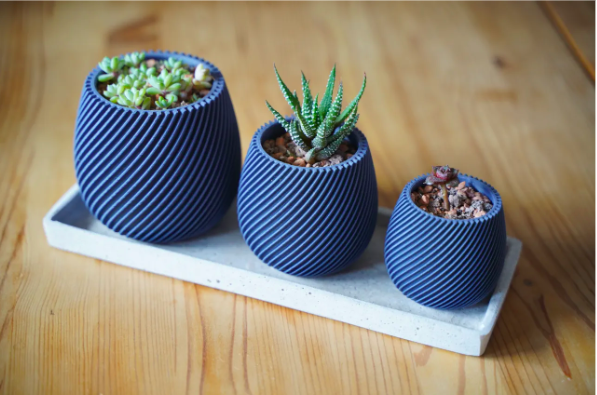
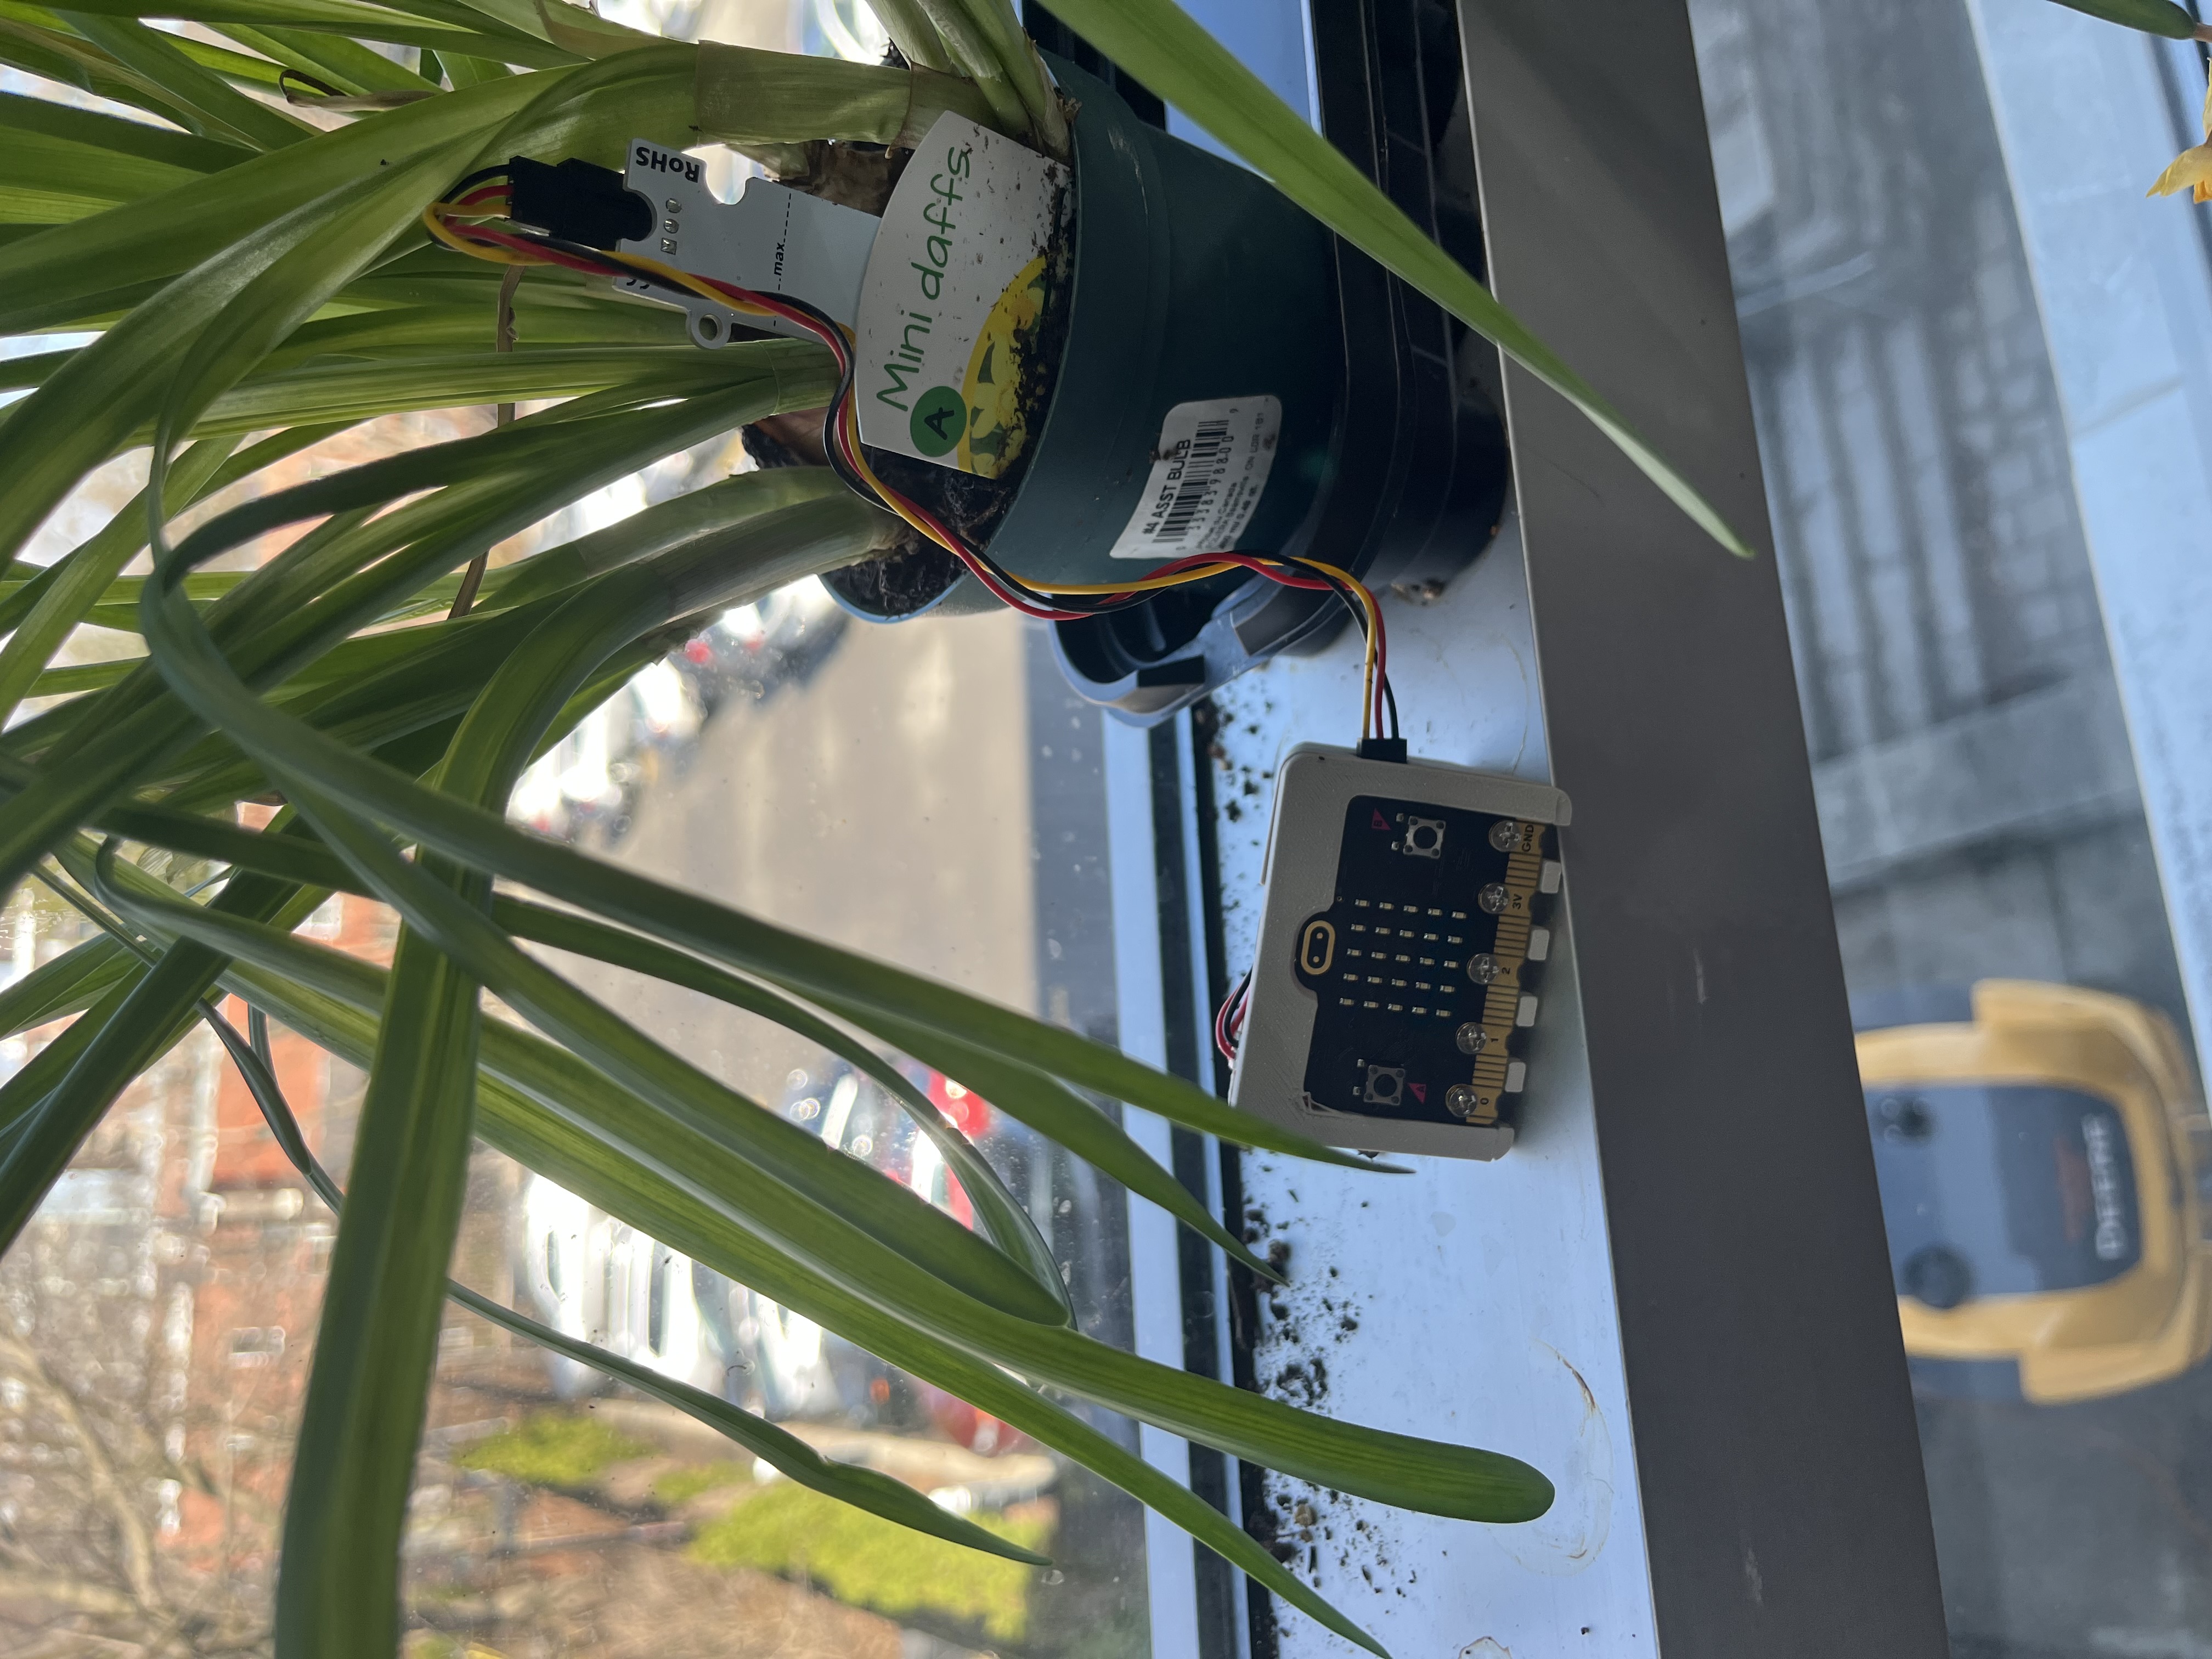
Students will develop three design ideas for an effective pot environment for their chosen plant, then select a final design to carry forward.
Students will learn the basics of 3D CAD design and transform their initial ideas into a three-dimensional object.
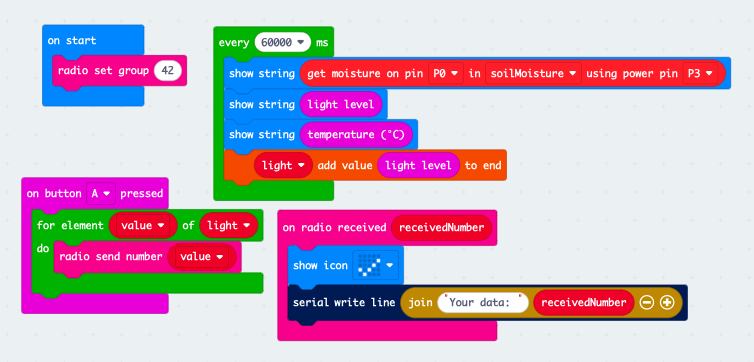
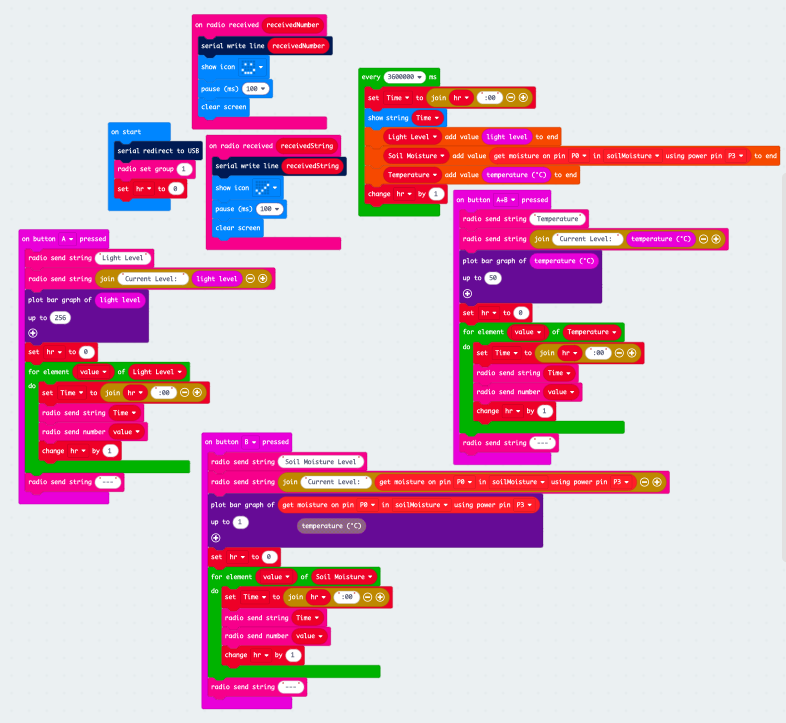
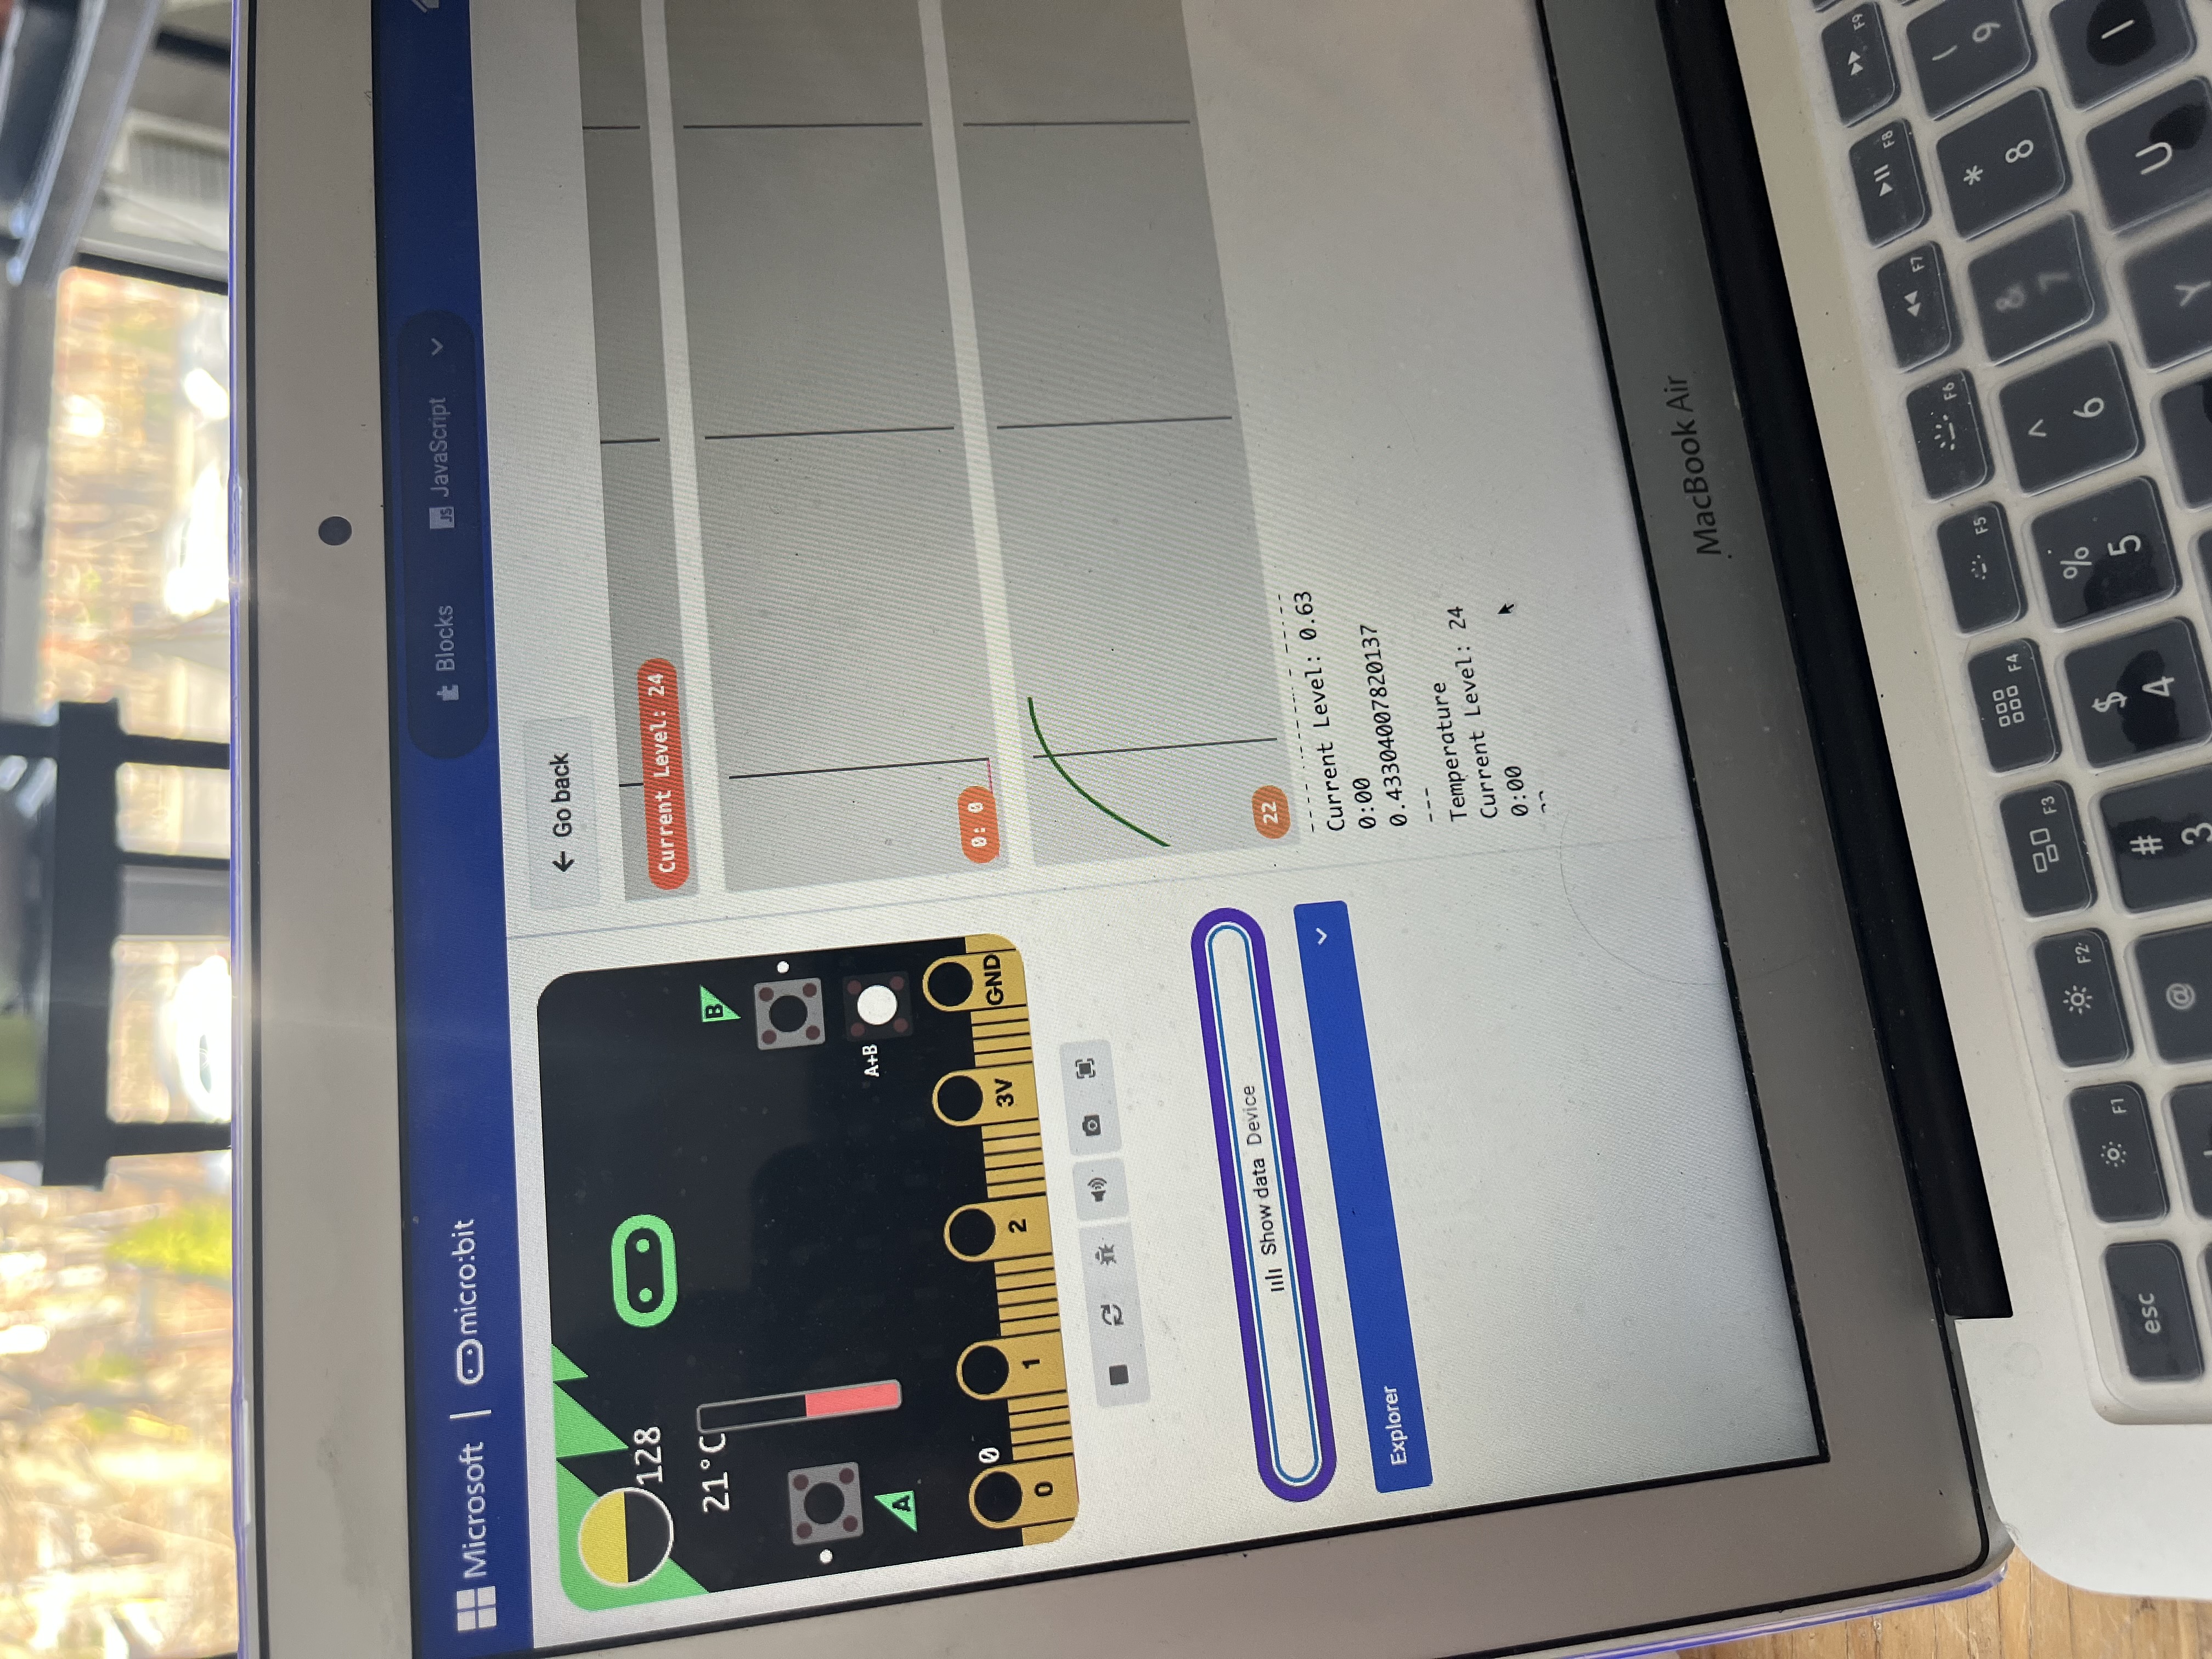
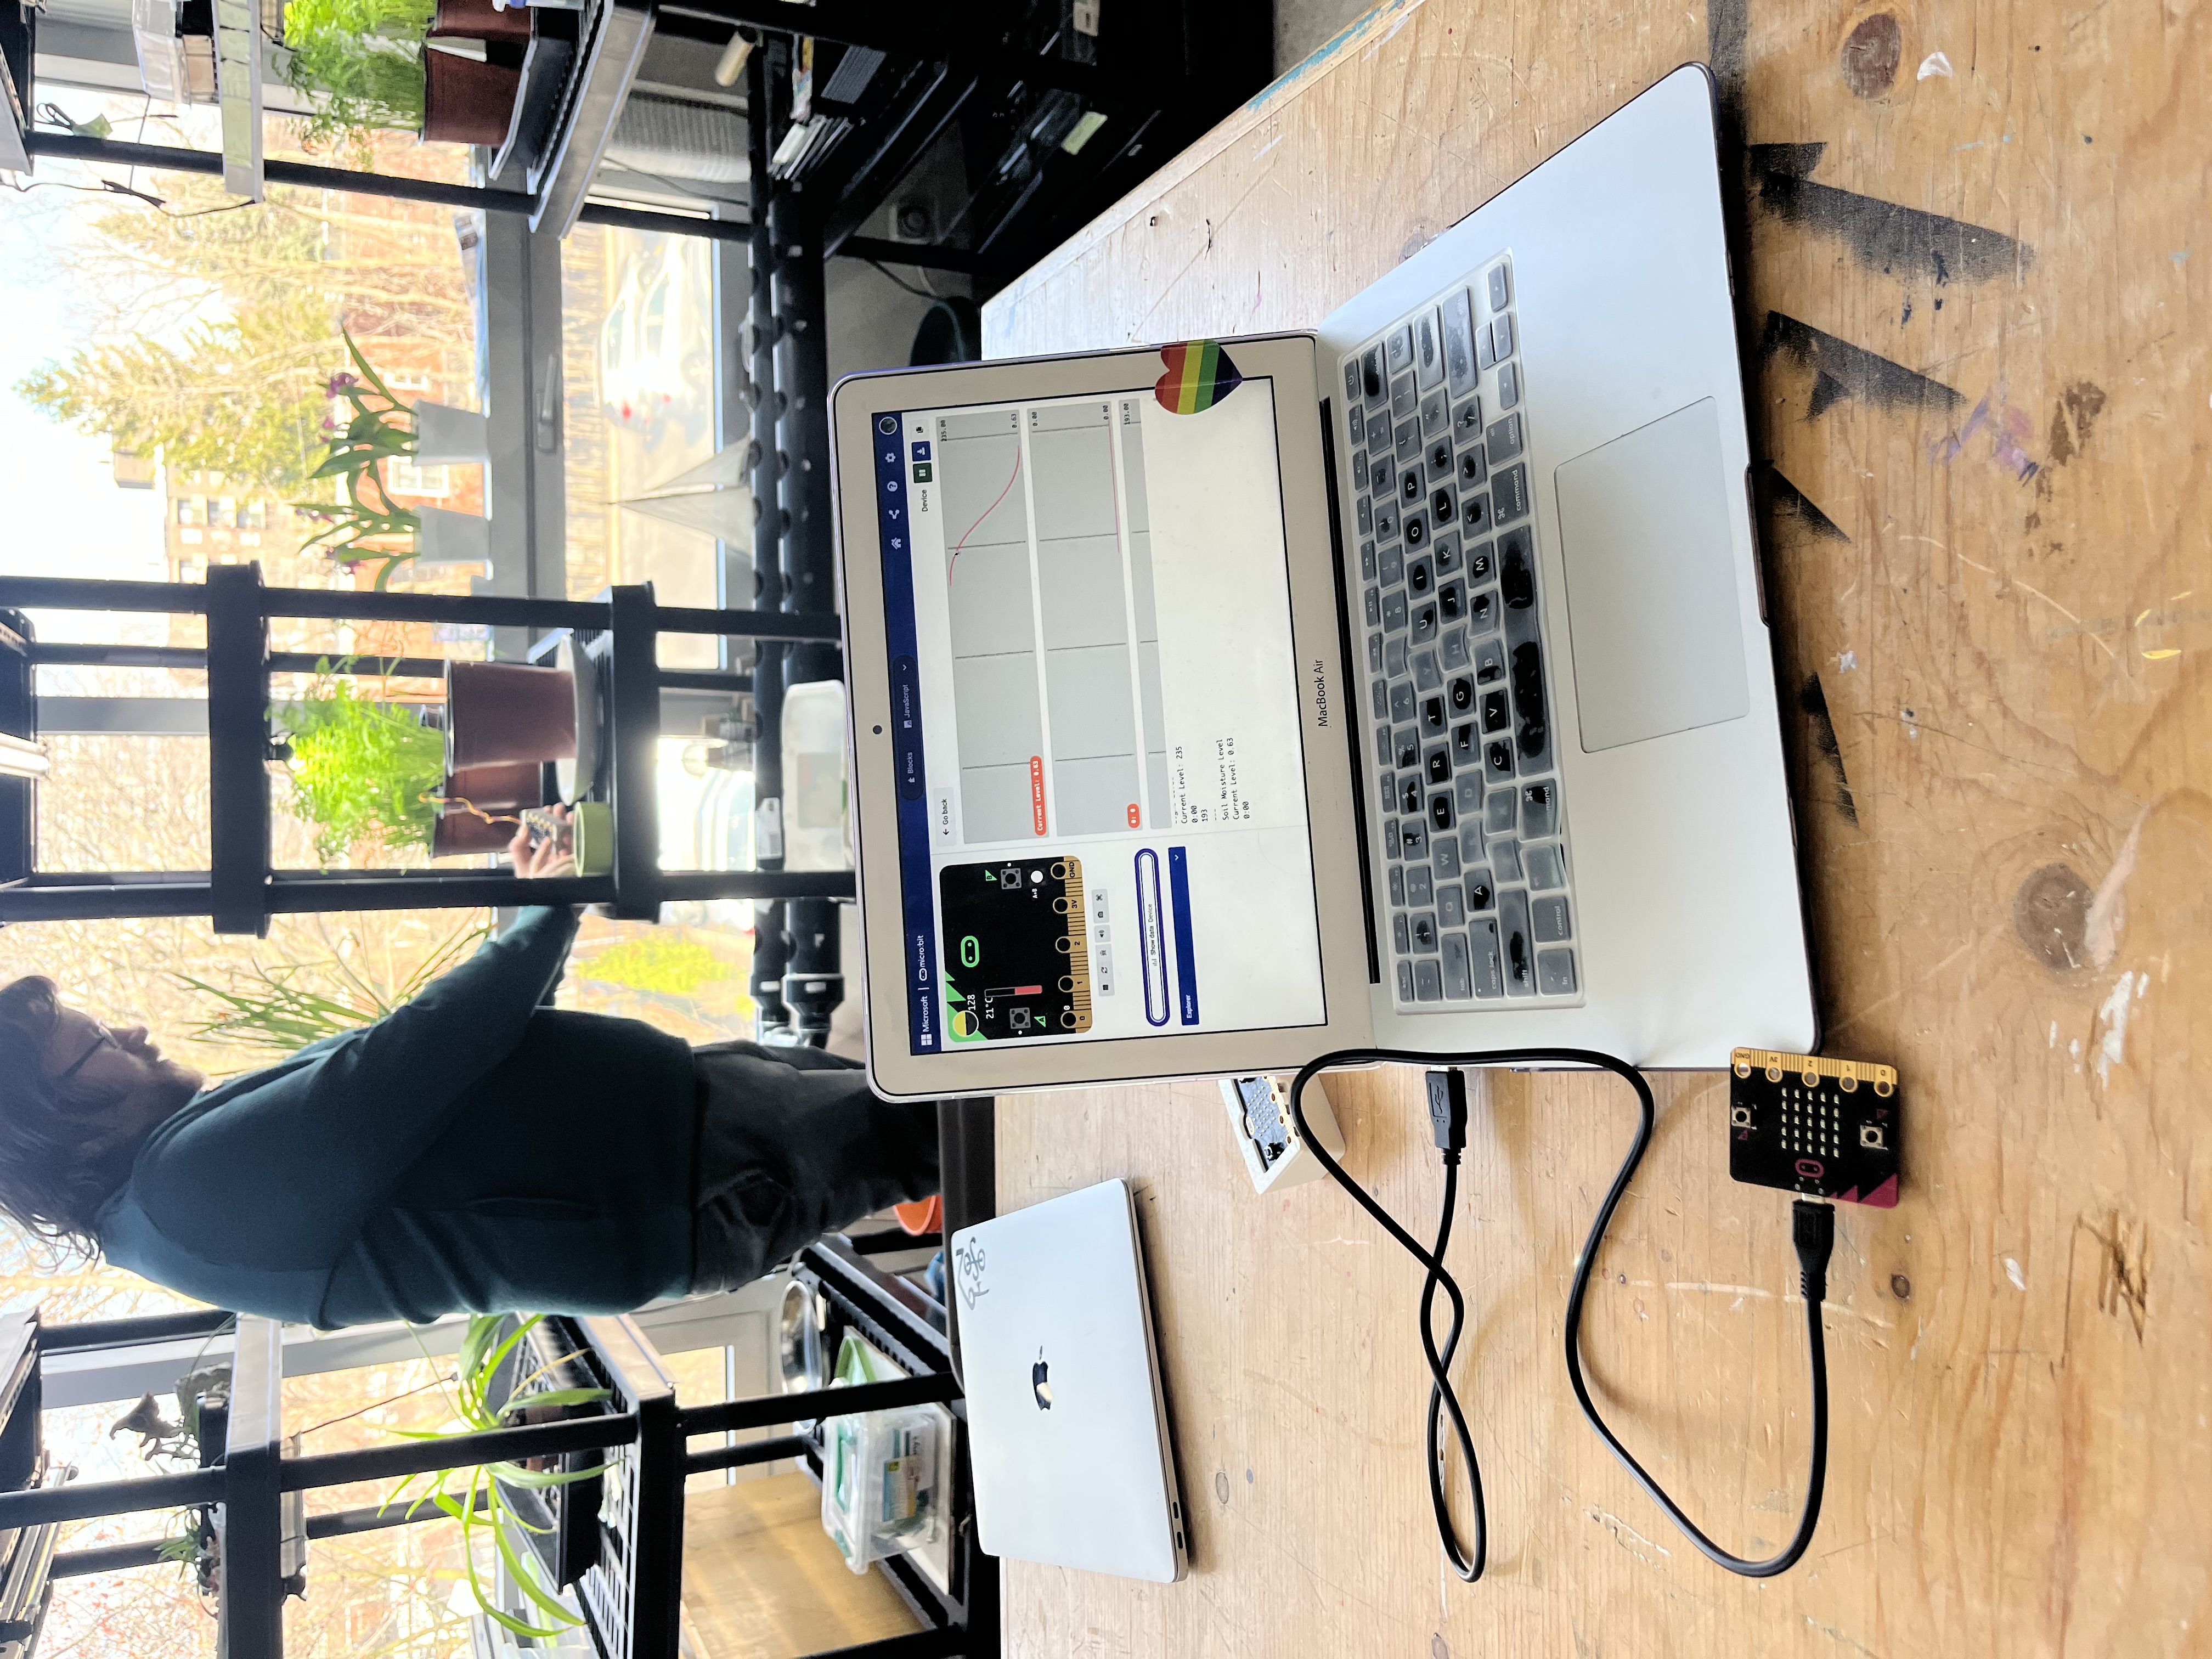
Students will establish the logic of the program they are going to need to create for their plant's environmental sensors.
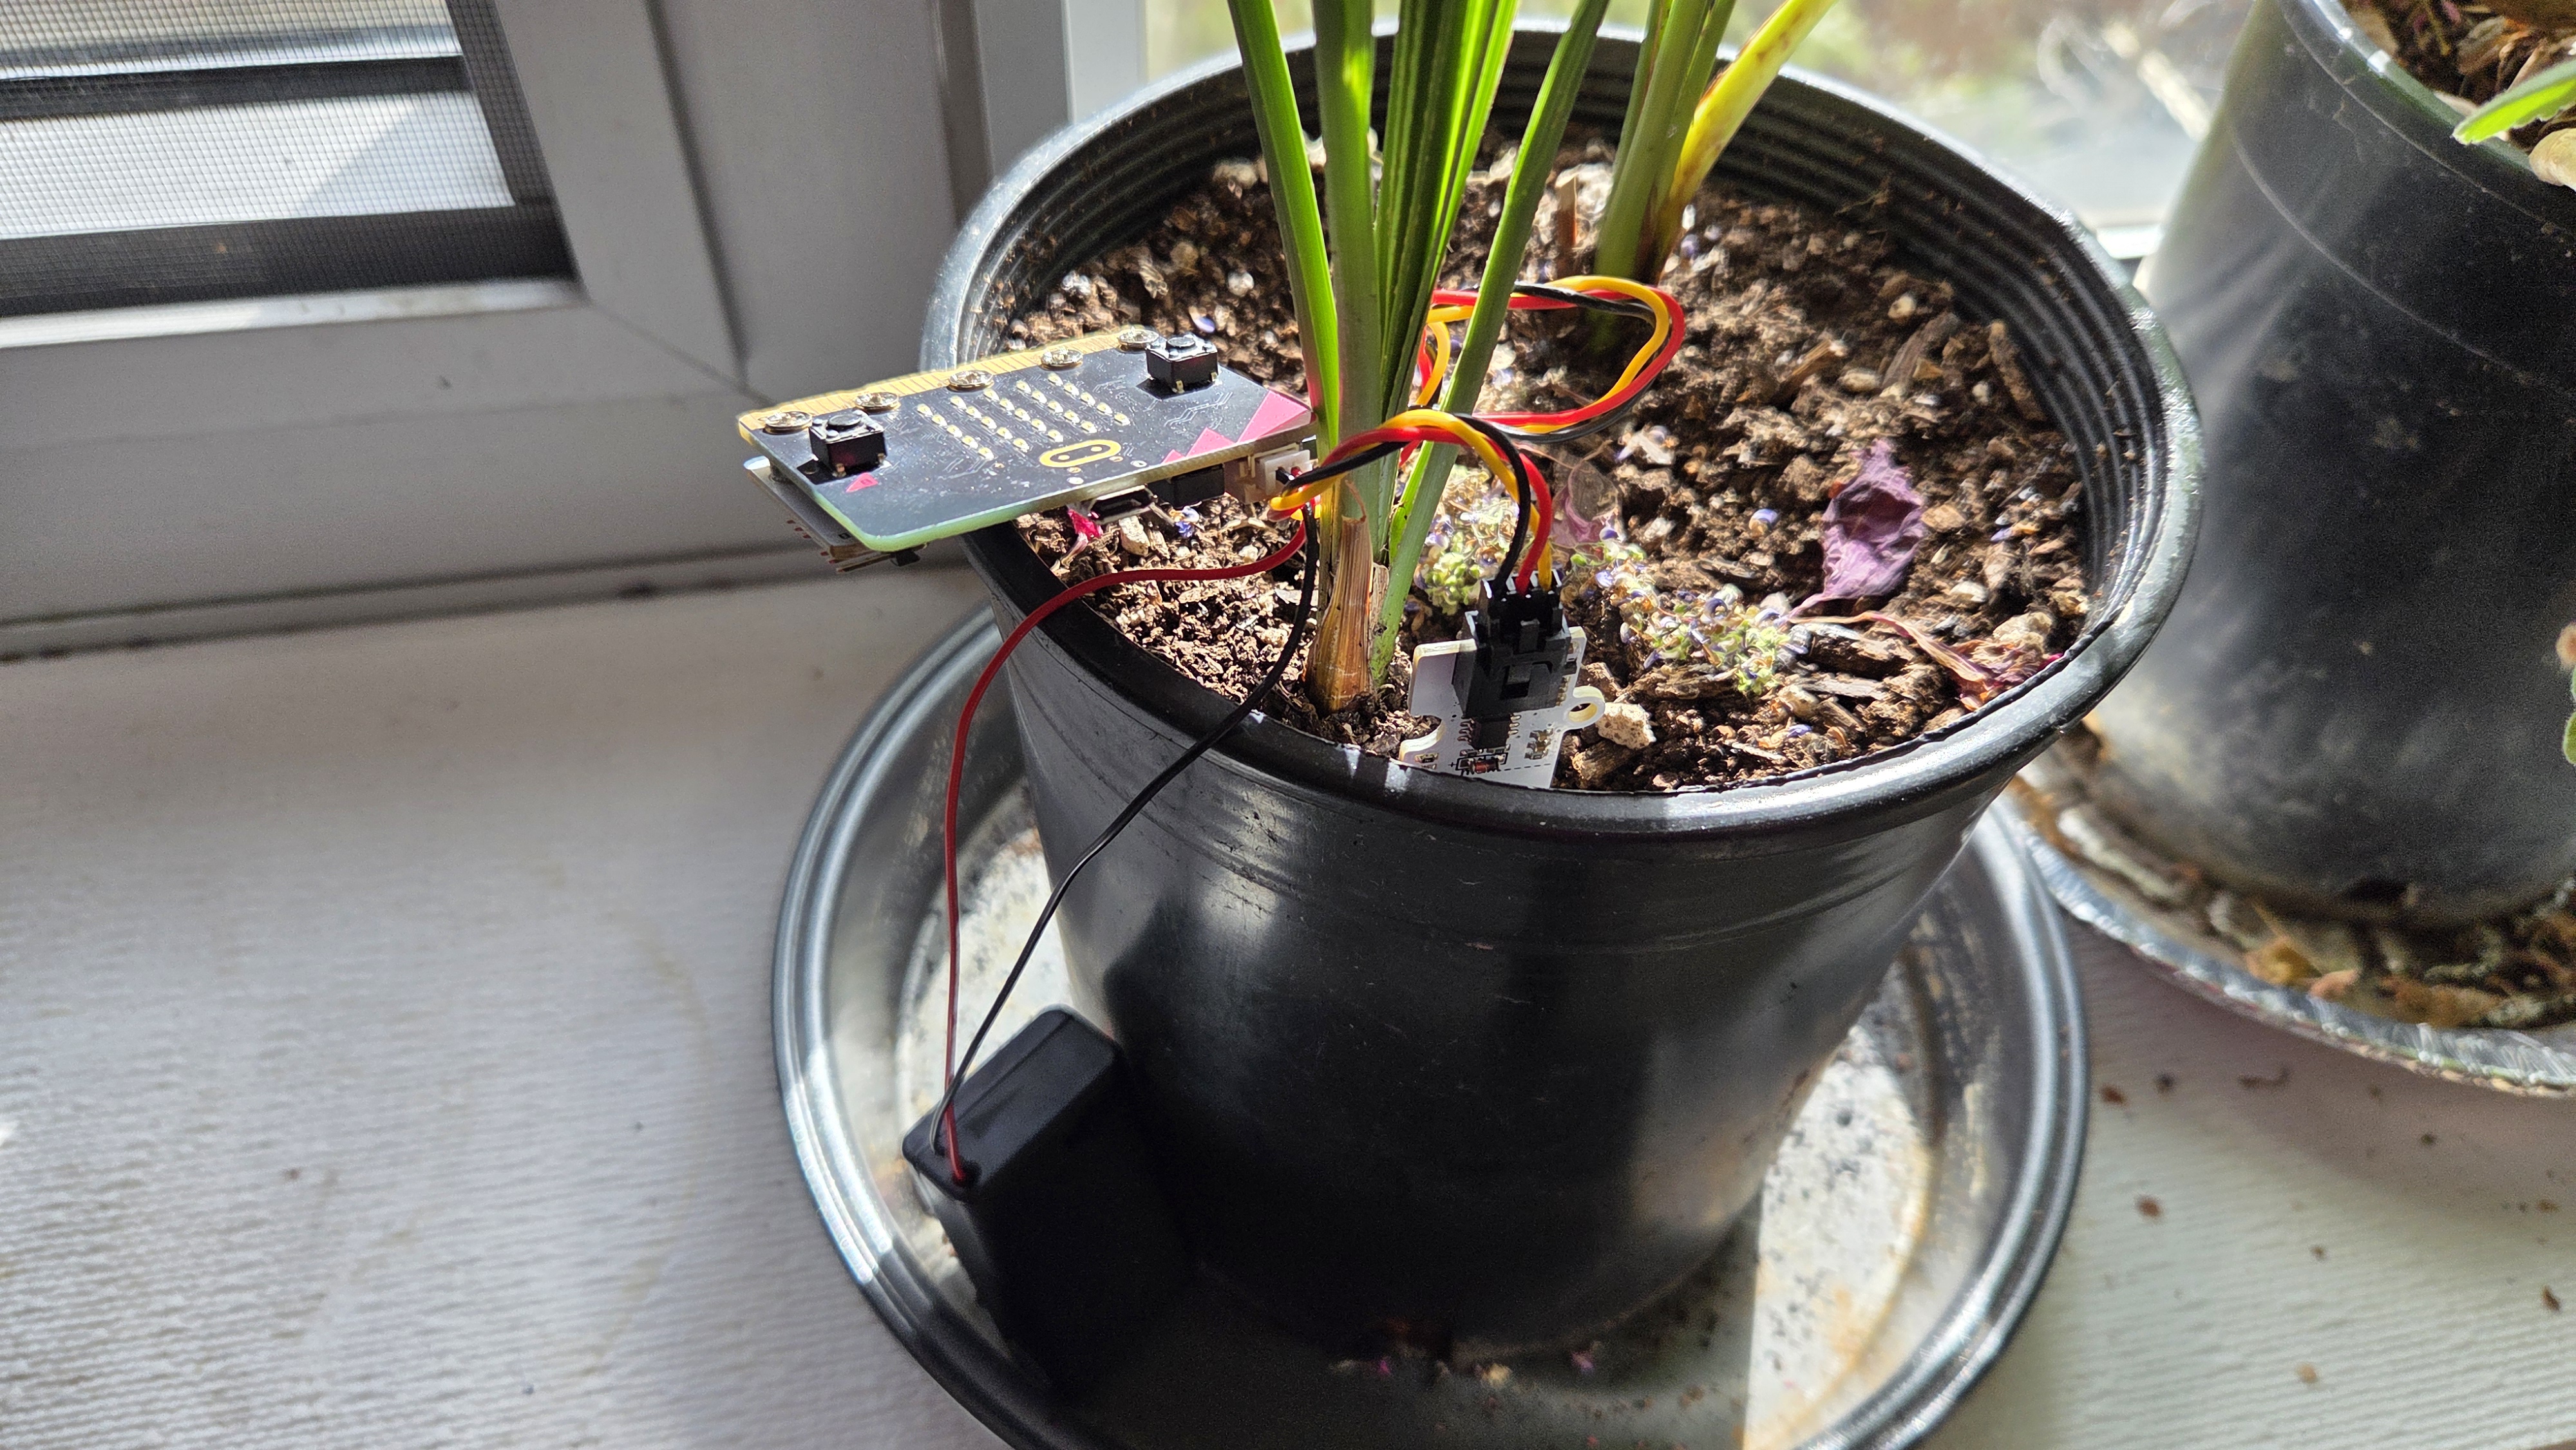
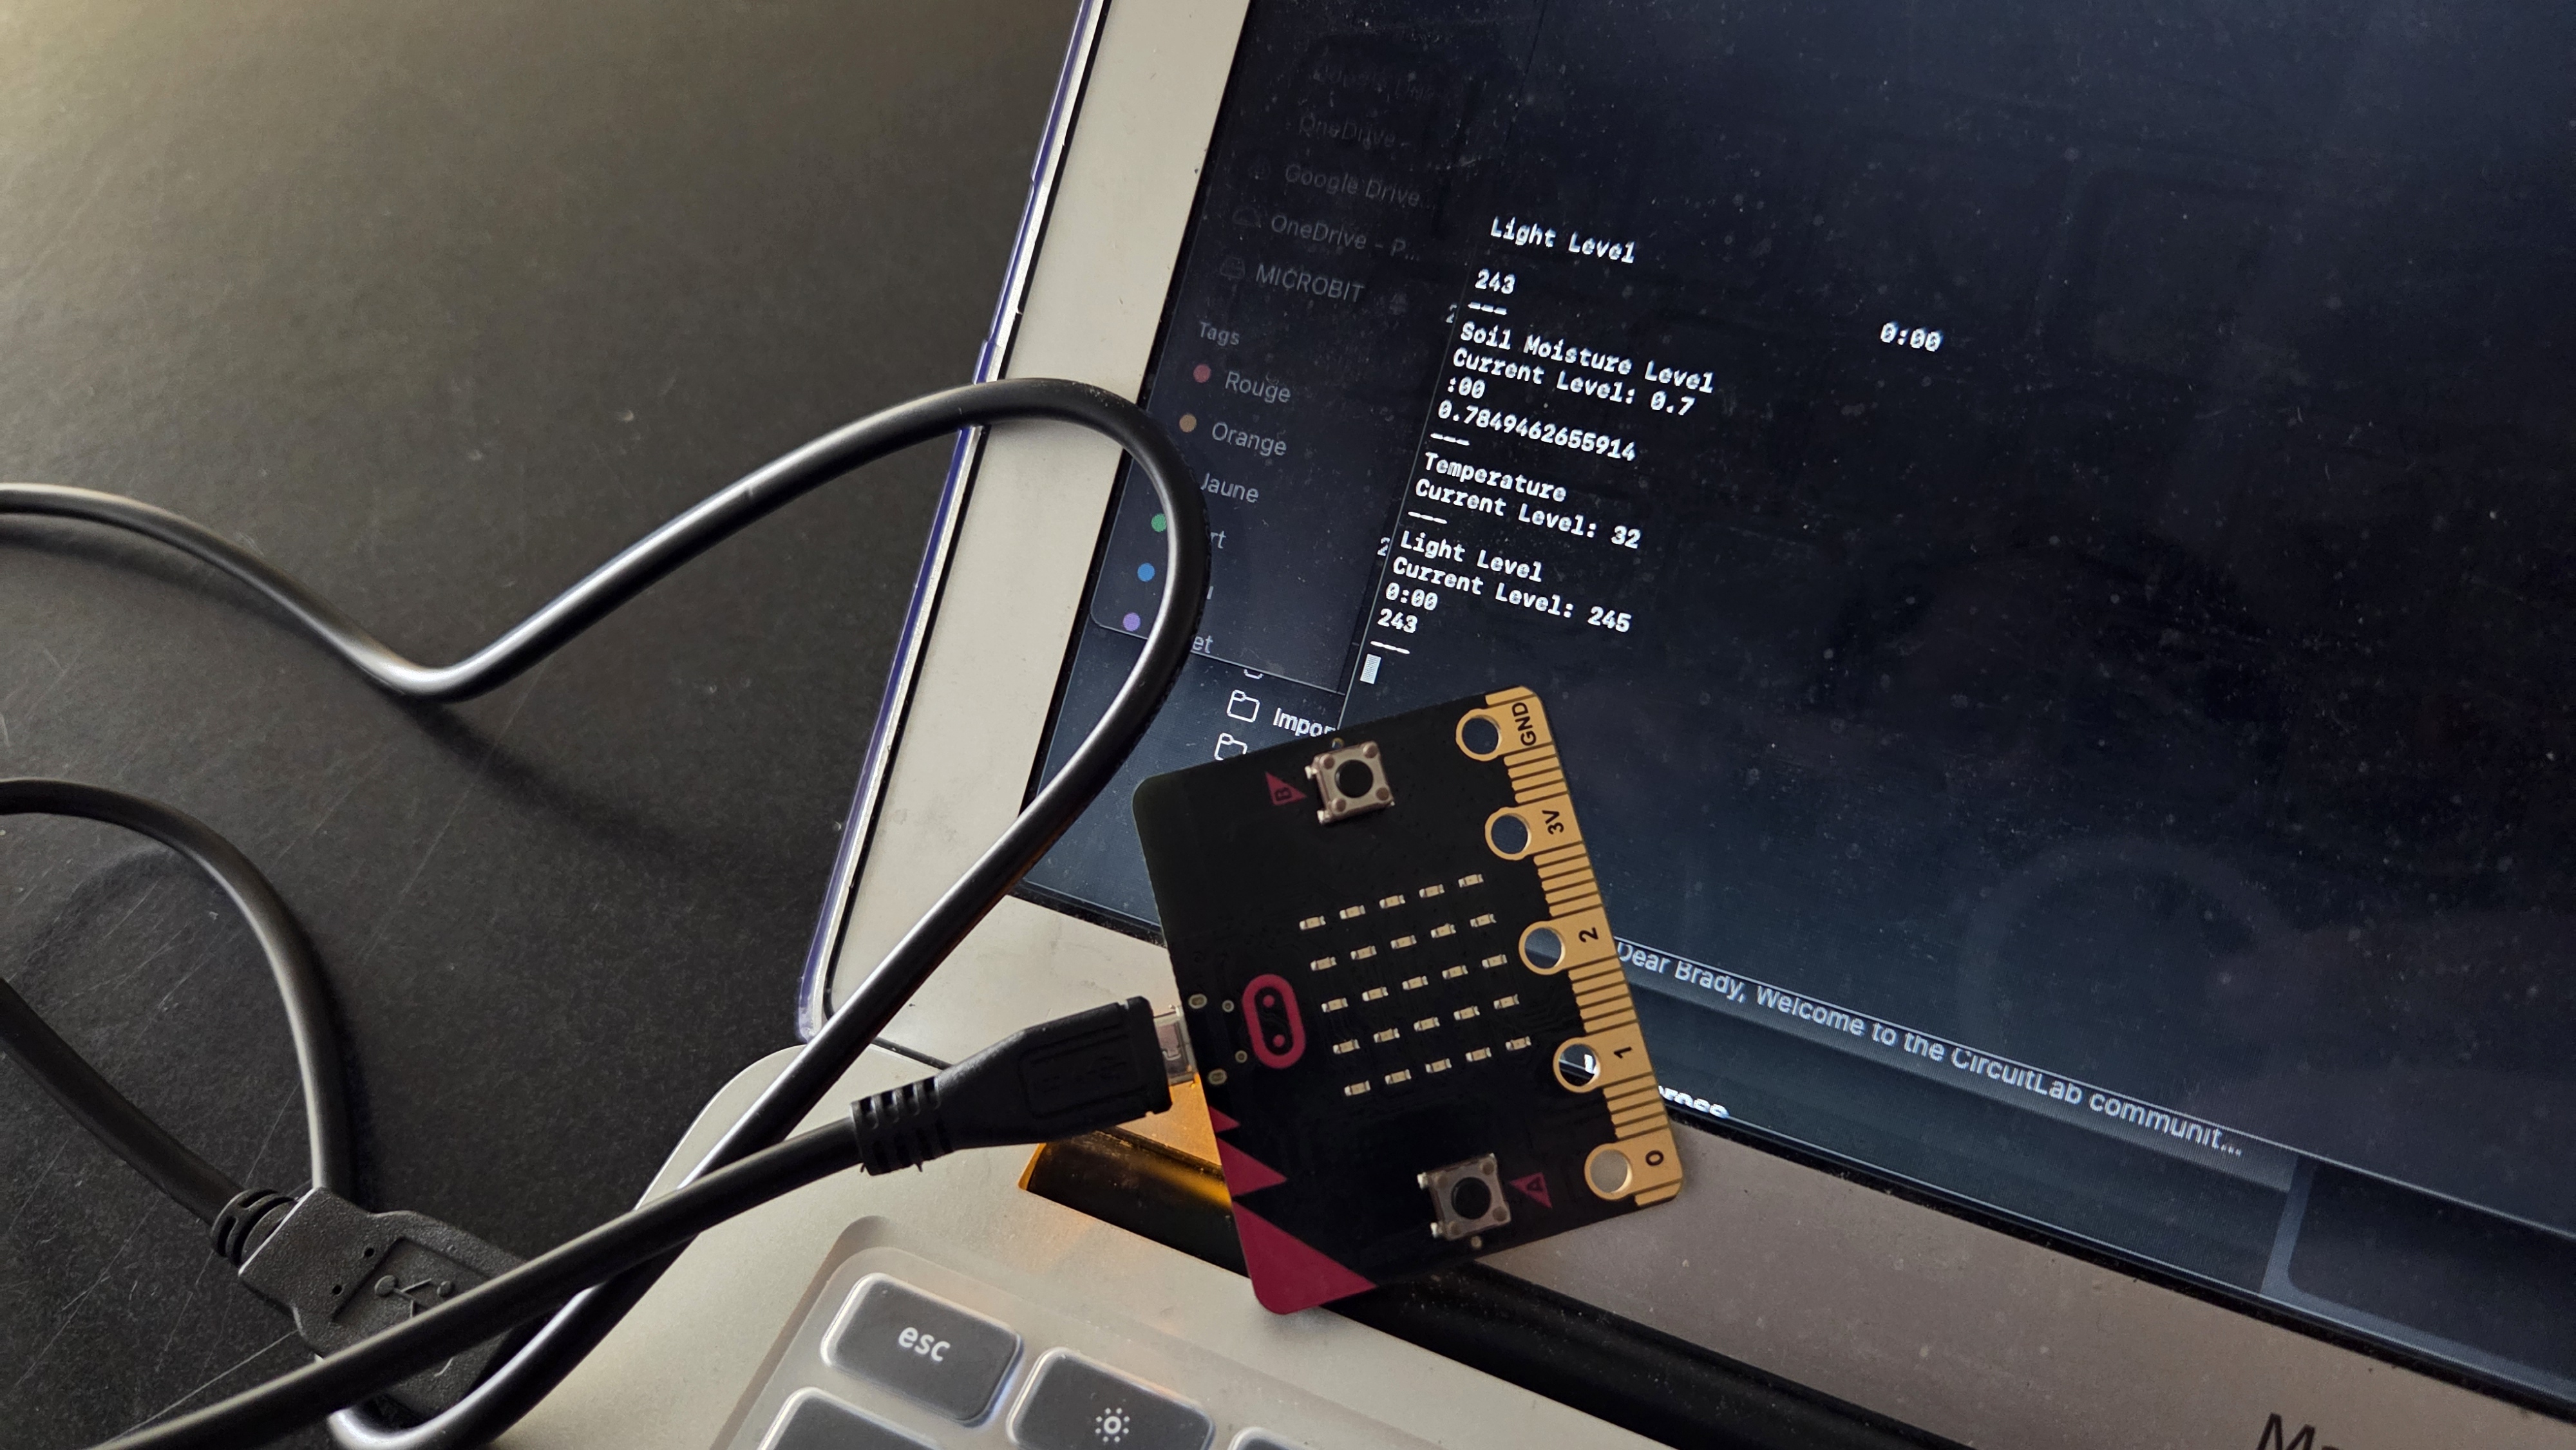
Students will test their 3D-printed pots and sensors to assess whether their goals were accomplished.
Having trouble? Let us know by completing the form below. We'll do our best to get your issues resolved quickly.
"*" indicates required fields