Robotic Shoot - SCOPES Digital Fabrication

Lesson Details

Age Ranges
Standards
Fab-Safety.1, Fab-Electronics.1, Fab-Fabrication.1, Fab-Design.1, Fab-Safety.1, Fab-Electronics.1, Fab-Fabrication.1
Author

You need to login or register to bookmark/favorite this content.

Author

Studio 5
Studio 5
K-12 teacher
In line with the Ministry of Communications and Information Technology’s Digital Youth Strategy, STUDIO 5 is mainly aimed at nurturing youth as digital learners by sharpening their 21st century learning skills, as they develop in an all-pervasive digital environment. In… Read More

Summary

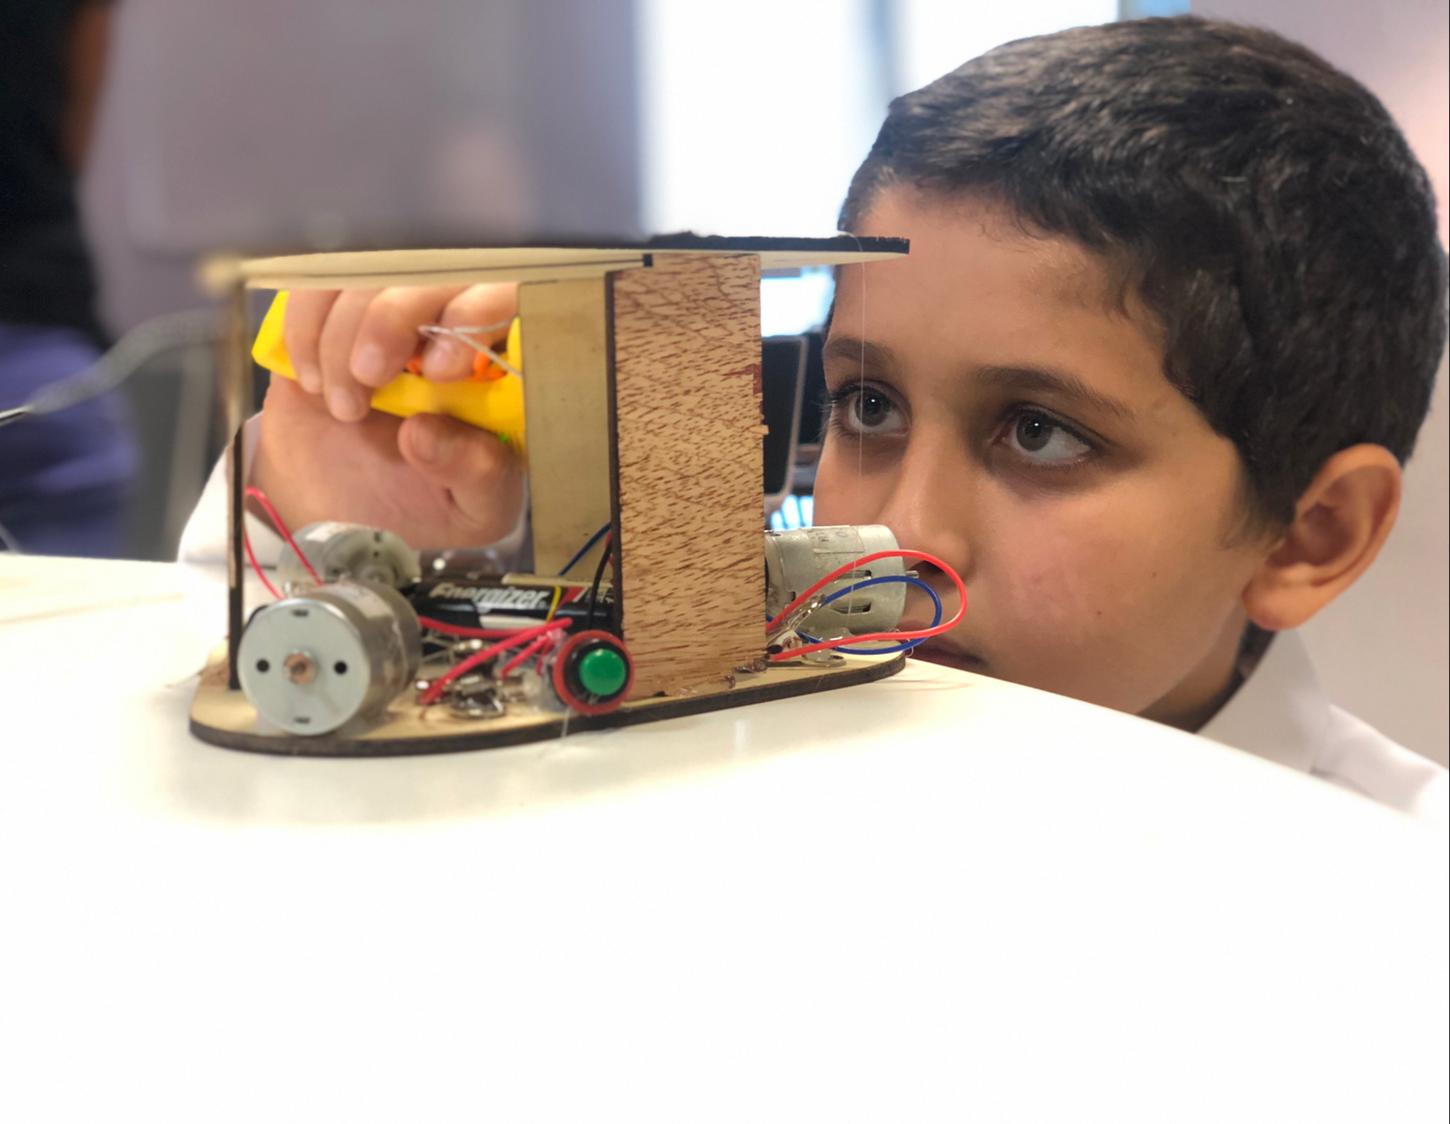
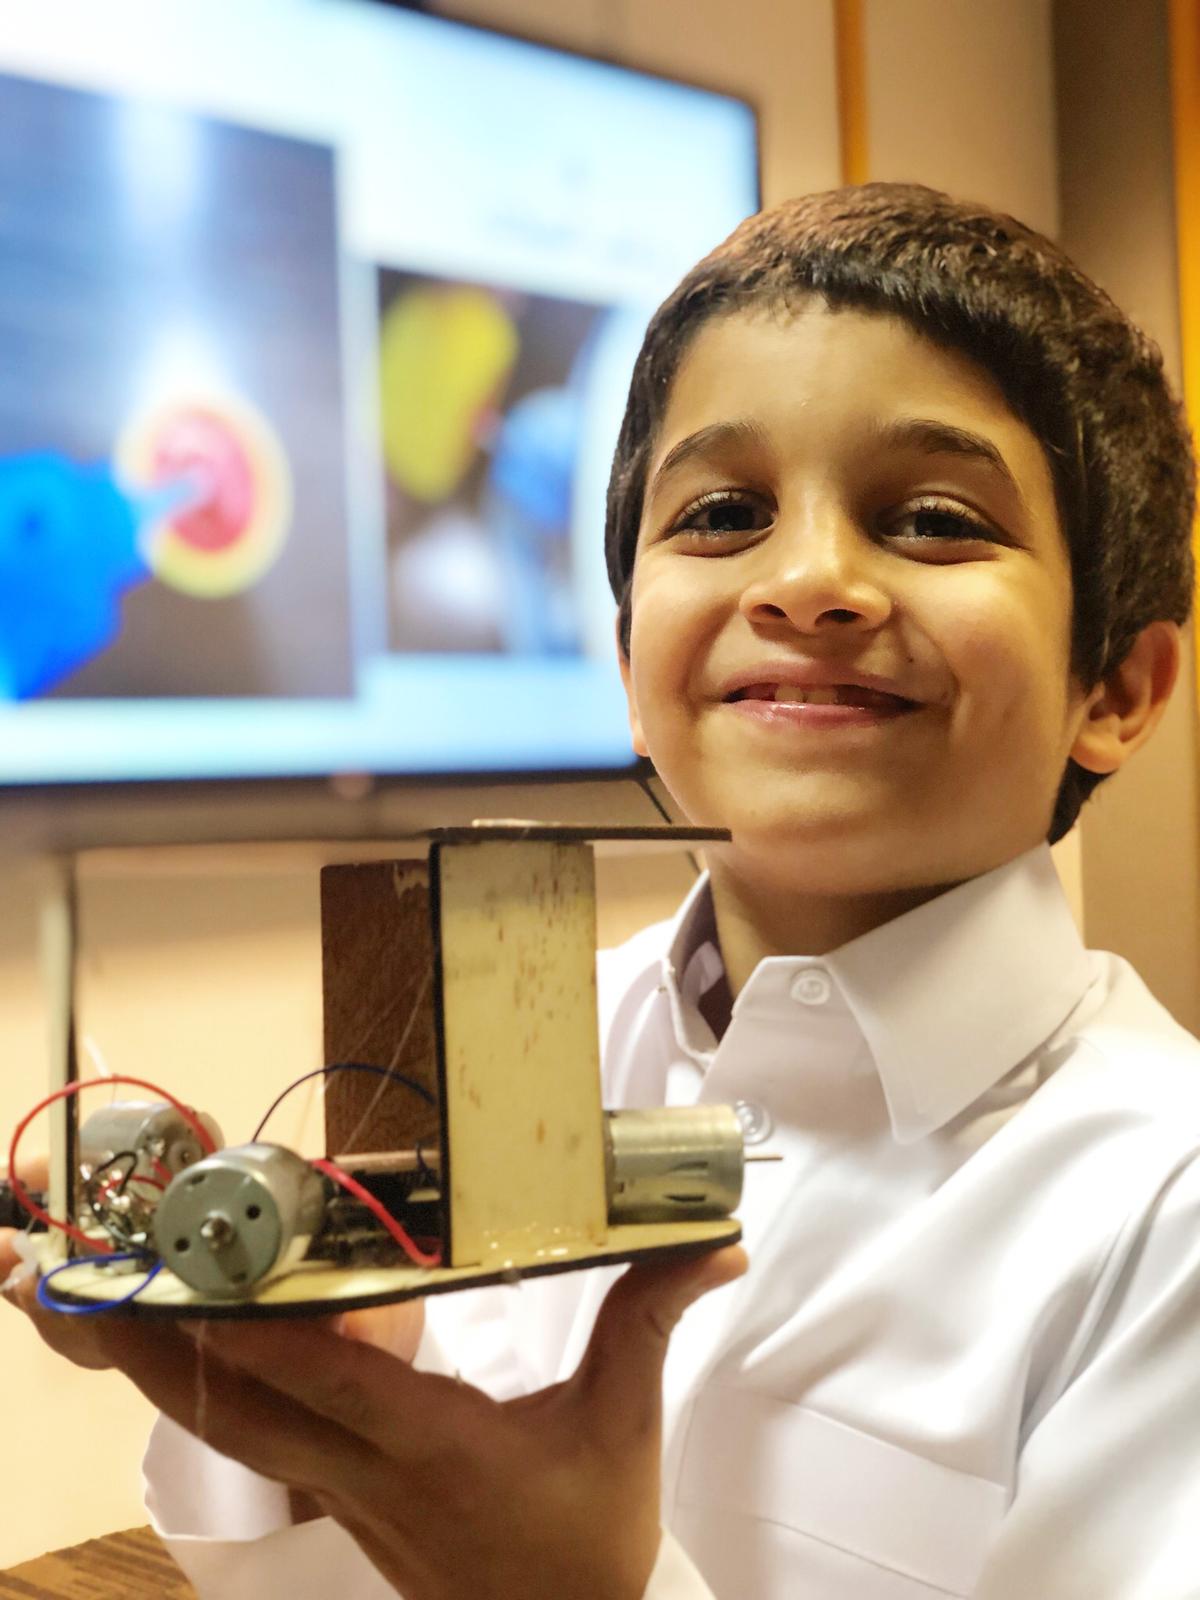
A simple robot that can rotate around a center, it will use a wood laser cut base with dc motor and a simple circuit wiring.

What You'll Need

  1. MDF wood .
  2. 2 AAA batteries.
  3. AAA Battery Holders.
  4. DC motors
  5. Hot Glue
  6. Hot Glue Gun
  7. Wires
  8. Soldering station
  9. Soldering wires
  10. Laser cutter
  11. 2D design software.
  12. Laptop
  13. Cardboard (colored)


The Instructions

Theoritical presentation

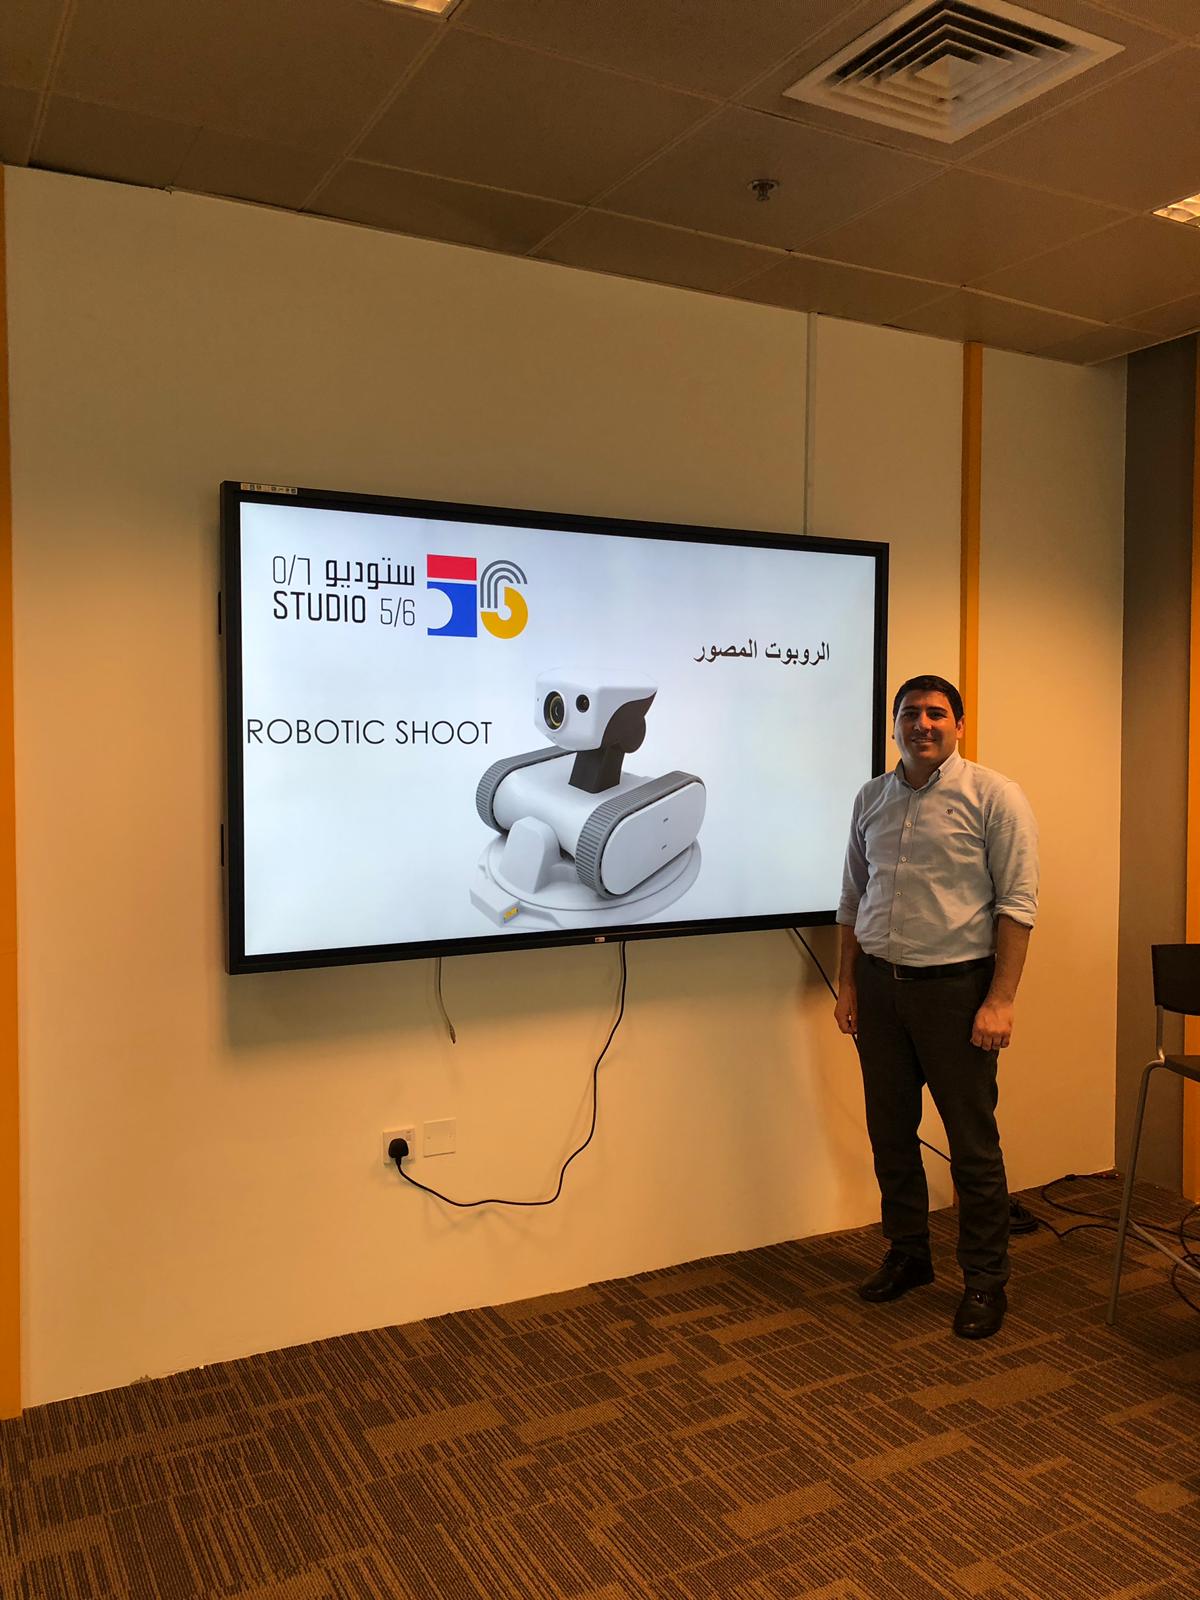
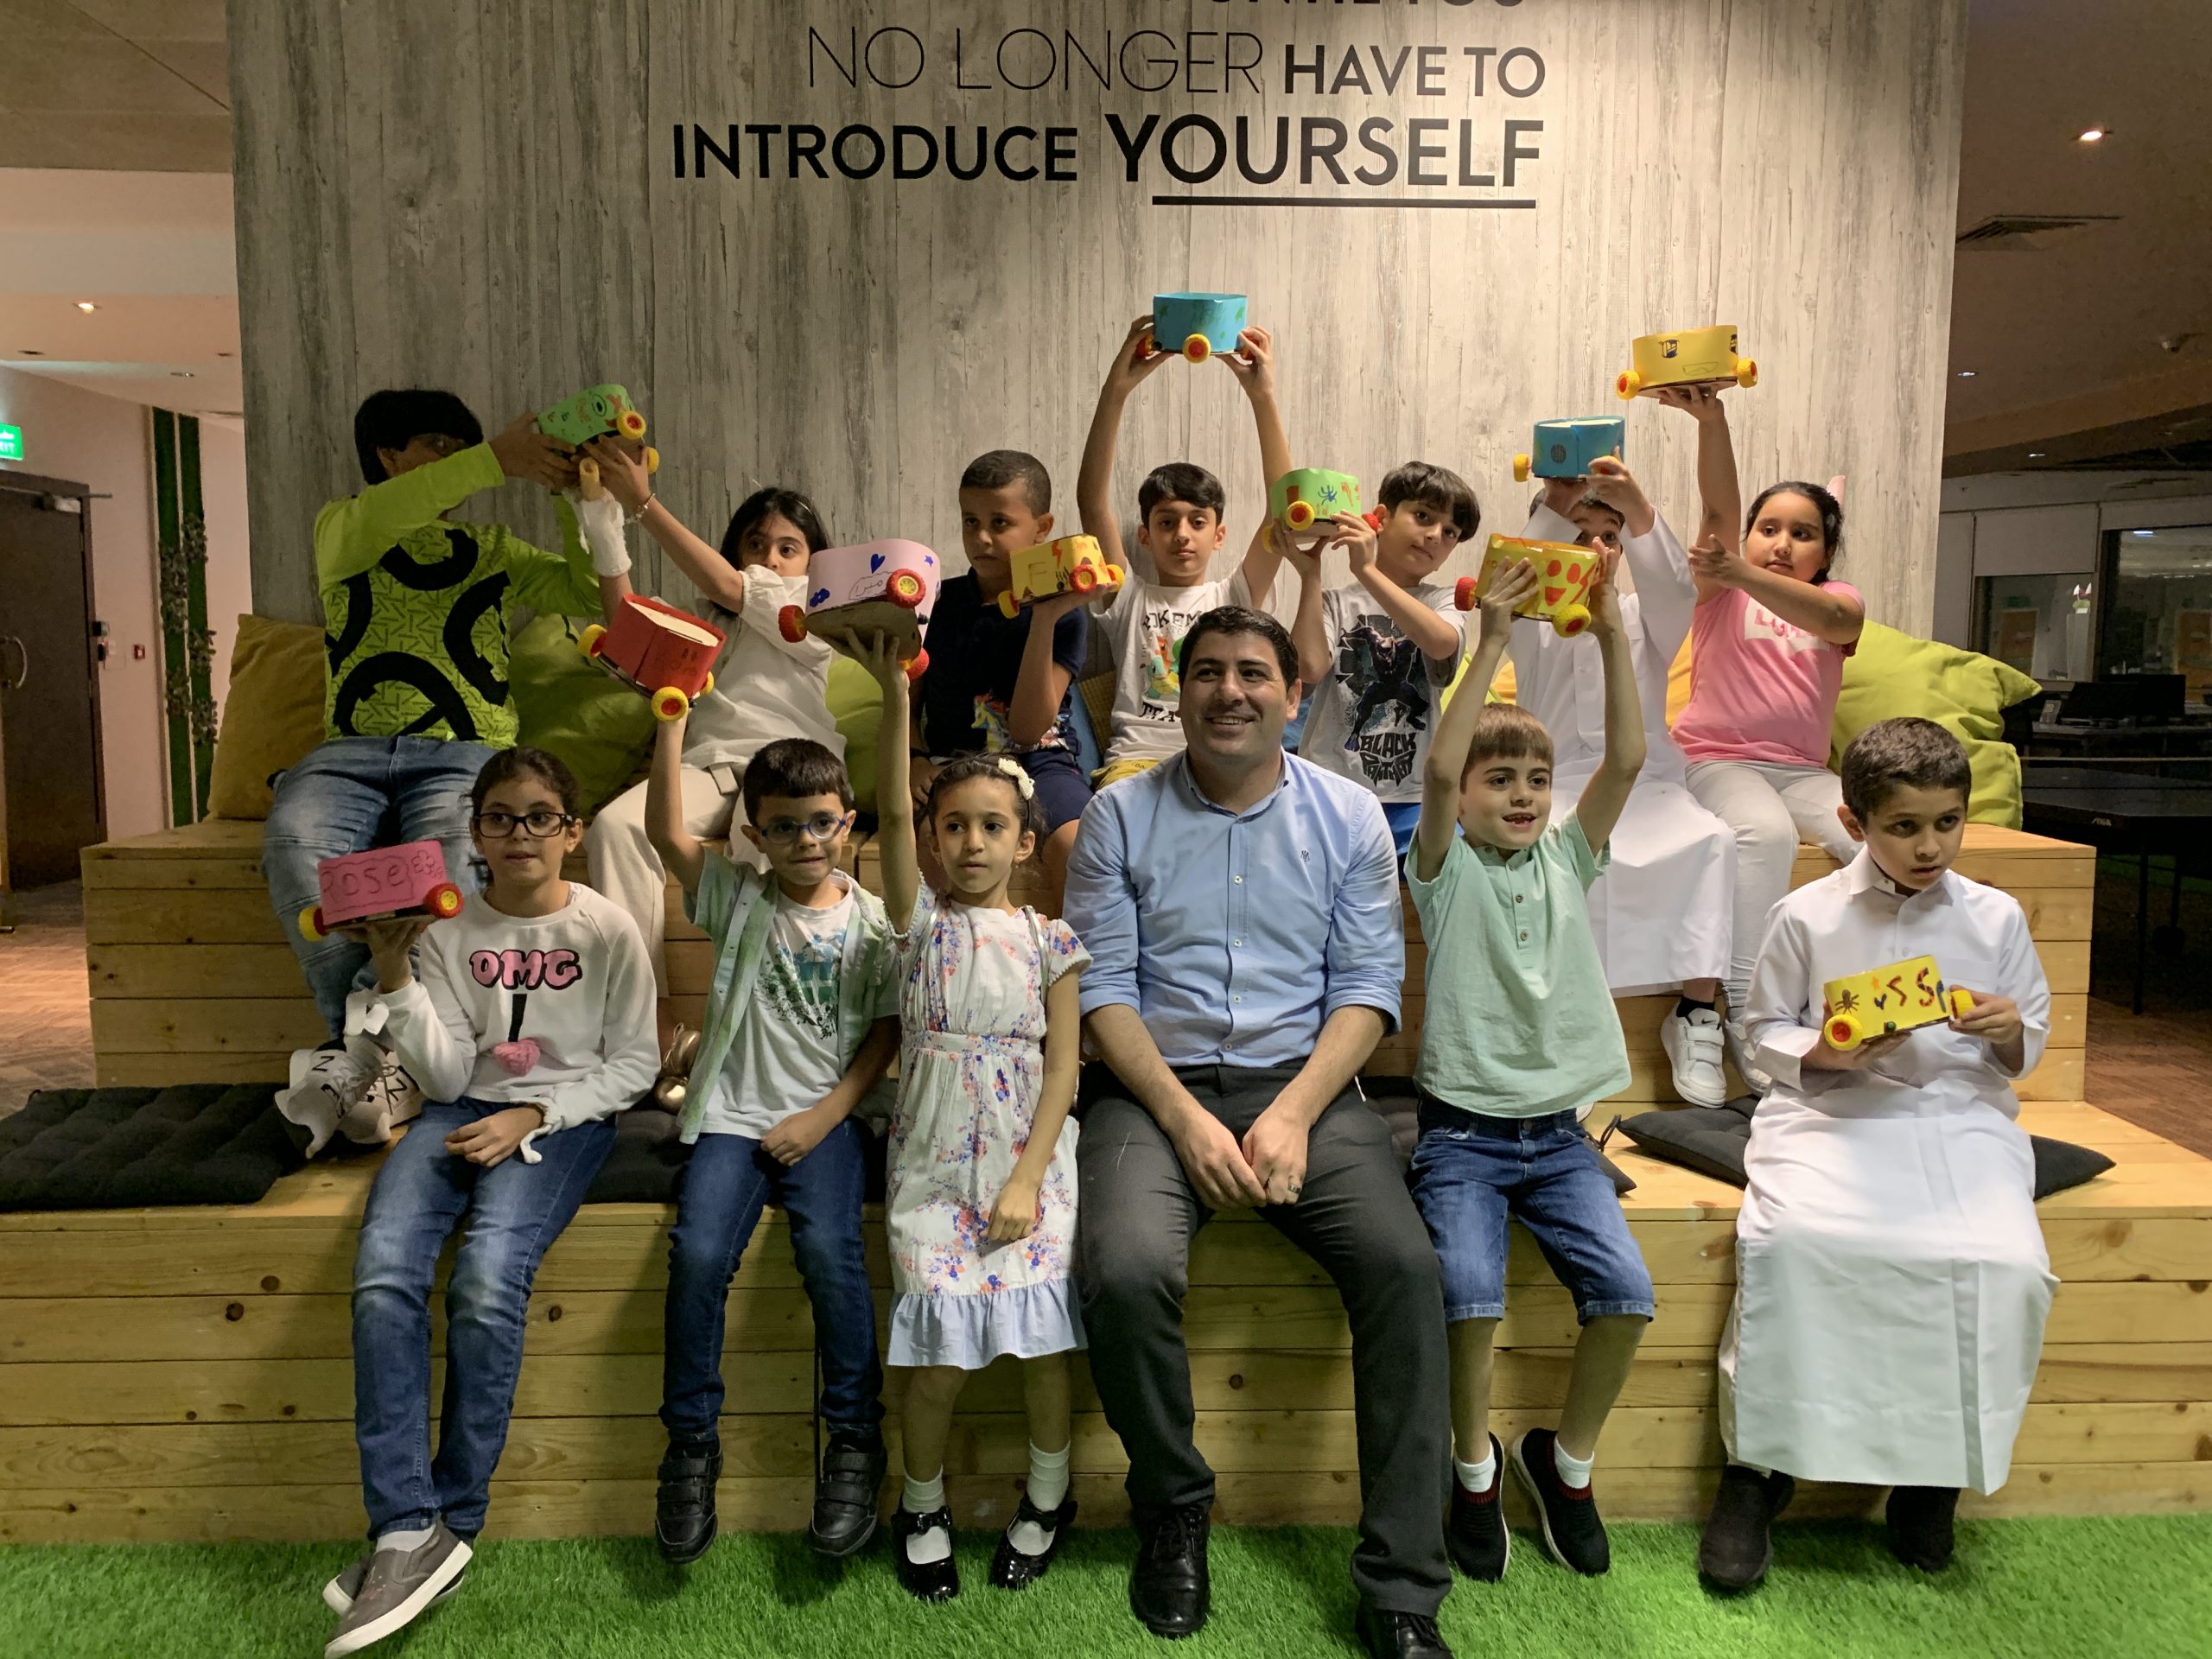
A of digital fabrication, Fablab concept and robotics will be presented.

A Theoretical presentation will be given to kids at the beginning of the workshop.

Base Assembly

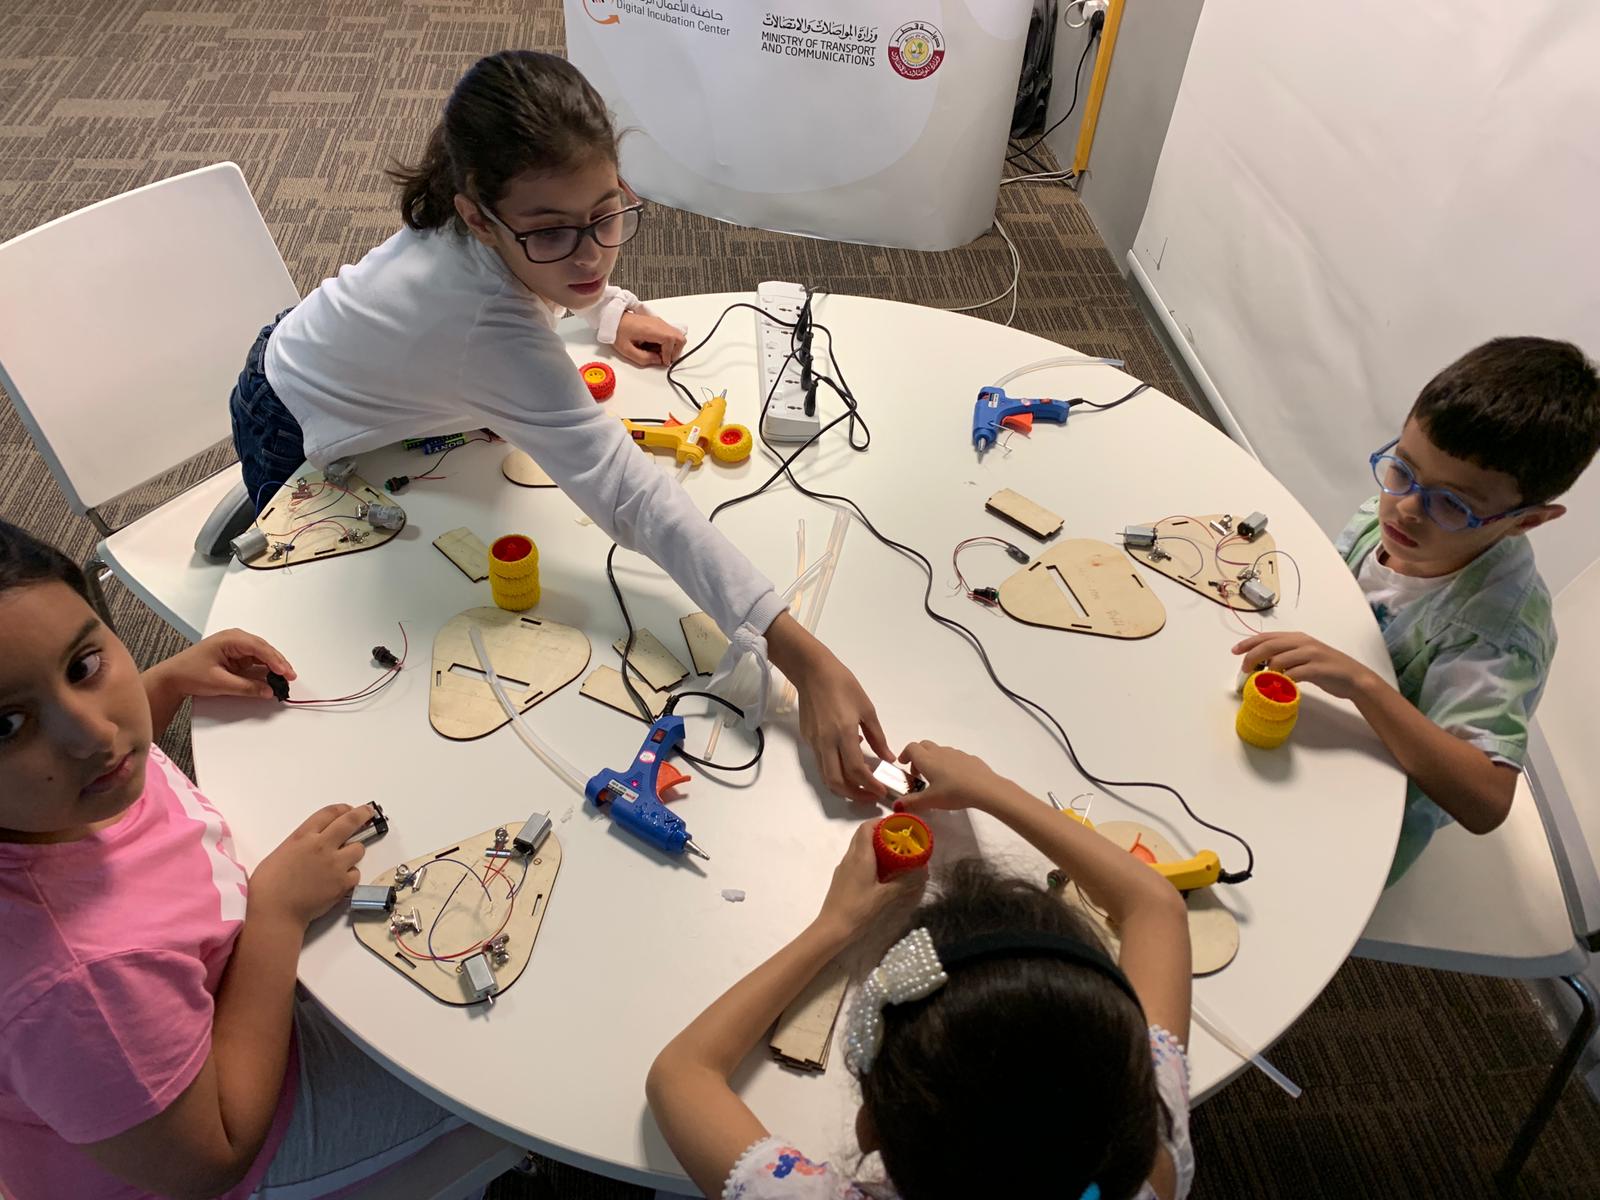
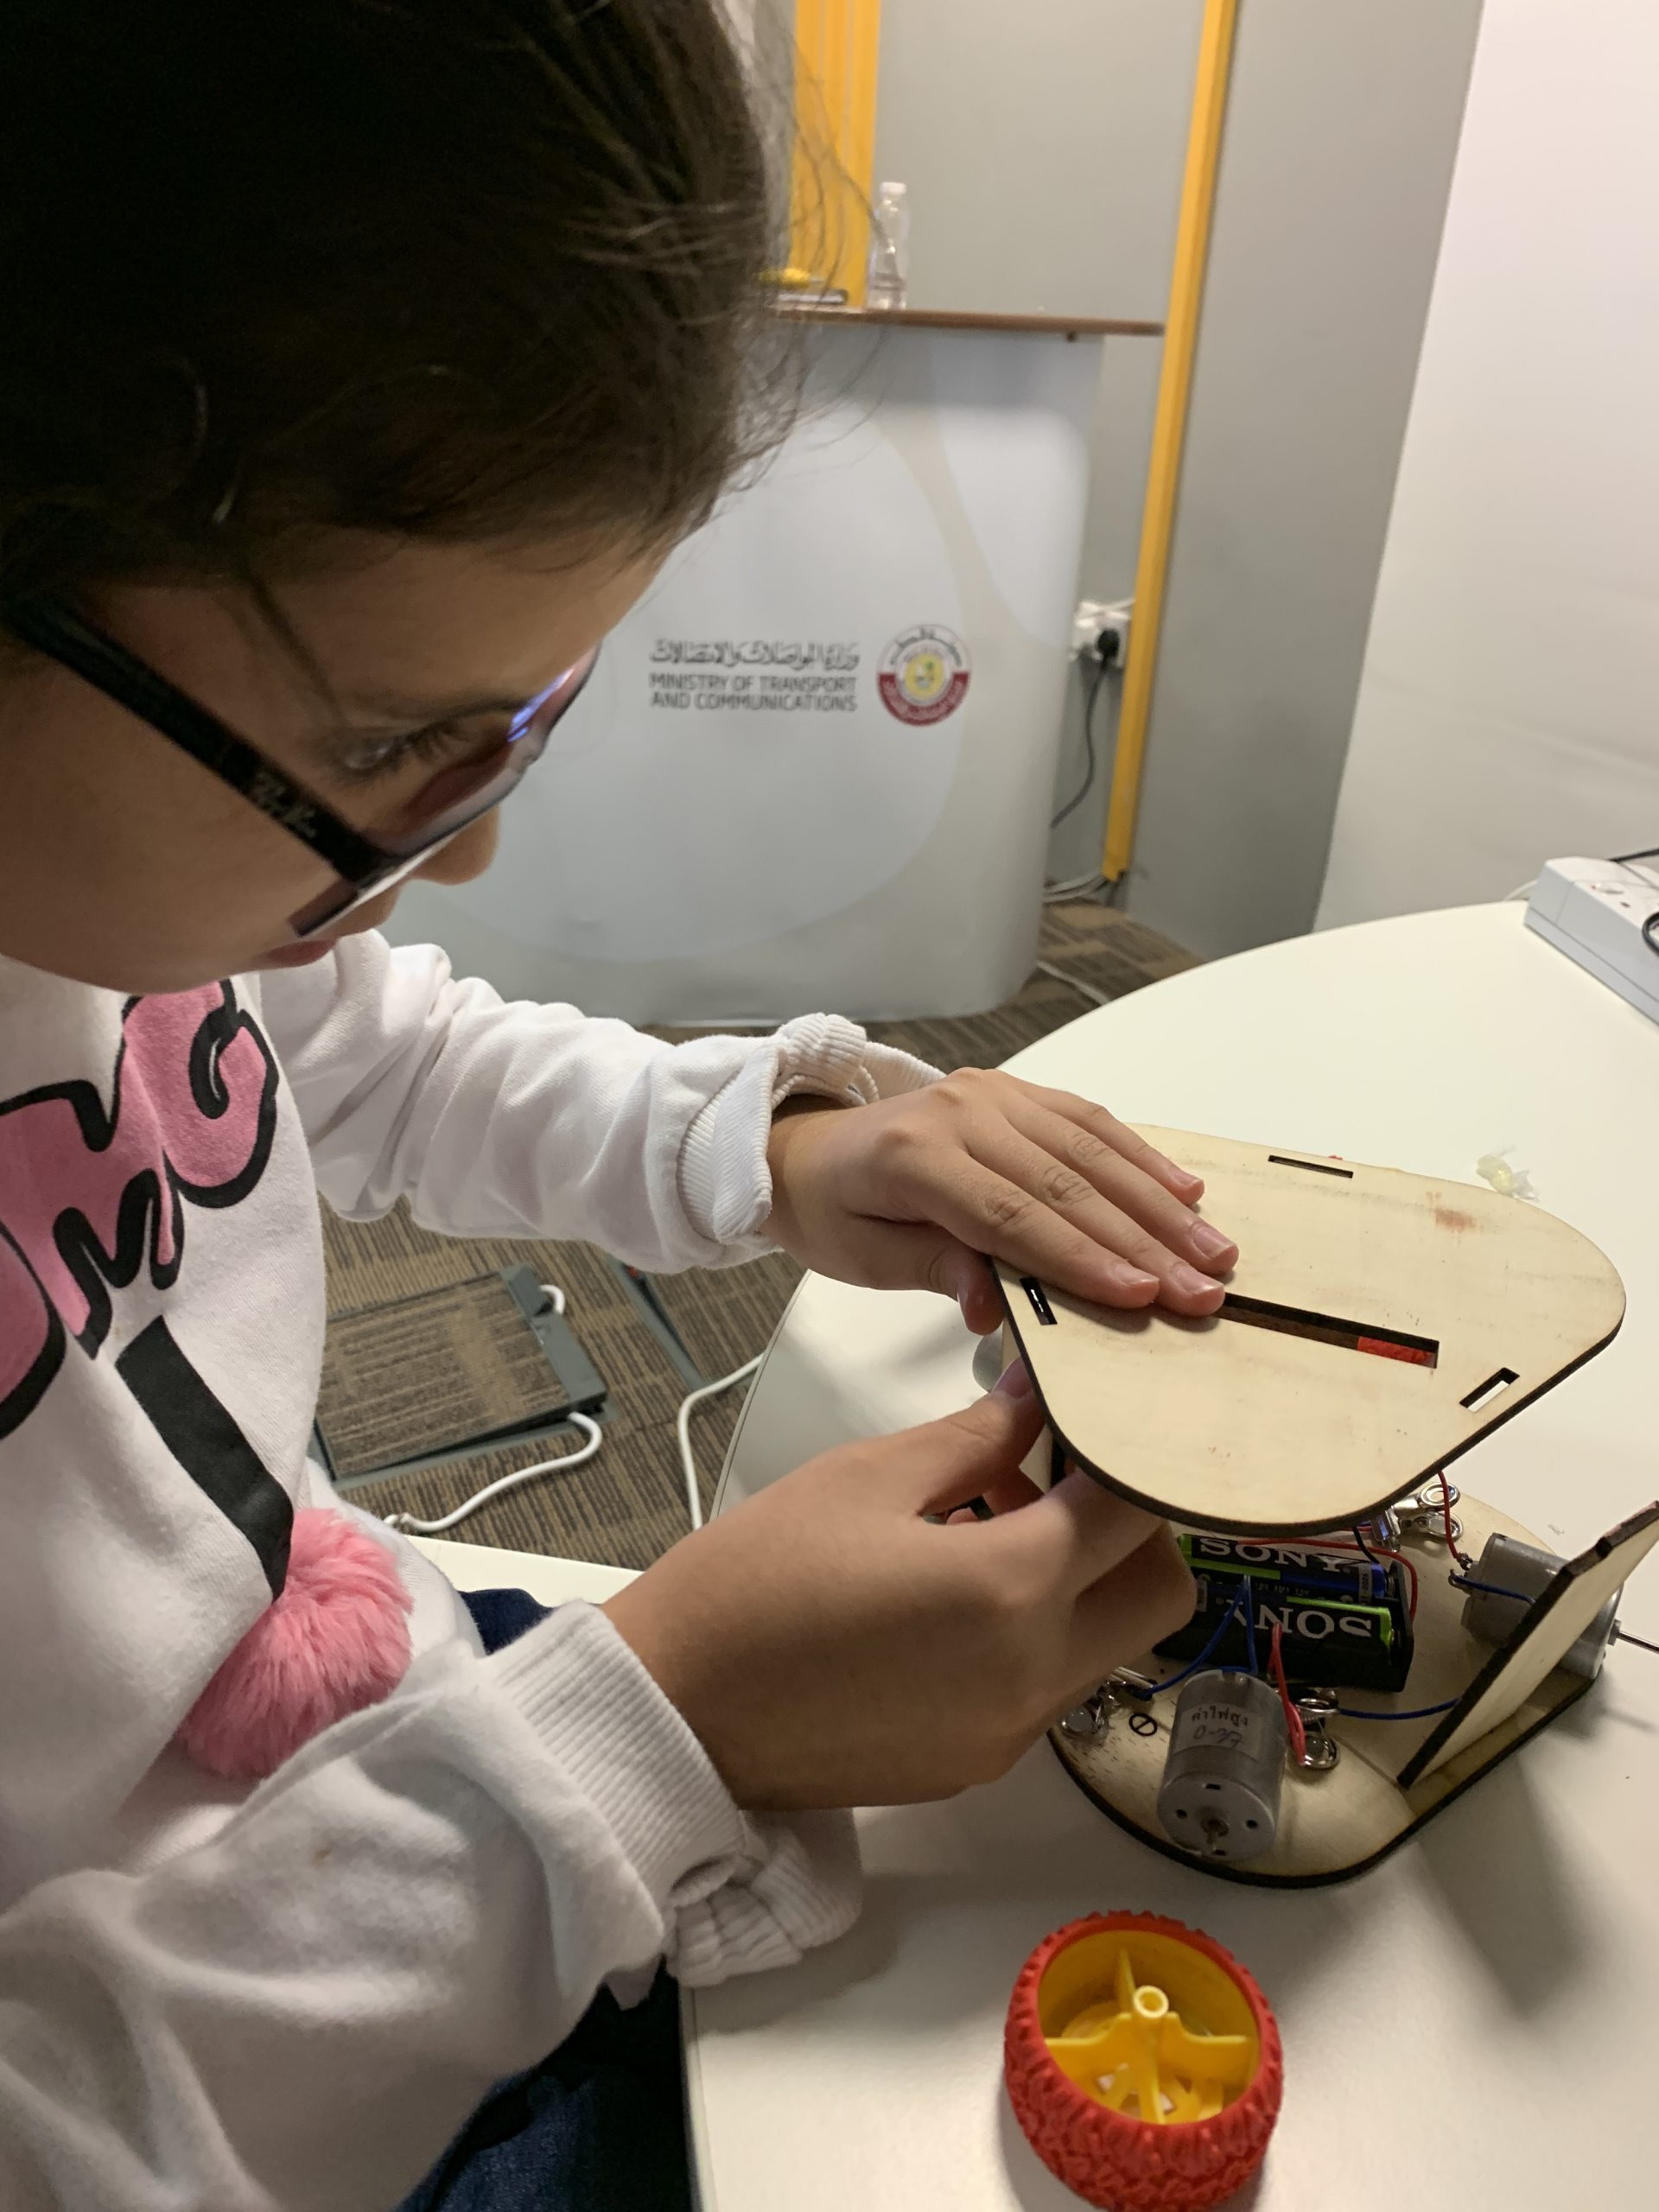
In this step we will prepare the base of the robot.

1 – Install paper clips Over the positive sign of the base using hot glue.

2 – Fix three DC motors at the 3 Angles of the Base, using hot glue.


Battery Unit

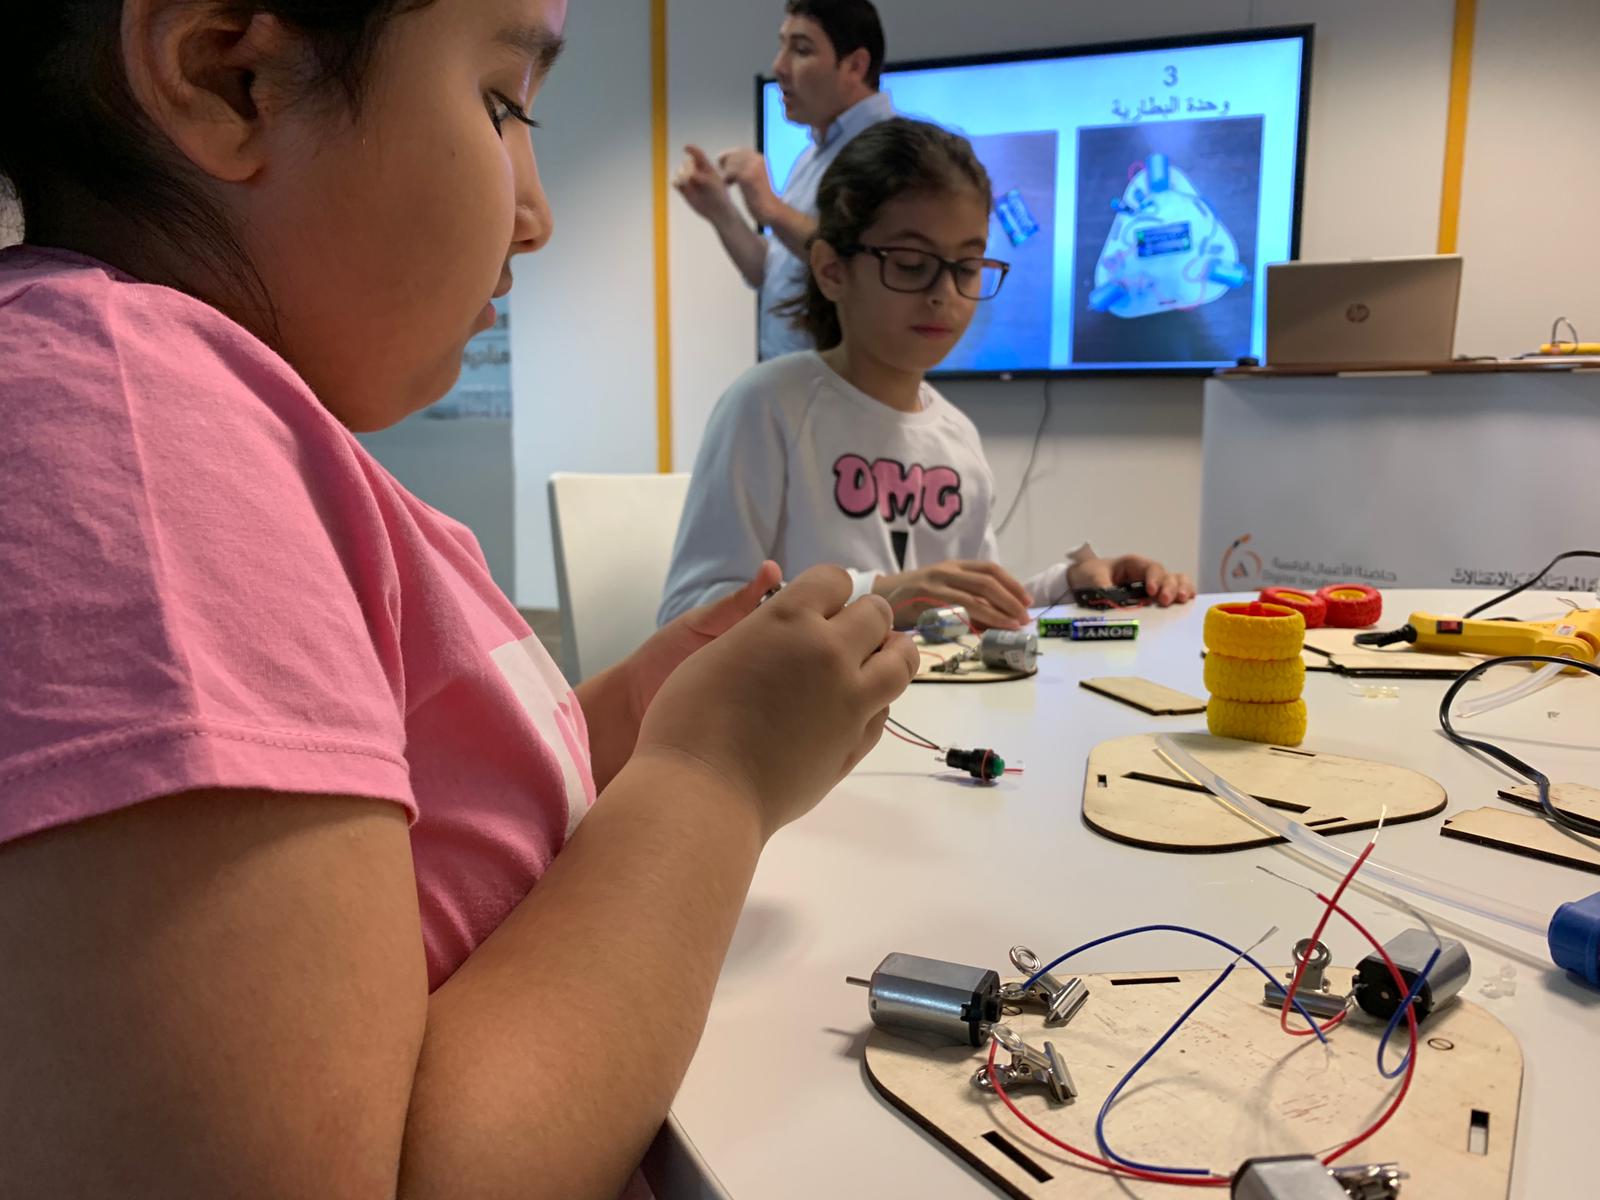
In this step we will set the battery unit and attache it to the base.

1- Connect the Bush button positive wire to the battery holder wire using soldering.

2- Install two AAA batteries in the battery holder.


3- Attach the battery holder to middle of the base using hot glue.


4- Attach the bush button to the base between the two clips using hot glue.

Circuit connection

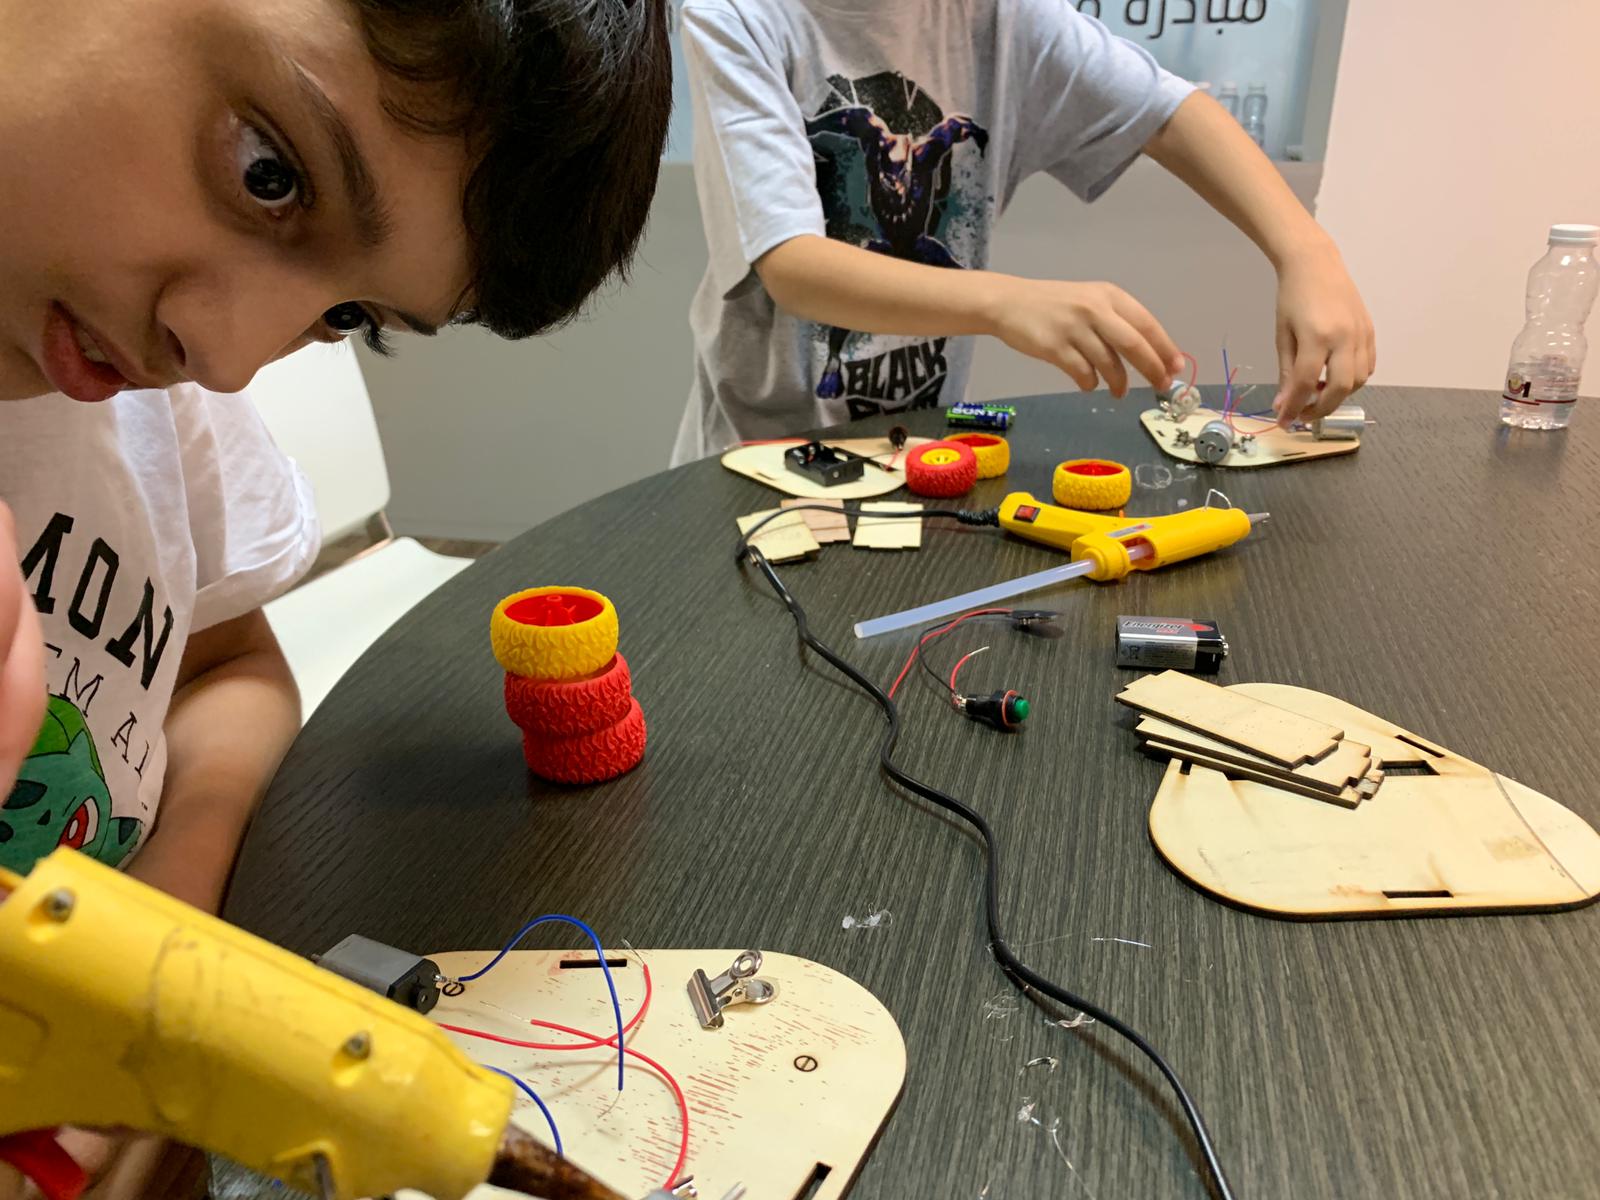
In this step we will connect electrical parts together.

Using wires connect the 3 DC motors and battery with the battery holders and bush buttons.

Use the paper clips to connect parts with wires.

Column and Cap

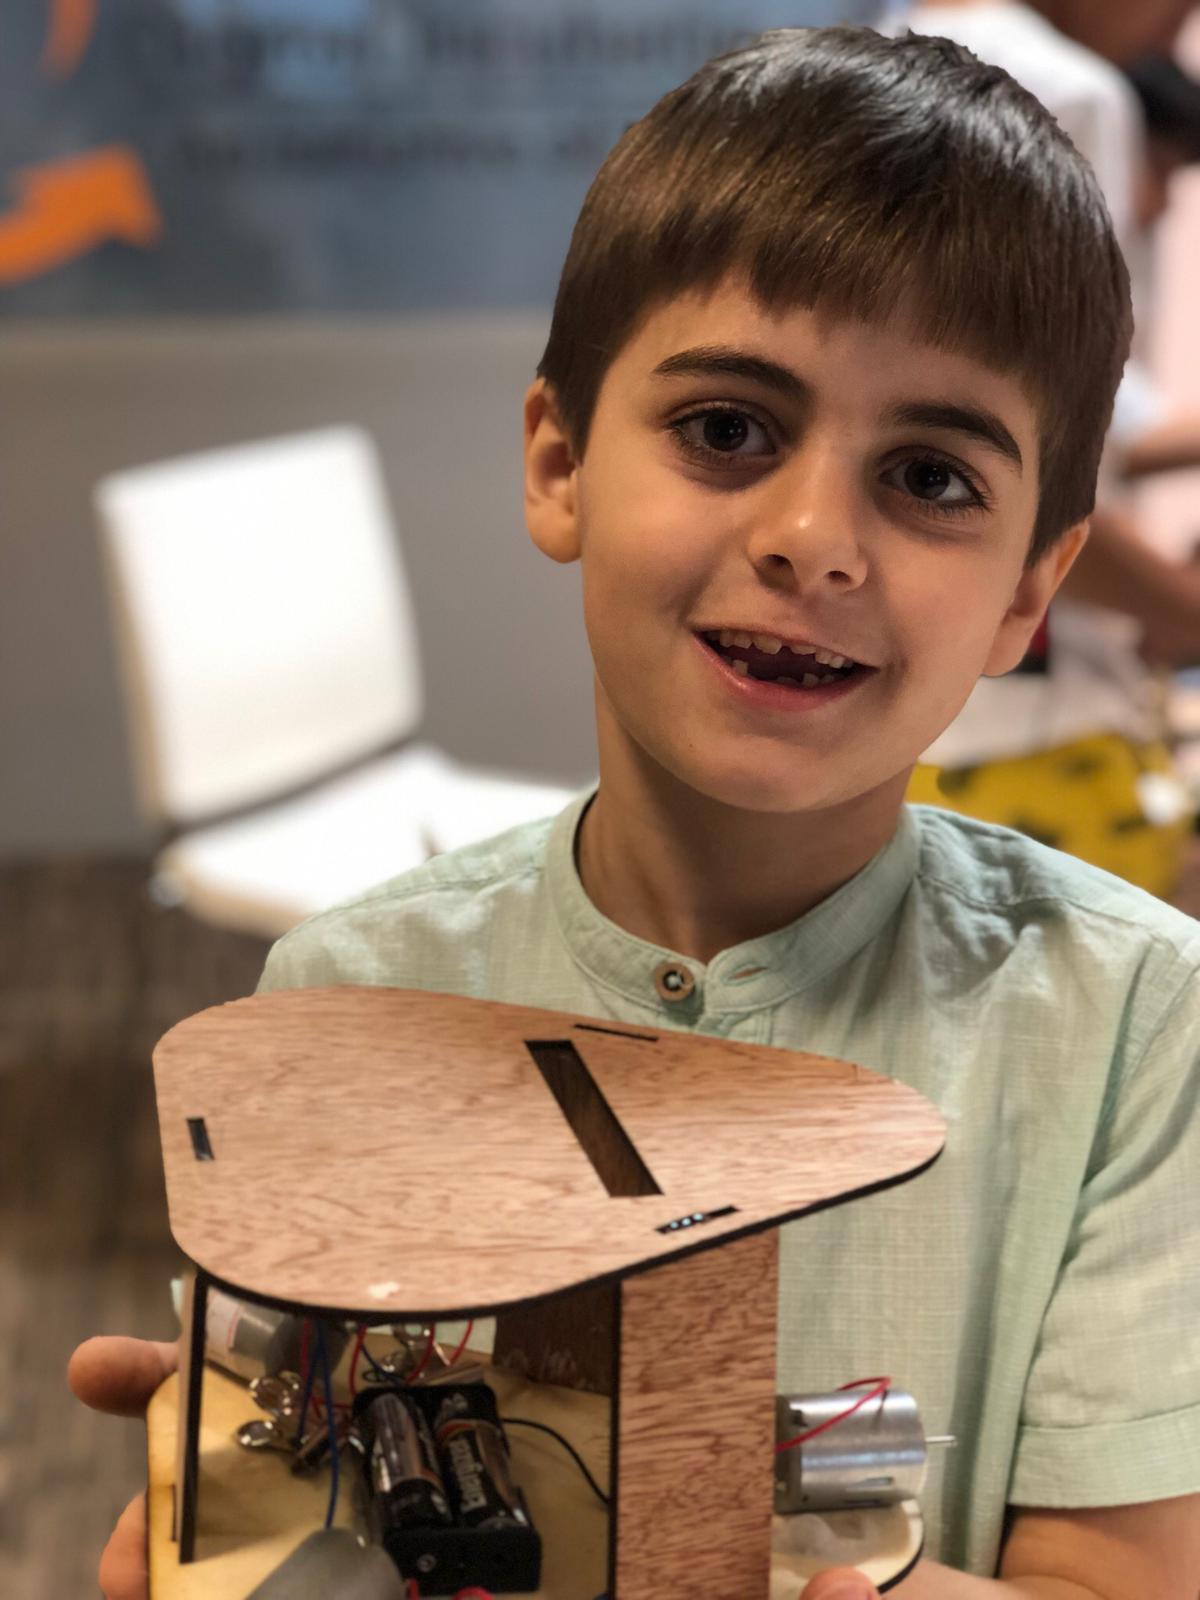
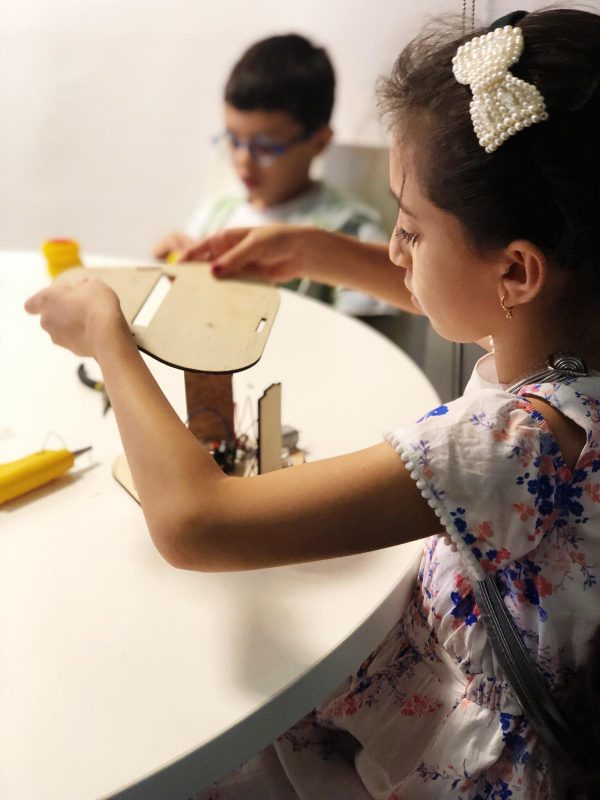
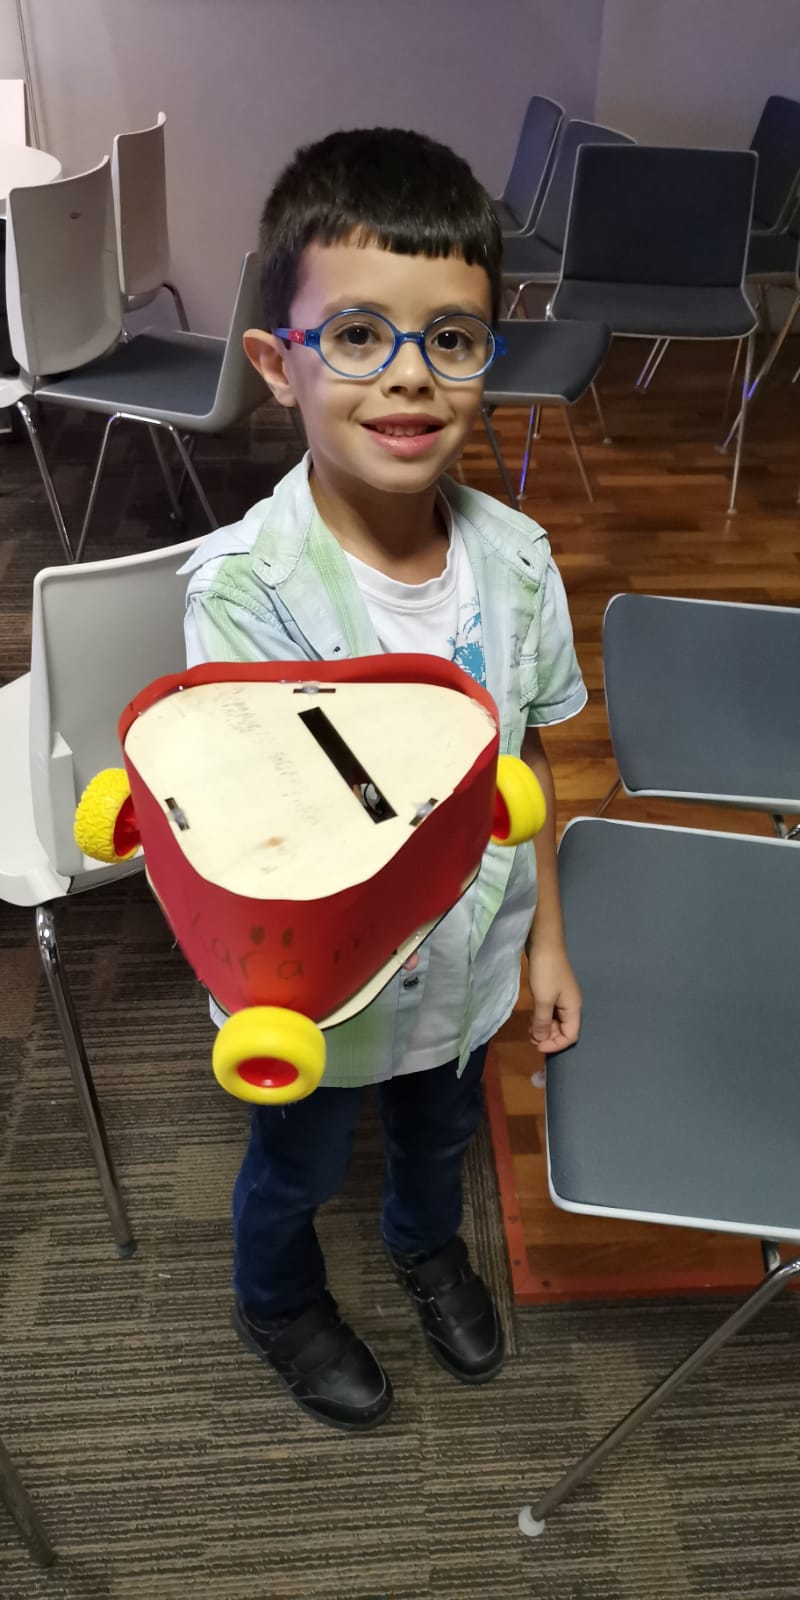
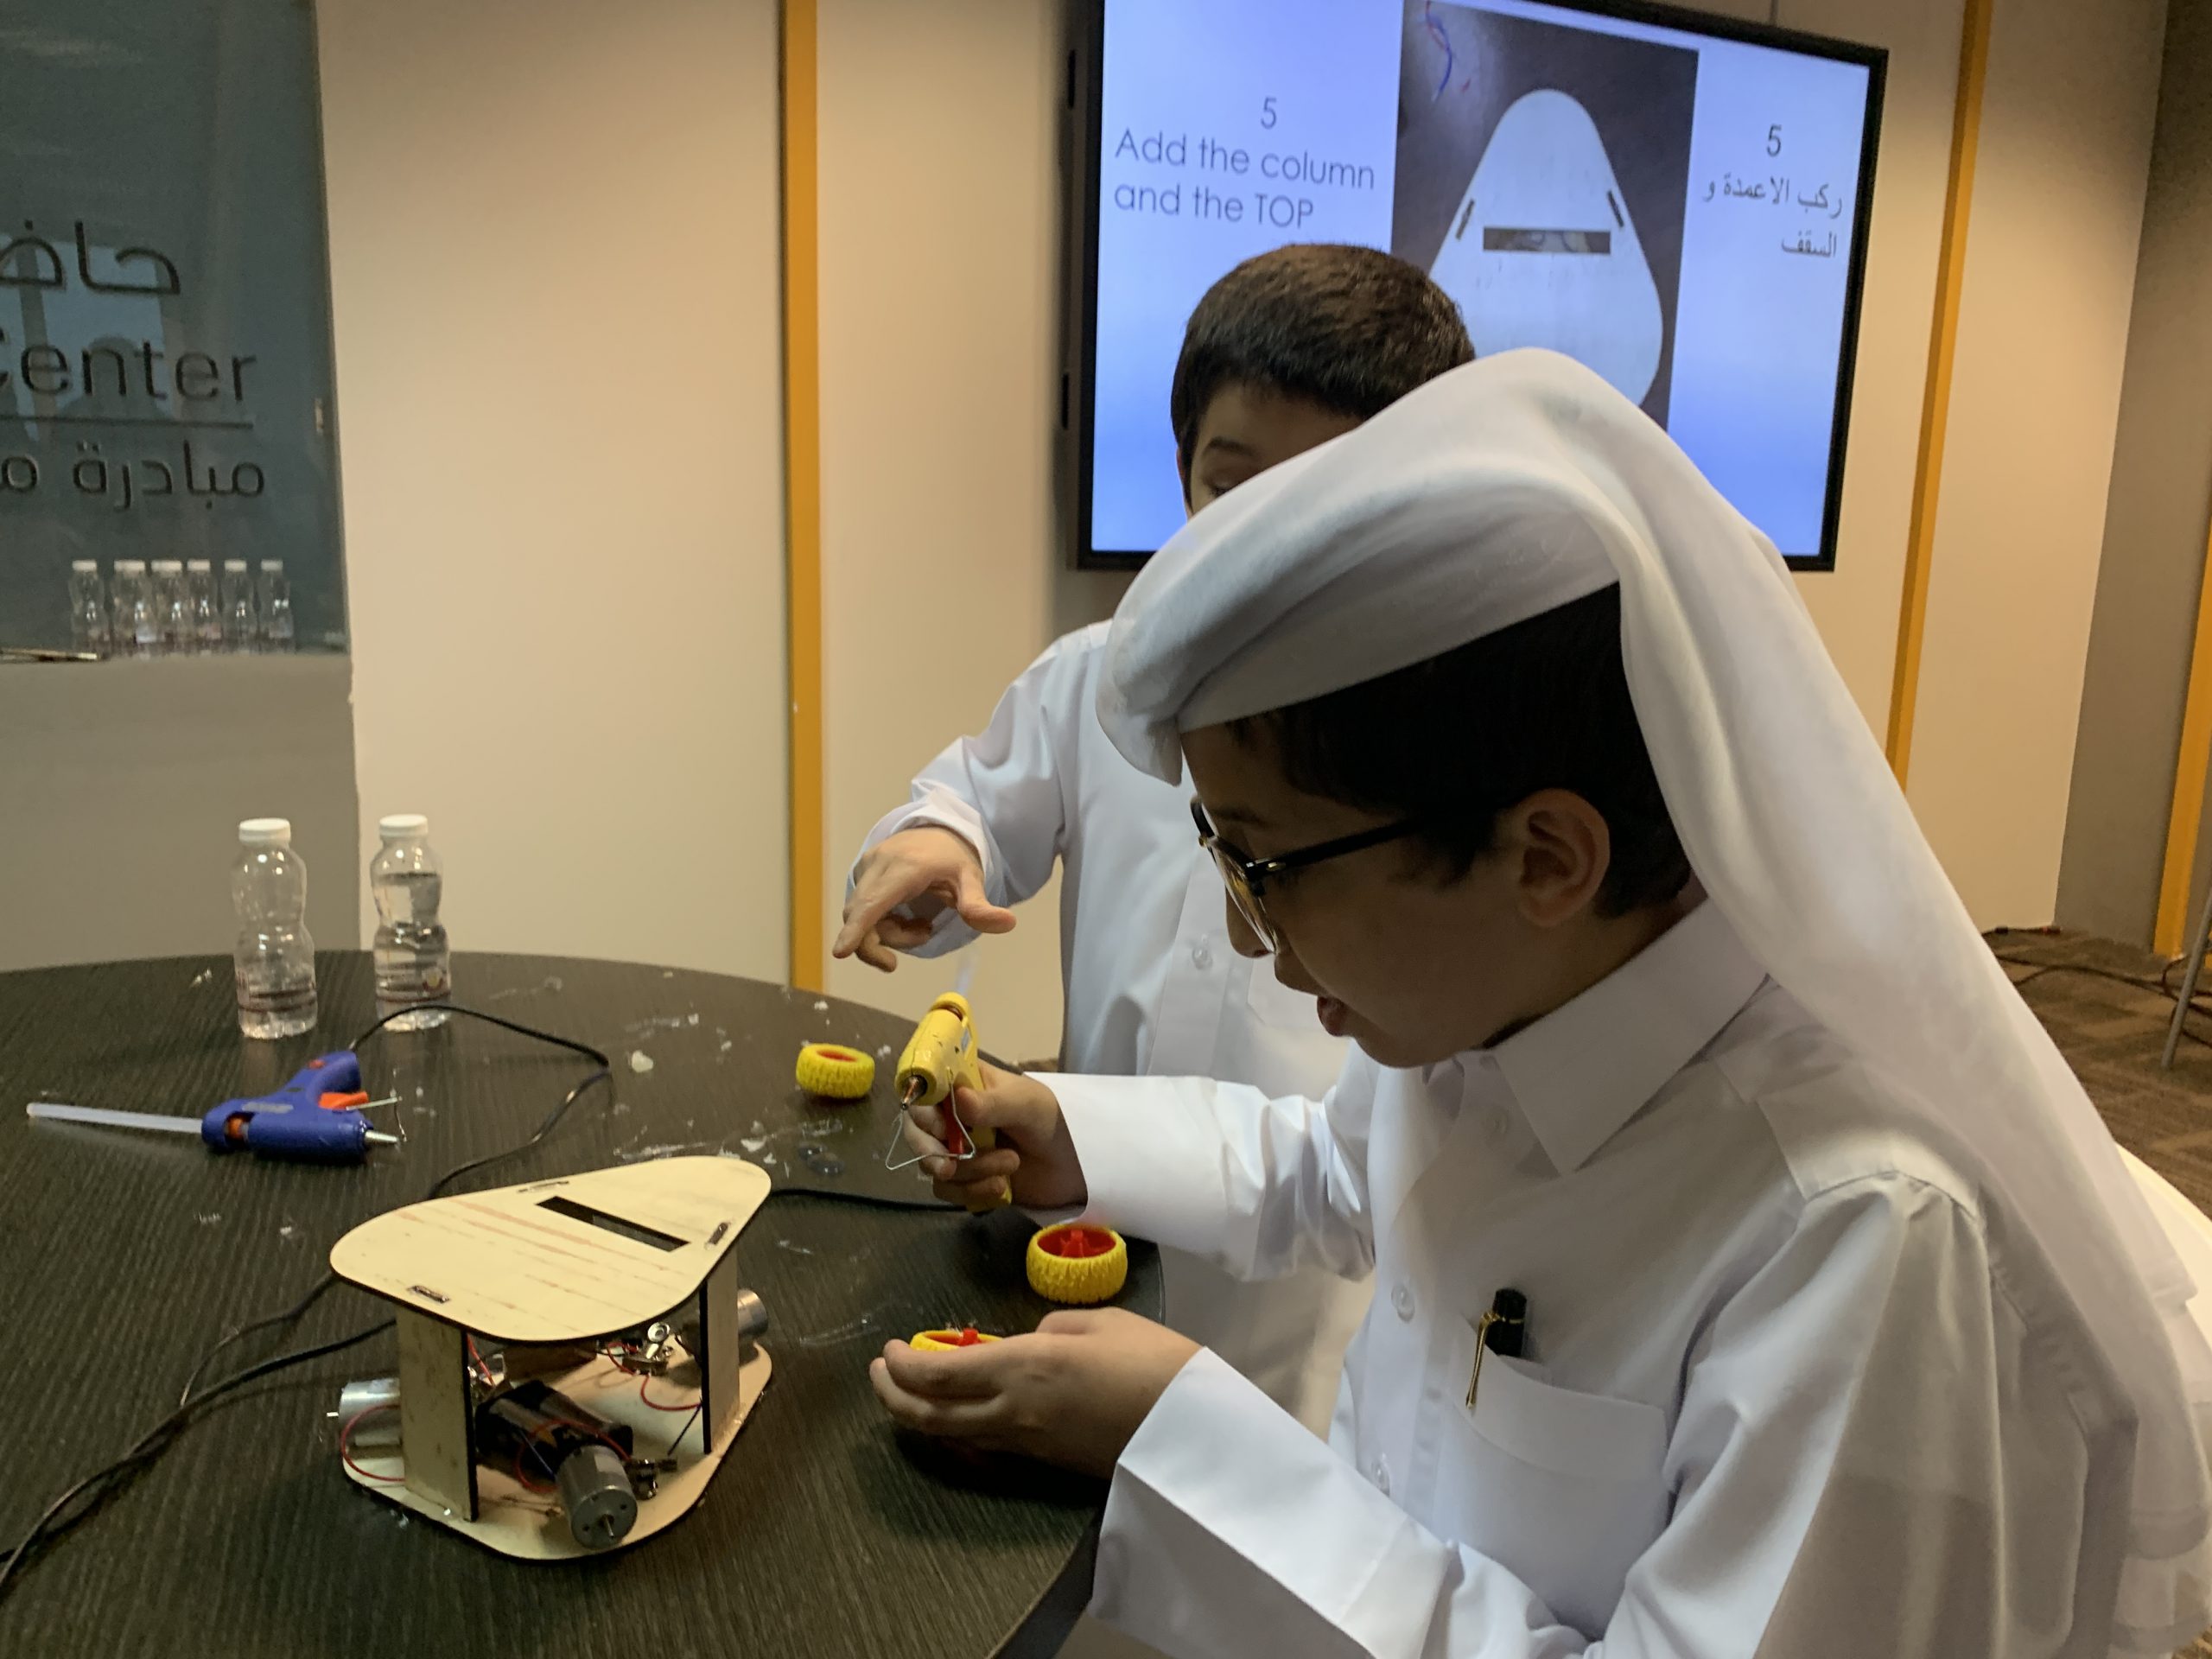
Attaching column and cap to the base.

  1. Attach the three column to the base of the robot using the holes in the base.
  2. Attach the Cap to the three column.
  3. Use hot glue if the columns and cap are loose.


Wheels

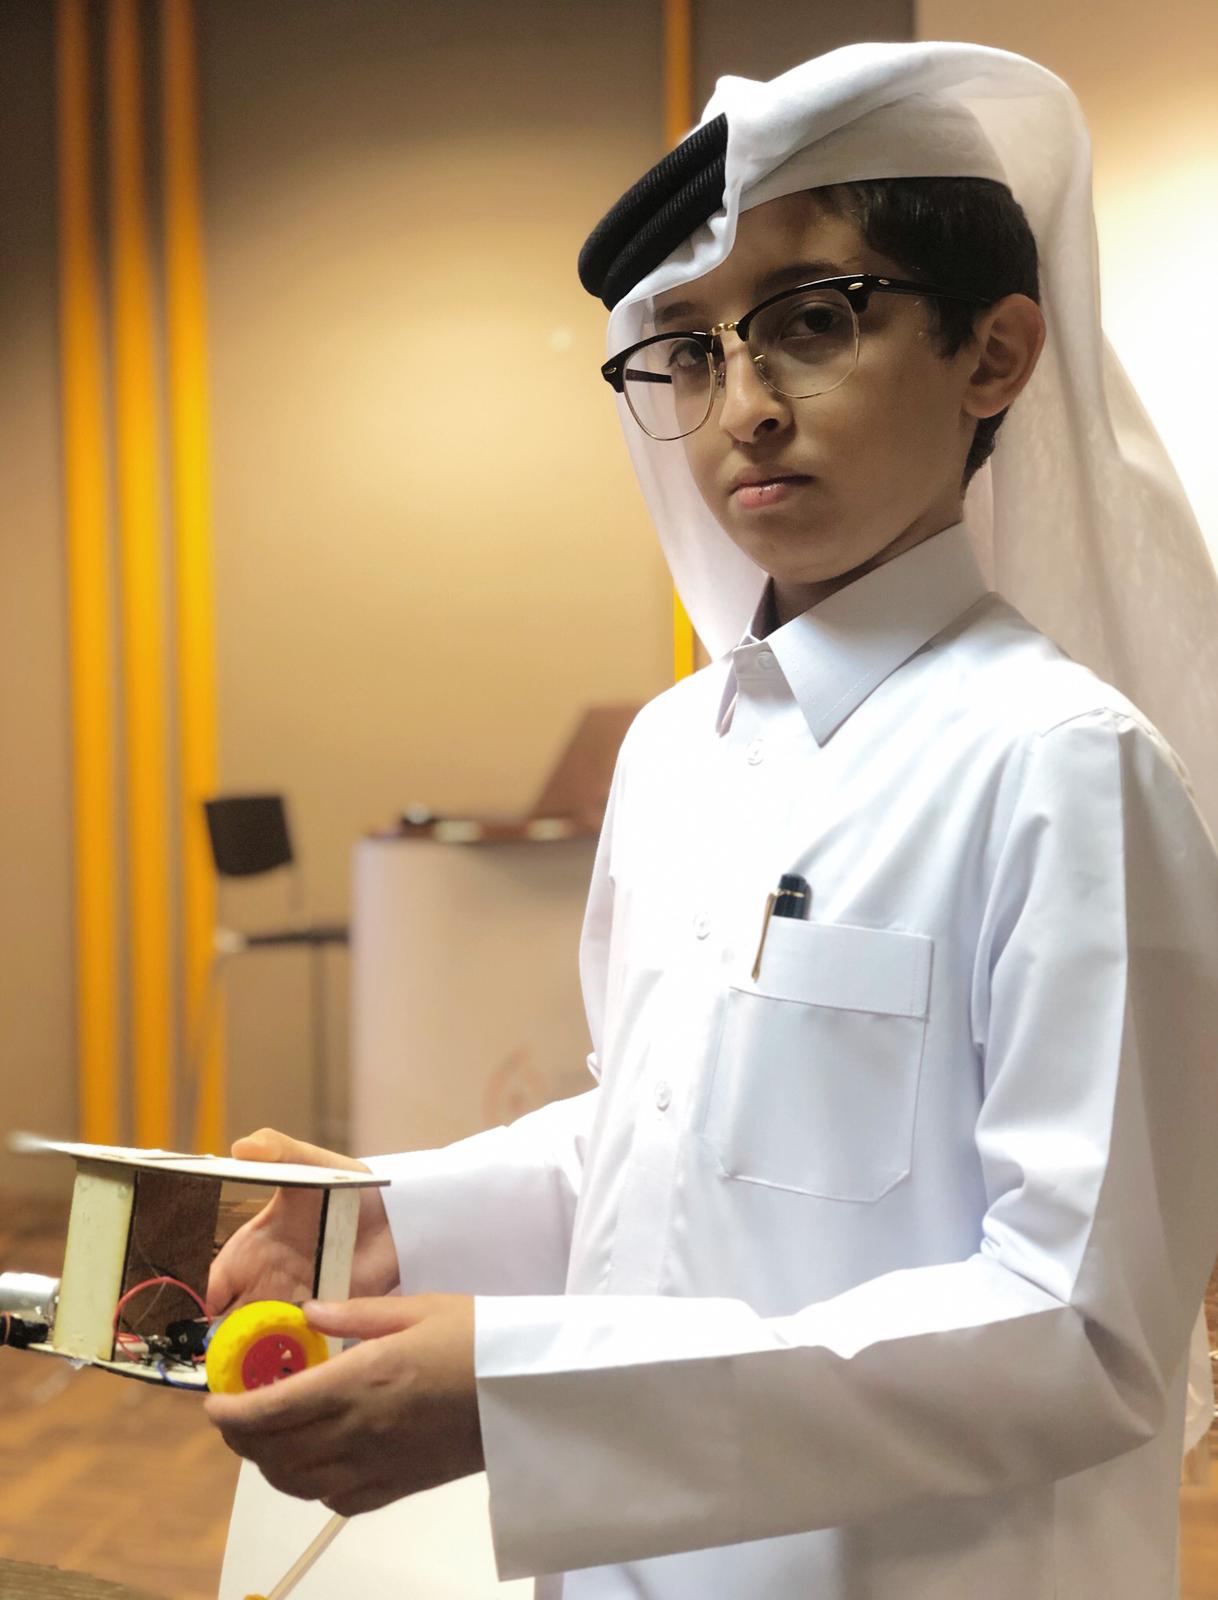
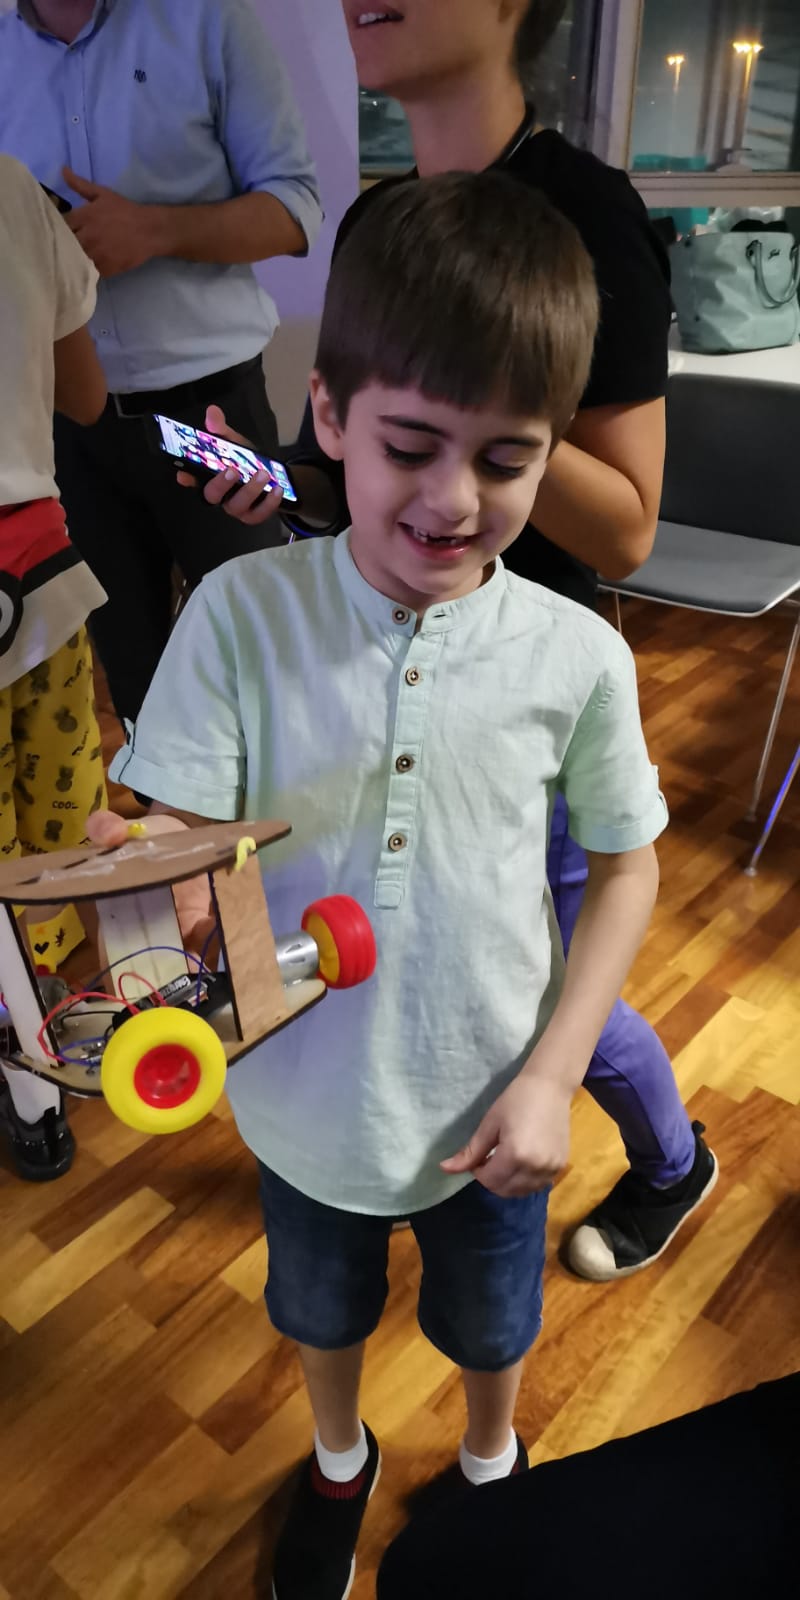
Attaching Wheels to the motors

Attach three wheels to the DC motors shafts, by adding hot glue inside the shaft hole of the wheel and hold it until cure. Do the same for all three wheels.


Personalize

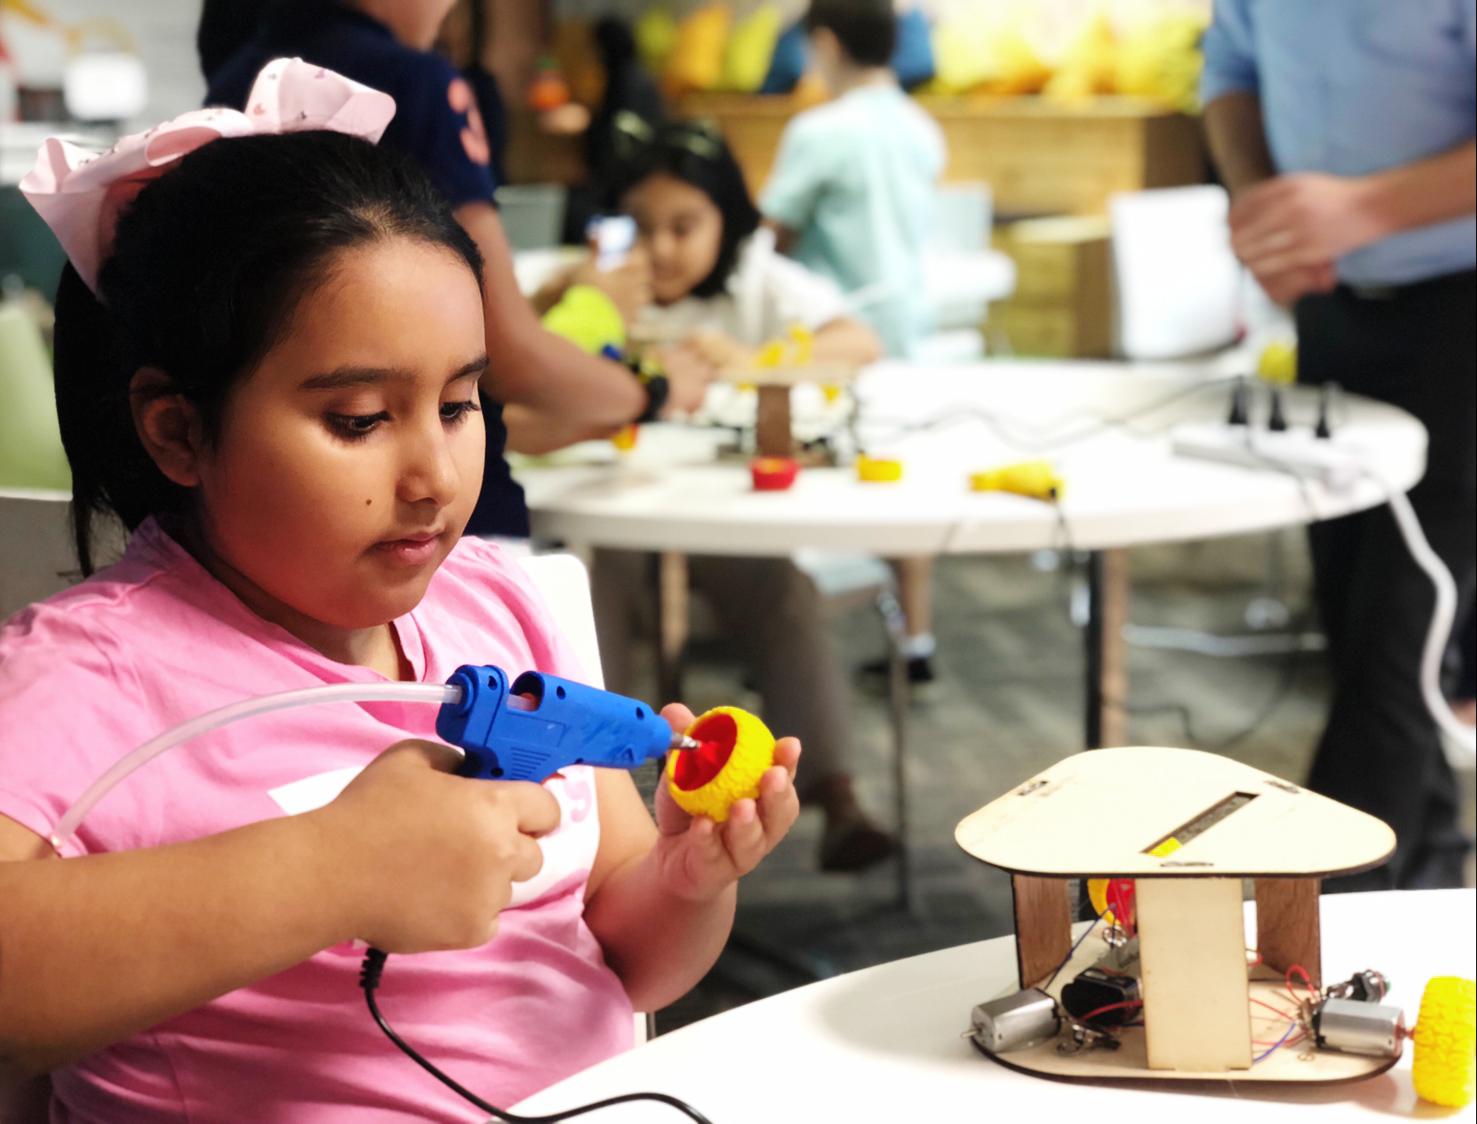
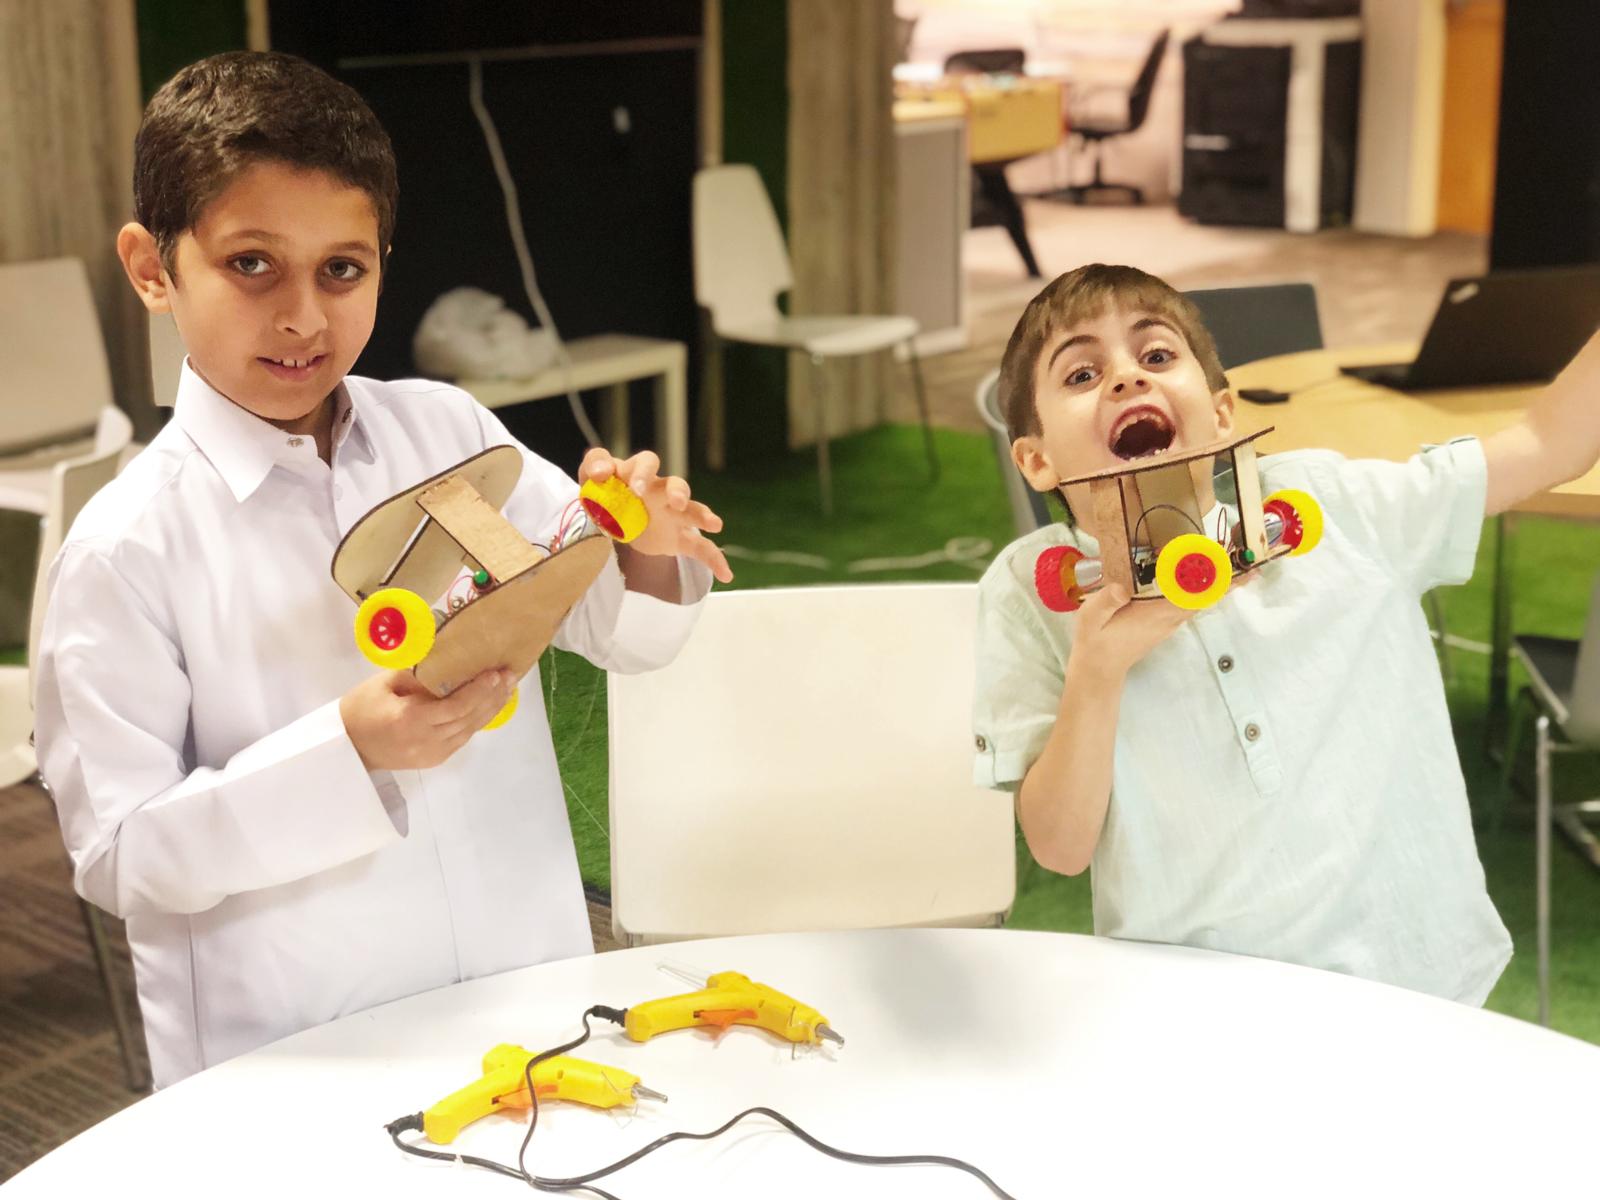
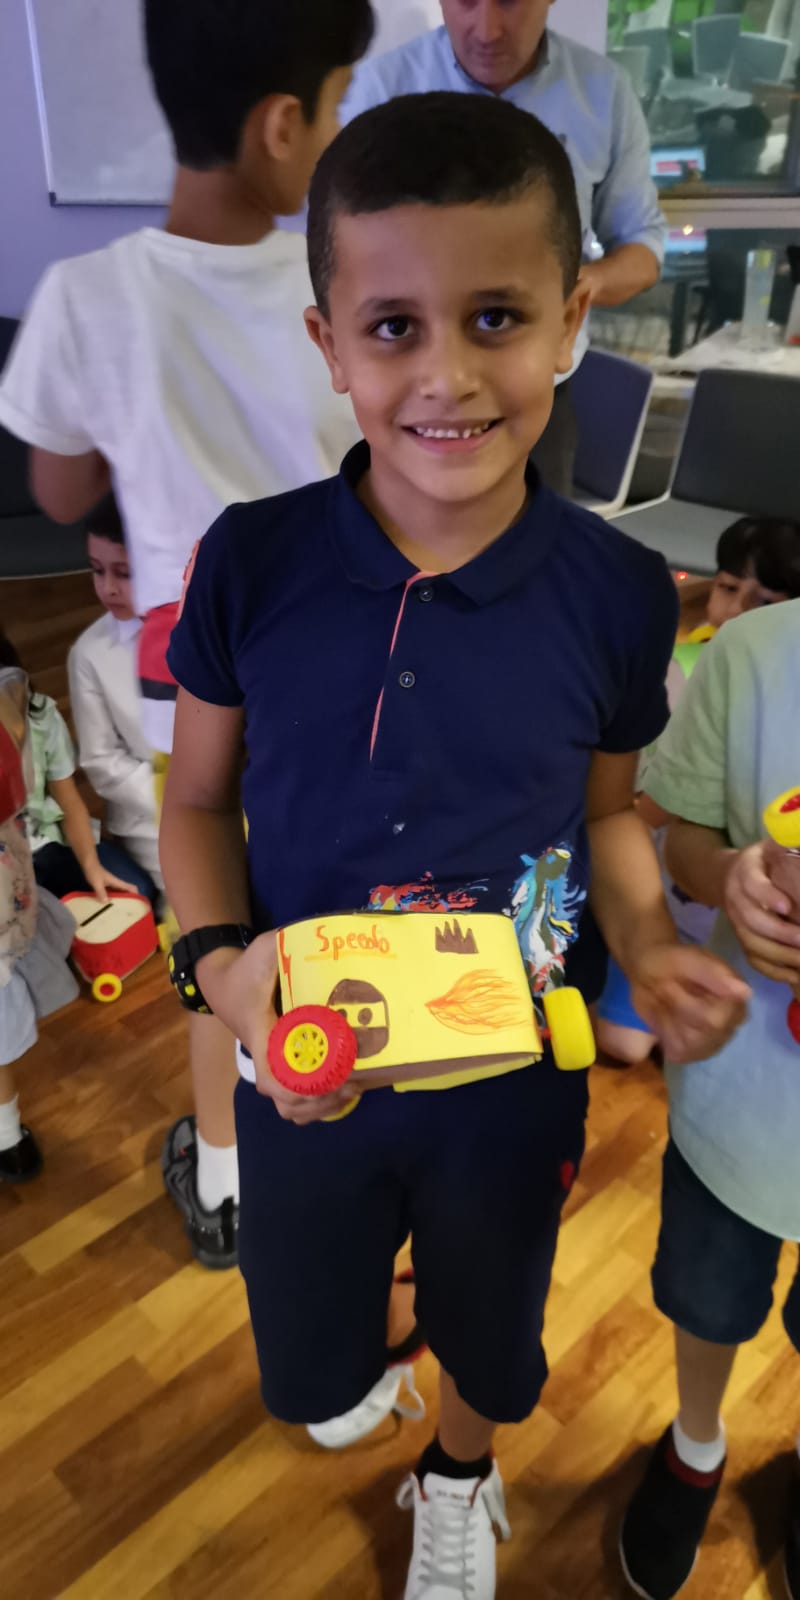
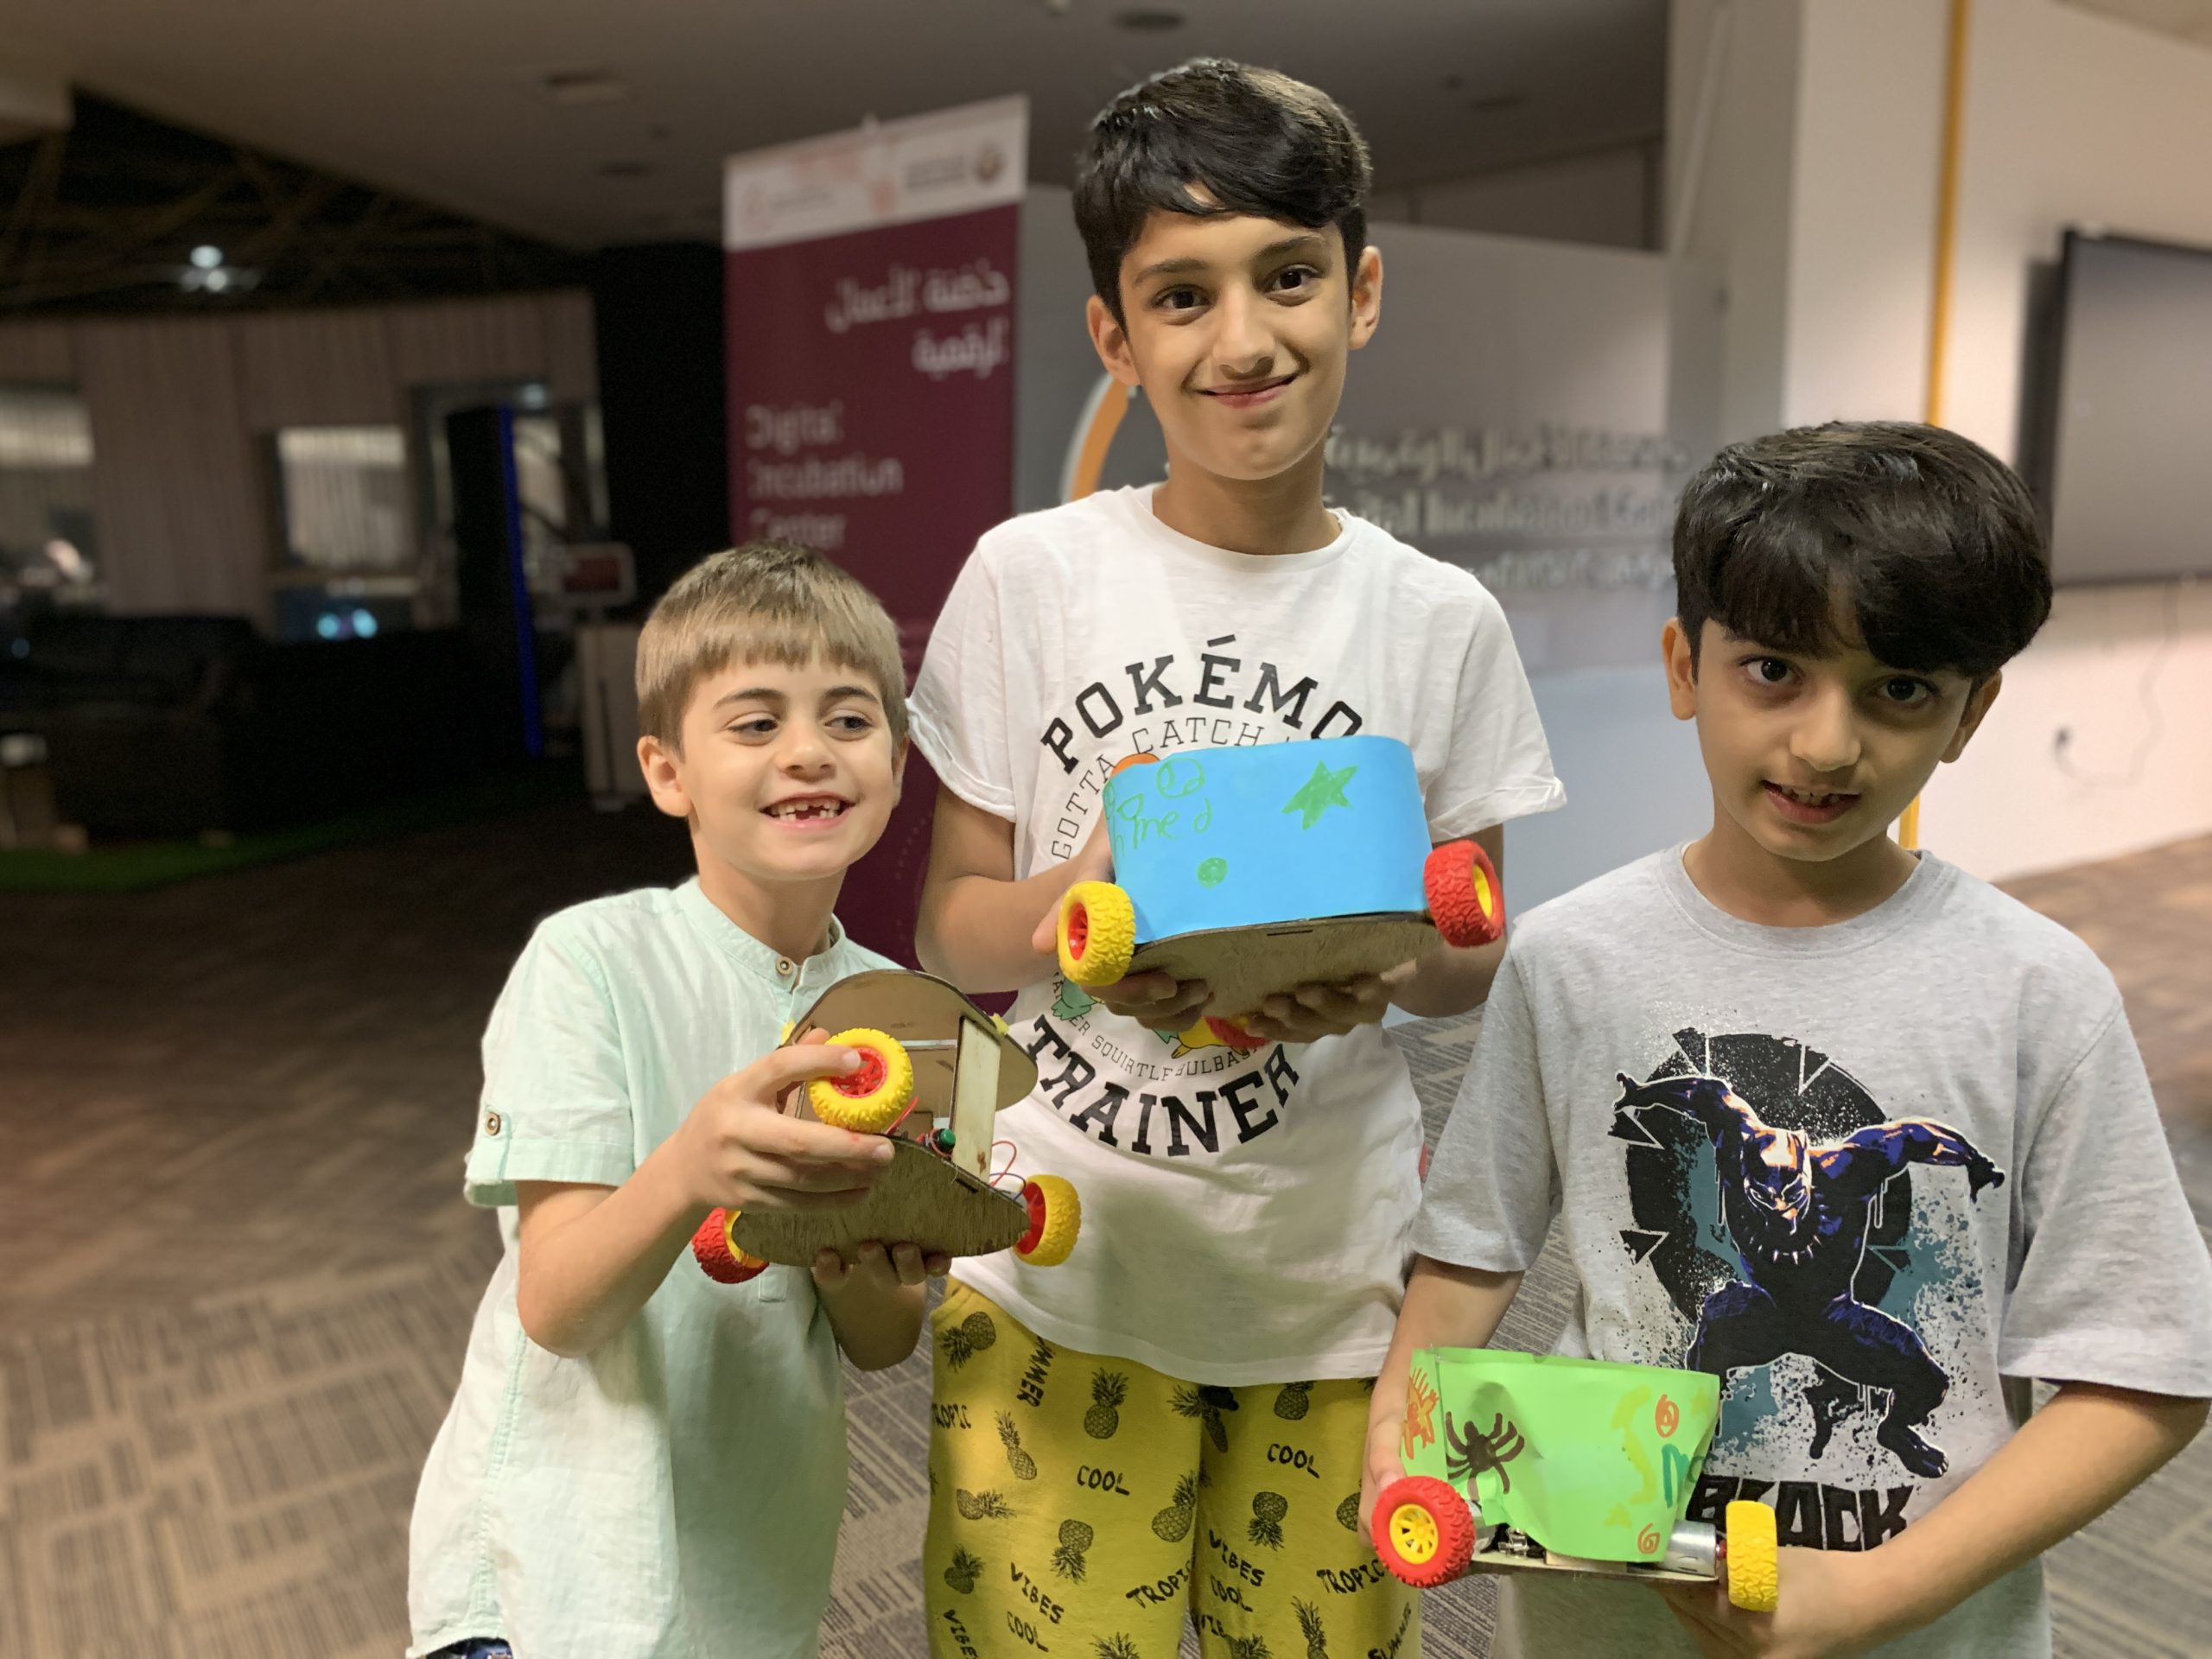
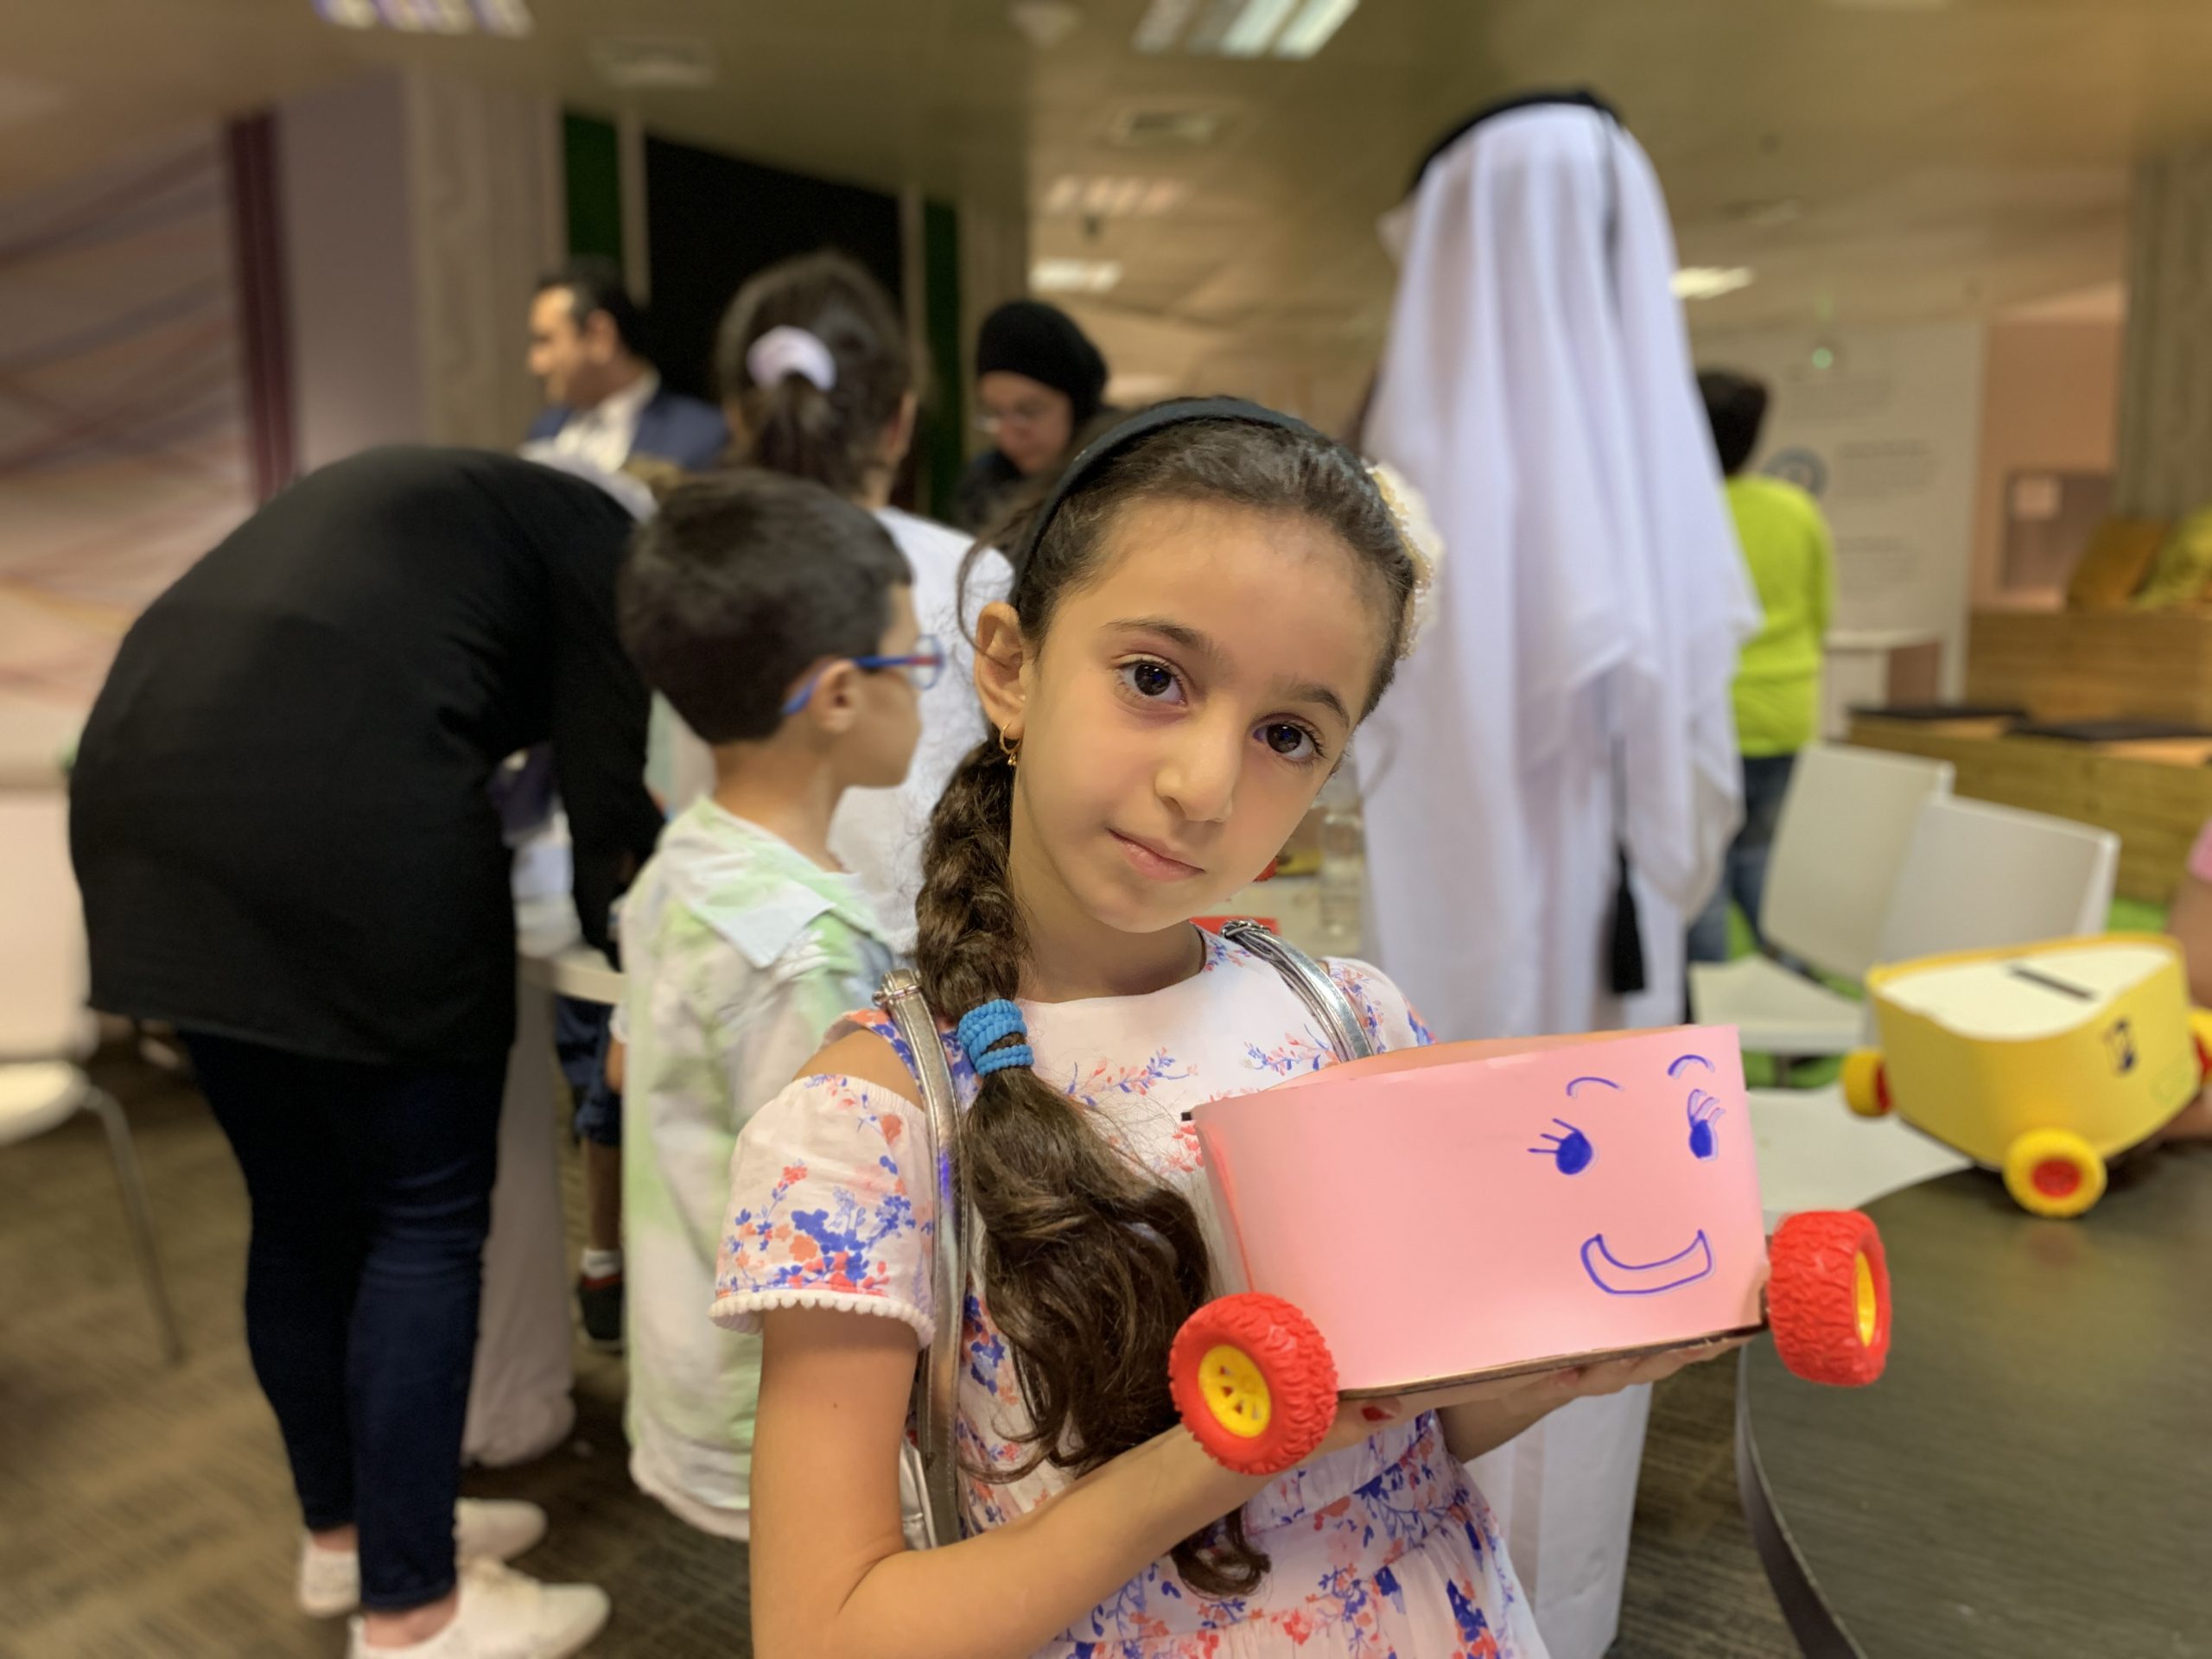
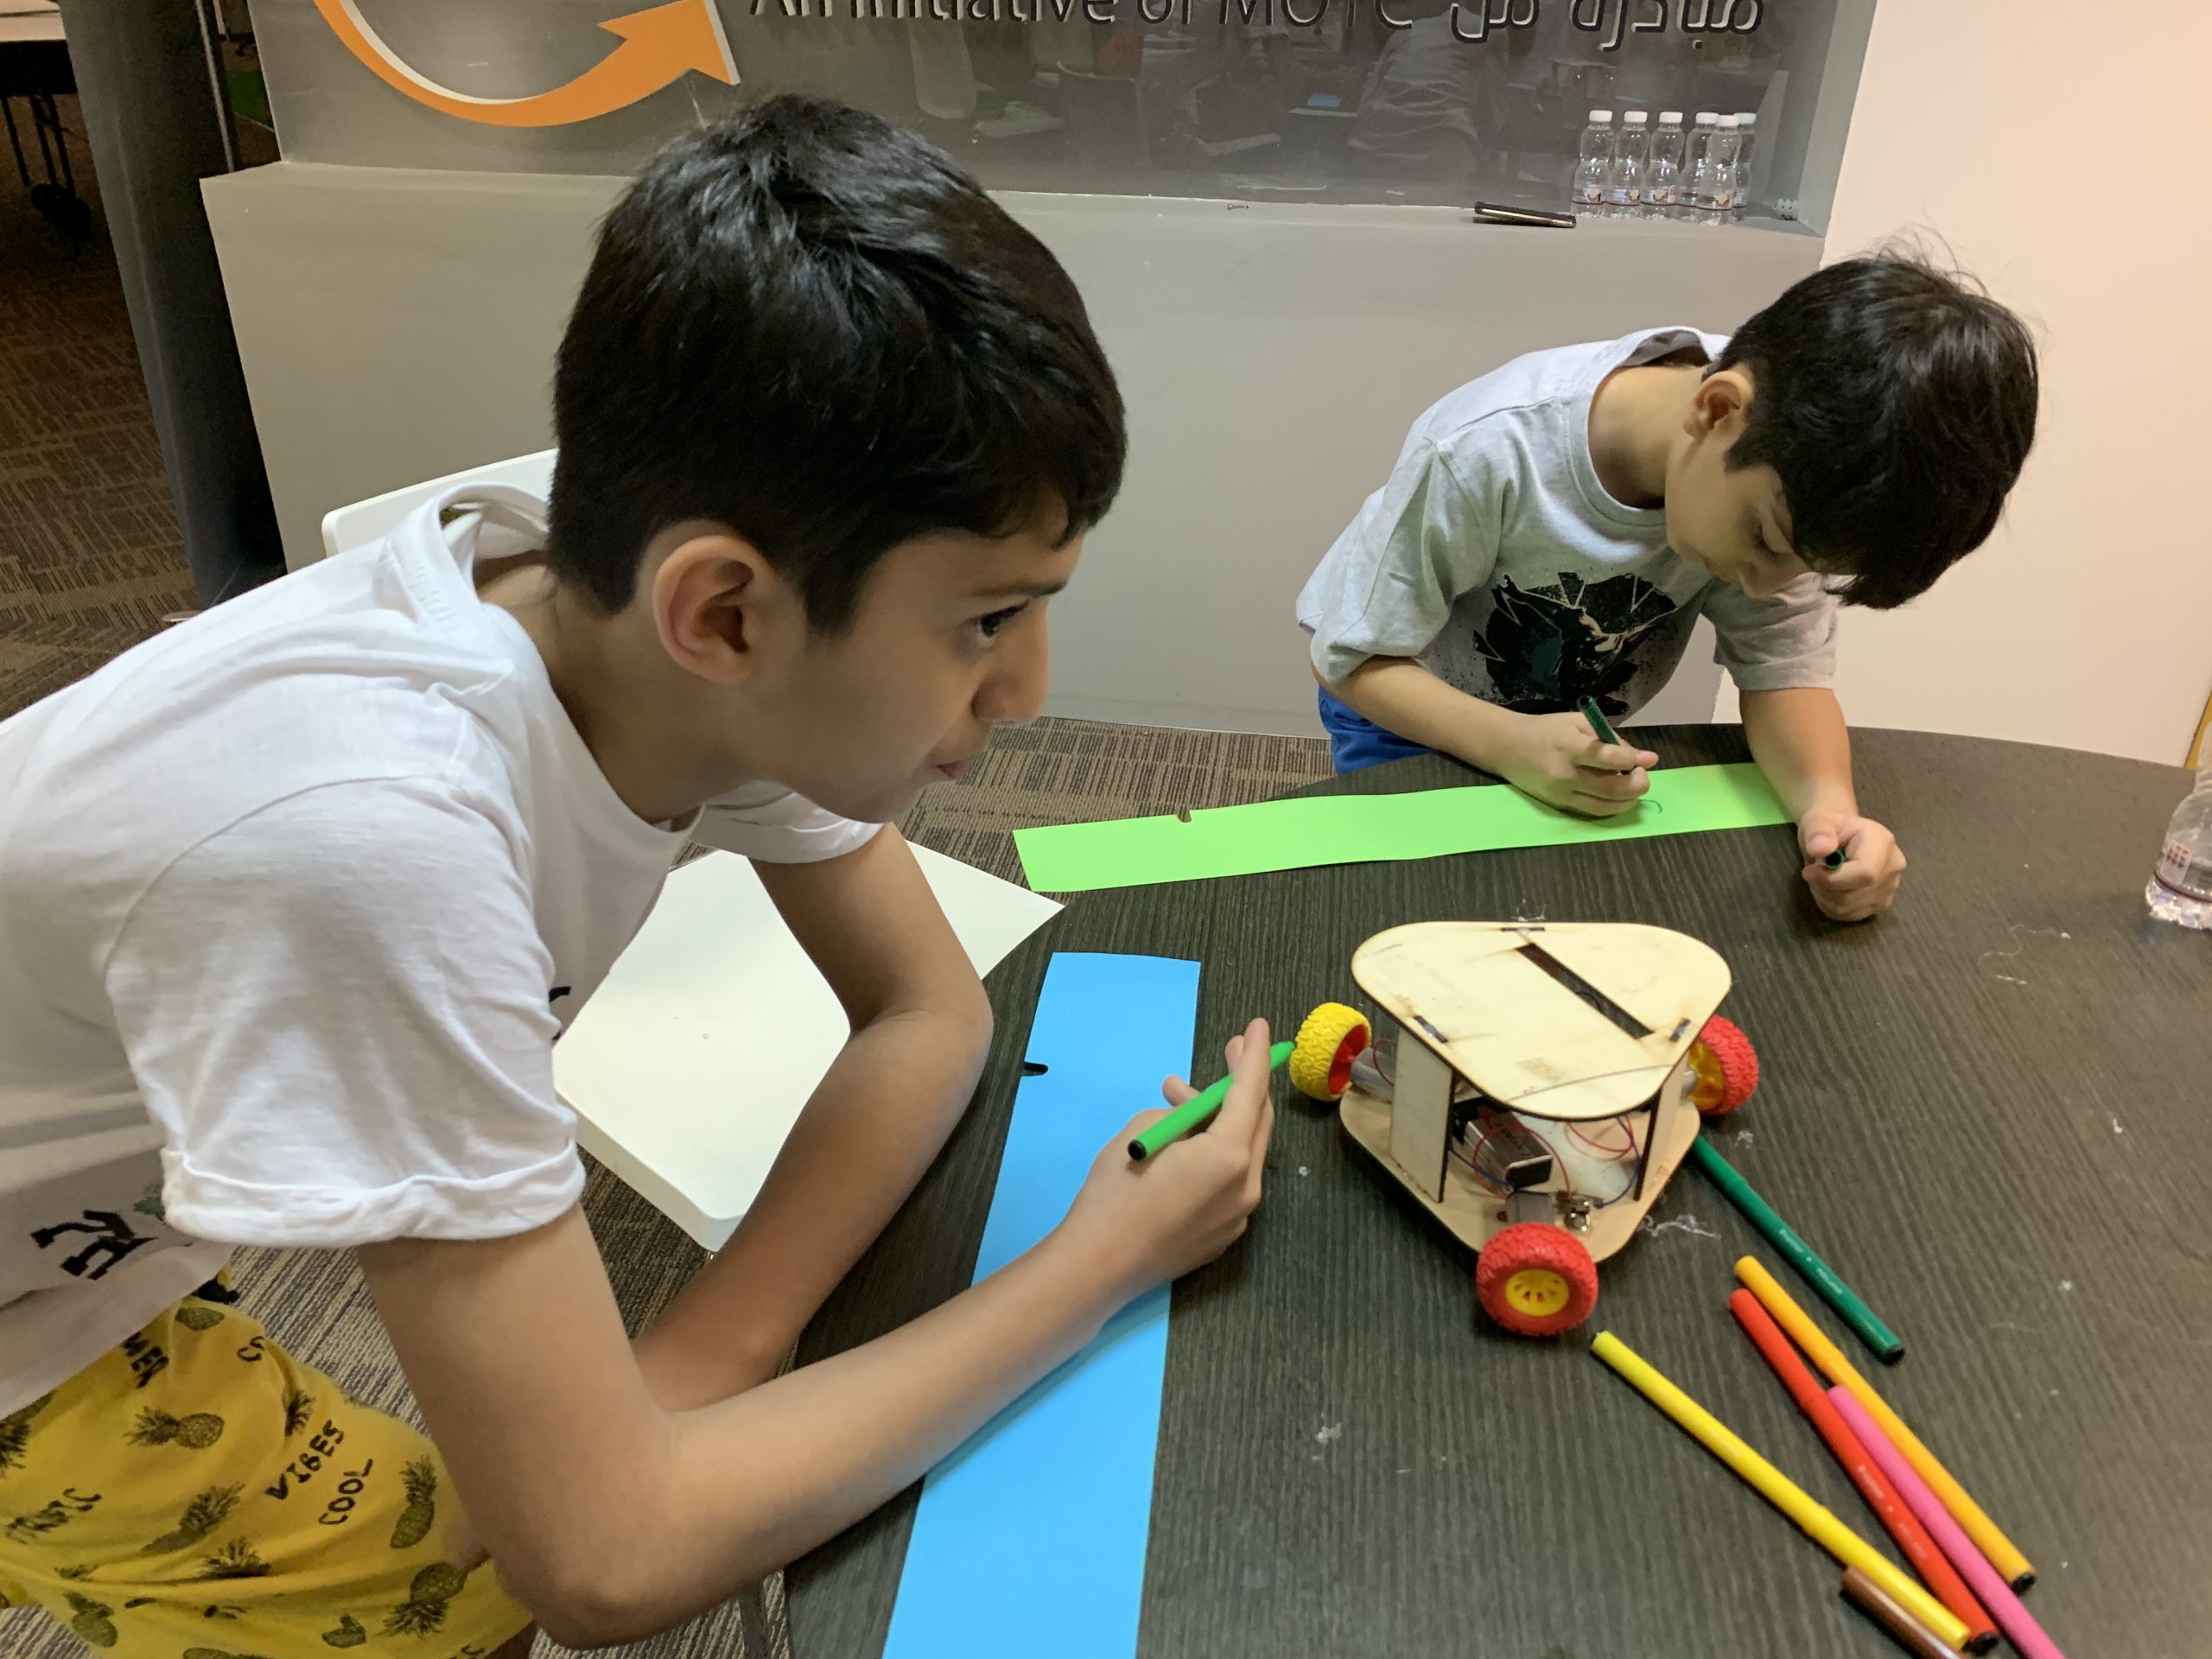
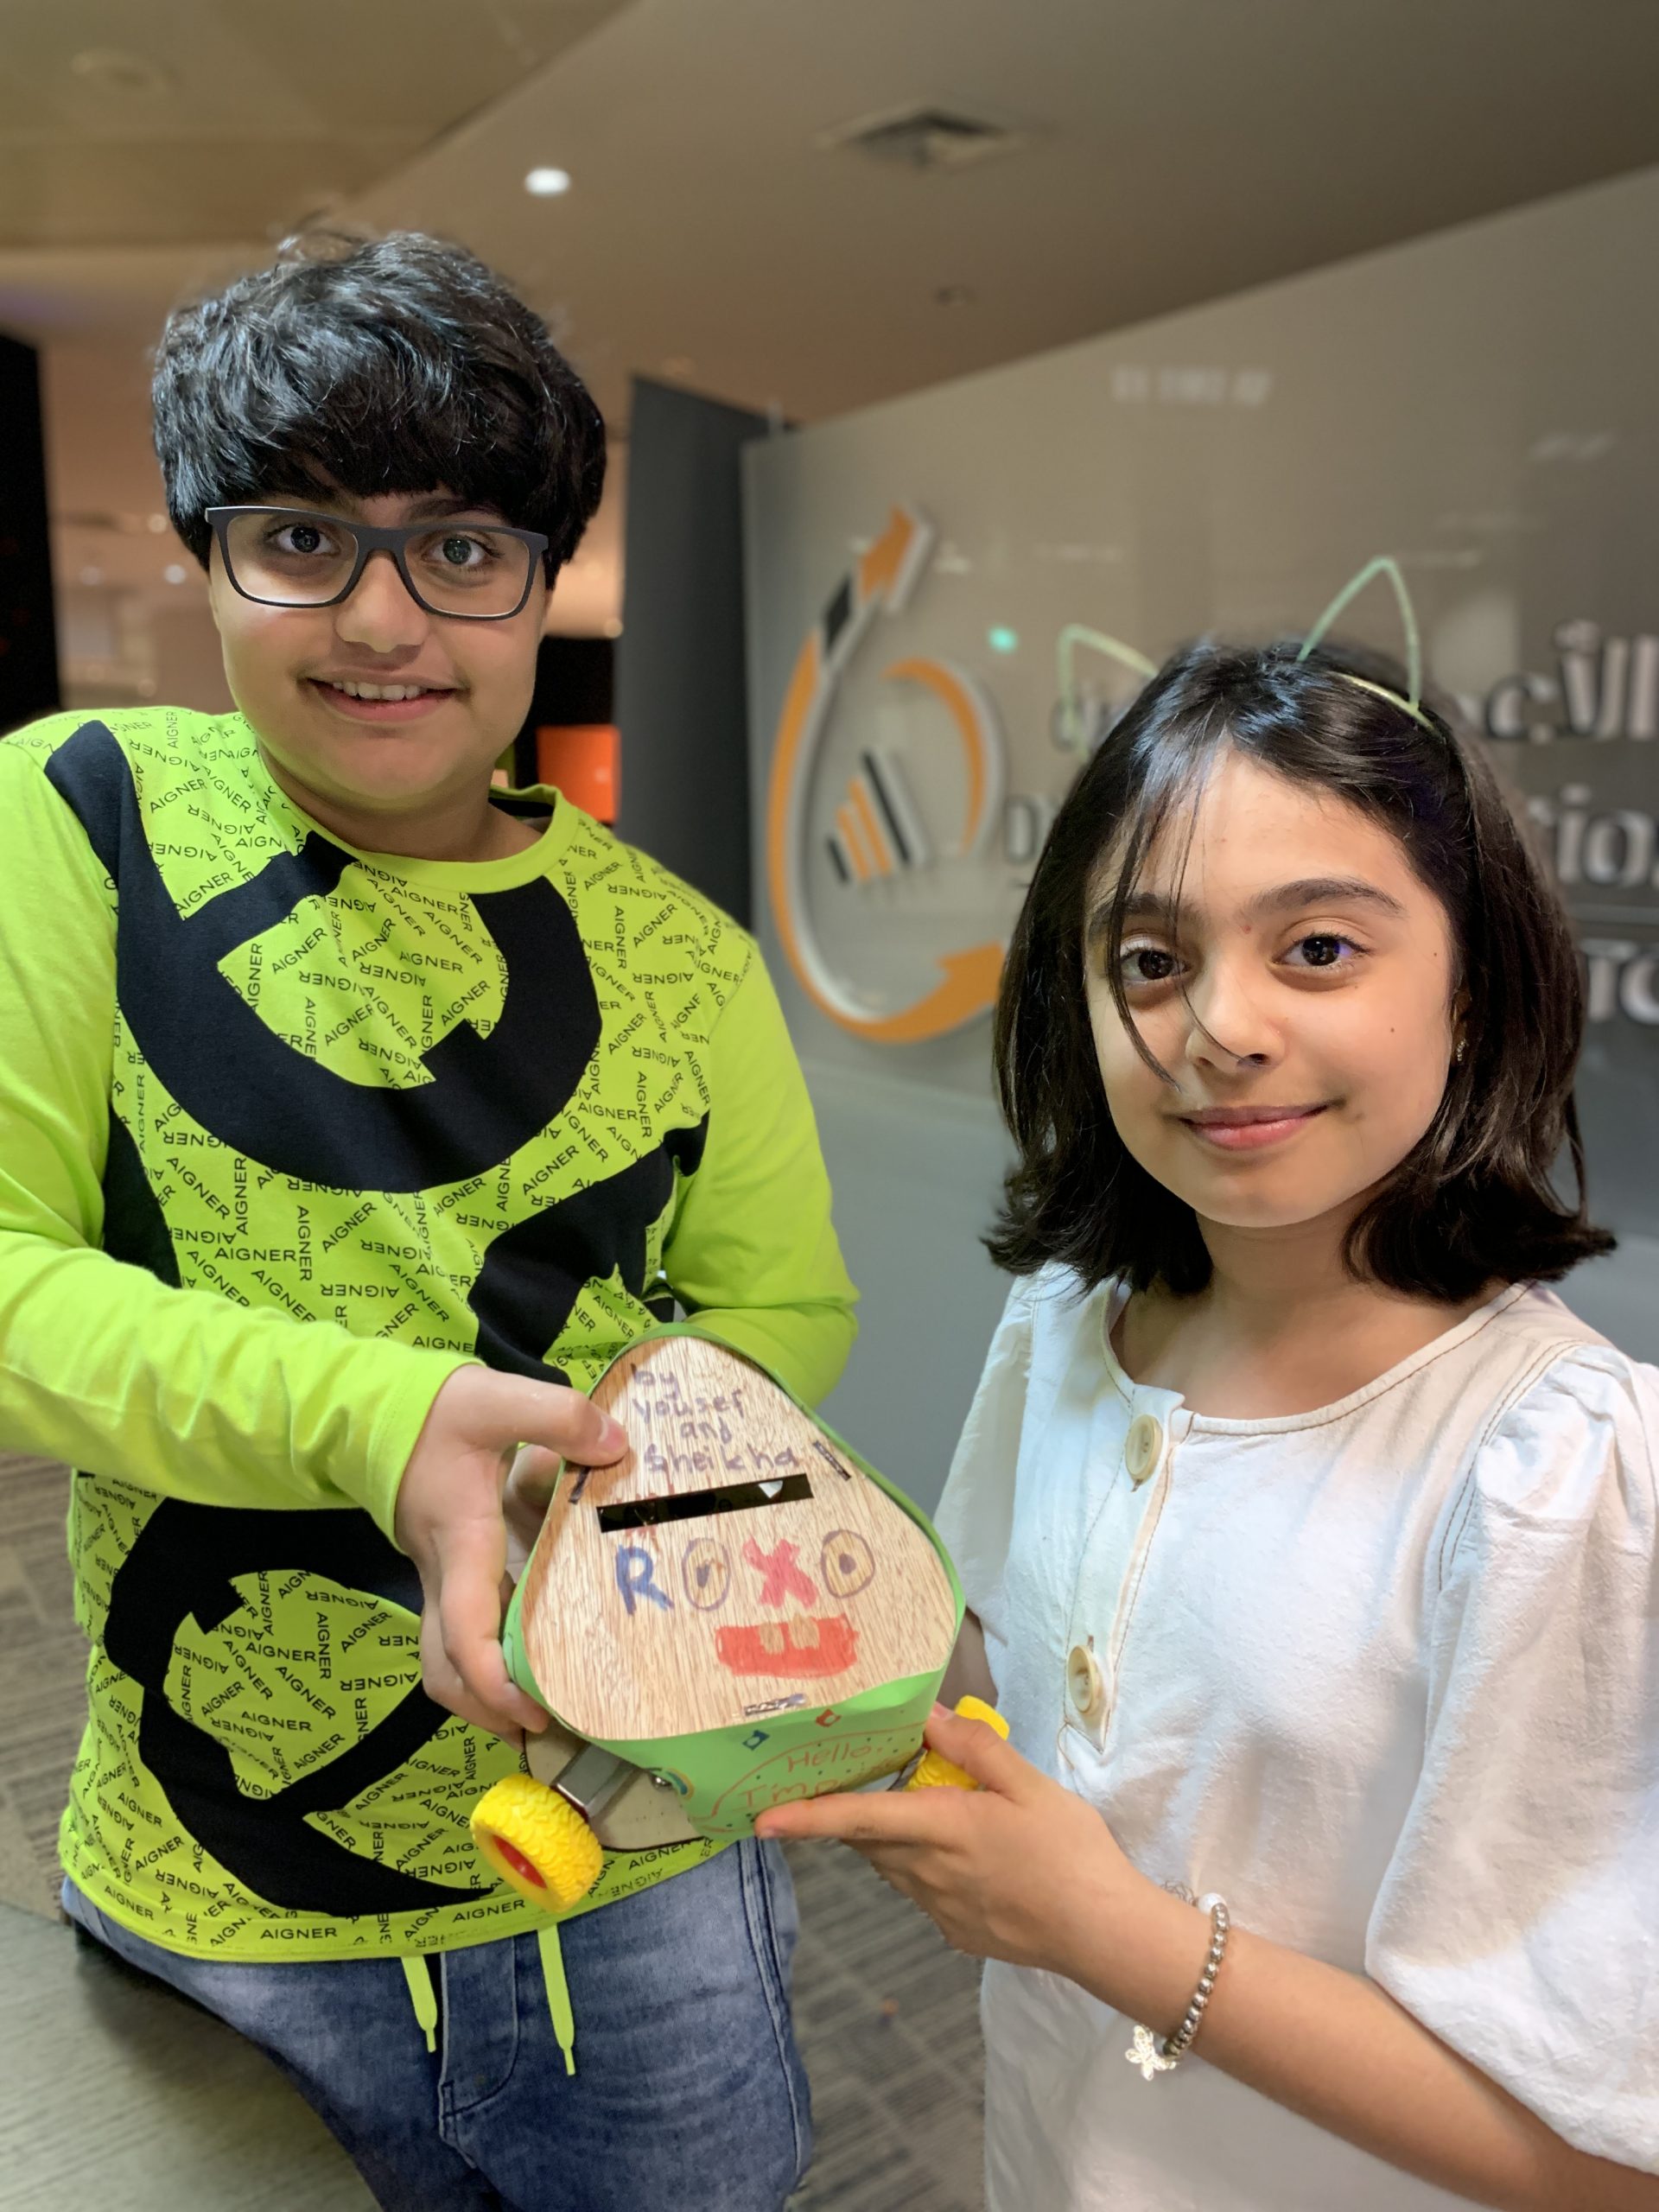
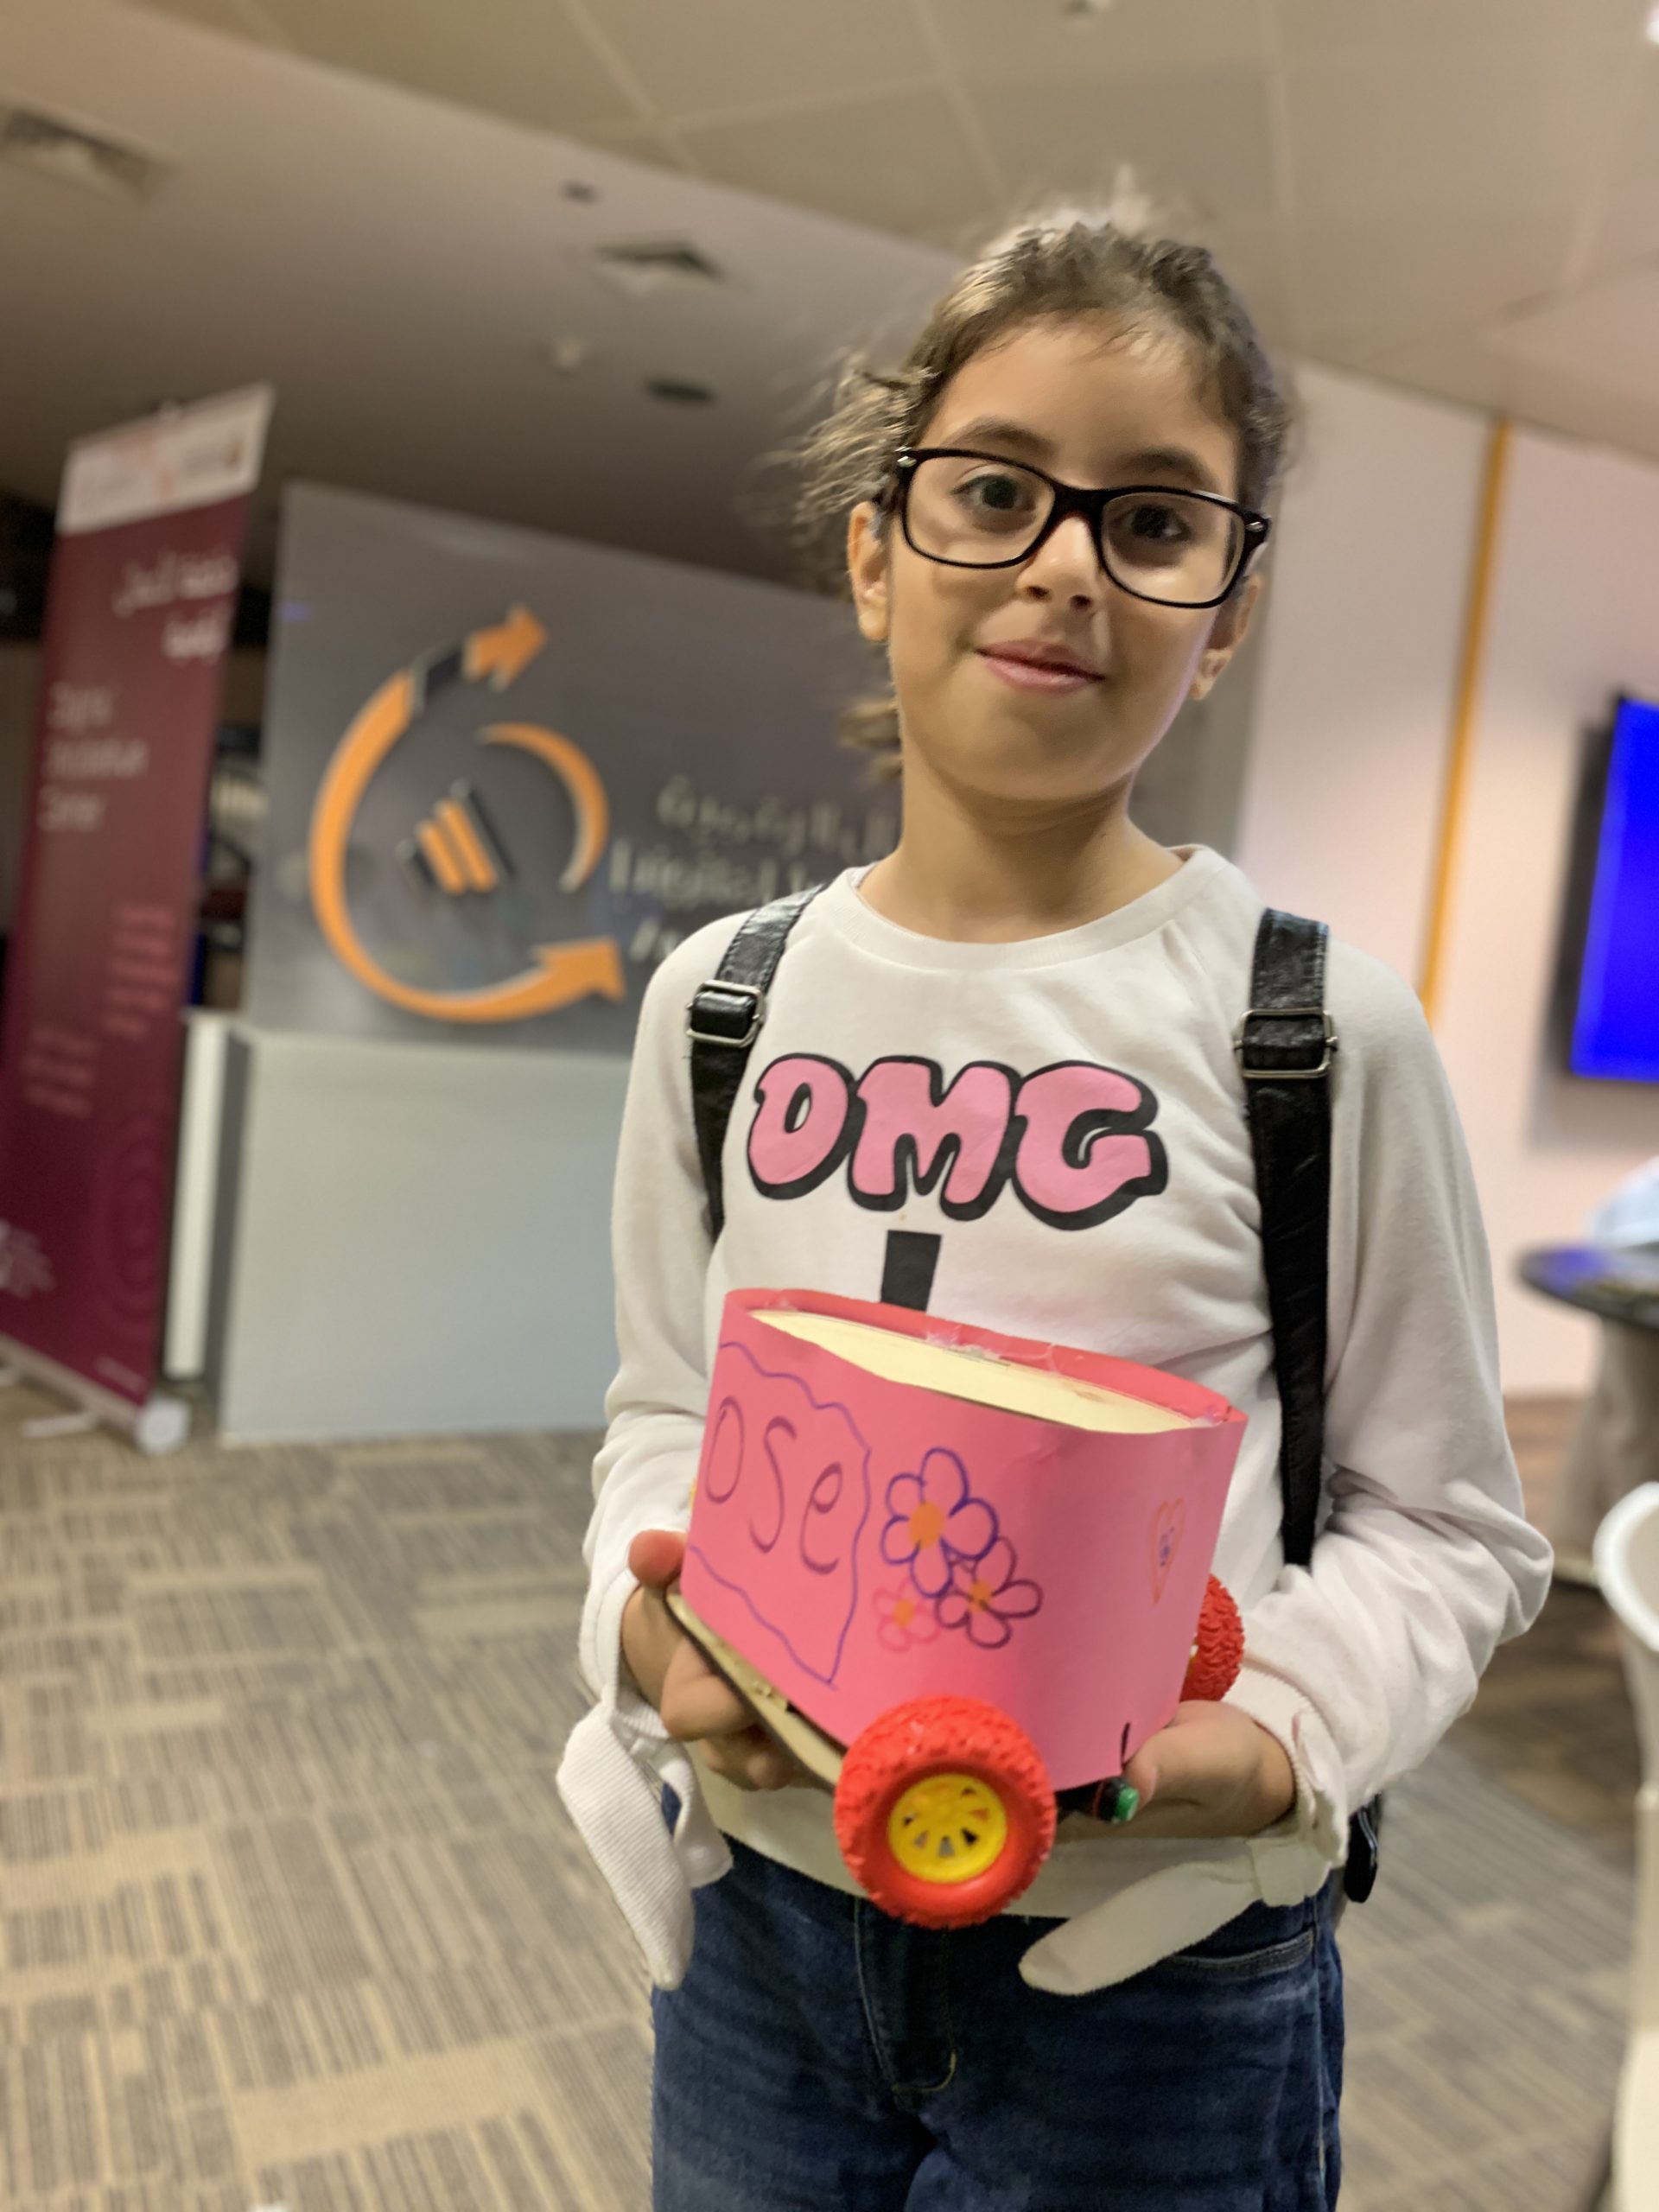
Give your robot a name and personality

Using the cardboard and markers to give your robot a name or face. cover your robot with the personalized cardboard.

Taking videos

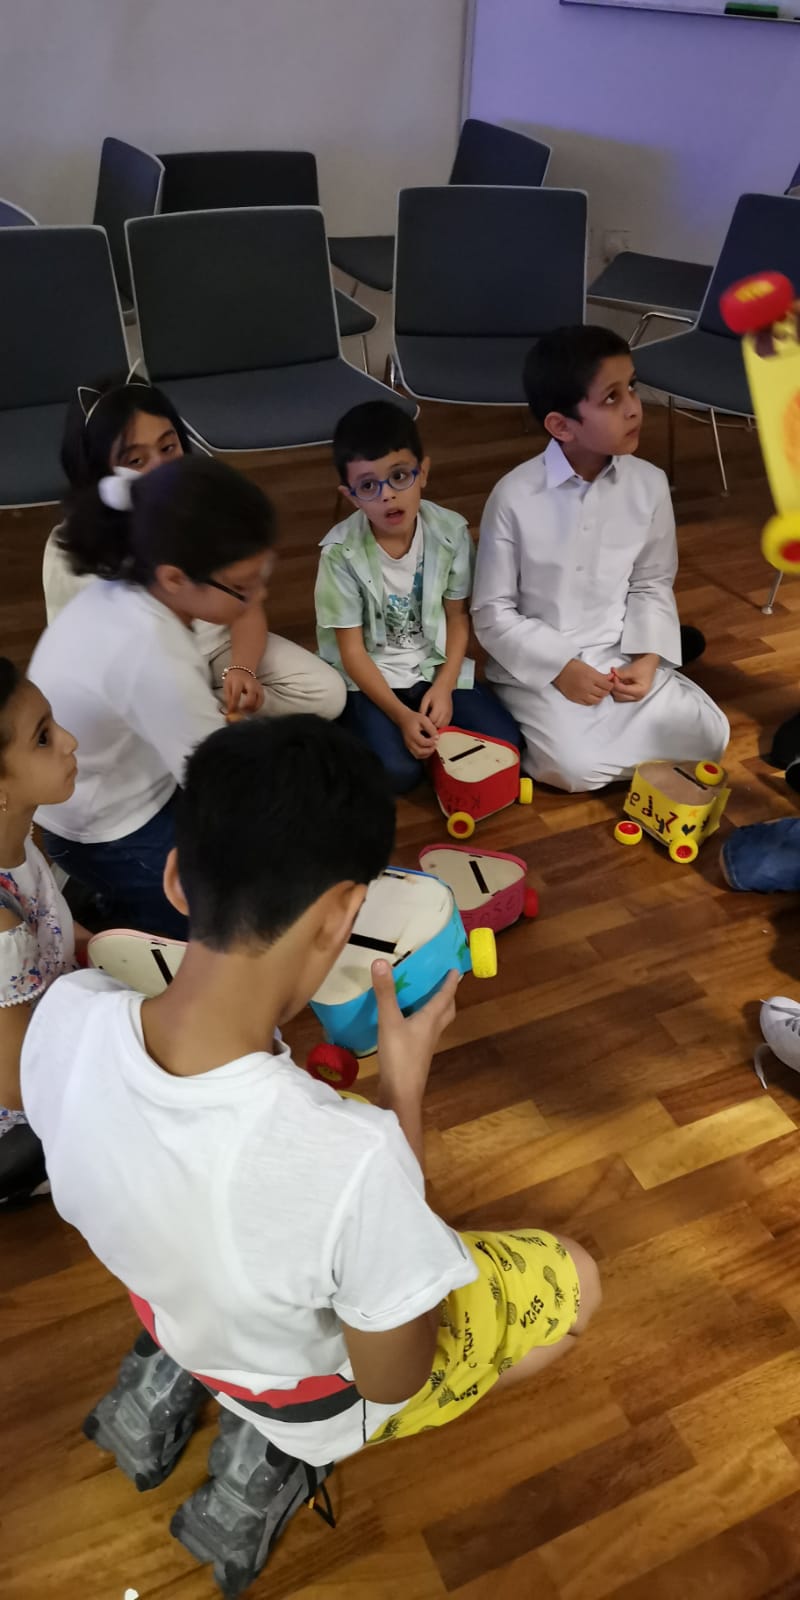
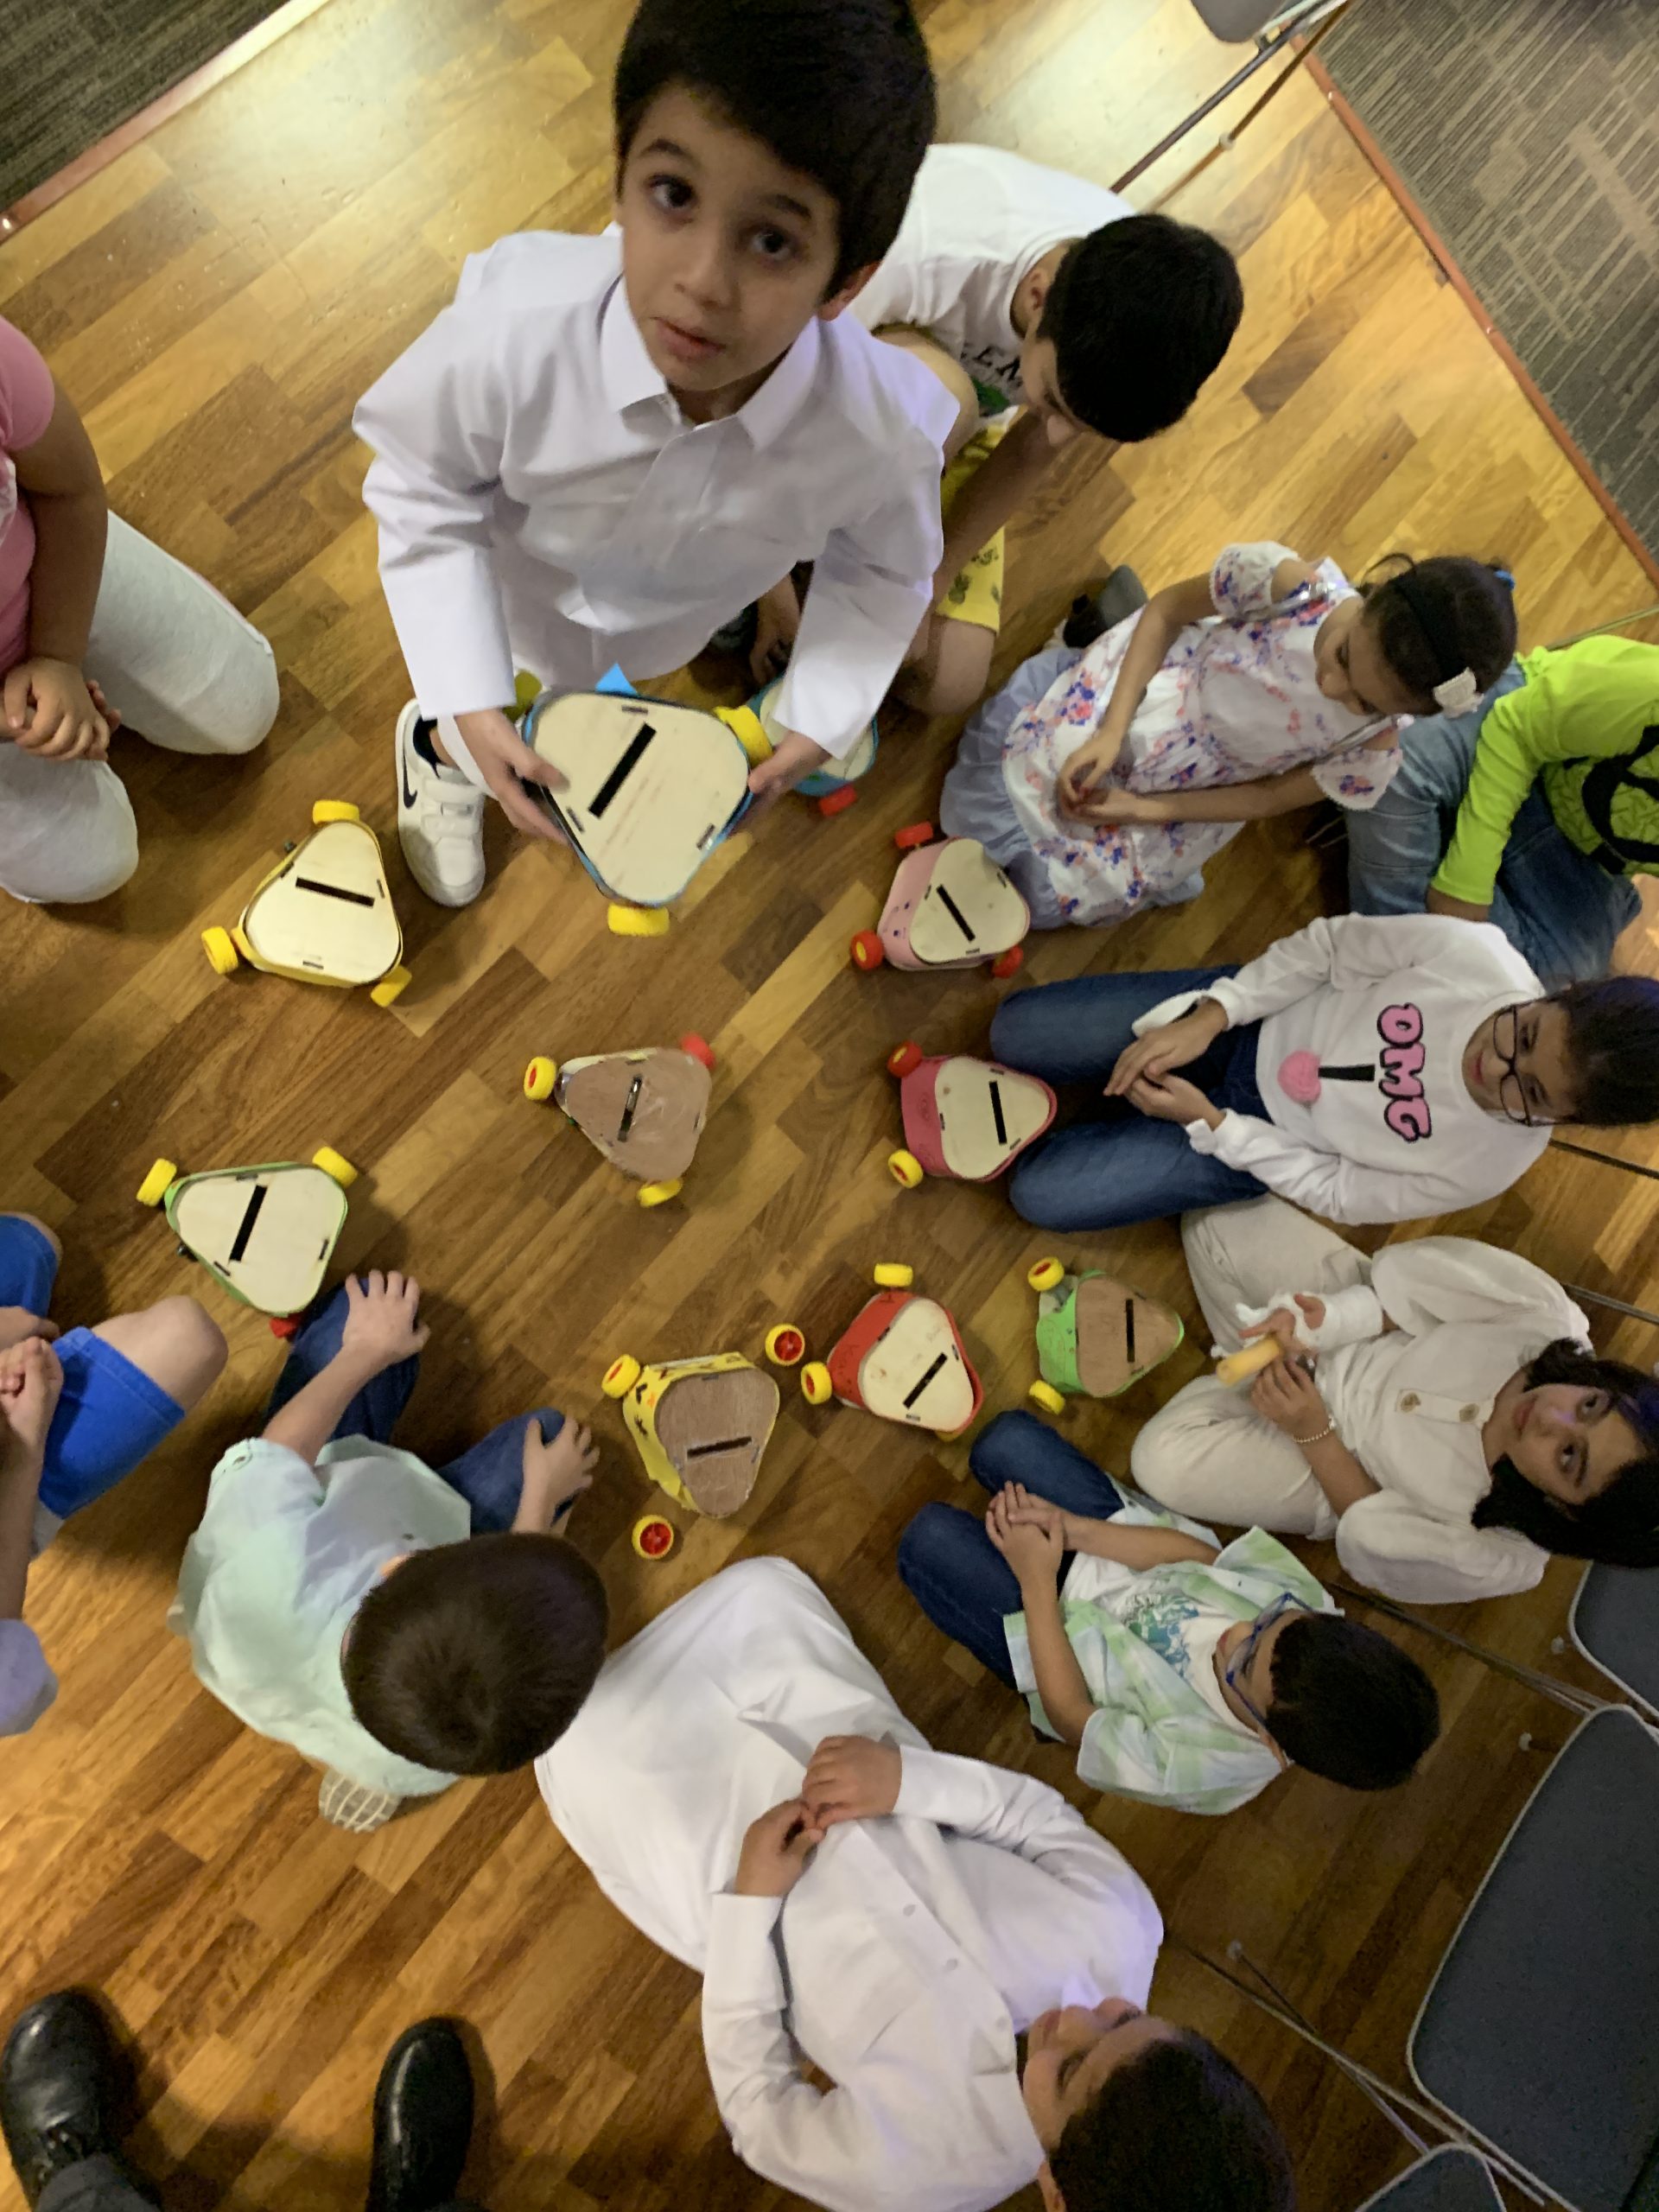
Turn the robot on to take videos around

  1. Put your mobile on the Slow motion video record mode.
  2. Attach your mobile phone to the hole at the top of the robot.
  3. Turn on the bush button and let the robot record a video in 360 degree around.


Standards

  • (Fab-Safety.1): I can safely conduct myself in a Fab Lab and observe operations under instructor guidance.
  • (Fab-Electronics.1): I can follow instructions to build a simple electrical circuit using conductive material, basic components, and power.
  • (Fab-Fabrication.1): I can follow instructor guided steps that link a software to a machine to produce a simple physical artifact.
  • (Fab-Design.1): I can be responsible for various activities throughout a design process within a group under instructor guidance.
  • (Fab-Safety.1): I can safely conduct myself in a Fab Lab and observe operations under instructor guidance.
  • (Fab-Electronics.1): I can follow instructions to build a simple electrical circuit using conductive material, basic components, and power.
  • (Fab-Fabrication.1): I can follow instructor guided steps that link a software to a machine to produce a simple physical artifact.

Lesson Feedback

One Response

  1. FerasMestariheh February 3, 2020
Load More