- Loading…

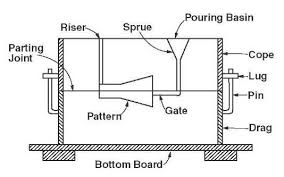
Sand molded casting is a metal casting process characterized by using sand as the mold material. The term “sand casting” can also refer to a machined part that was produced from the sand casting process. Students grades 11-12 will first design a 3D model to be carved from wood on a CNC mill. Once the model is made, it is the student’s job to press it into a sand casting in order to pour the molten aluminum into it, solidify the mold.
Software:
Tools/Machines:
Materials:
Use the appropriate steps needed to design, draw, and/or sculpt a 3D Model from a CAD software which may include Autodesk Fusion 360, Inventor, Onshape, Rhino, Solidworks, Sketchup, or something similar. Continue by using CAM software such as Aspire to tool path the model in a CNC Mill
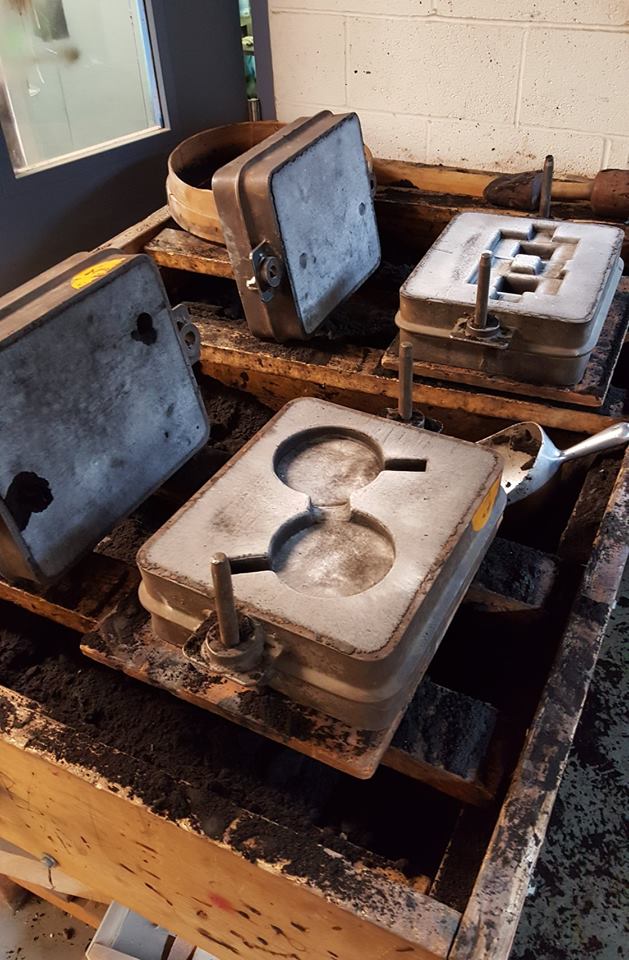
The size of the casting flask you are using is critical for knowing the constraints in size when making the wooden model. For my example, I am using a flask that can hold 14″ x 12″ x 8″ of sand which gives me up to about 12″ x 10″ x 6″ of space to fit the model I wish to cast.
Start by creating this design on a 3D modeling software in order to output a .STL file. Below shows a model being produced by Autodesk Inventor.

Continue by then importing that .STL into your CAM software for tool pathing your CNC milling machine to make the wooden model. The example below shows the Vectric Aspire software that supports dozens of CNC drivers (G-codes).

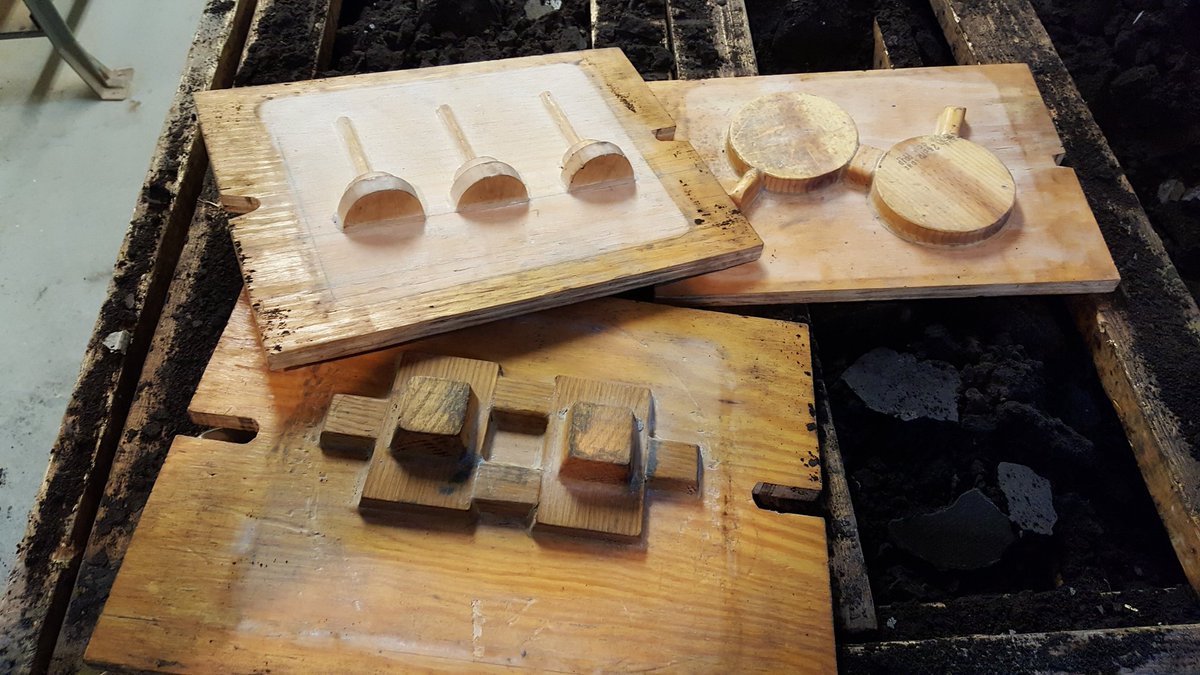
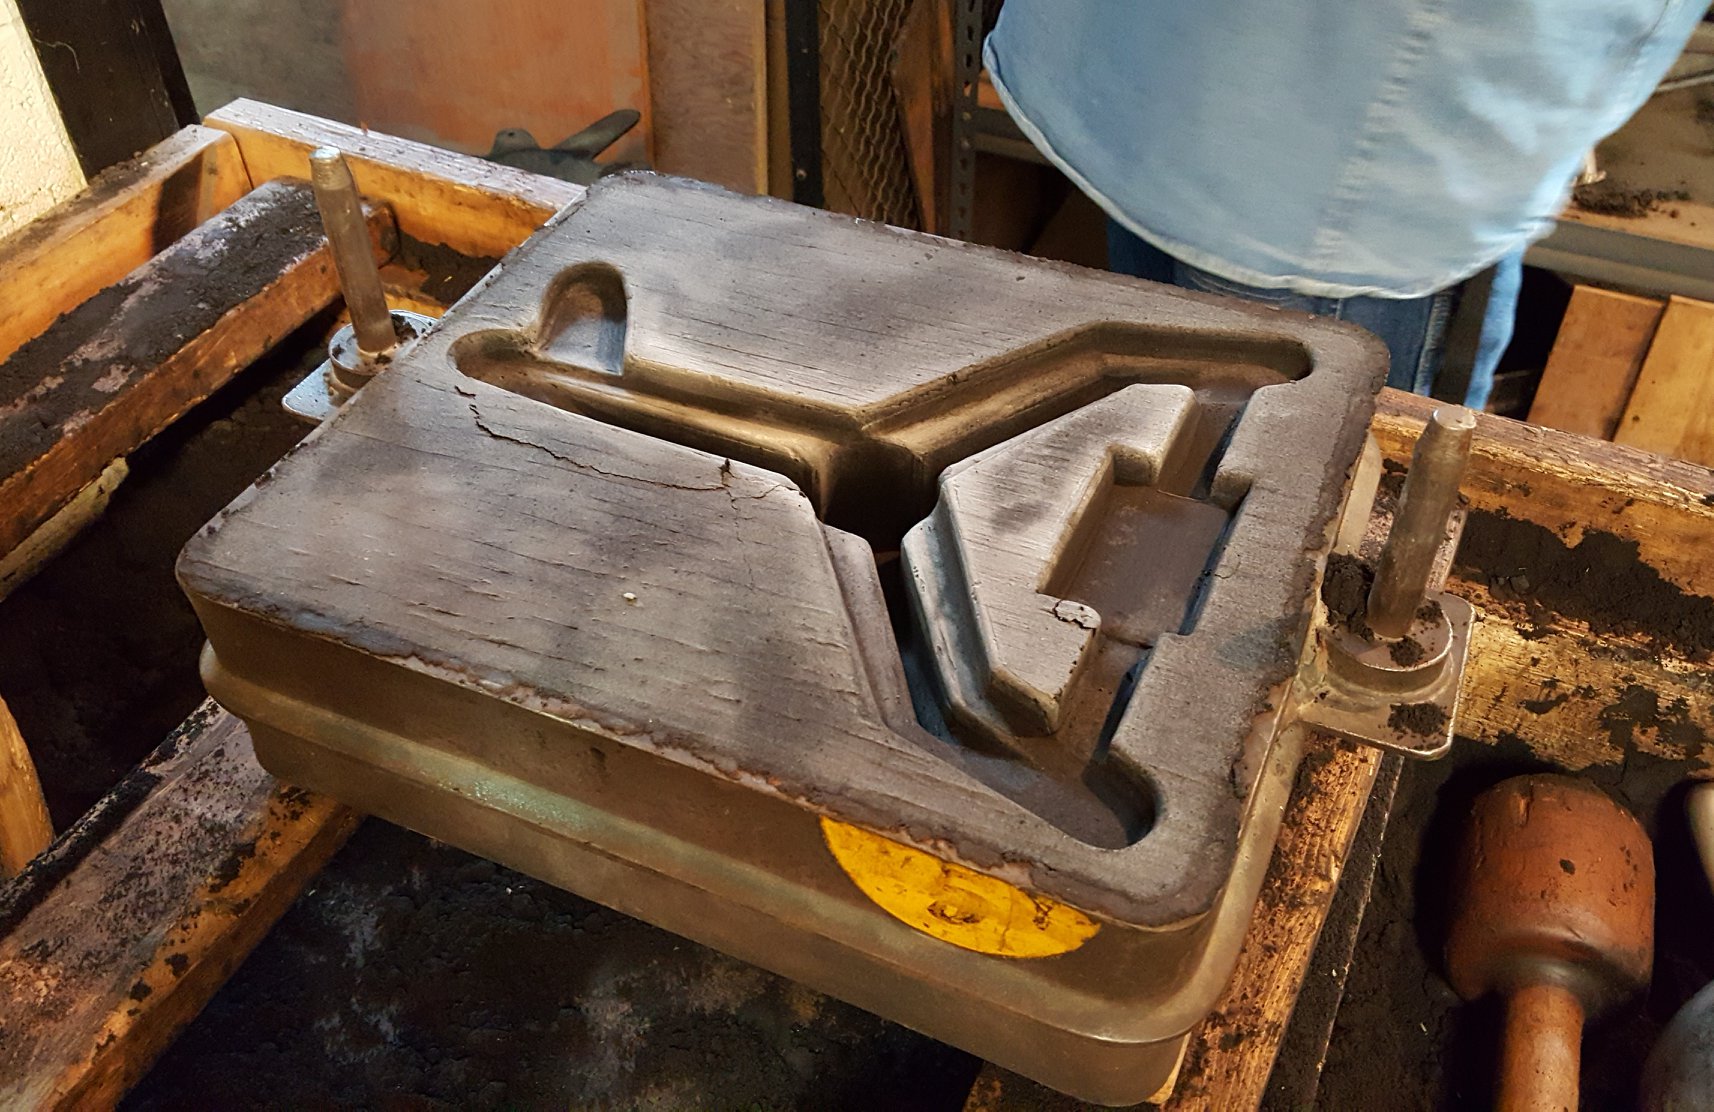
The model can either be carved from one piece of material or assembled together with cocking from different wood pieces, as long as your end result looks similar to the picture below and is able to fit securely in the provided flask.

Design Tips: Making a slightly tapered “draft” along all of the 3D models borders will provide a better release of the form once the sand is packed on. Also make sure to varnish the wood with multiple coats to protect it’s finish when exposing it to sand.
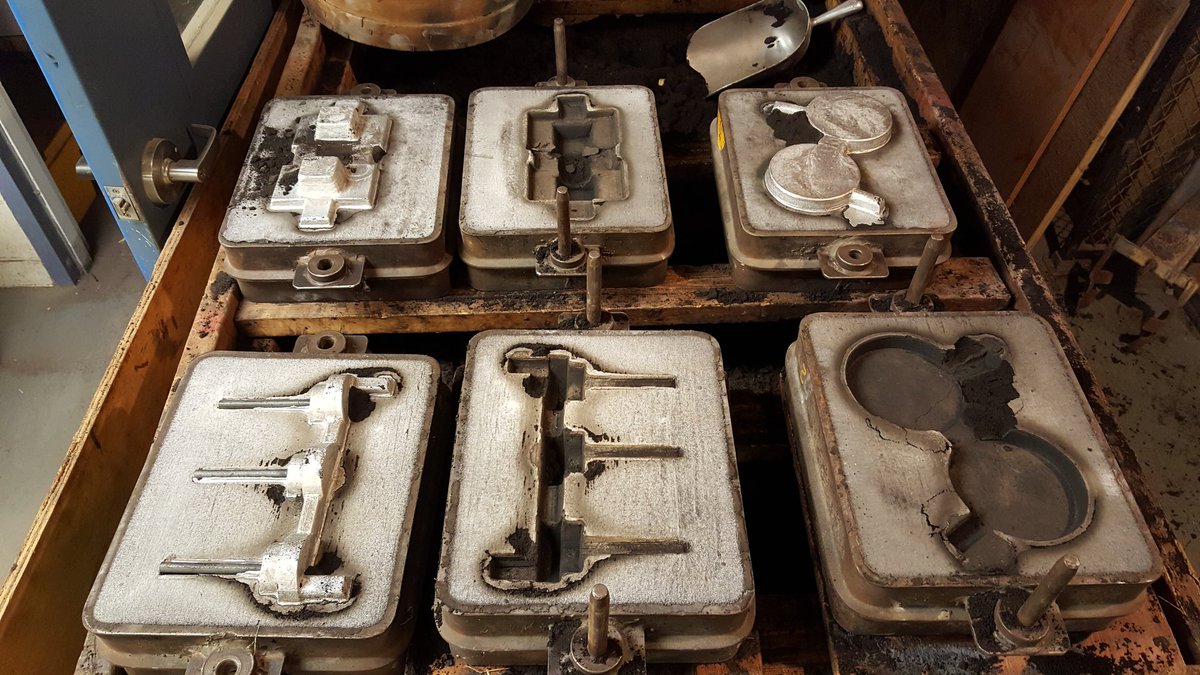
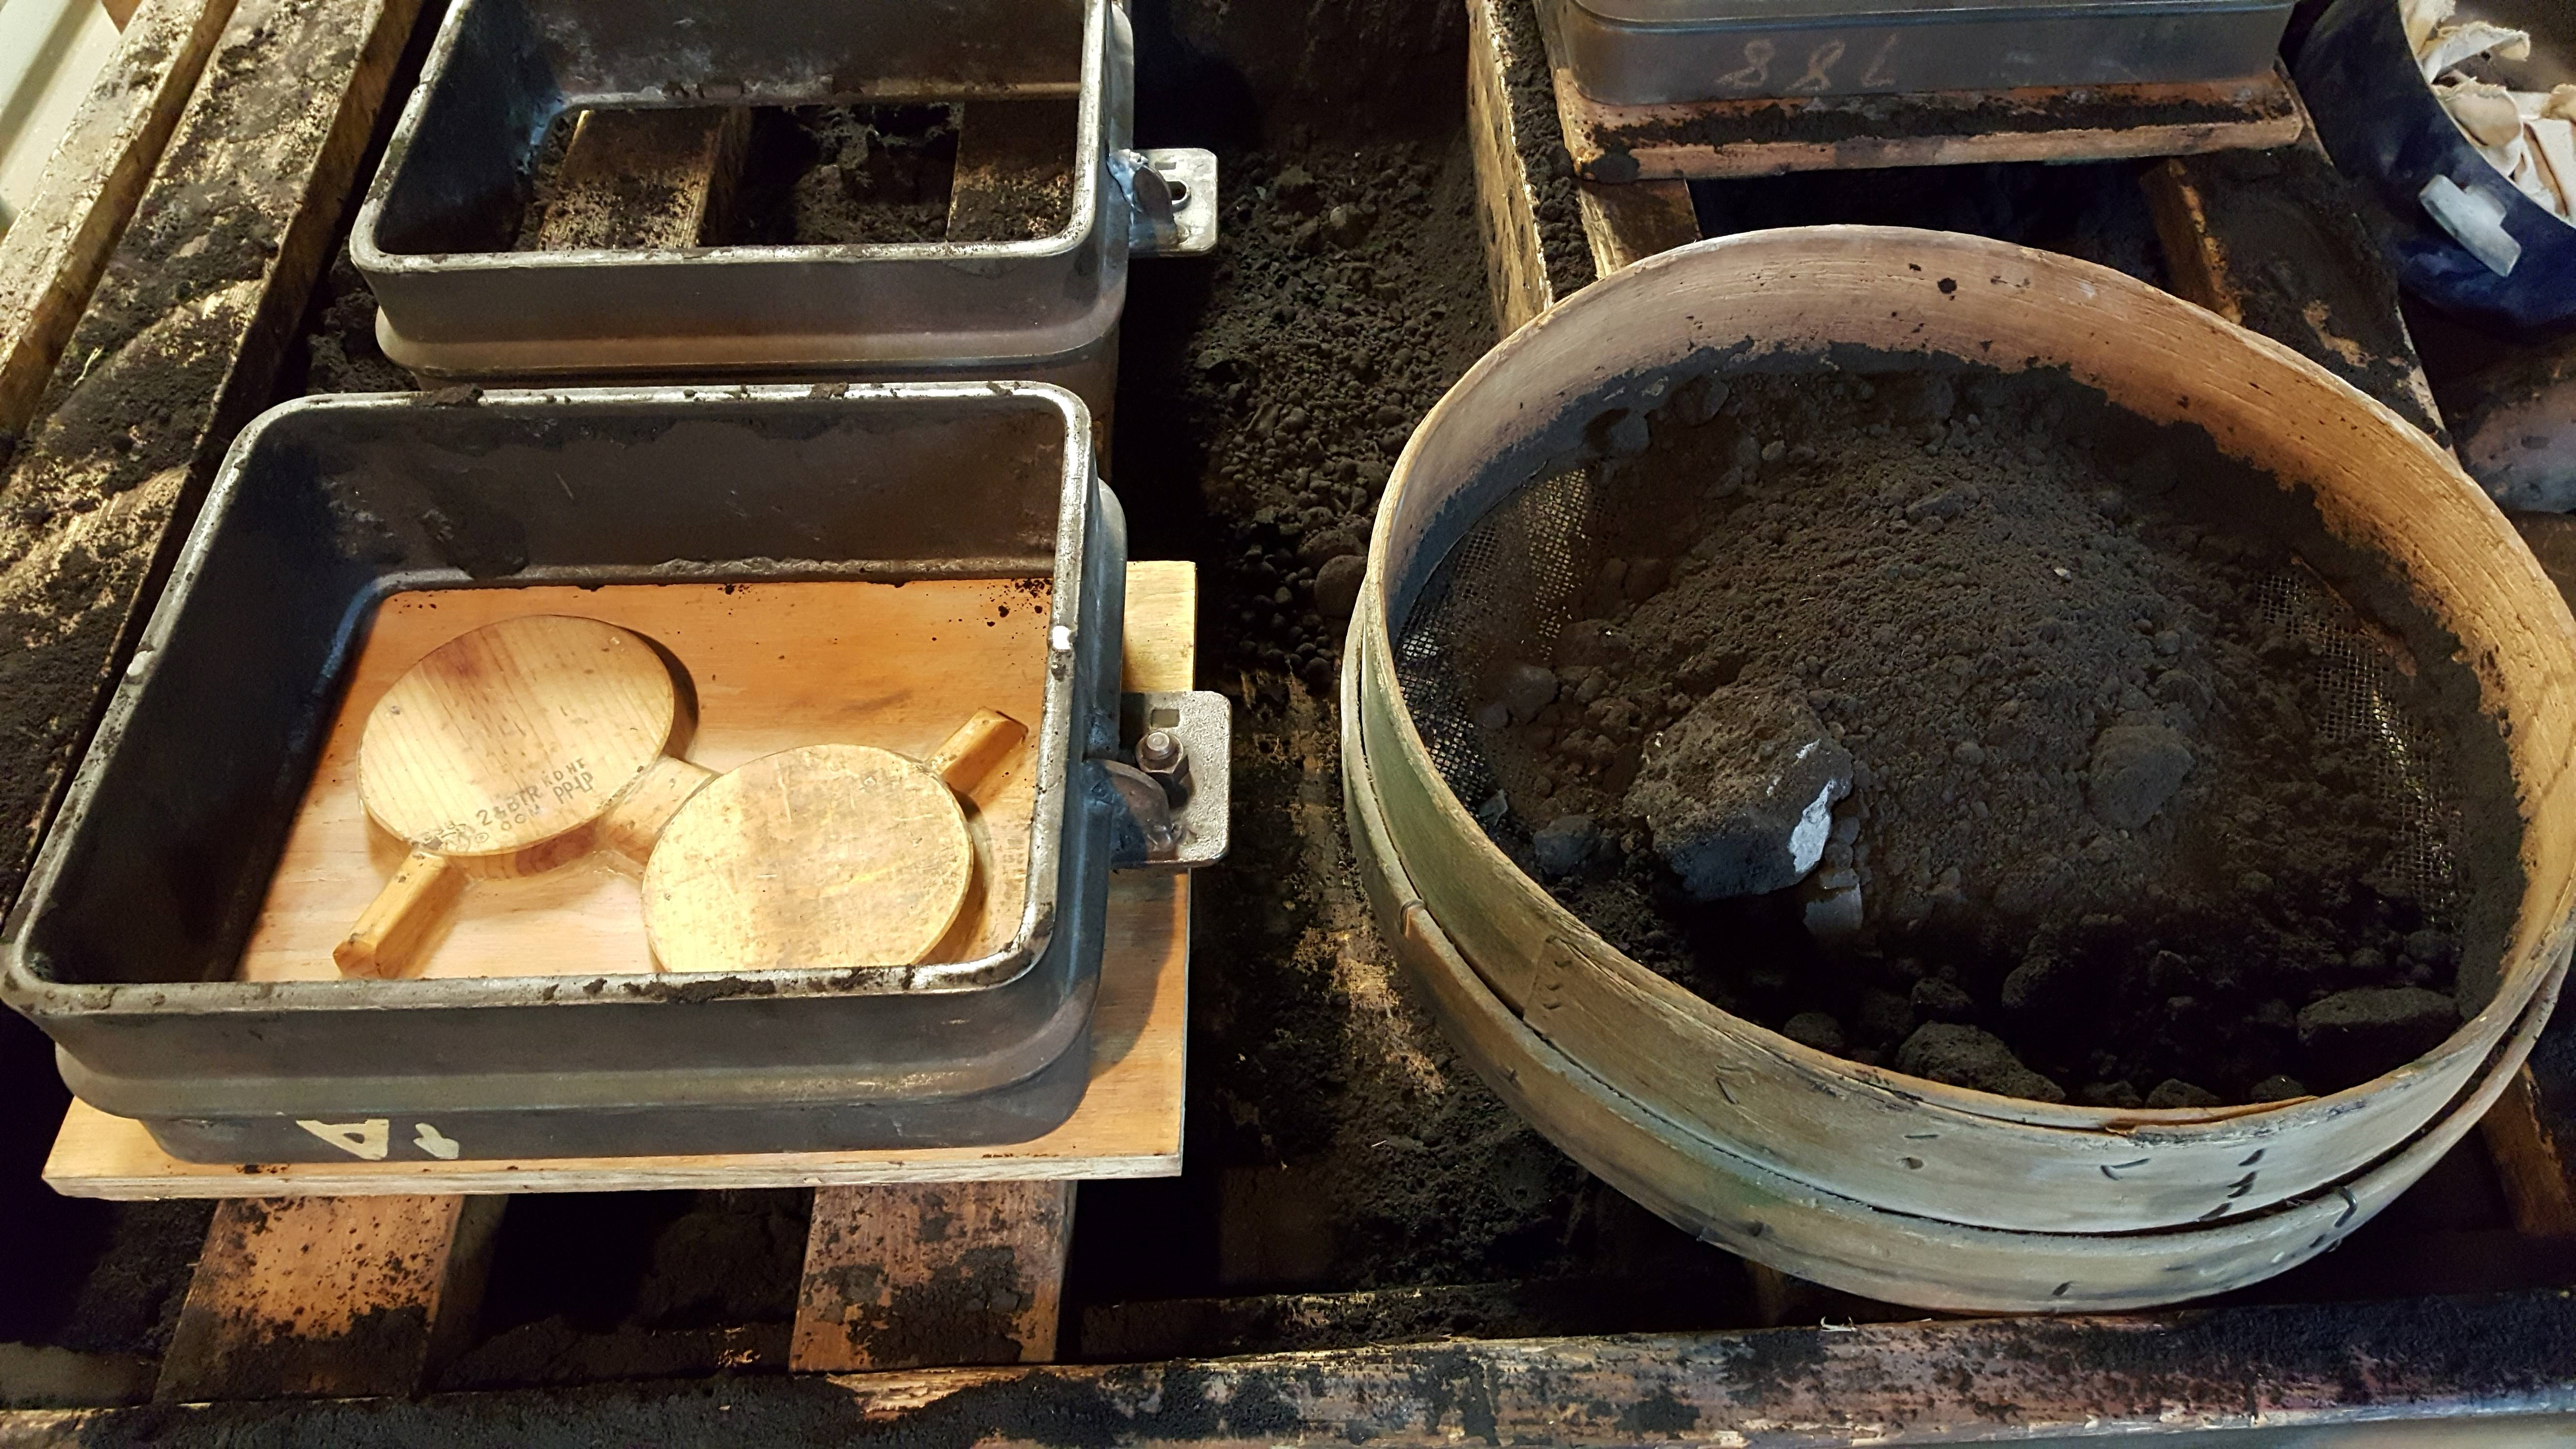
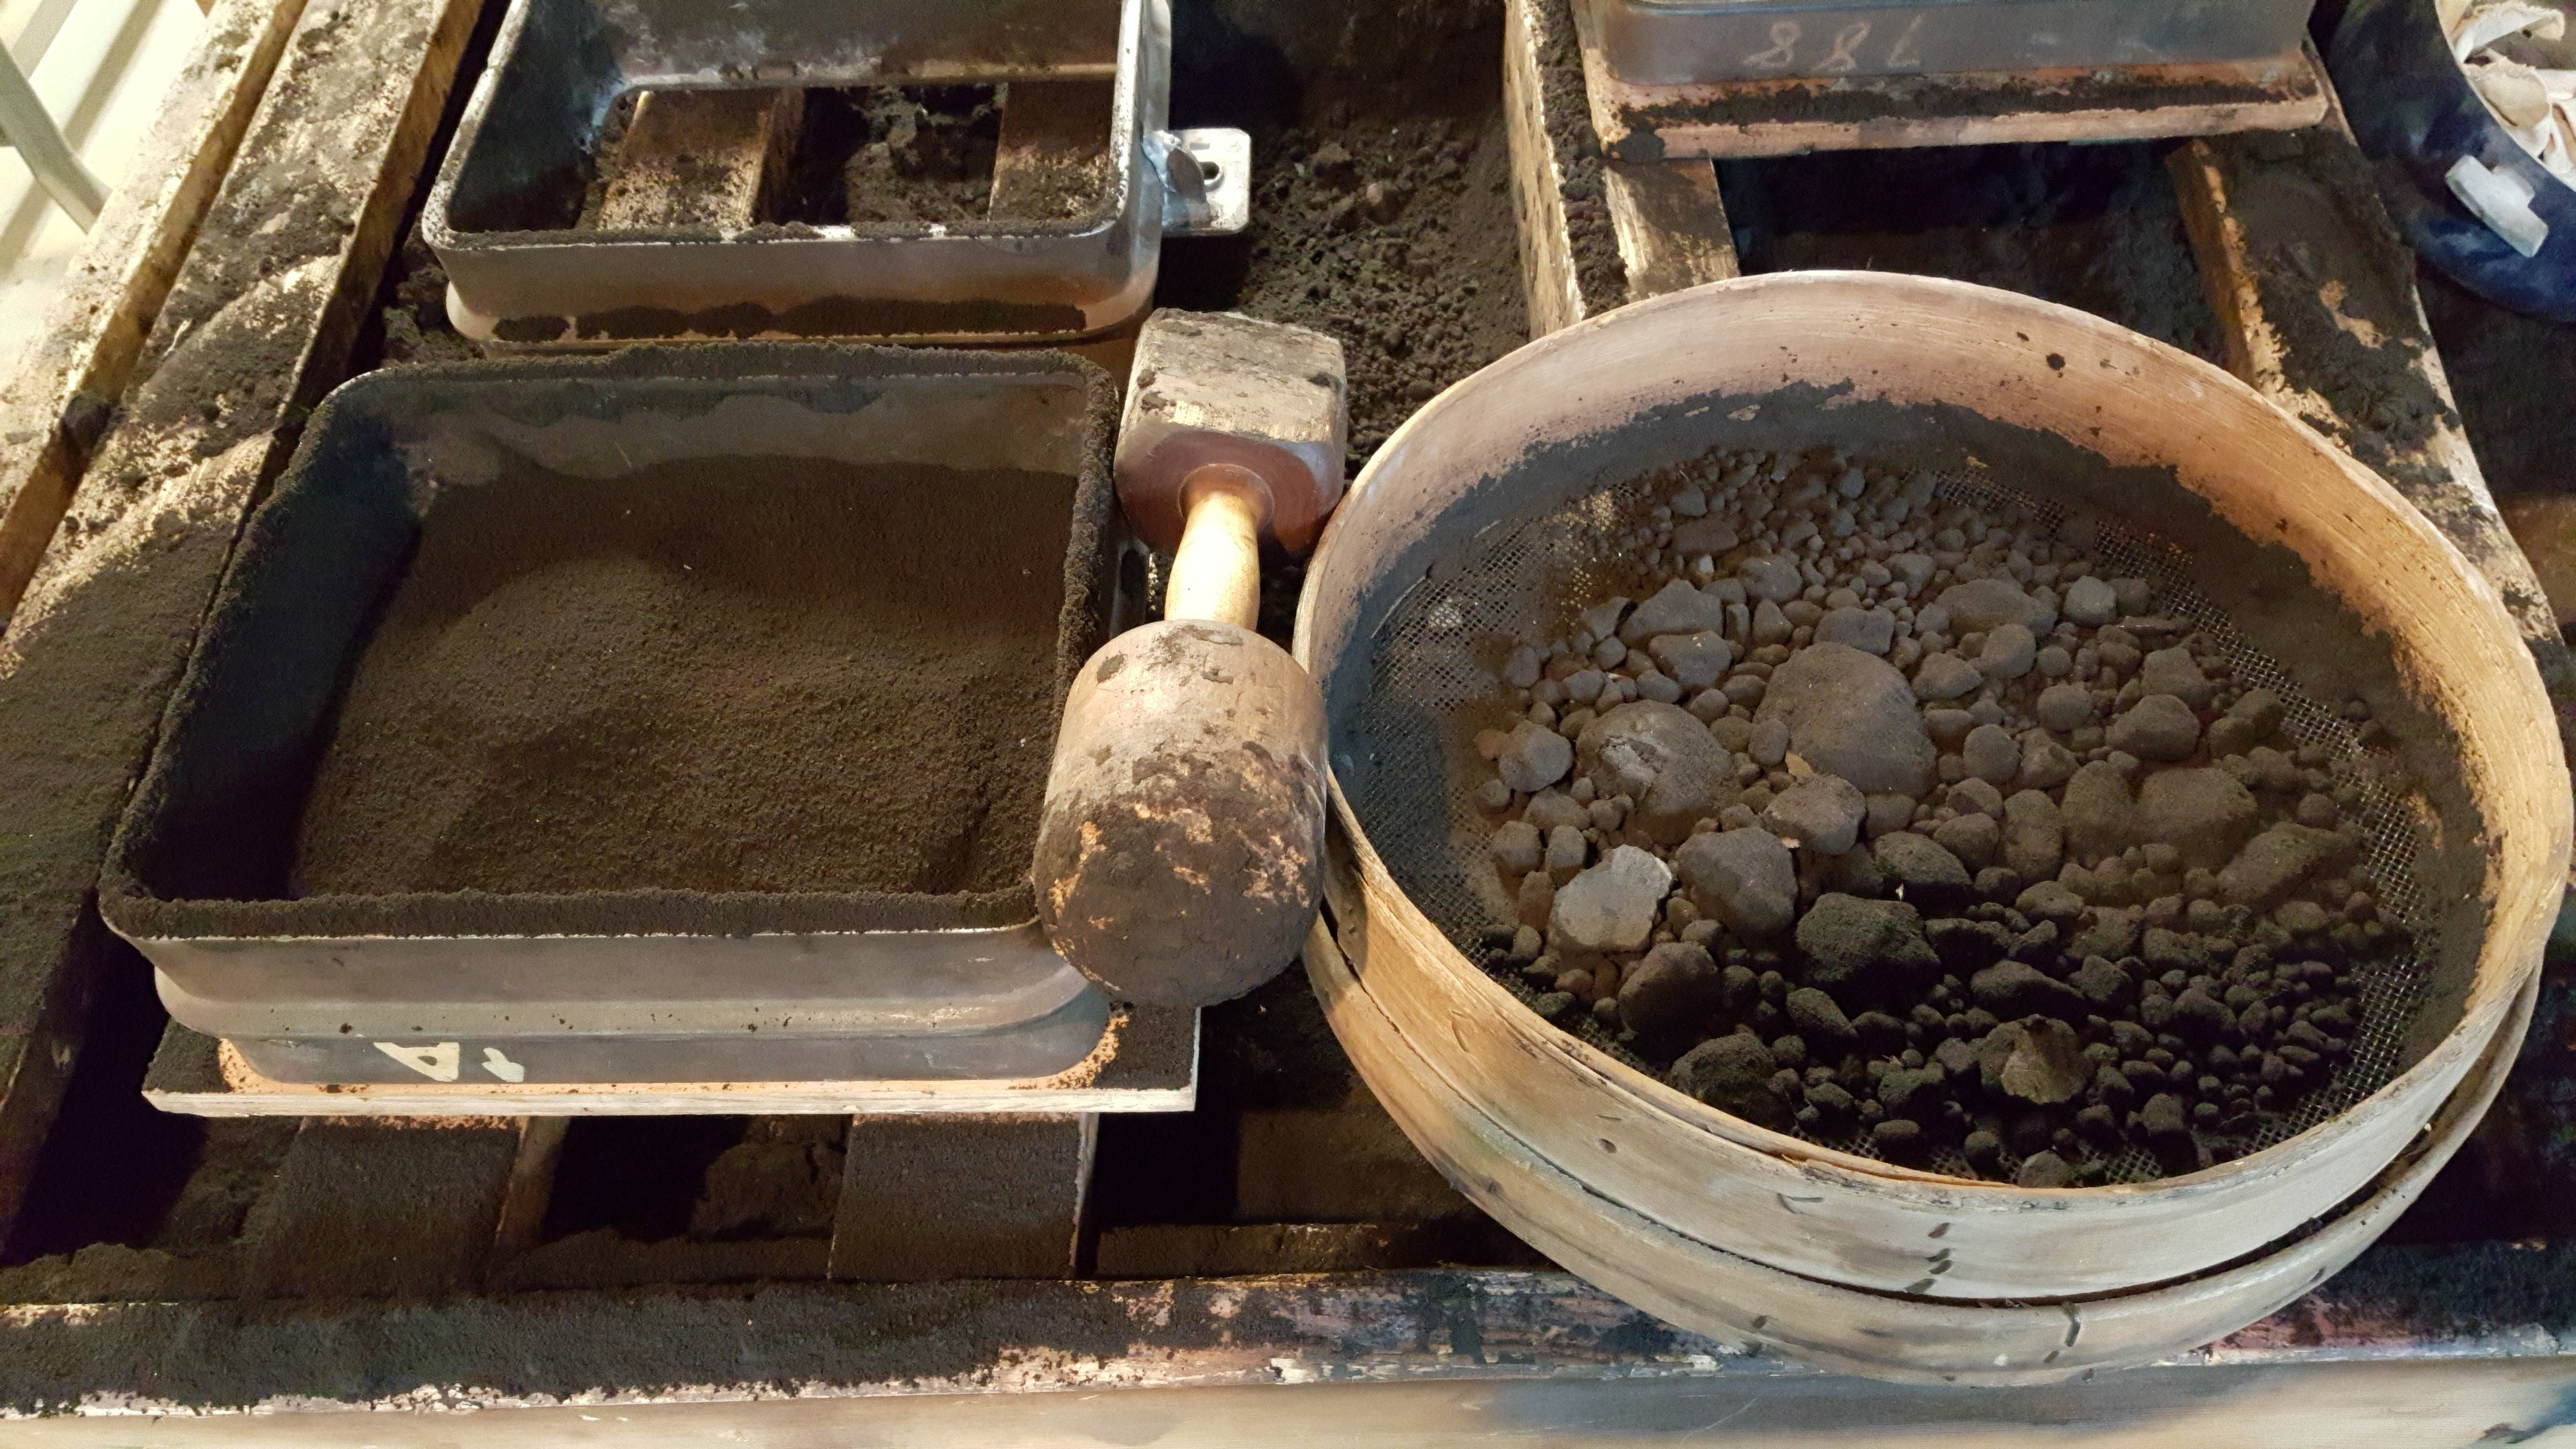
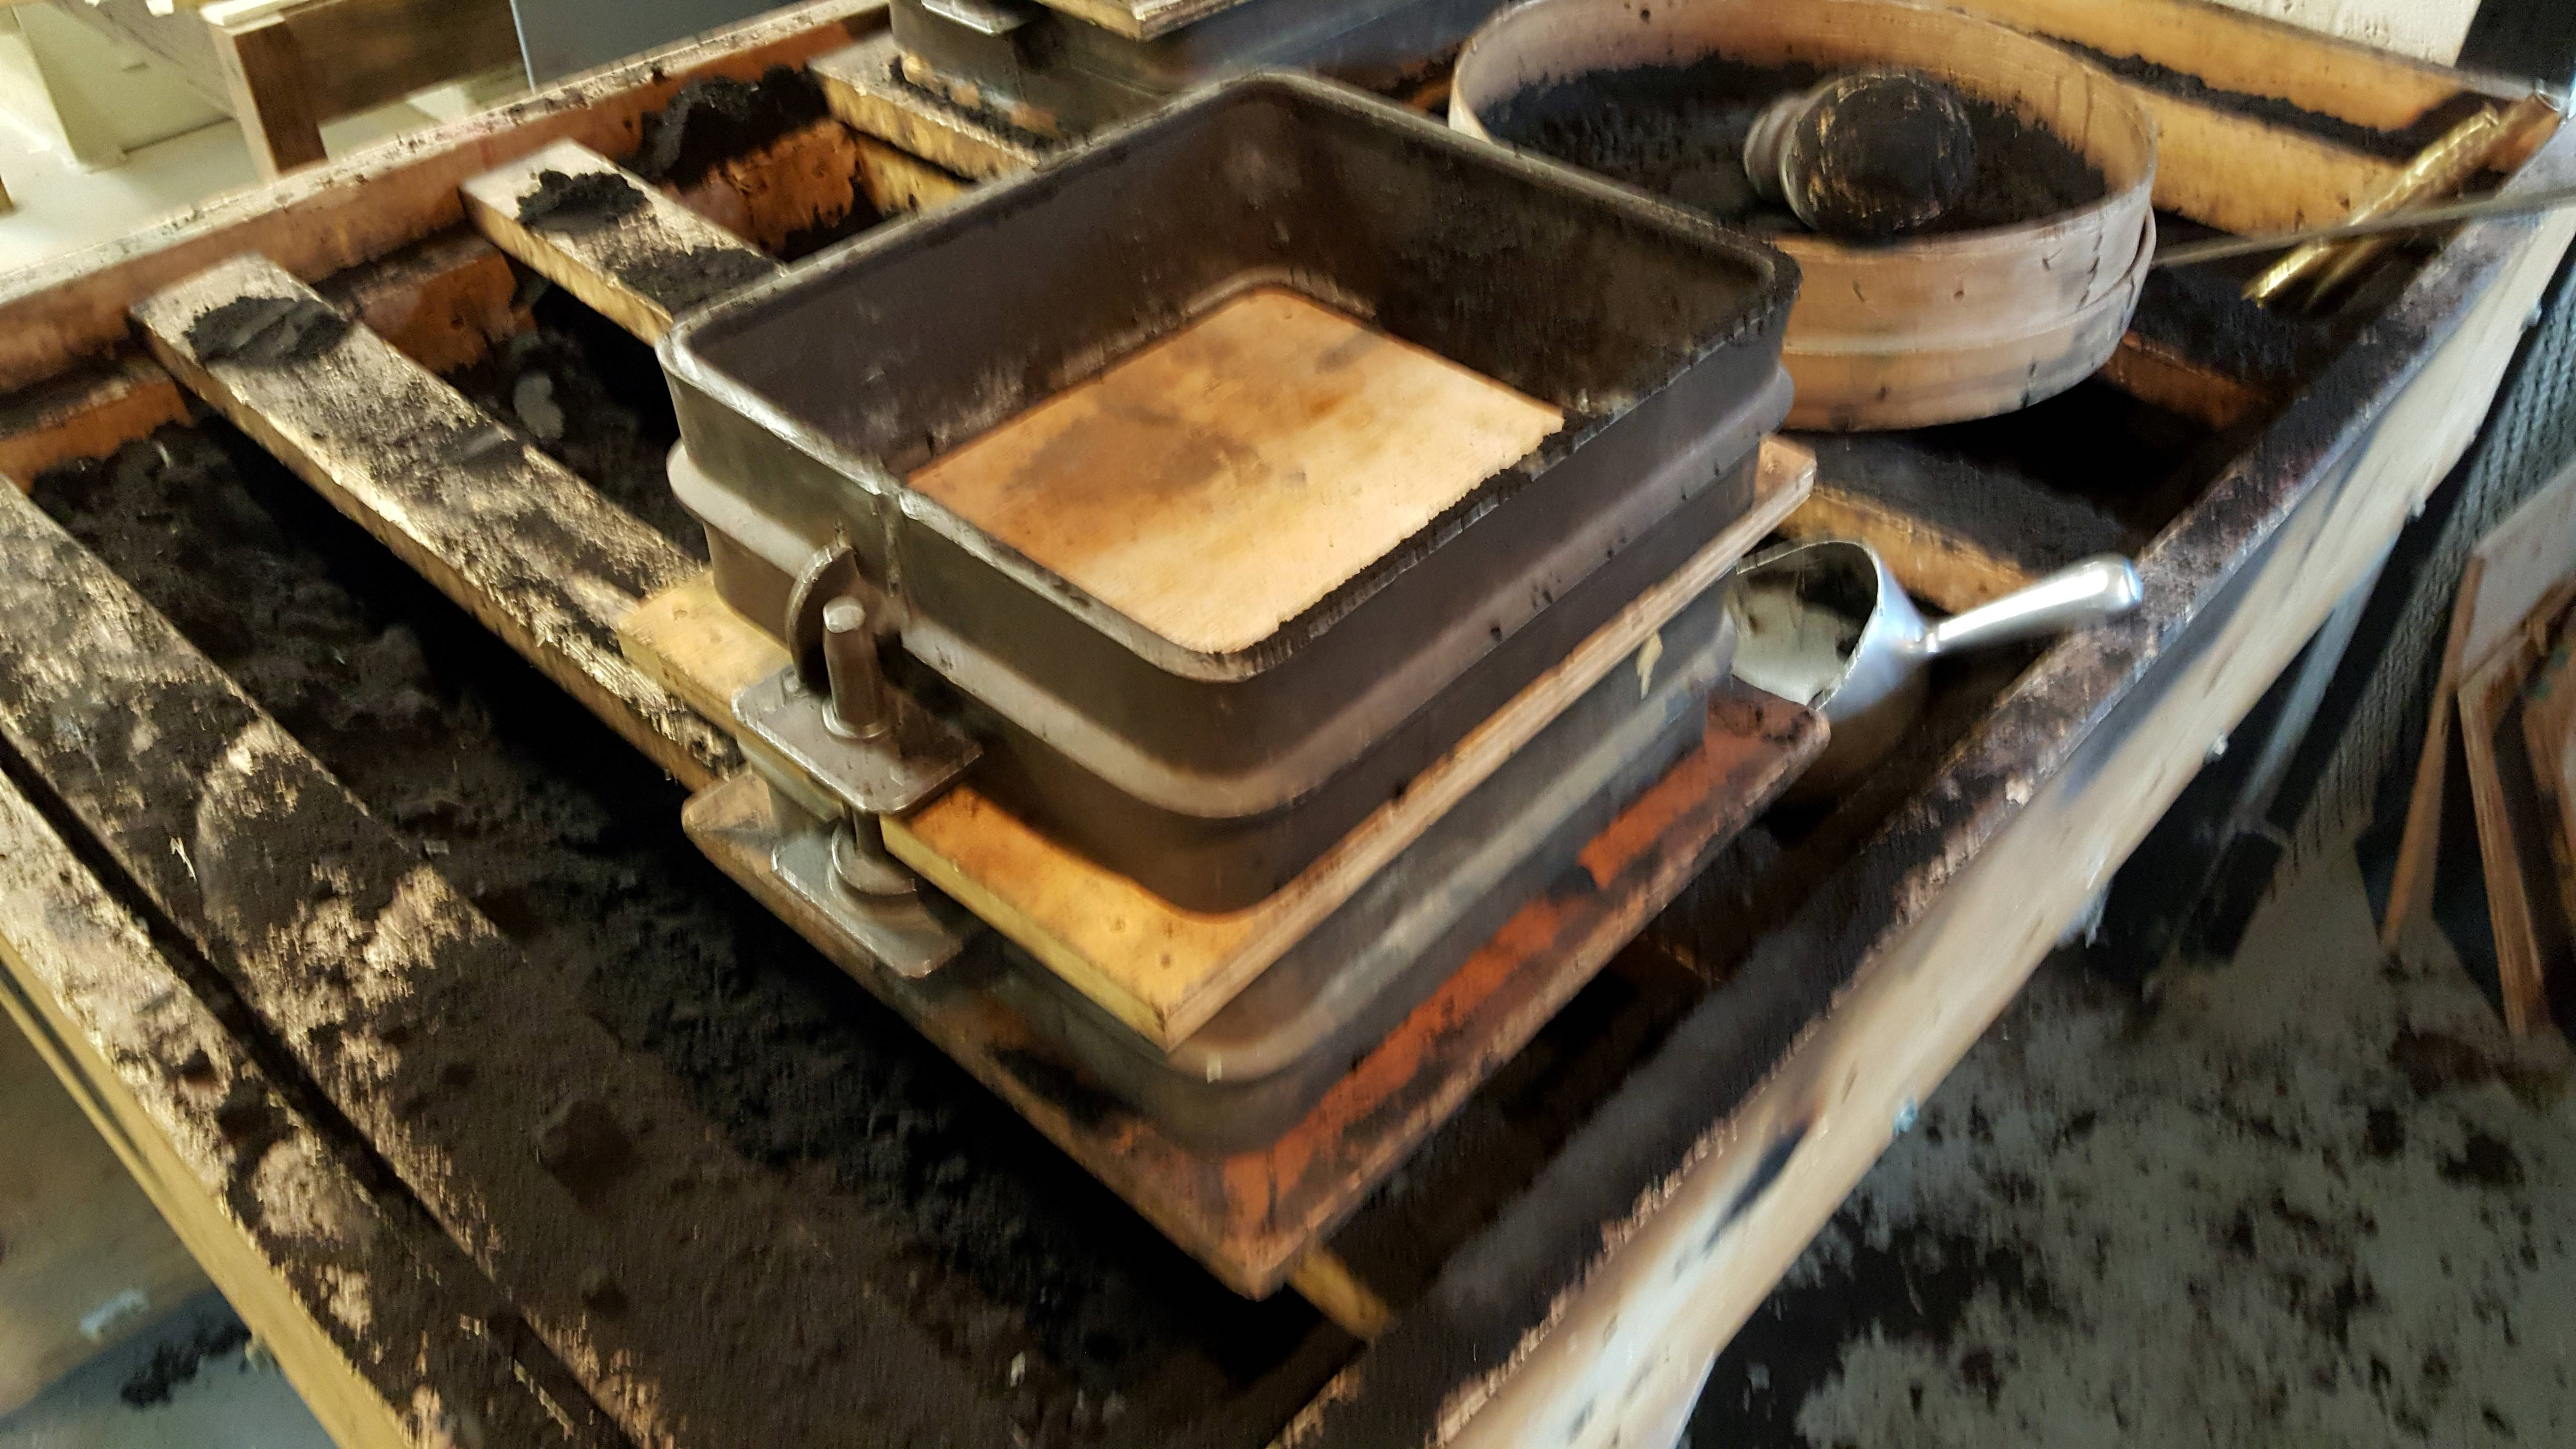
By using the wooden model design, students will use the flask components in order to pack the sand onto the model to create the appropriate cavity form.


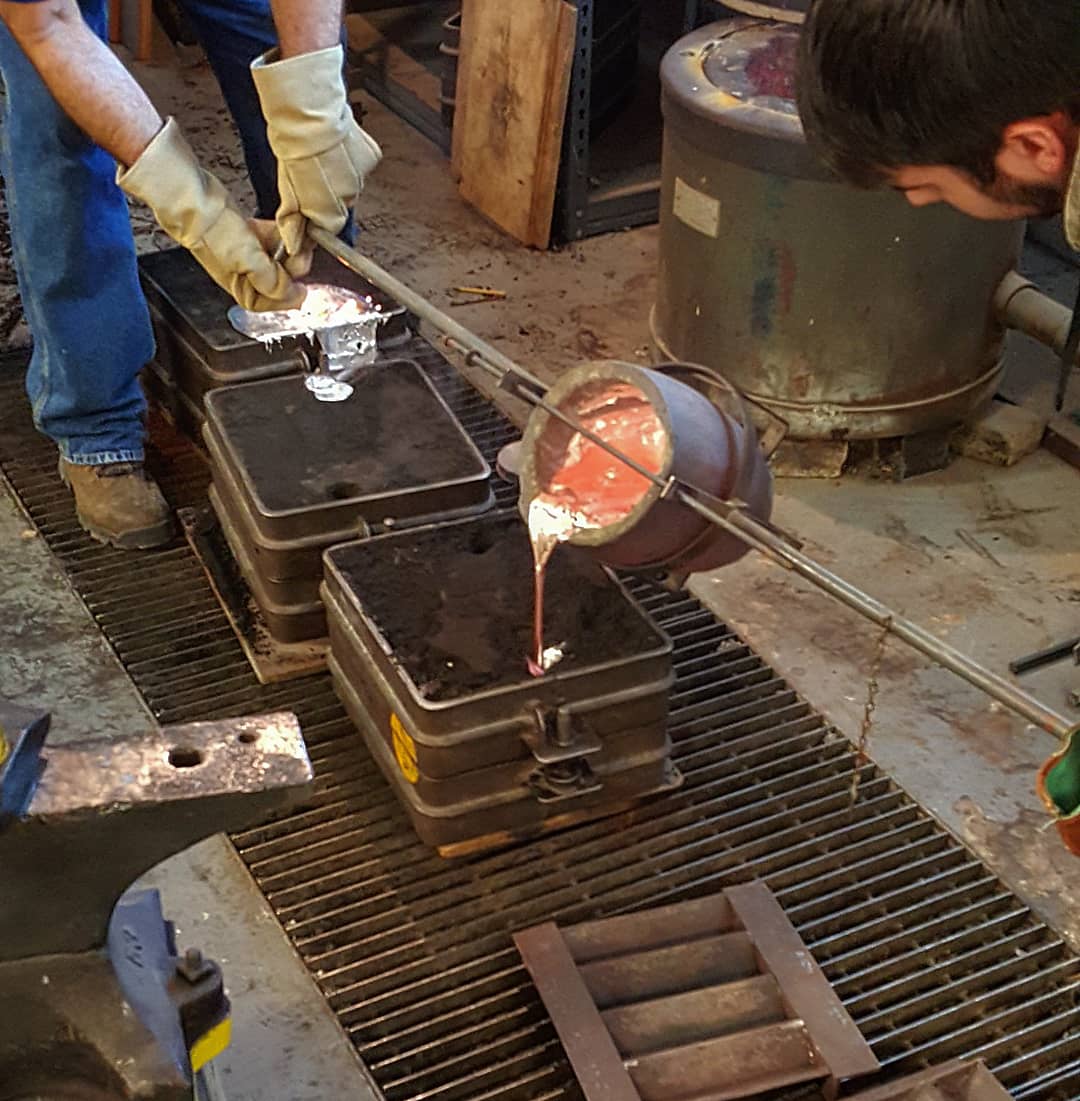
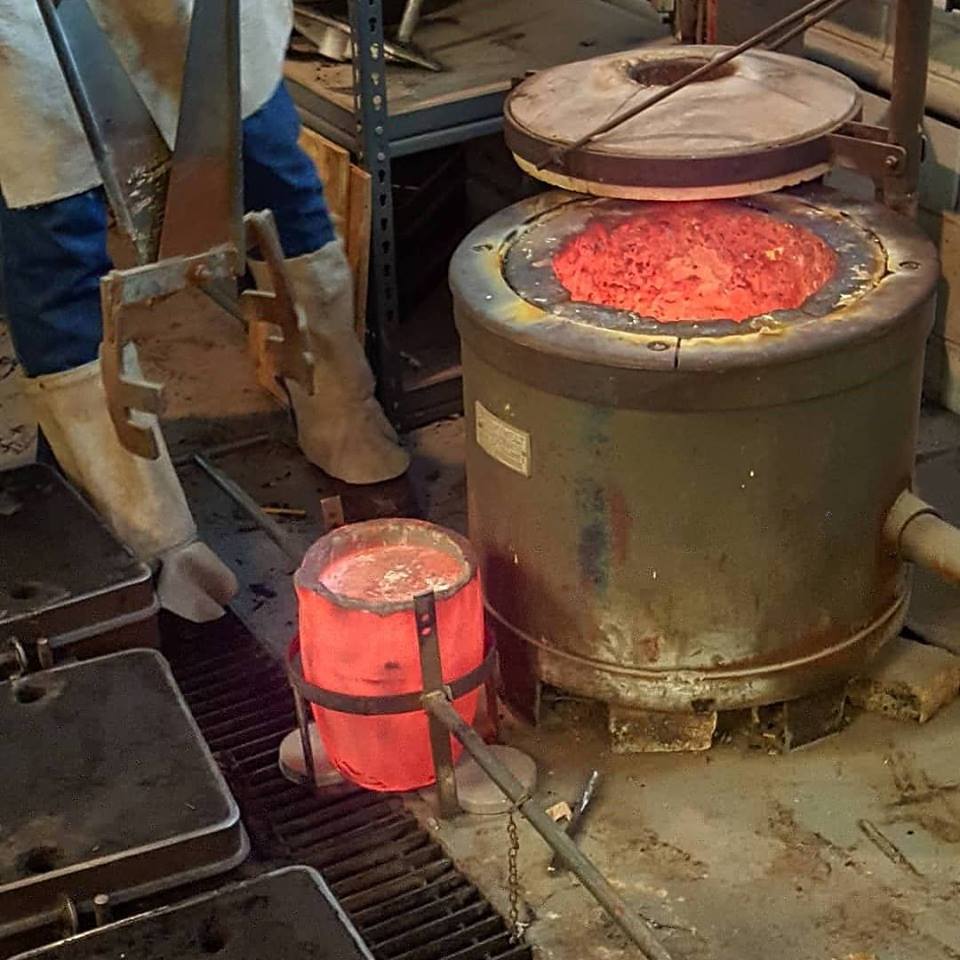
Students will learn how to properly heat up and melt aluminum in order to pour it into their casts.
Using a gas furnace, students will properly heat up the aluminum ingots past its’ melting point (1,221 Degrees Fahrenheit).
Make sure to wear proper gloves, eye glasses, and body protection when handling the crucible.

Slowly pour the molten aluminum into the sprue section until it comes out of the riser portion.

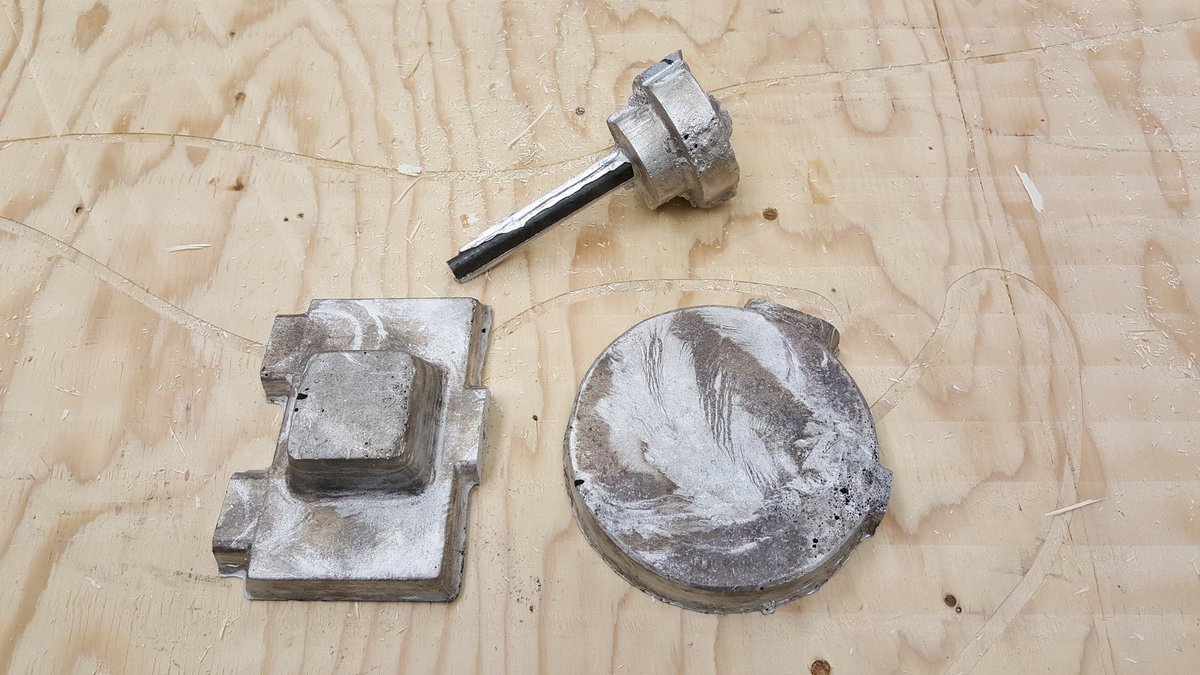
After the pouring is complete, wait 24 hours for the aluminum to solidify and cool off.


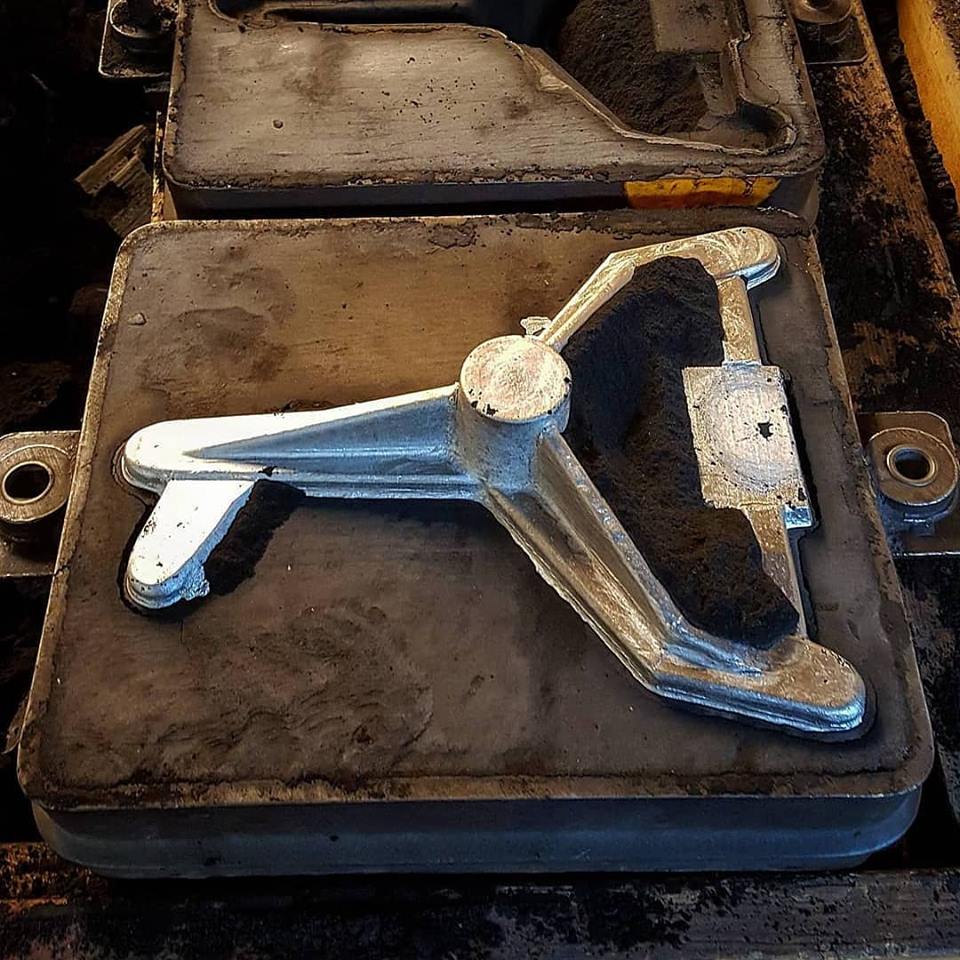
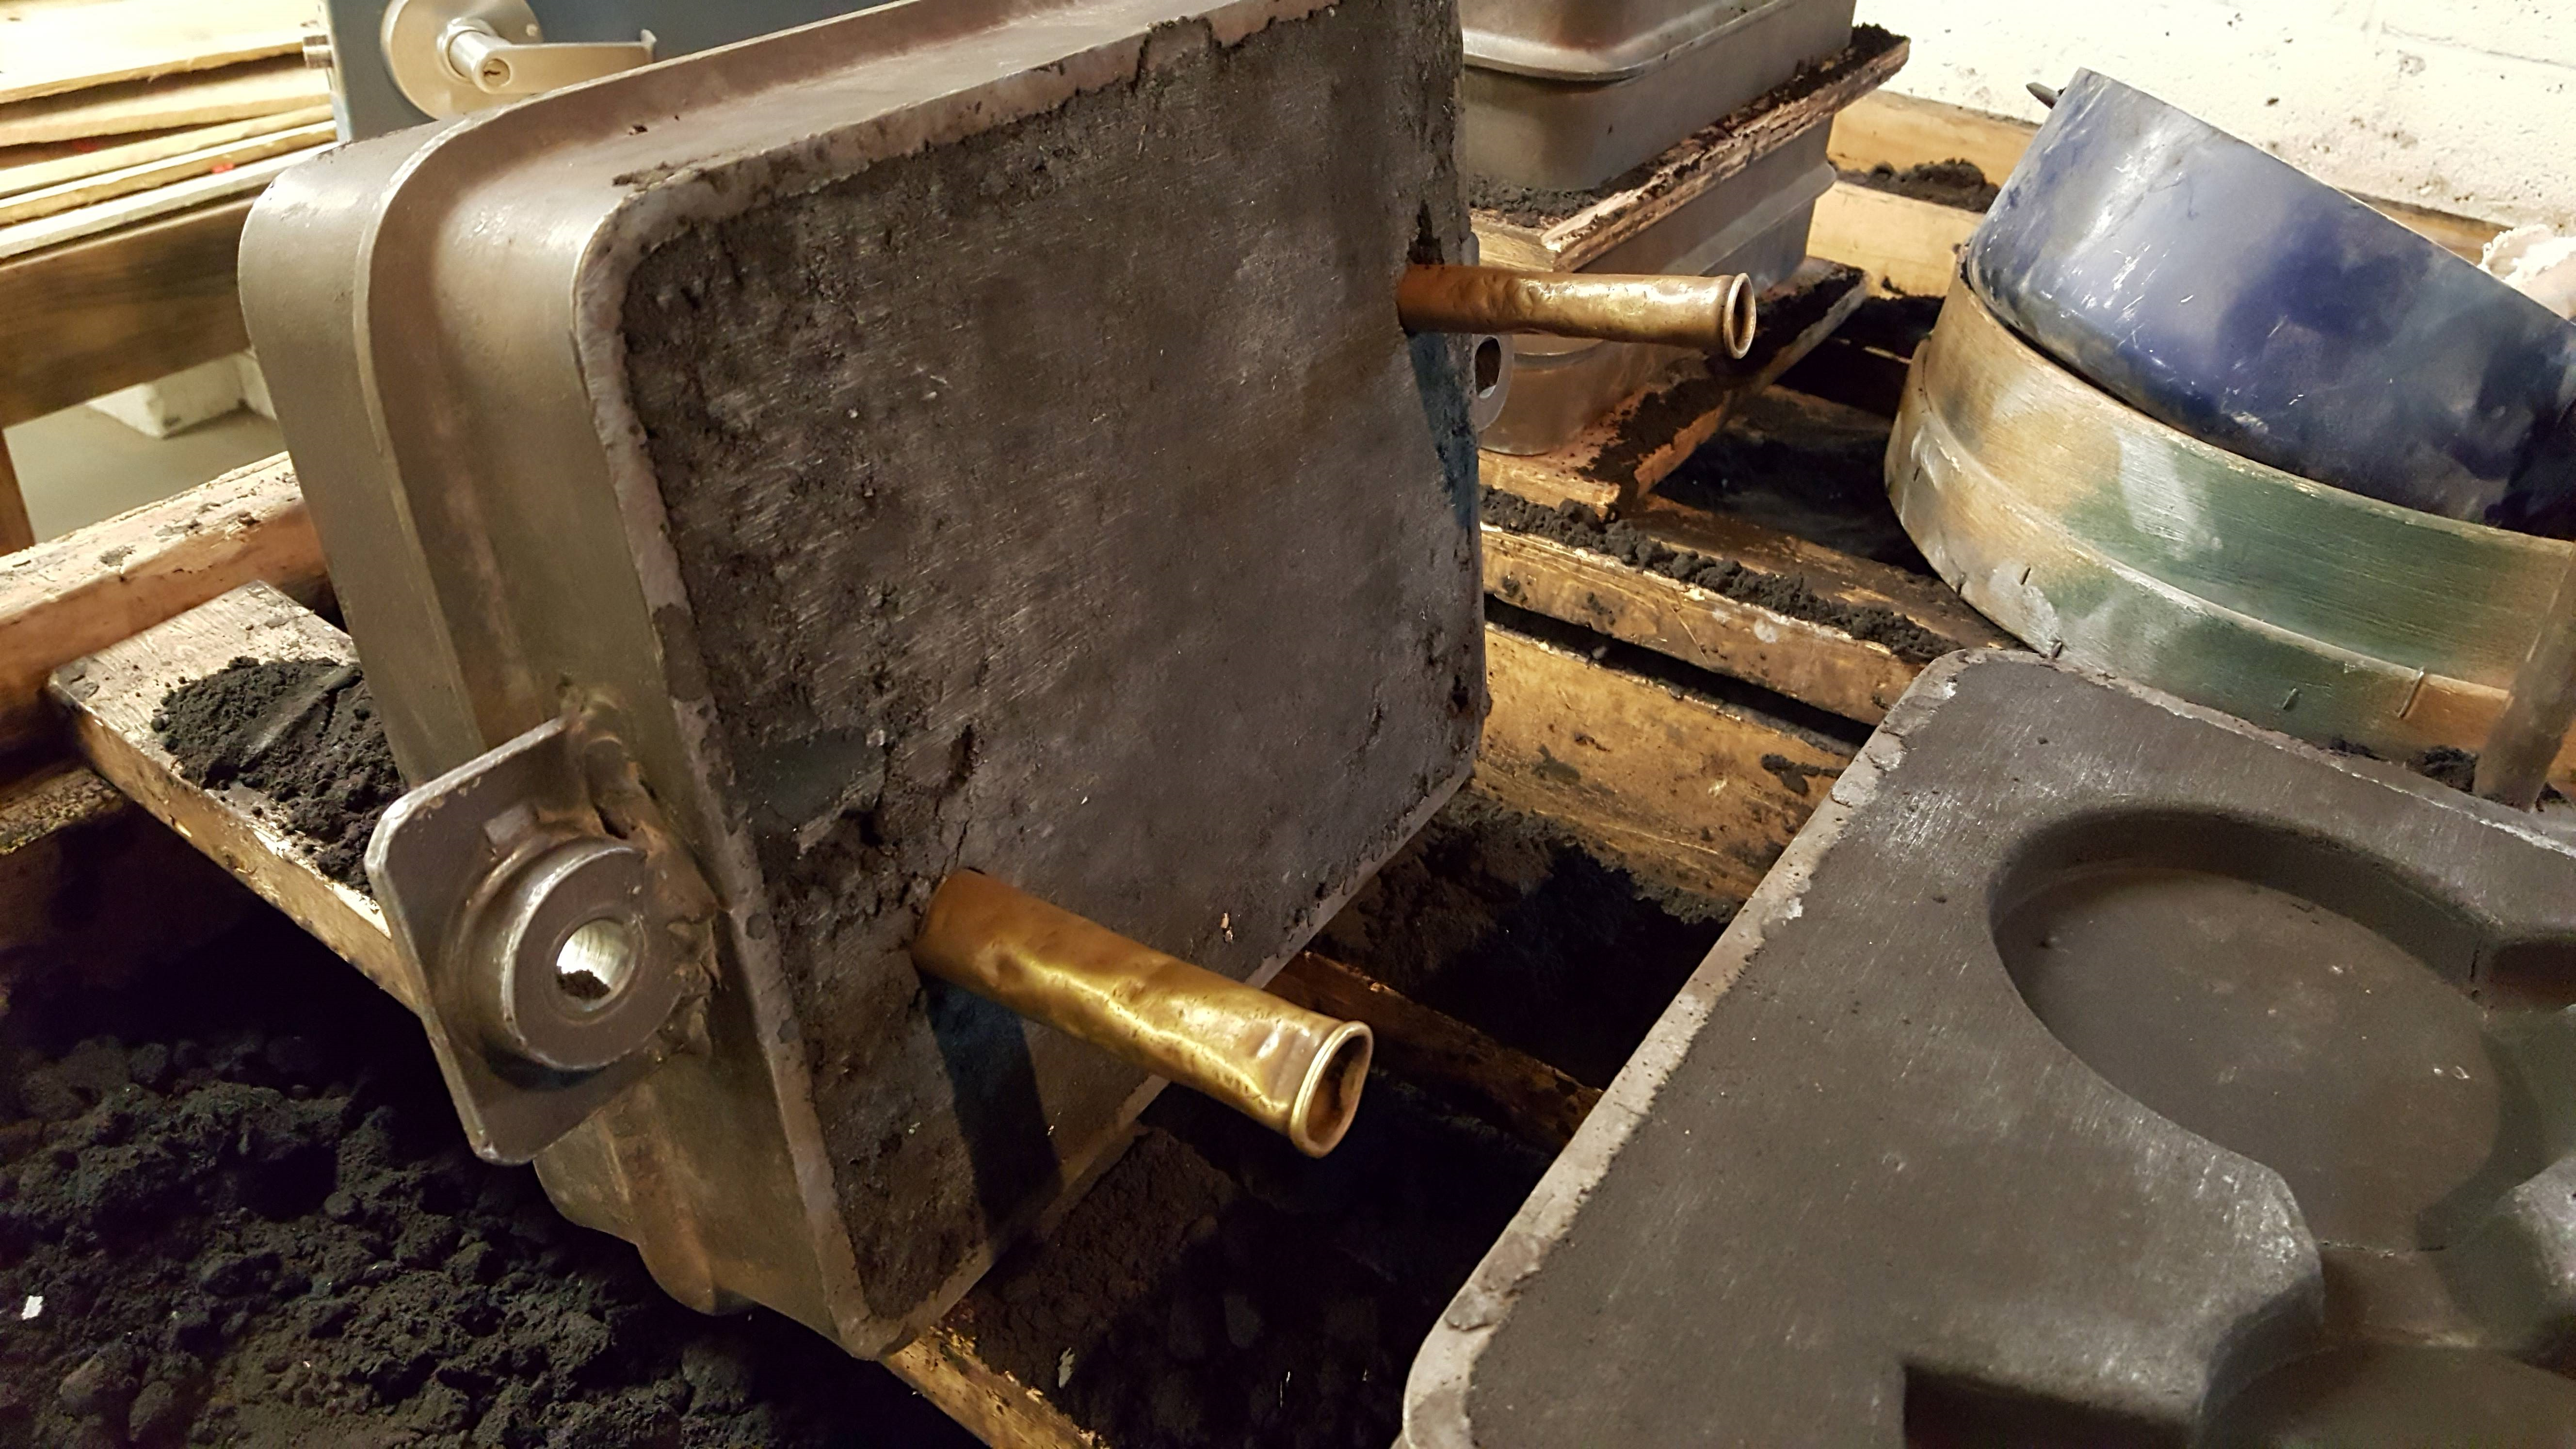
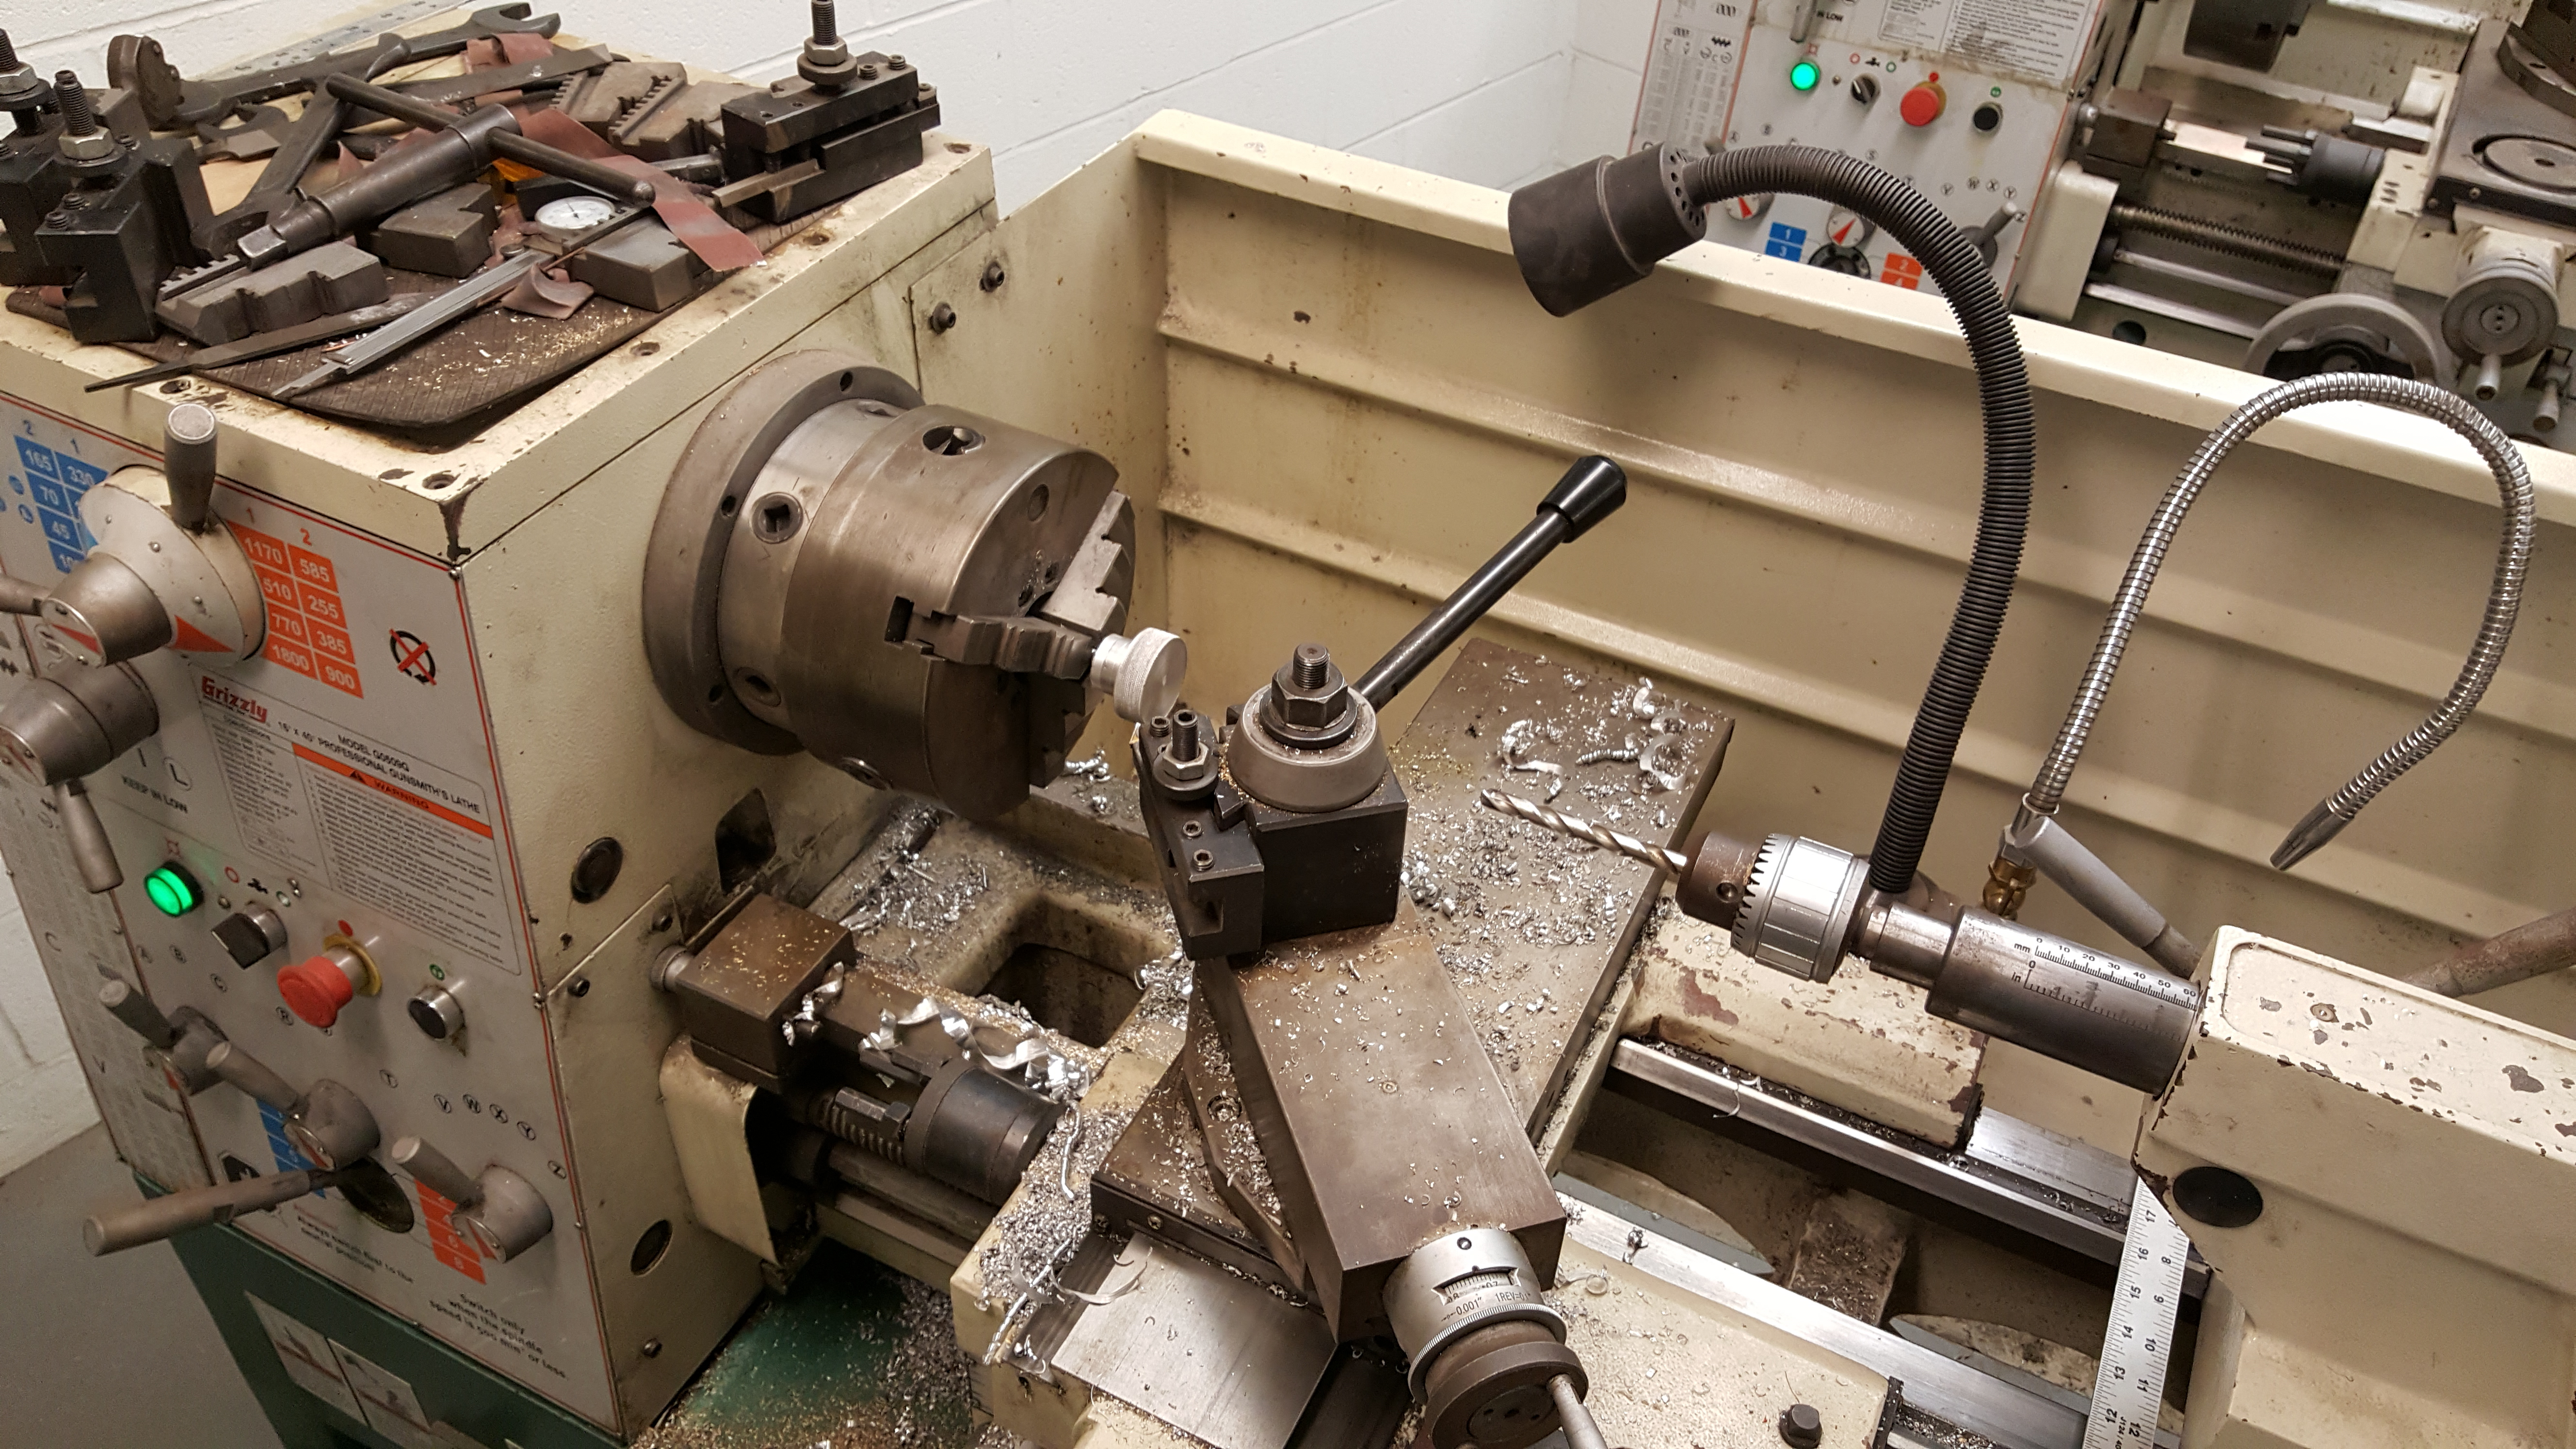
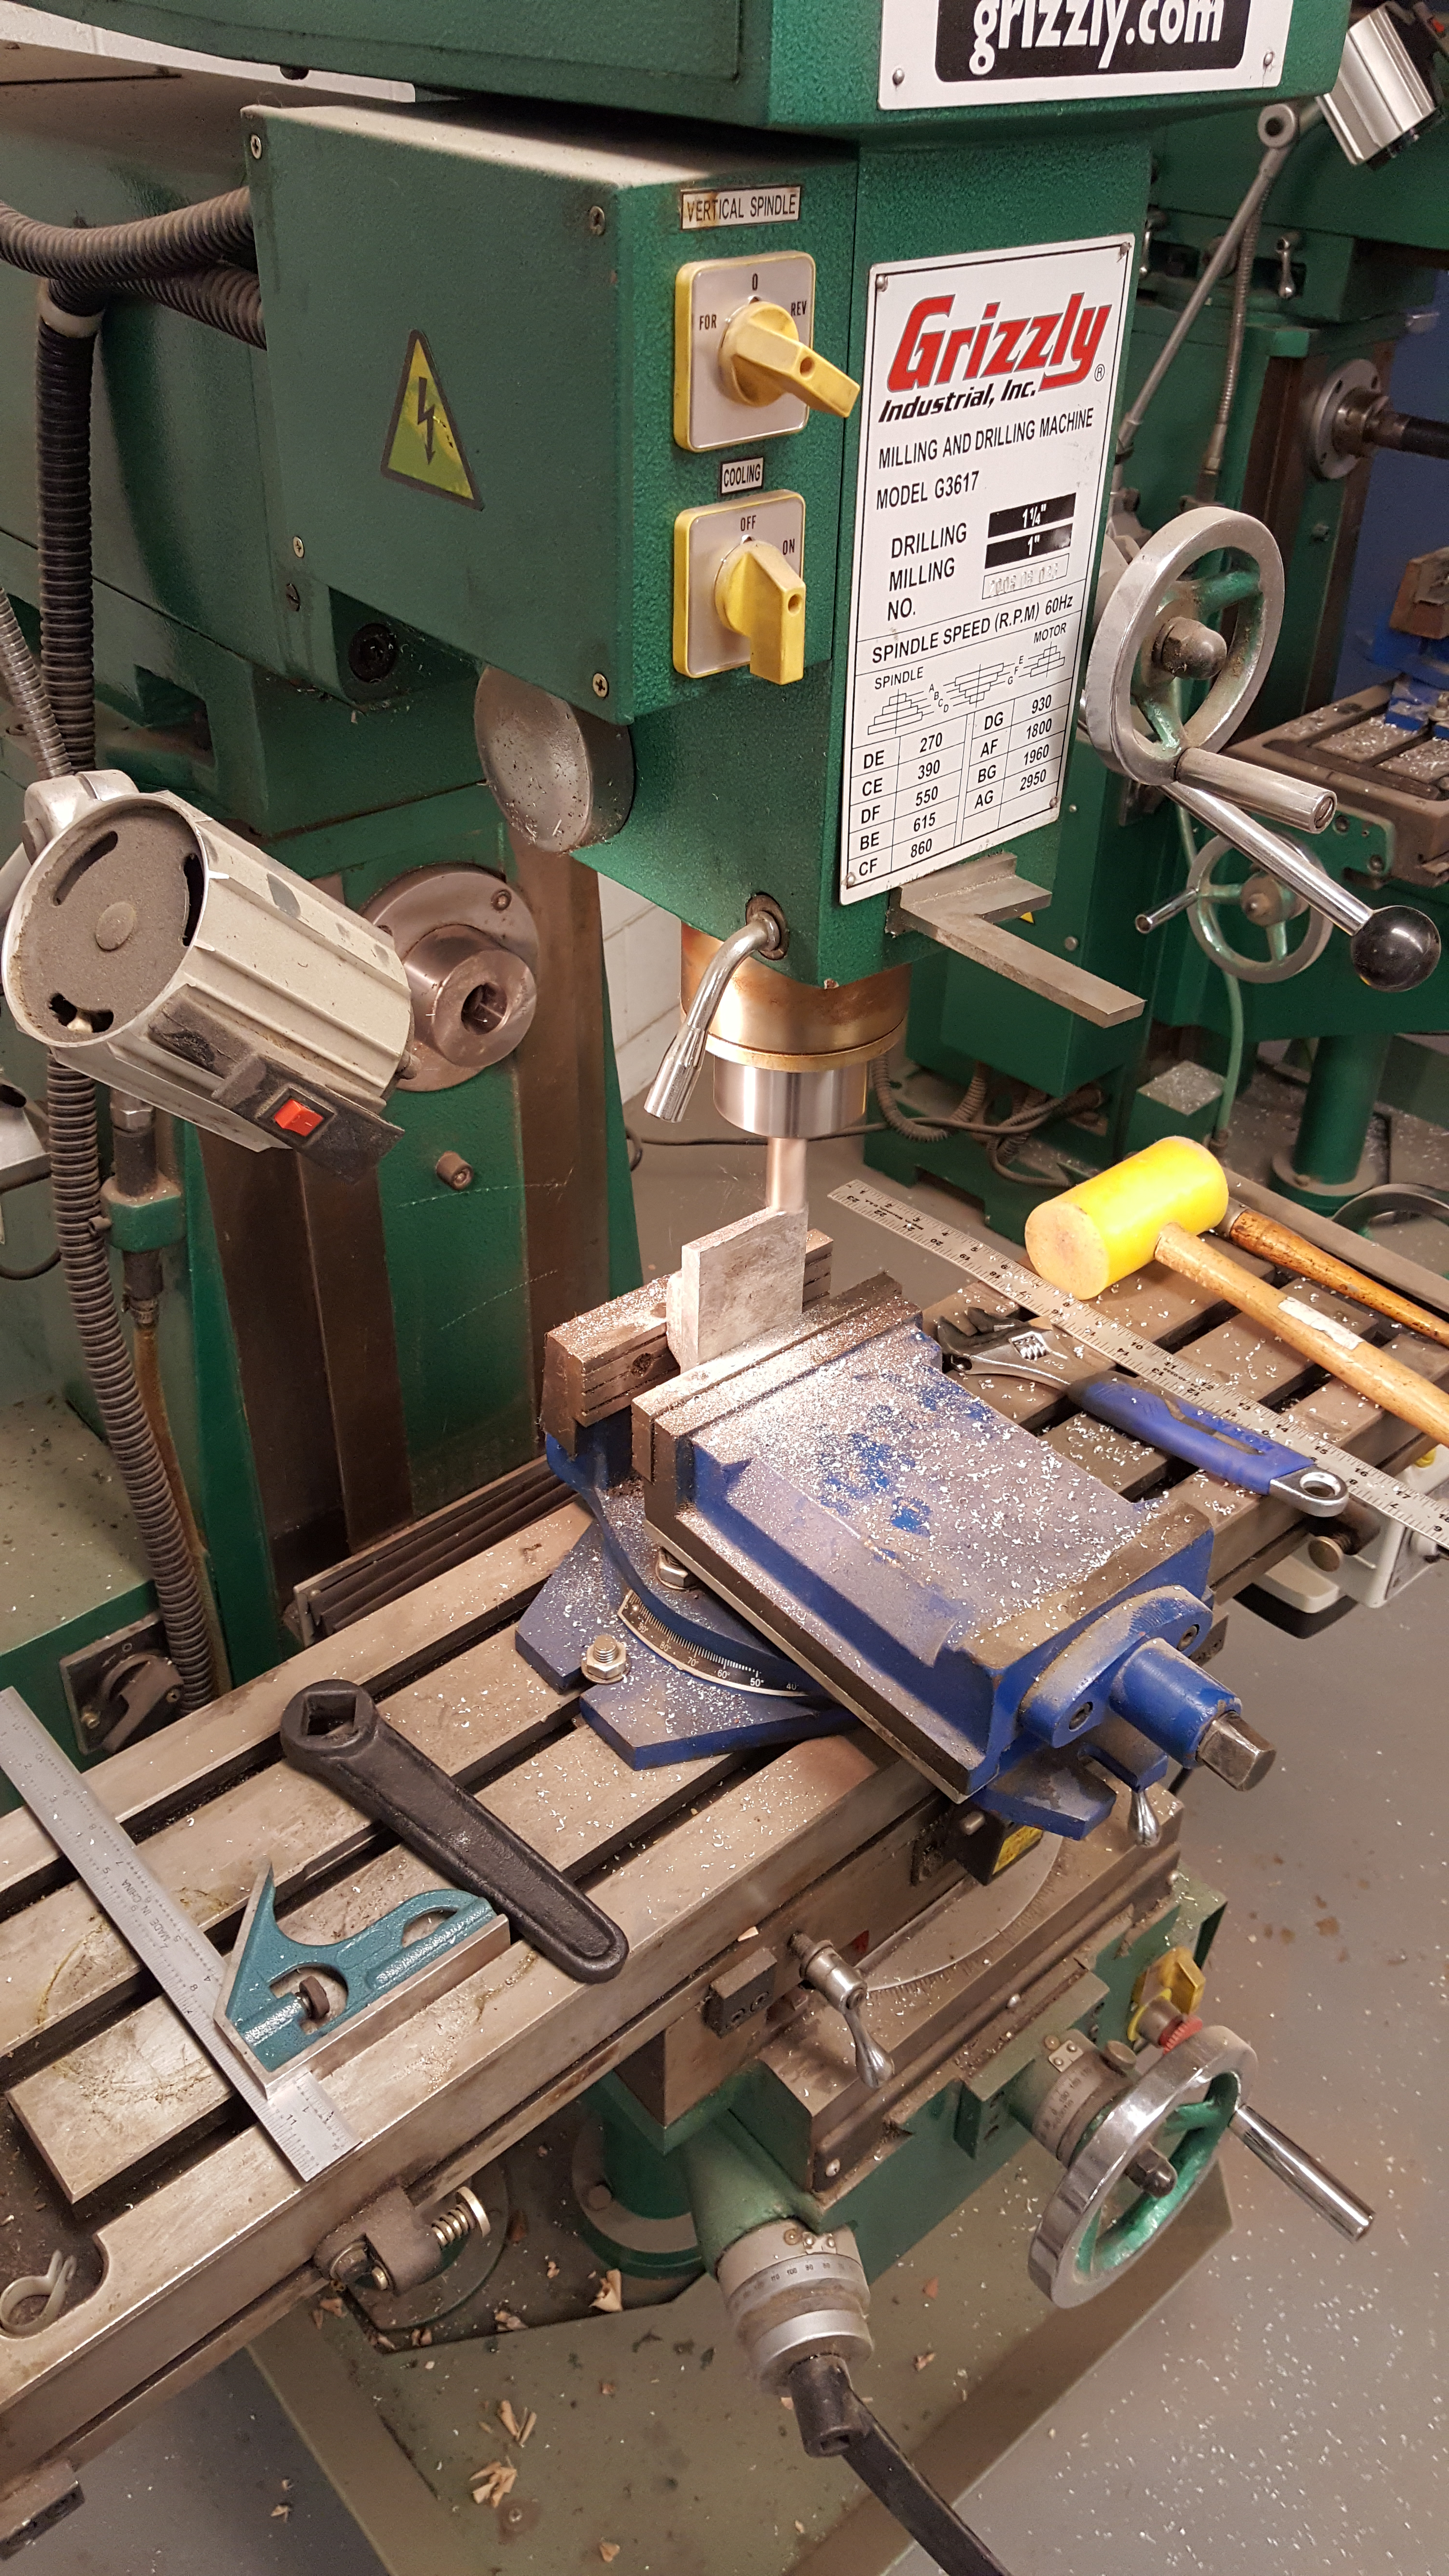
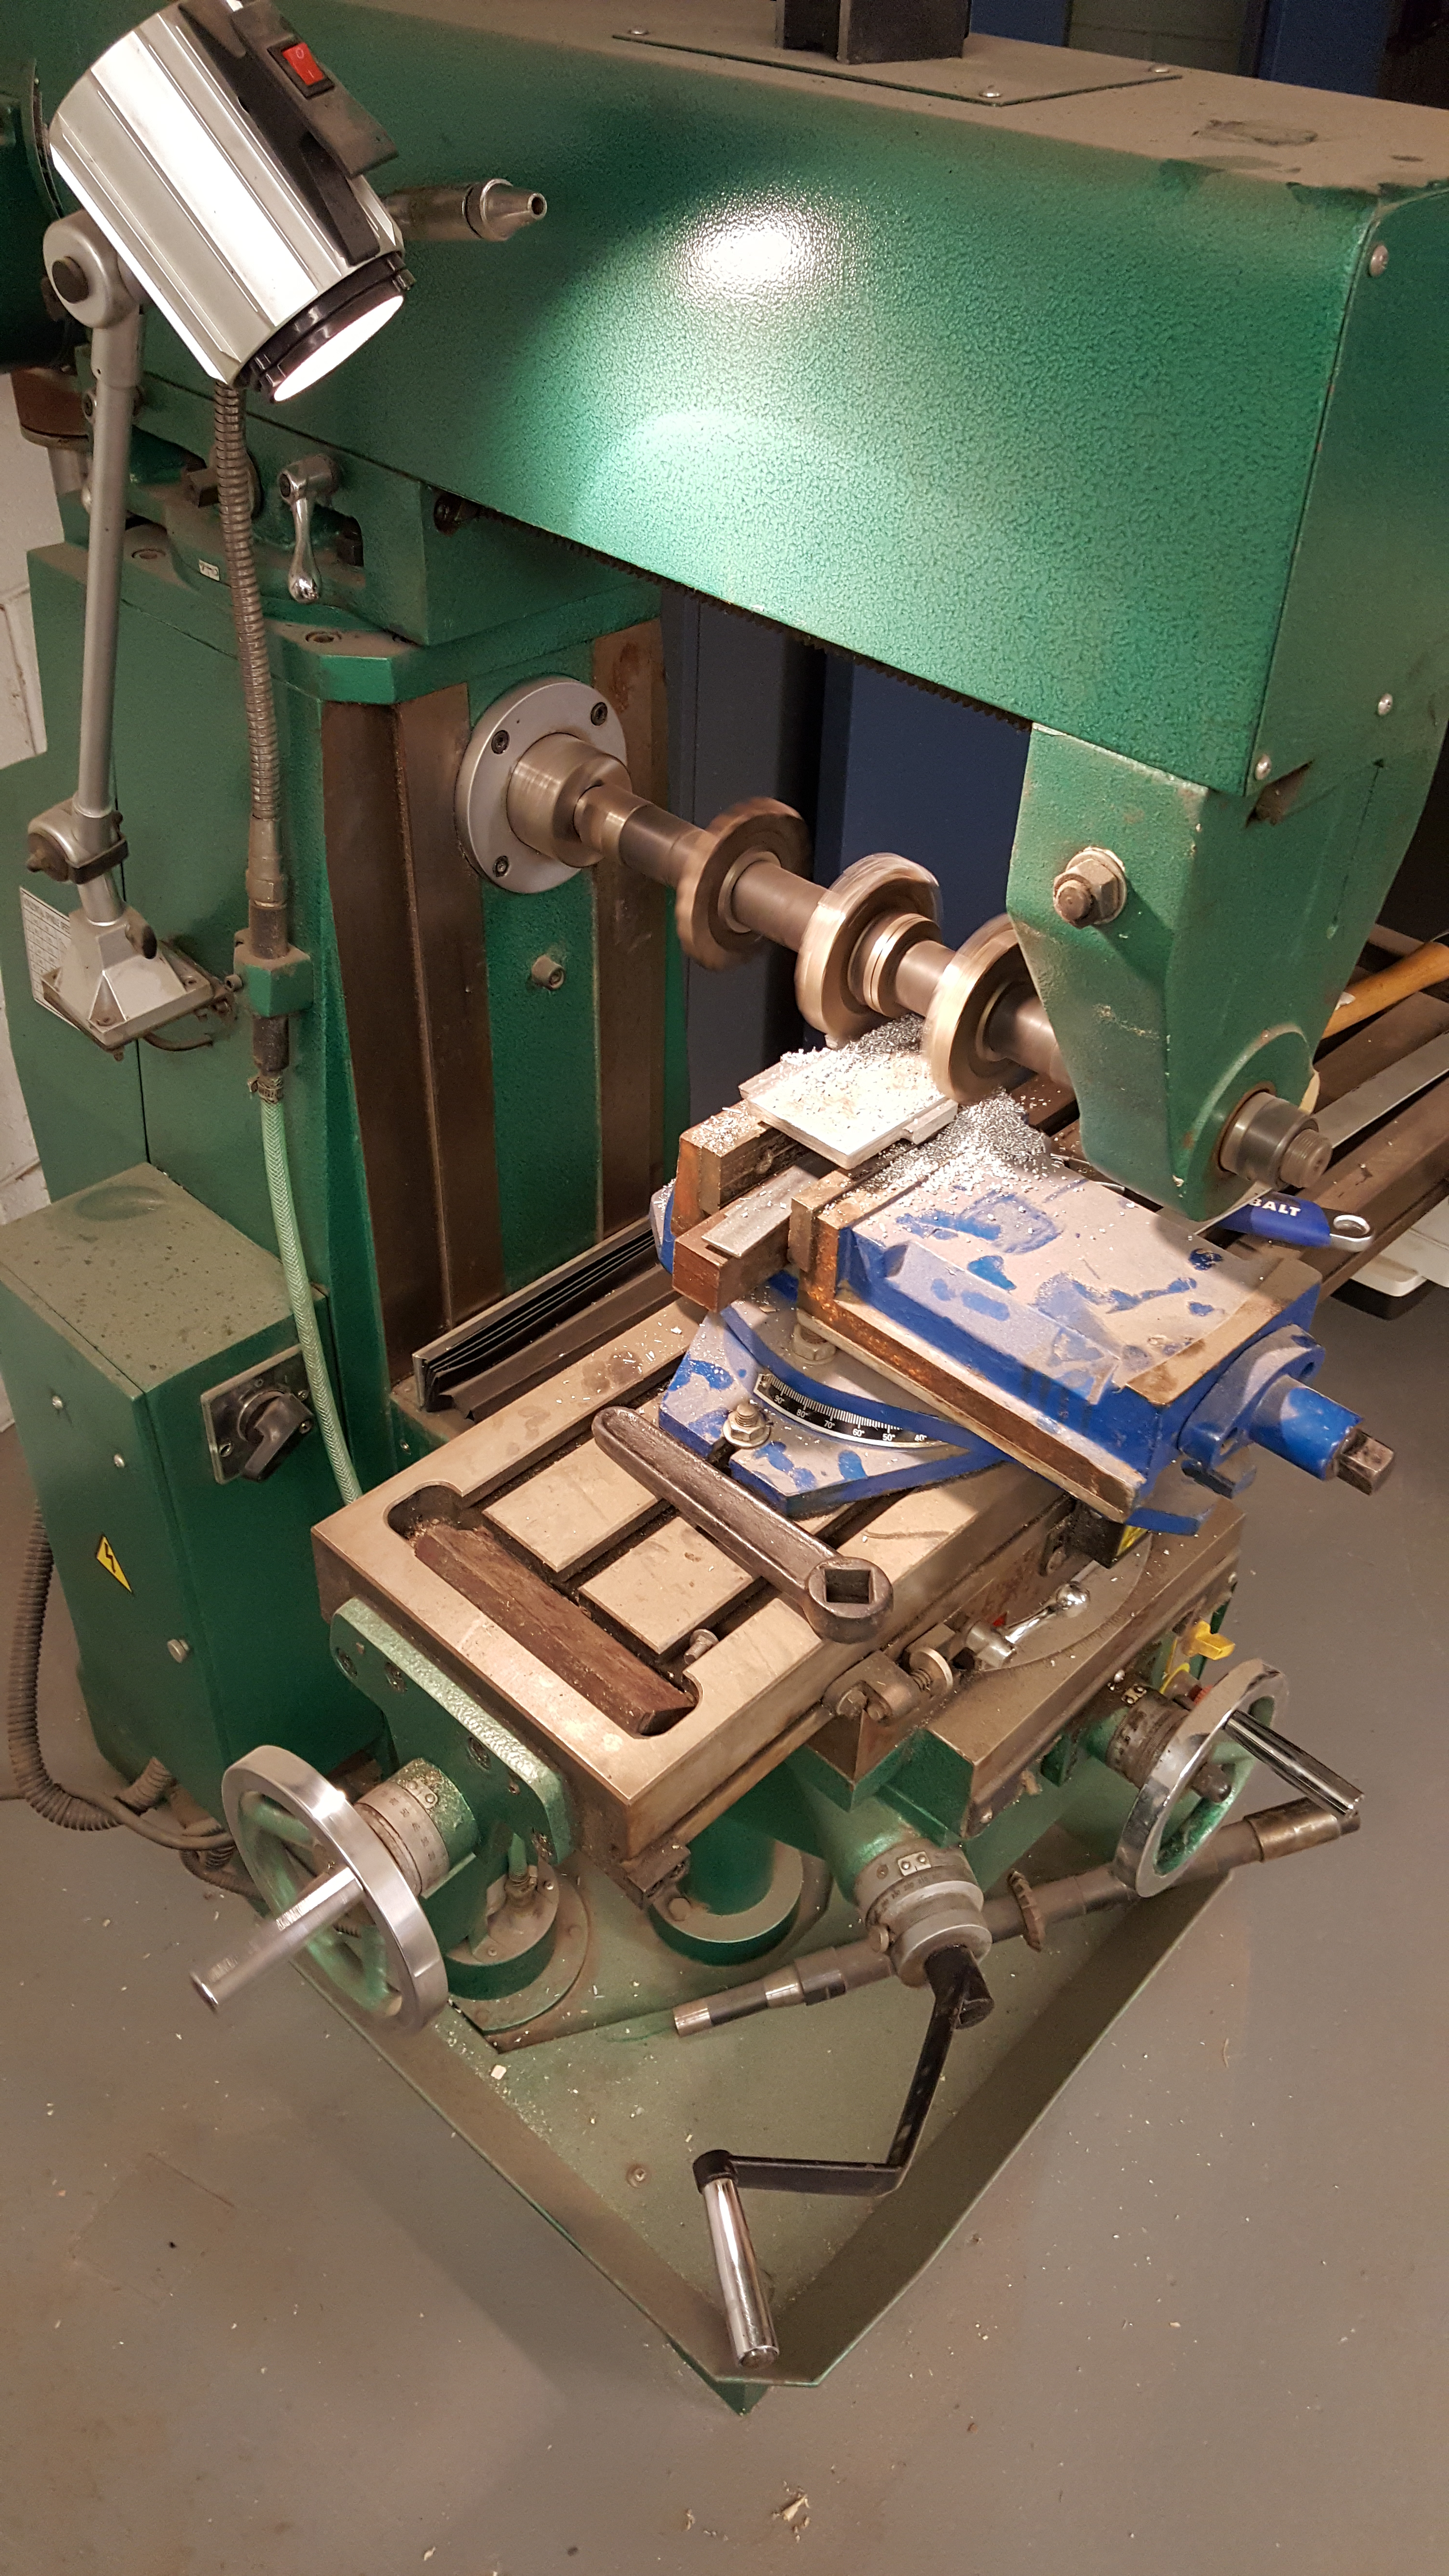
Once the aluminum has been cooled off, students will break away sand to begin any and all machining processes.


Having trouble? Let us know by completing the form below. We'll do our best to get your issues resolved quickly.
"*" indicates required fields
Thank you for your contribution!