- Loading…

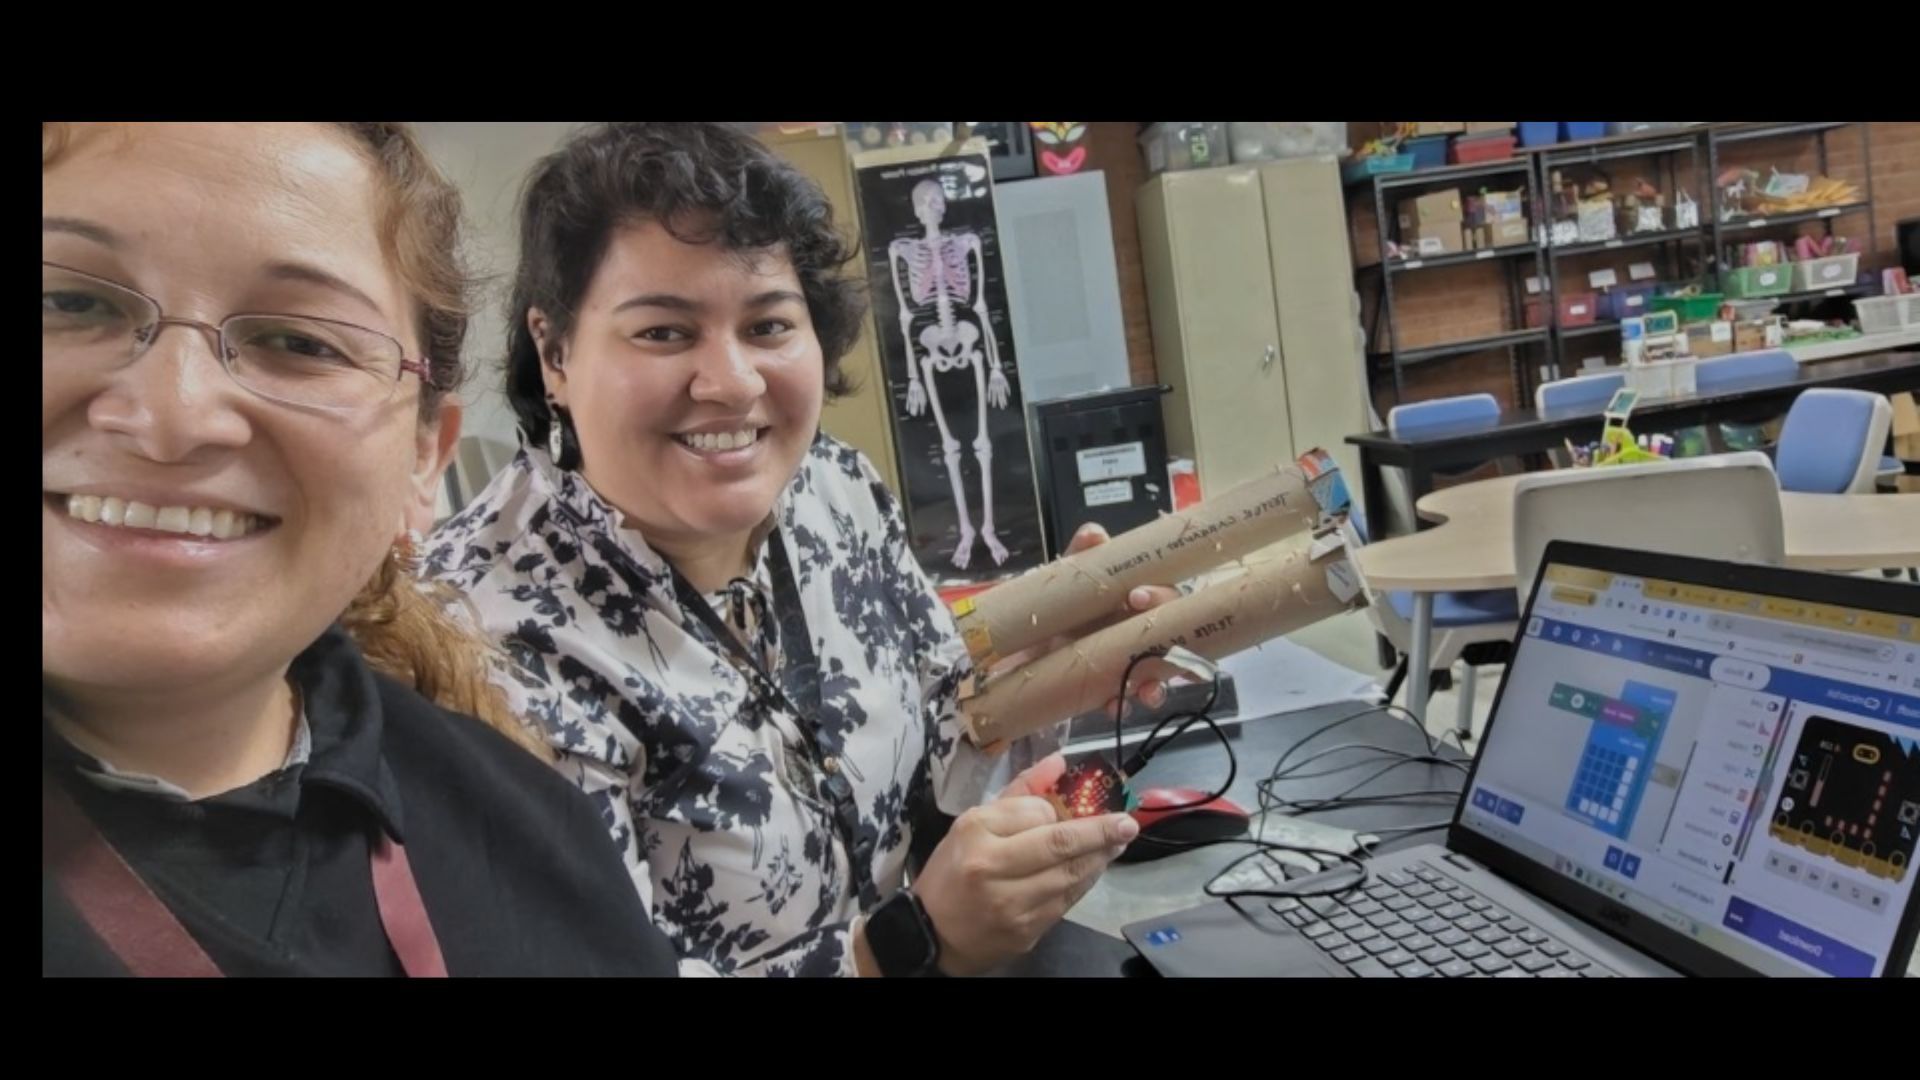
This multidisciplinary project integrates physical computing with music, science, art, and mathematics for Grade 1 students. While truly a cross-curricular effort, the project’s strongest pillars are Music and Engineering. Students utilize a micro:bit to analyze the acoustic profile of their handmade rainsticks. The microcontroller is programmed to distinguish between an authentic, ‘rain-like’ sound and a sound that is ‘too loud’ for the intended effect. To achieve this, the system converts raw decibel input into LUFS (Loudness Units relative to Full Scale), providing students with a sophisticated, real-world metric to calibrate their instruments.”

Micro:bit V2 (preferred for built-in microphone) with battery pack
Laptop/tablet with MakeCode (teacher-prepared starter project recommended)
Cardboard tube (paper towel or mailing tube) or clear plastic tube
Rice, small beans, beads,chickpeas (separate small containers to try)
Tape, paper, crayons for decoration, end caps (cardboard)
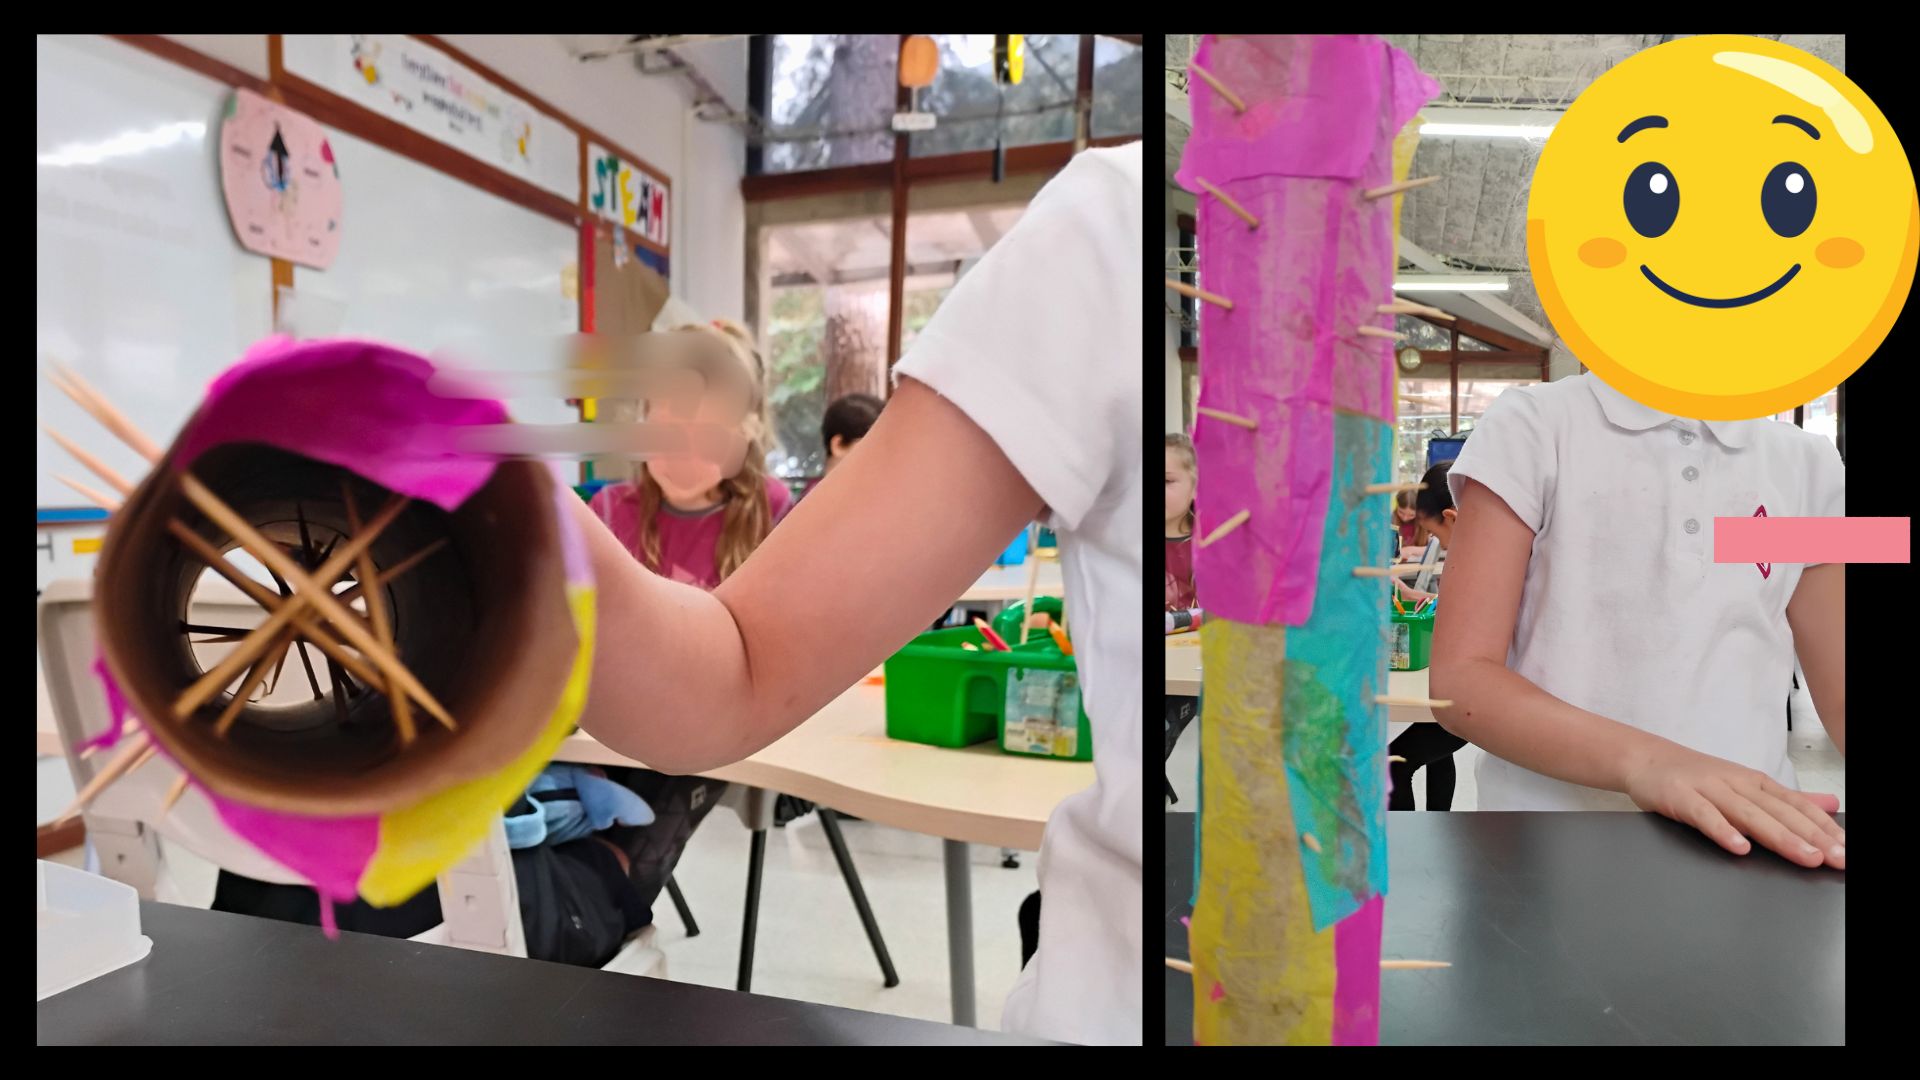
Toothpicks
Glue
I noticed right away how much more engaged the students were when they could use the micro:bit to improve their designs. It went far beyond the usual rainstick project; they were actually thinking like engineers—testing different grain weights, toothpick placements, and material types. The micro:bit was the perfect “lab partner” to help them figure out which rainstick sounded most realistic. Since my first graders were new to the technology, I provided the micro:bits pre-coded as part of a DFK (Digital Fabrication for Kids) approach. Even though Beatriz and I presented our findings while still in the testing phase, it was already clear that combining a real engineering process with microcontrollers leads to impressive results. One of the most compelling findings was seeing how deeply the hearing sense was involved in the learning process. My young students struggled to find the right vocabulary to describe the sounds they created, often using words like ‘strong,’ ‘weak,’ or ‘soft.’ There was a fascinating moment of cognitive dissonance where they would replicate the sound vocally, yet remain unconvinced by what they were hearing from their own prototypes. This sensory disconnect became a powerful teaching tool, as it pushed them to refine their builds until the sound finally matched their internal expectation of “rain”.
Students explore the cultural and physical origins of rainsticks and begin the external decoration of their instruments.
Engage & Research (15–20 min): Facilitate a brief discussion using the following guiding questions:
Listening Session: Play recordings of various rainstick rhythms. Encourage students to describe the textures and patterns they hear.
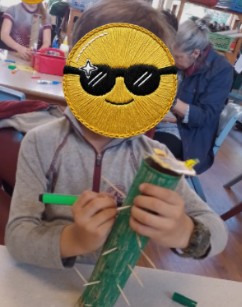
Rainstick Art (30–45 min): Provide each student with a paper towel cylinder.
Students focus on the internal structure of the rainstick and explore the concept of volume (loud vs. soft).
Structural Planning: Students plan the placement of the internal “baffles” (toothpicks). (30 minutes)
Construction: Assist students in sealing one end of their rainstick to prepare for sound testing. (10 minutes)
Exploring dynamics: While students work, call them up in small groups to discuss loud vs. soft sounds. (10 minutes)
Students experiment with different materials to find the most realistic "rain" sound.
Inquiry-Based Testing: Students investigate which grains best imitate the sound of falling rain.
Variable Testing: Provide various materials (e.g., beans, rice, and chickpeas).
Decision Making: Students must decide on their final “recipe” based on the auditory results of their tests.
Students use a Micro:bit to scientifically measure if their rainstick falls within the target decibel range.
Preparation: Pre-load the Micro:bits with code designed to measure sound levels.
The “Target” Range: Explain that a standard rainstick typically falls between 20–35 decibels.
Testing & Iteration: Students test their instruments against the Micro:bit sensor.
Engineering Improvement: If students do not receive a checkmark, encourage them to iterate on their design by adjusting the toothpick density or changing the grain type/amount.
Evaluation Rubric includes the following aspects: -Functional Rainstick Construction -Use of Micro:bit for Measurement -Sound Classification -Problem-Solving & Persistence
Teacher can use the following evaluation rubric for this project
The Magic of Sound: Rain Stick Resonance Lab – EVALUATION RUBRIC
Having trouble? Let us know by completing the form below. We'll do our best to get your issues resolved quickly.
"*" indicates required fields