- Loading…

This lesson is a guided introduction to a library workshop activity. Library patrons will create a vinyl sticker bookmark and library staff will assist in the design and fabrication of their bookmark. This workshop activity is intended for a virtual, or socially distanced, setting but can also be instructed in an in-person setting. The “GALLERY” of this lesson includes a step by step example of a patron project, while “The Instructions” section is a guide for staff to create patron’s bookmarks.
Library patrons will accomplish the following:
Library staff will accomplish the following:
Safety Note: SHARP BLADE – The vinyl cutter blade can cause serious injury. Only trained individuals should operate the machine.

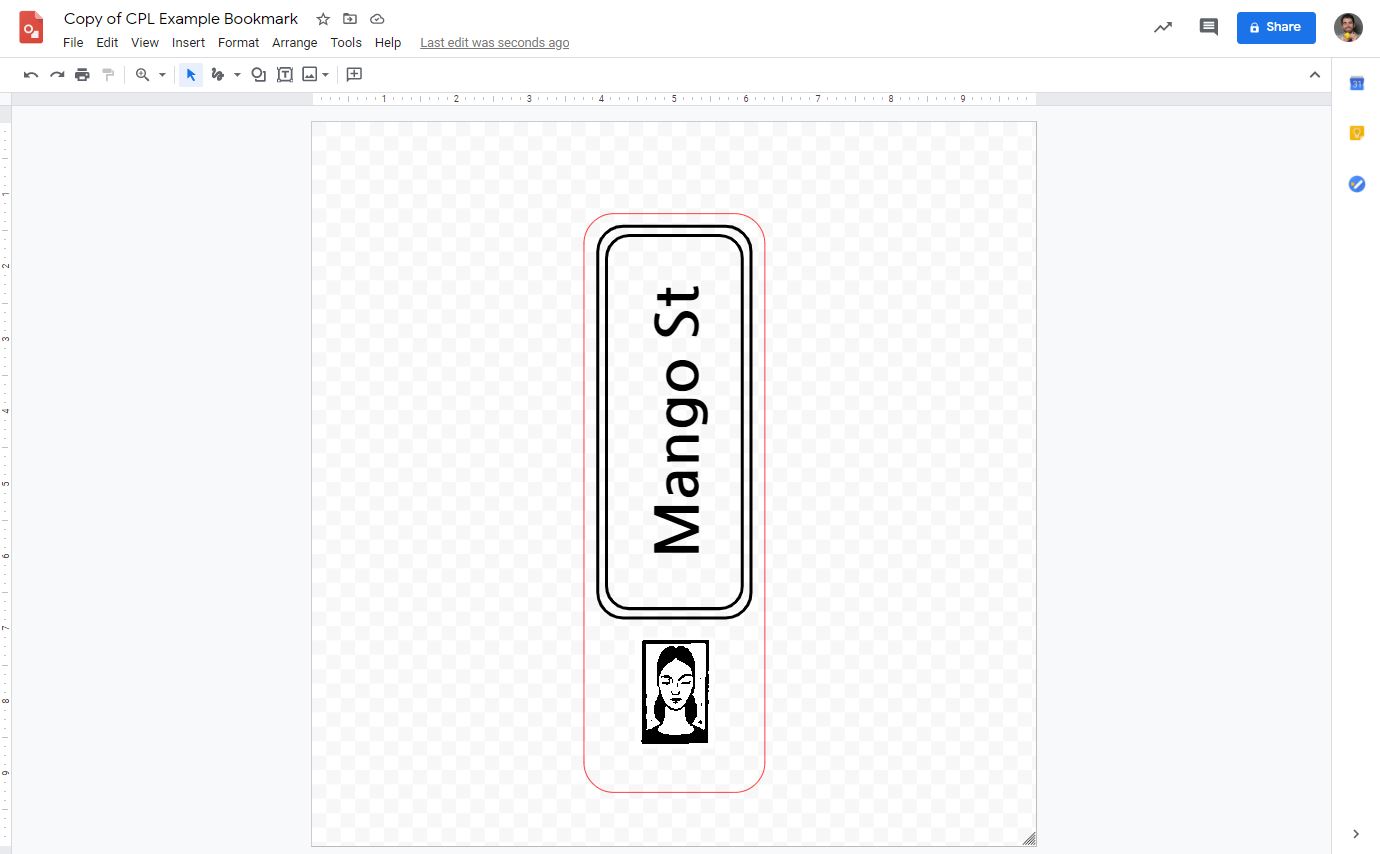
– Google Drawing Bookmark Template (image below)
– Vinyl Cutter + materials (vinyl, scissors, weeding tools)
– Transfer Paper
– Vinyl Cutter vector software
– Cardstock (cut to bookmark size: 8″ x 2.5″)

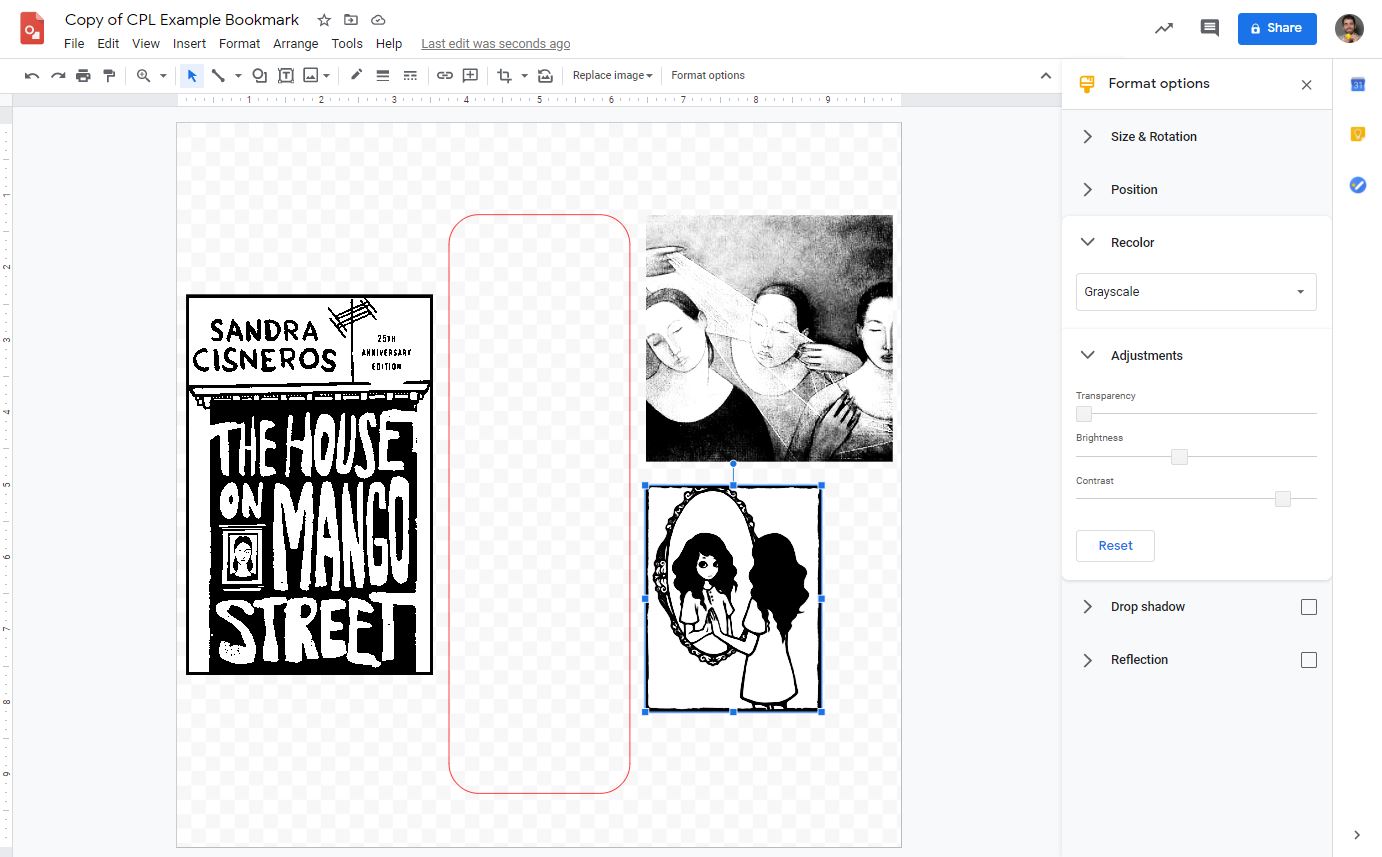
Library staff will help patrons understand the criteria and constraints of a vinyl cutter. The artwork in this image will not produce a successful sticker for the vinyl cutter. See the "GALLERY" section for simple sticker ideas. Staff will work with patrons to identify key thematic "stencil" images they can search online or design themselves.

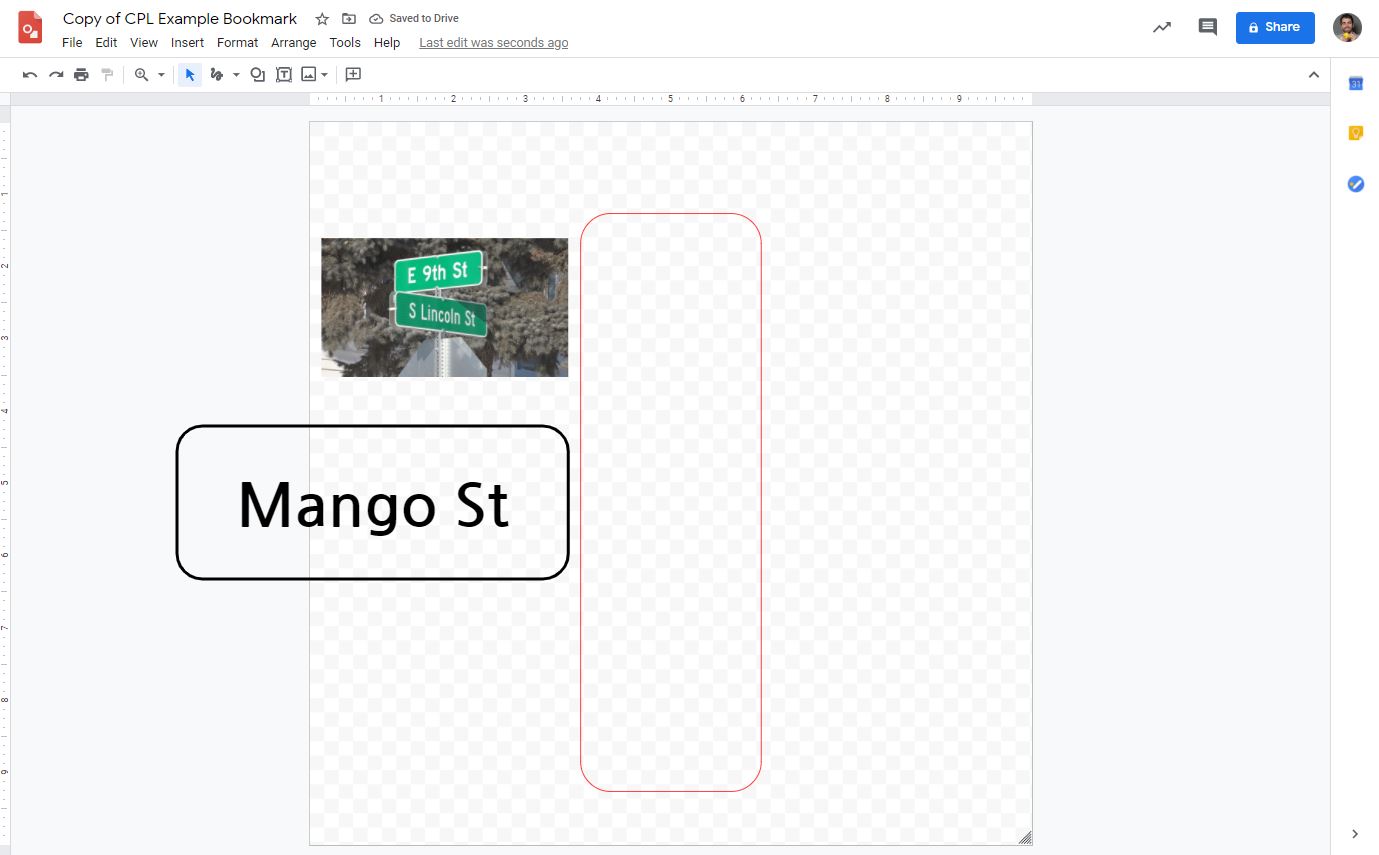
Patrons will share or send the .JPG file of their bookmark sticker to library staff. Import the .JPG file. Ensure the imported file is 10"x10" and that the red bookmark outline remains 8"x2.5".

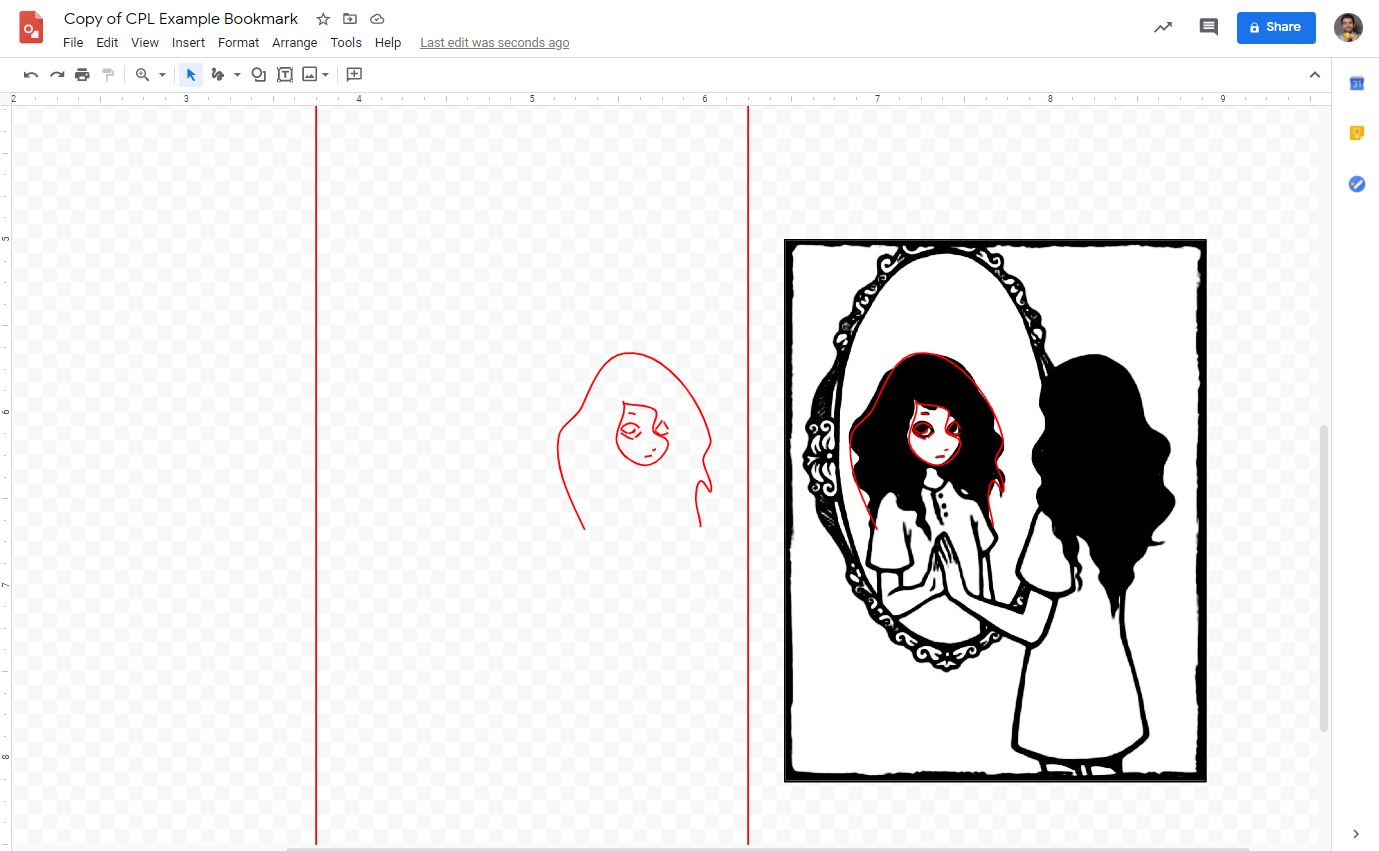
Create a trace of the sticker design. In Roland CutStudio, this is found under the "Object" tab as "Image Outline..." Extract the contour lines of the image.

Once the image is traced, delete the imported traced .JPG. Use the "Edit" nodes tool to remove the previously red outline if the image does not touch the border.

Traced images, especially those with intricate details, will not always produced a clean image to cut. Edit the individual notes of these images to create a trace that closely resembles the patron's original design.


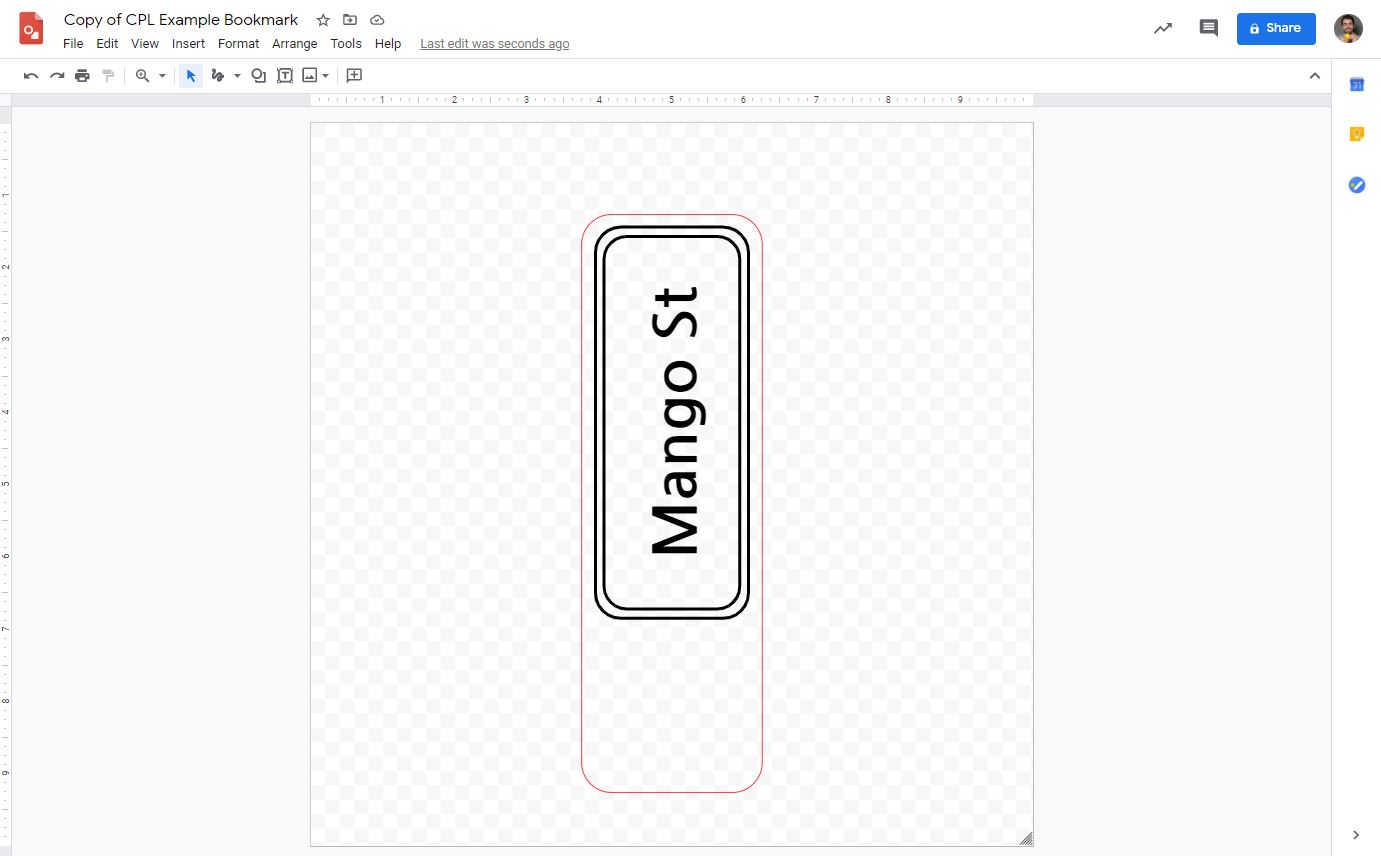
Move the image to the appropriate location on the canvas. Once the image is ready, send to the vinyl cutter. In Roland CutStudio, select "Cutting".

Cut the vector design on the vinyl cutter. (FOR VIRTUAL WORKSHOPS: Use video conferencing to give patrons the ability to watch the vinyl cutter fabricate their design). Use scissors and tweezers to weed the excess vinyl. Apply transfer paper to the vinyl to transport the sticker. From home or at a distance, allow patrons to apply the sticker to the cardstock bookmark and complete their product.

Having trouble? Let us know by completing the form below. We'll do our best to get your issues resolved quickly.
"*" indicates required fields