- Loading…

Participants will be learning the meaning of Virtual Reality and the basics of making a VR reality experience. They will be using the art piece they made in Day 1 and Day 2 to design the VR environment. They will be using Co-spaces platform to create the VR experience.
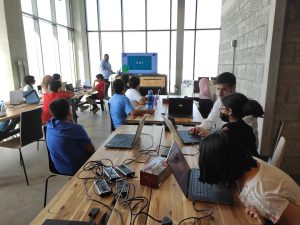
Presentation
1- Who are we and what we do in Studio 56.
2- Introduce the client letter.
3- Question: What is Art?
Explain the meaning of Art.
Video about the meaning of Art.

4- What is Virtual Reality.
Examples of VR applications.
Video about Arts & VR.

5- Question: Imagine you can draw in VR.
Ask the participants what would they draw in VR.

6- Used terms.
Explain the meaning of: Collision, Event, Physics, Mesh, Model.

7- Which program we will be using today.
Co-spaces.

8- Explain how to join a classroom in Co-spaces.

9-Explain the UI of the program.

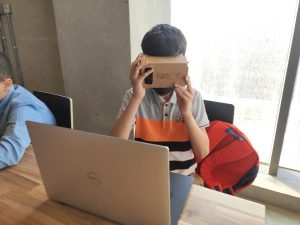
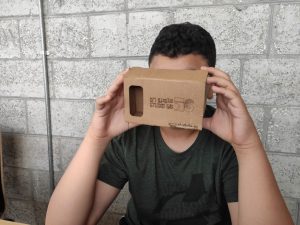
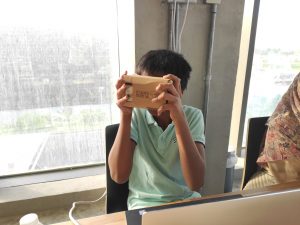
10- How to test the final project in VR using Google cardboard headsets.
They will be using VR cardboard headsets made by Studio 5/6 at the end of the day.

1- Join the classroom using the class code.
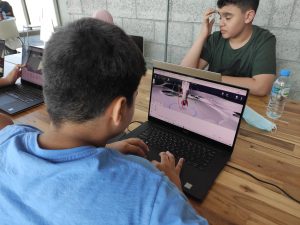
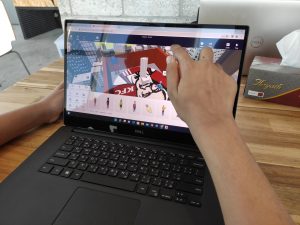
2- Open new Co-spaces 3D empty project.
Explore the user-interface of co-spaces platform.
1- Introduction to Co-spaces platform.
•Adding components from library.
•Adding environment (forest, desert, …etc.).

•Movements in the 3D environment (keyboard arrows, mouse).
•Camera movements.
•Multiple scenes.
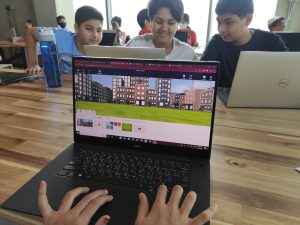
2- Import the 3D model of the art piece made in Day 2.
•Import the 3D model (.obj file) then drag and drop the model to the environment.
•Change the material color of the model.
•Alter the transform (size, position, rotation) of the model.

3- Design the environment around the 3D model.
•Ask the participants to use the 3D model in creating a creative space, which can be a museum, art gallery, creative tower, maze, garden, …etc.
•Discuss with the participants what they want to create and let them choose their preferred venue.
4- Explain how to use the tools provided in Co-spaces.
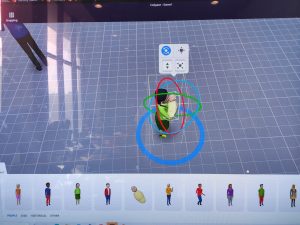
•Explain the lock, group, duplicate, and attach tools.
•Show how to add characters and alter their animation, looks, and text.

5- Explain the co-blocks.
•Explore the coding section of Co-spaces.
•Explain the meaning of the different blocks and how they can be used to program actions in the VR environment.

6- Add background sound (.mp3) file.

1- Make sure the project is working correctly.
2- Share the project link.
1- Live the VR experience using the available VR cardboard headsets provided by Studio 5/6.
2- Share the projects among the participants.
3- Take pictures of the final prototype.
Having trouble? Let us know by completing the form below. We'll do our best to get your issues resolved quickly.
"*" indicates required fields