- Loading…

In this workshop student will learn about electronic and circuitry through activity. Student will design and fabricate their own water over flow indicator. Student will also create a casing for this circuit system.


Tools required :
Soldering gun and Metal, flux
Glue gun
Wire cutter
Conductivity means material which can conduct electricity, heat. Our body conduct electricity thats why we got shock.Metals are Conducts electricity. Copper, Aluminium, Gold, Silver some common good conductor. Utensils conduct heat so it heated while steaming it.
Introduce them with good conductor and bad conductor.
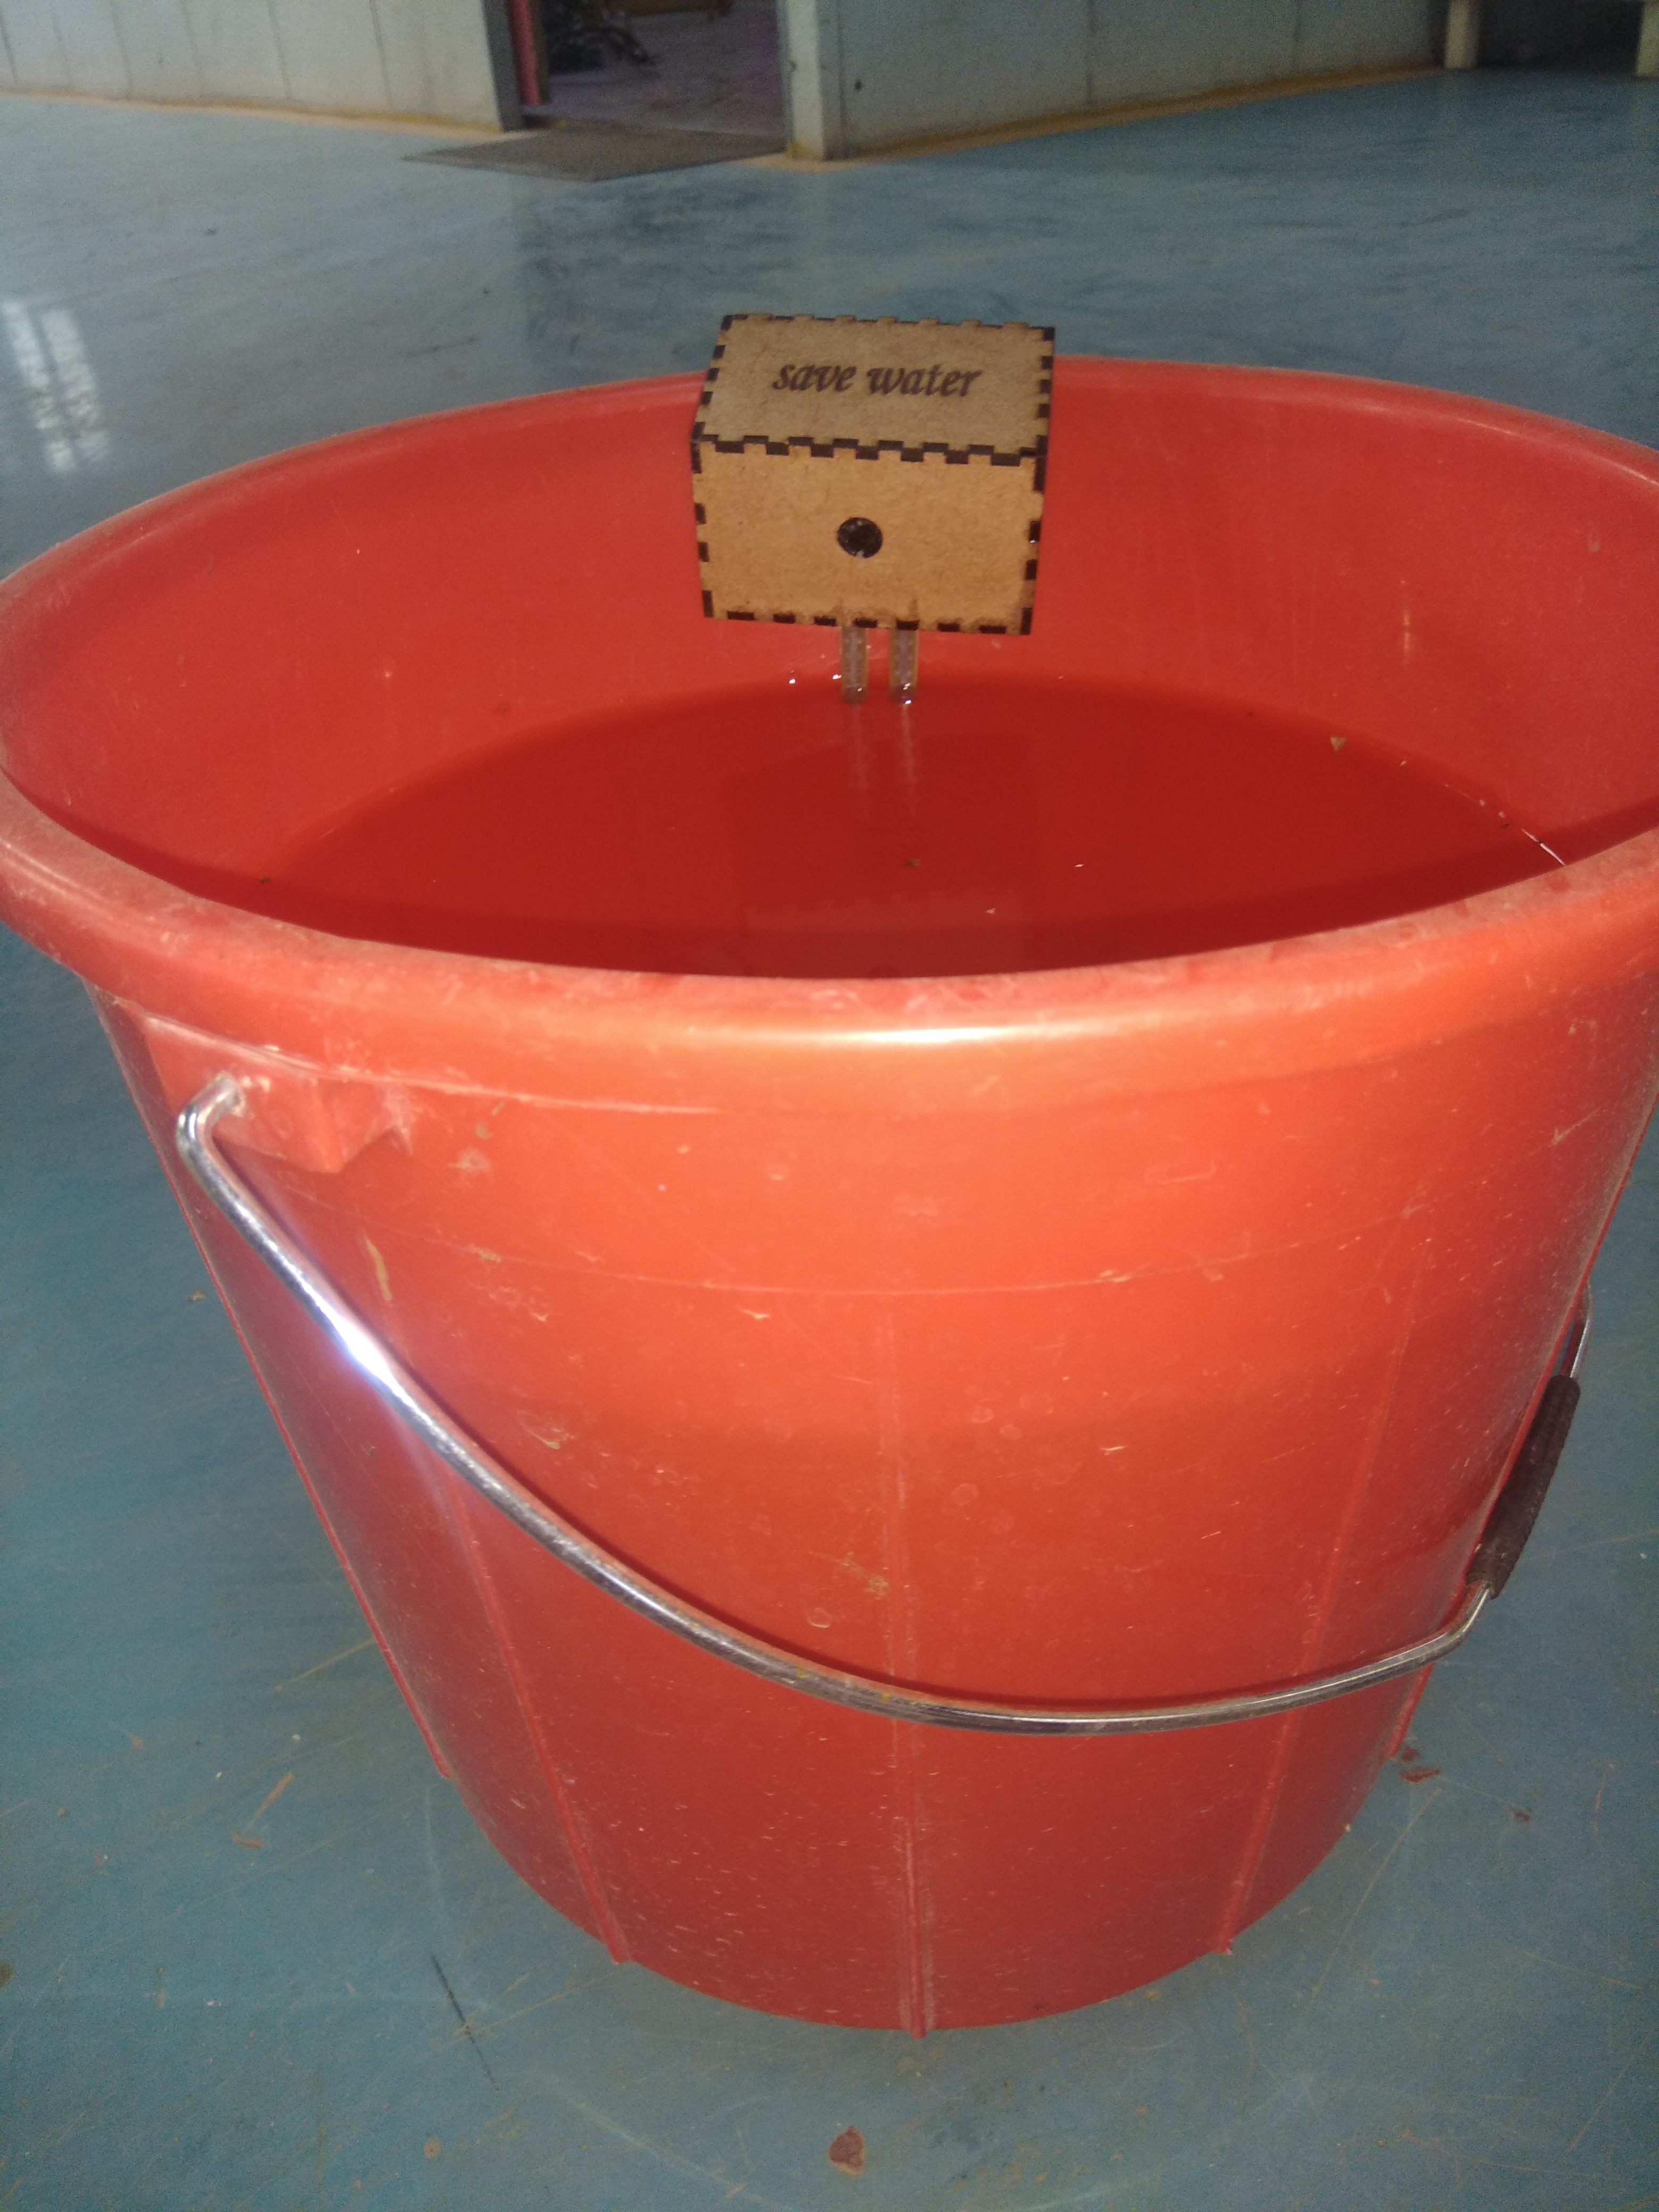
Sensor means material can sense environmental changes. In our body ears, eyes, nose, tongue, skin are sensors that can sense sound, smell, taste, touch. Likewise in electronics also different types of sensor which can sense Moisture, temp., motion etc. accordingly their names are given. In our project we use Moisture sensor to sense level of water.
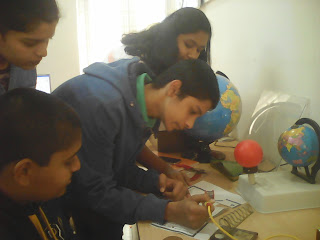
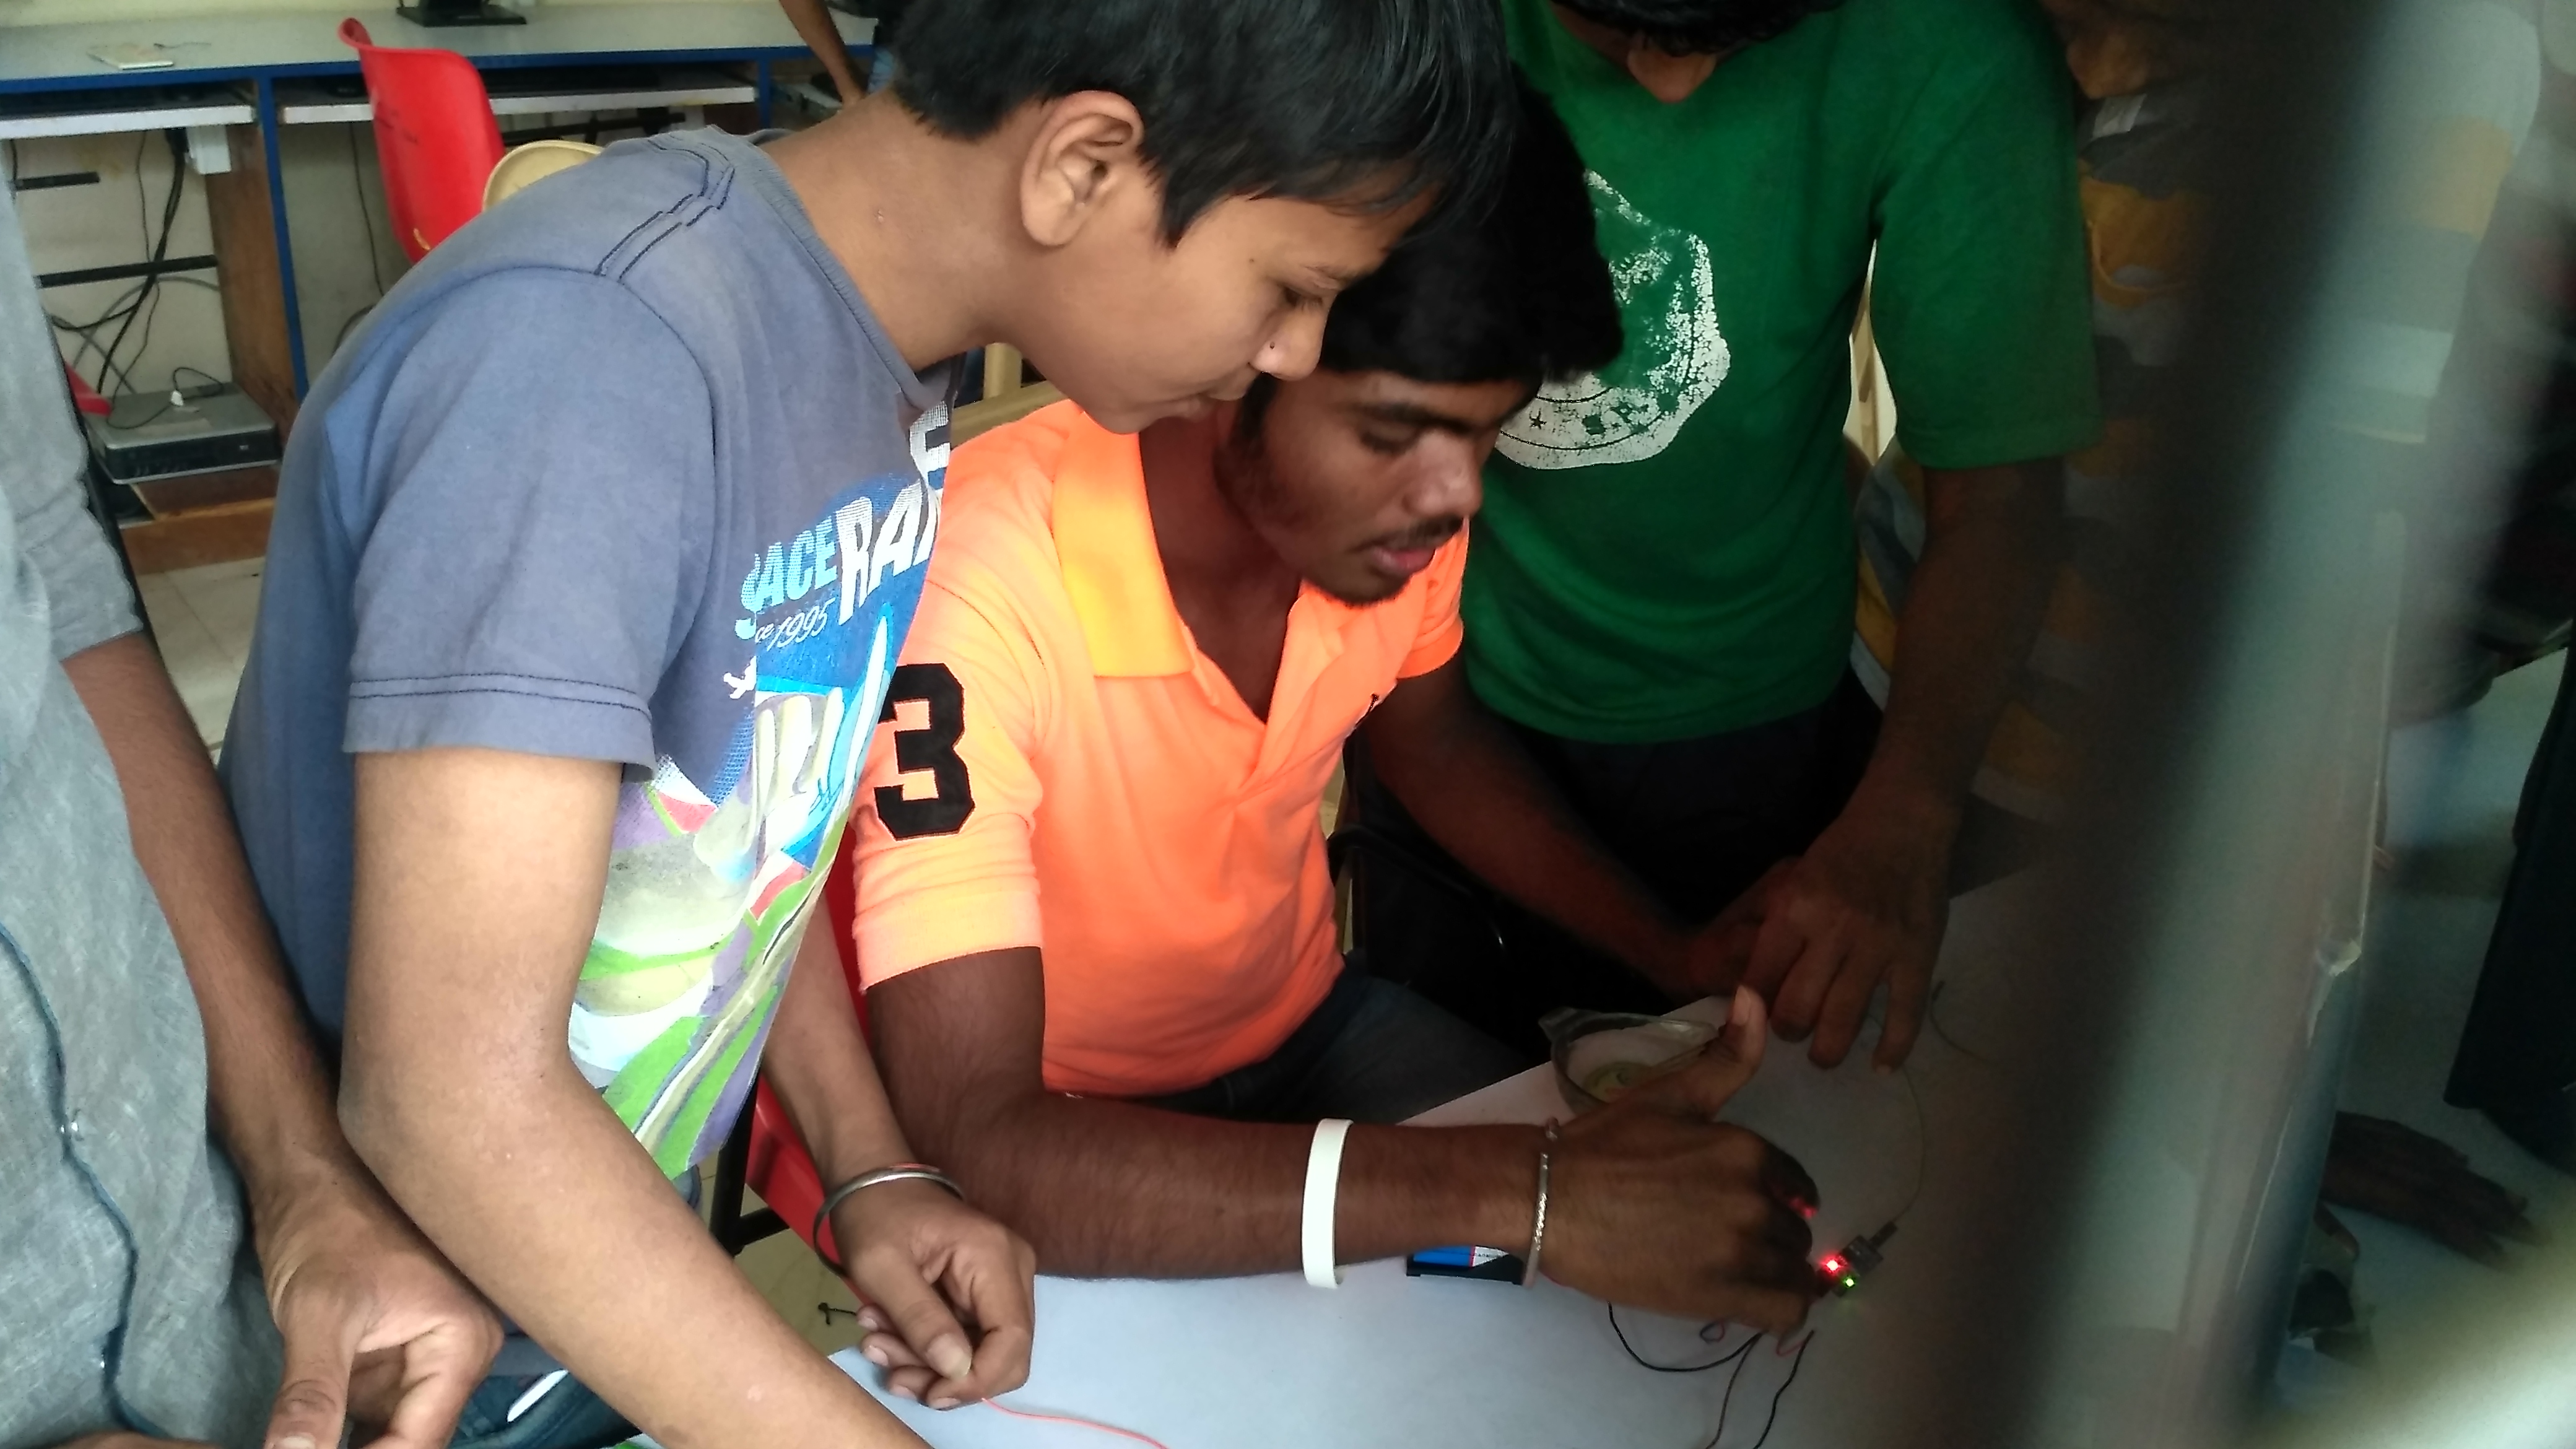
Conduct experiment by using 9V cell and LED to show how current flows from water.
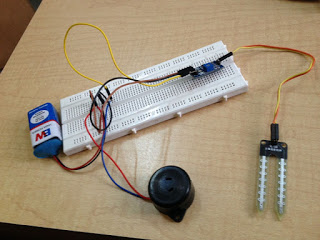
Connect moisture sensor to amplifier(SBT4447). D0 of amplifier to -ve of buzzer. Vcc of amplifier to +ve of buzzer and +ve of battery. GND of amplifier to -ve of battery.
While assembling introduce them about Digital and analog signals.
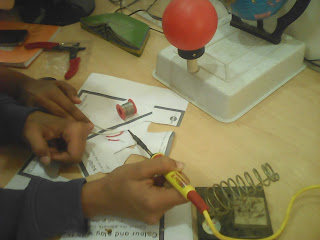
After assembling it connect sensor to bowl and test it. Connections are correct then buzzer gives sounds.
See the connections are neat or not. If they are incorrect then help them to find out the problem.
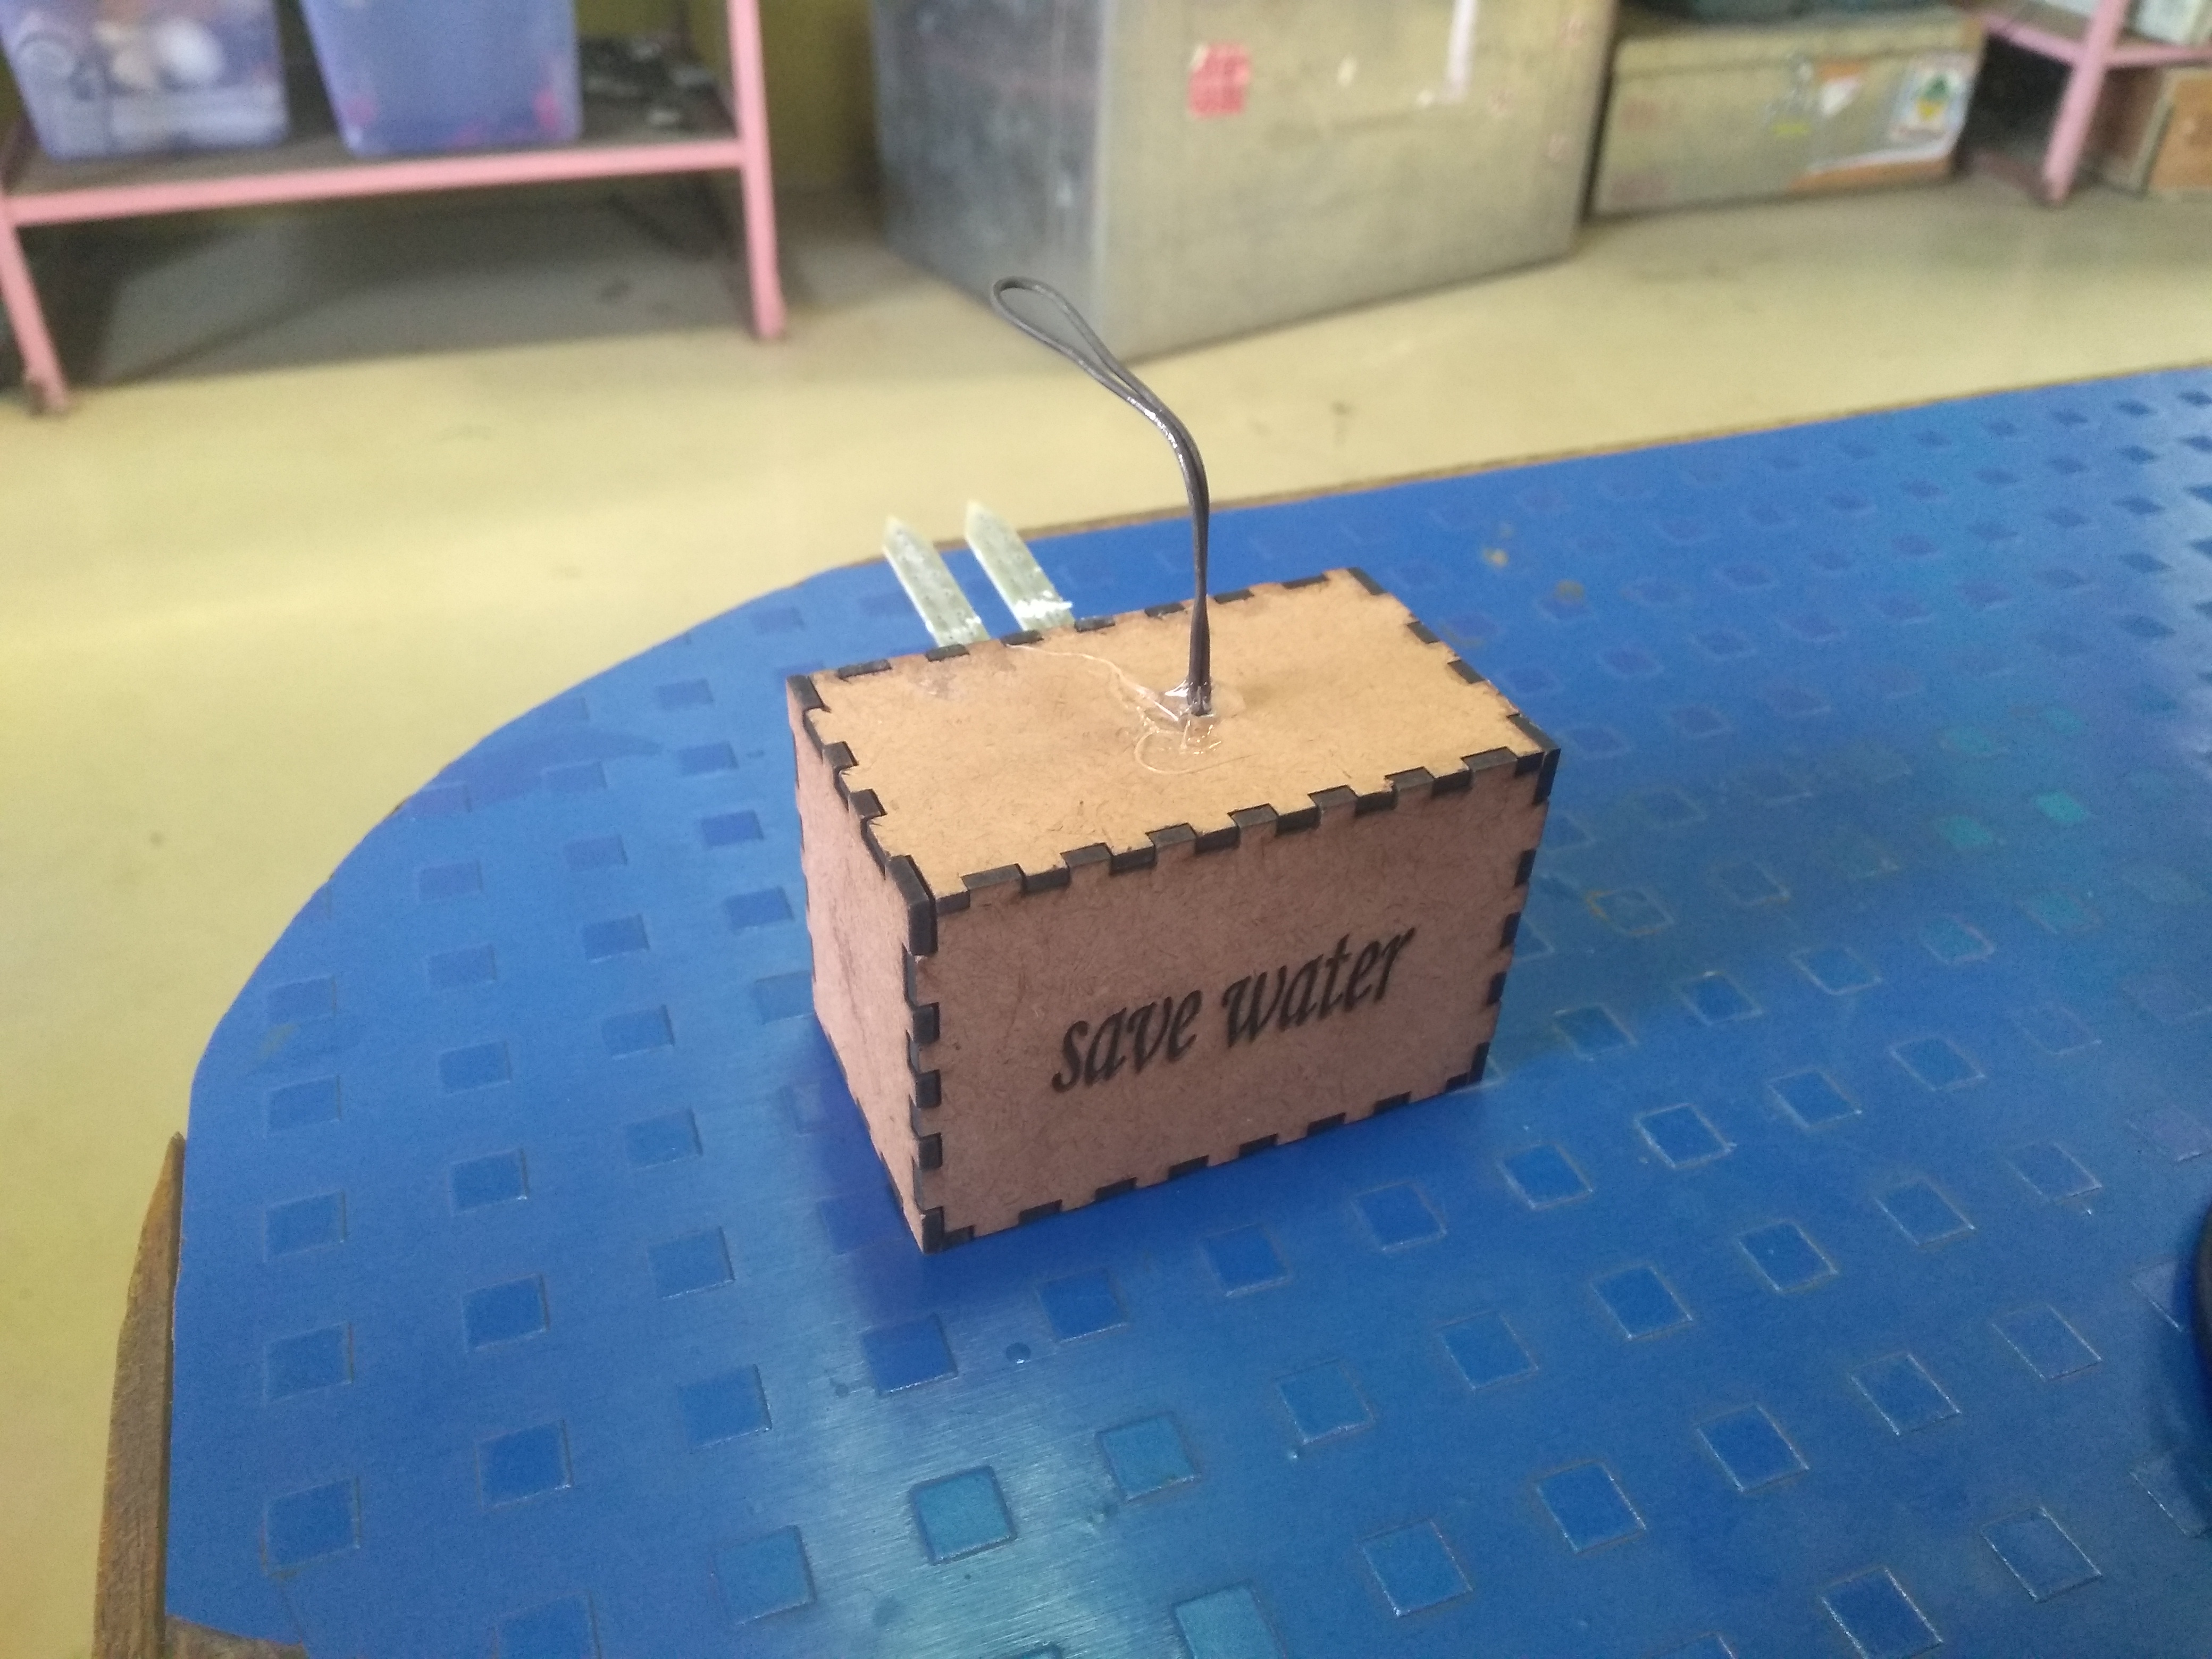
According to size of circuit designed box to fix it.
Ask students to measure expected size of box and show them online method of box making ex. www.makercase.com
See the size of buzzer and edit designed box for fixing buzzer into it.
Show basic designing tools to students.
After completing design of box give that design to laser cutter for cutting. Laser cutter is machine which can cut designs in precise manner. we can give our design to laser cutter through machine software.
Introduce them with laser cutter and software.
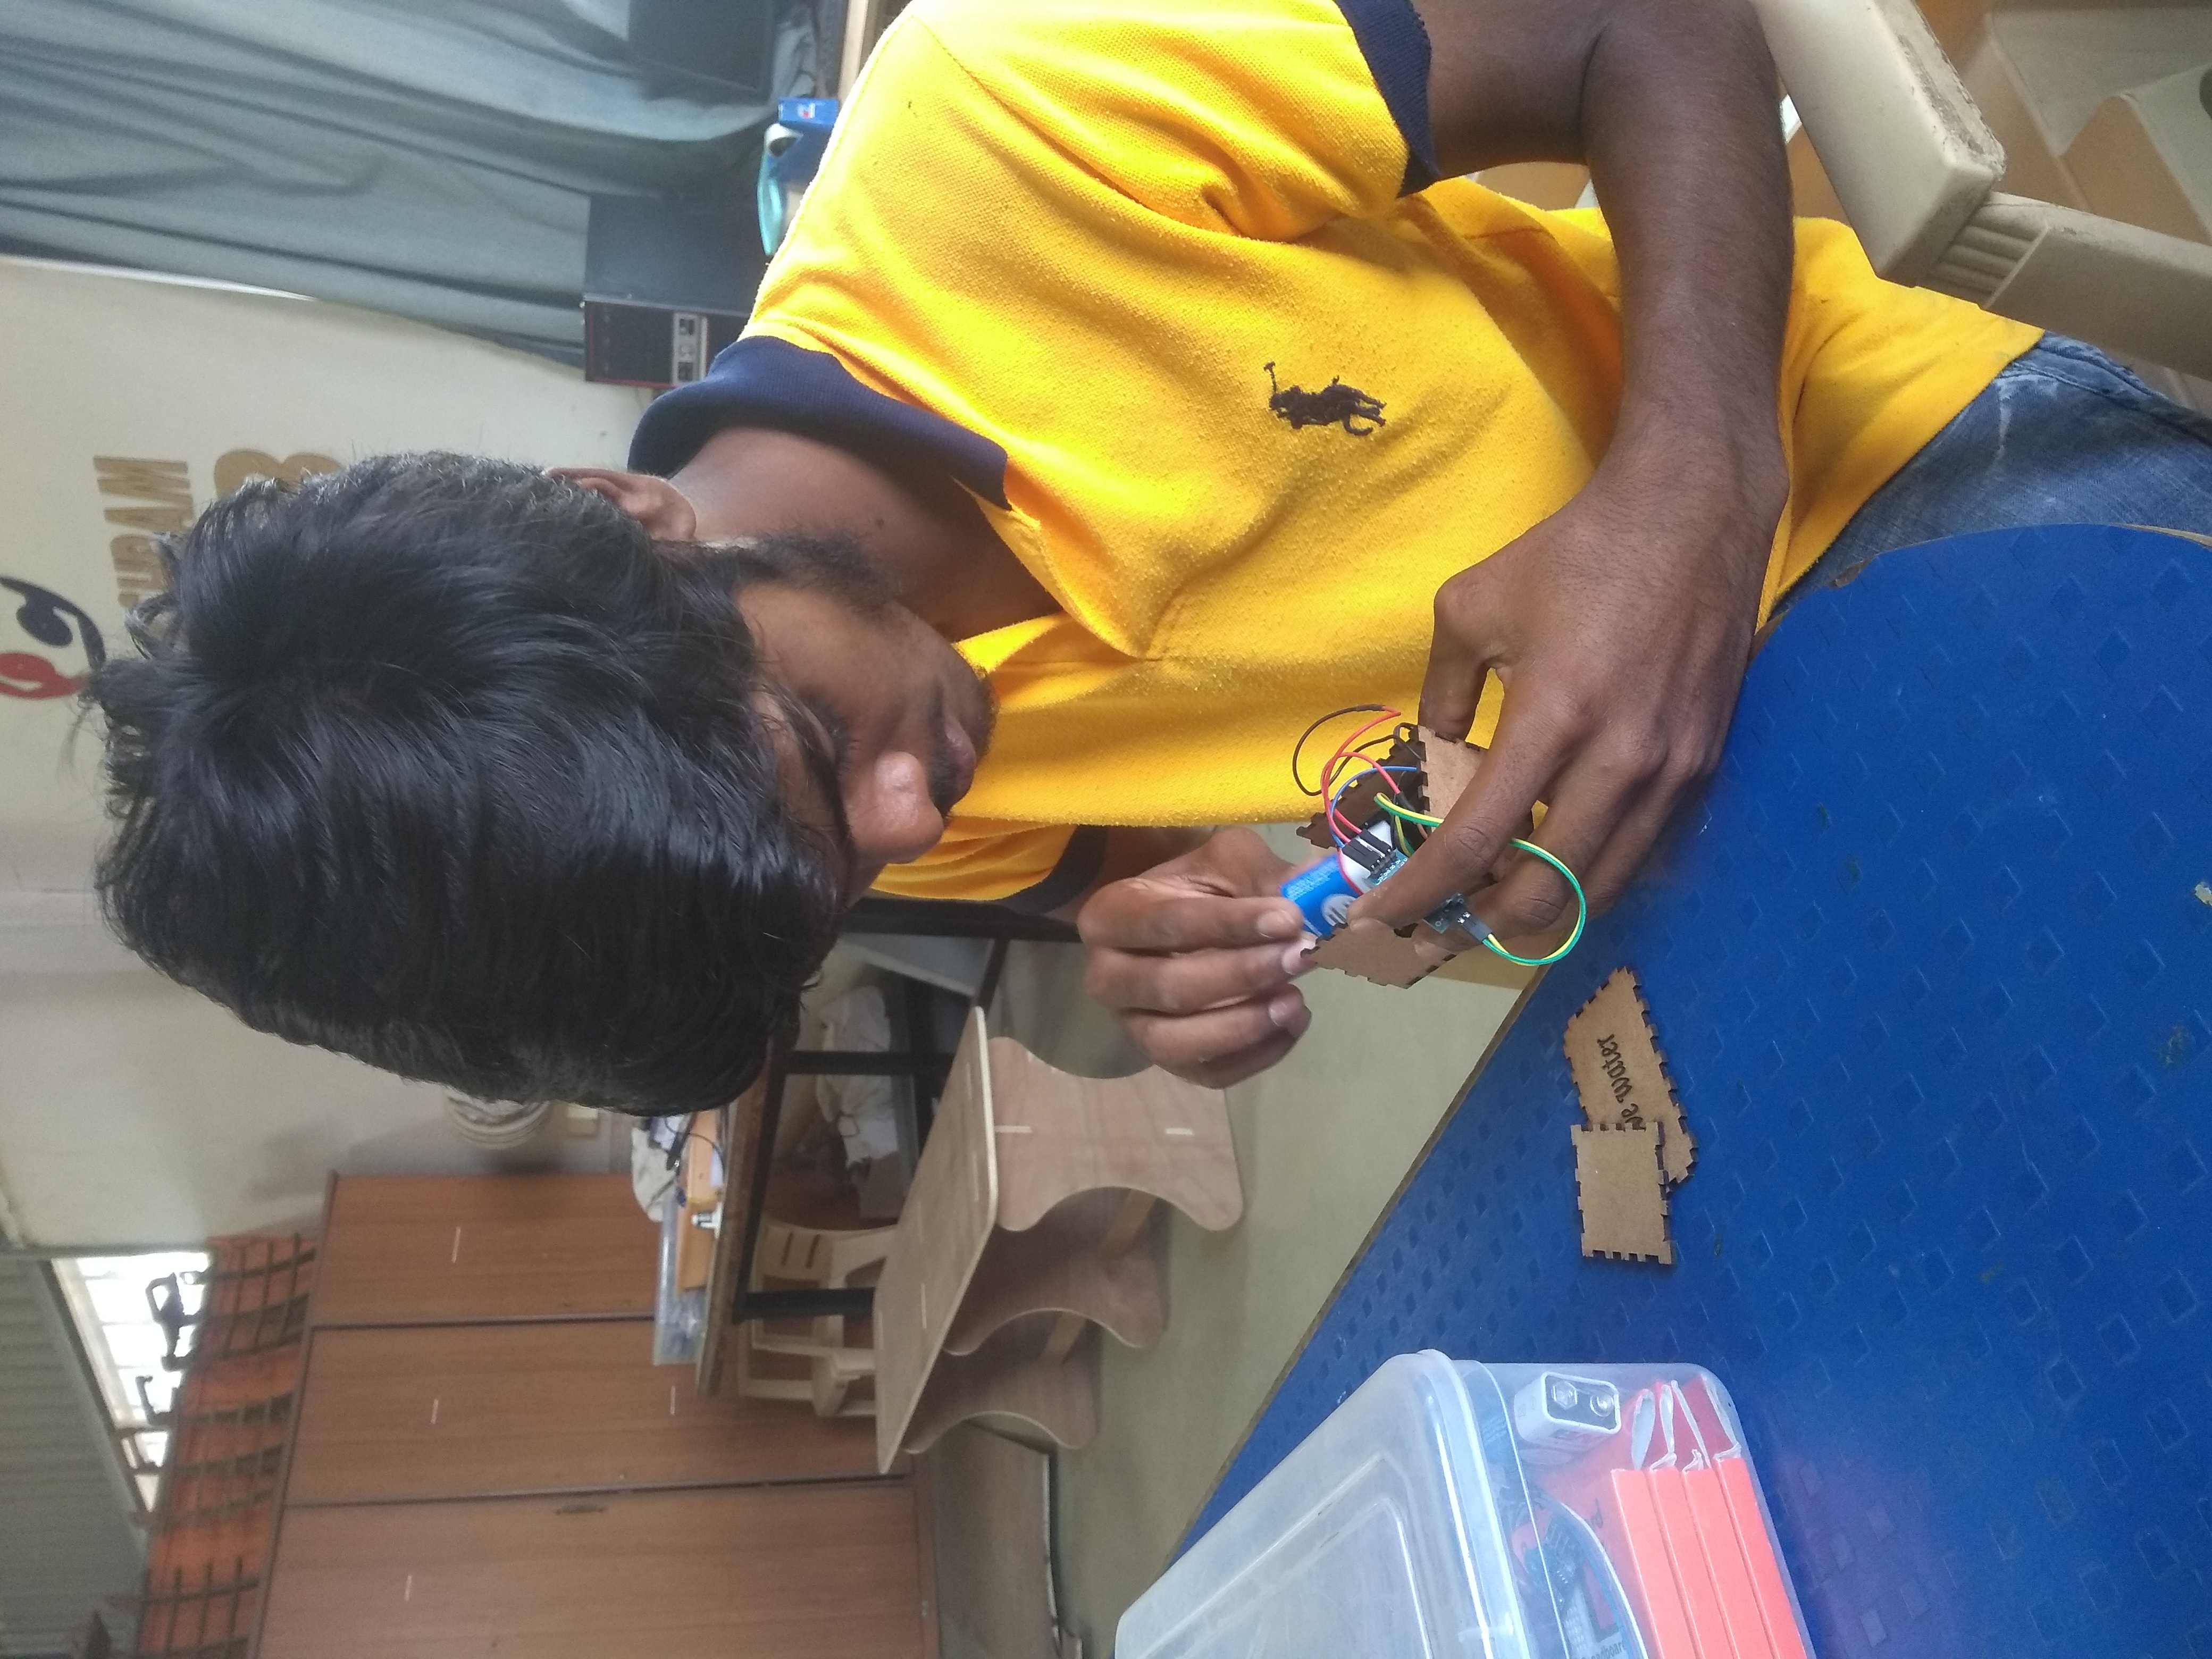
Separate connections from breadboard neatly. See the connection while separating them from breadboard and fix it into designed box carefully. Now water flow indicator is ready.
Help them to separating connections from breadboard.
Having trouble? Let us know by completing the form below. We'll do our best to get your issues resolved quickly.
"*" indicates required fields
Thank you for your fab contribution!