- Loading…
How does a wind turbine create electricity out of thin air? Prototype one and find out!
In this lesson a miniature prototype will be designed and built to observe wind power in action, and even consider how the features of a wind turbine support the conversion of kinetic energy to electrical. This content serves to offer discussion points on sustainable energy, sustainable material choices, sustainable economic practice (the consideration of buying a thing or making it)
Over the course of the lesson, students participate in short formative assessments on related topics, and engage with concepts of energy, 3D printing, additive and subtractive manufacturing, and materials science.
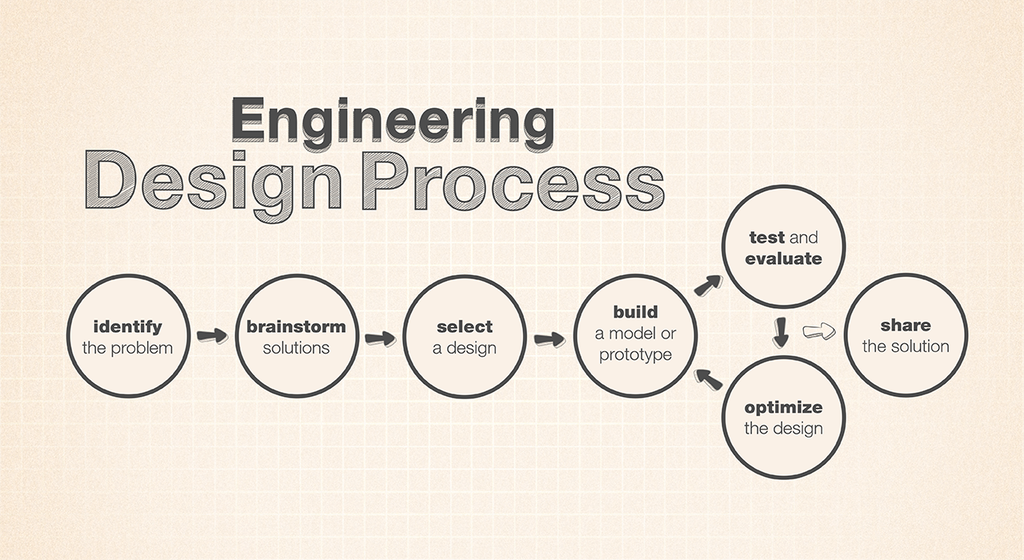
This lesson will guide students through a 3D model on tinkerCAD, with the goal of producing a pint-sized working wind turbine which could be tested for its effectiveness at converting wind to electricity. The lesson will follow the Engineering Design process to explore making with both additive and subtractive processes, and testing the result to create future iterations toward an ideal solution.
This lesson also references the UN’s Sustainable Development Goal #7: “Ensure Access to affordable, reliable, sustainable, and modern energy for all.”
The low cost prototype students build in this activity functions with real capacity, and could be optimized through iteration to a point of being a reliable source of energy that could charge a battery or meet other small energy needs.
Arguably, this might also make a stride toward SDG #12: “Responsible consumption and production” by leveraging the ways which learners model societal practices of purchasing needed components while manufacturing what they can… and of course, through this lesson and others like it, “what they can” is an intentionally growing category.
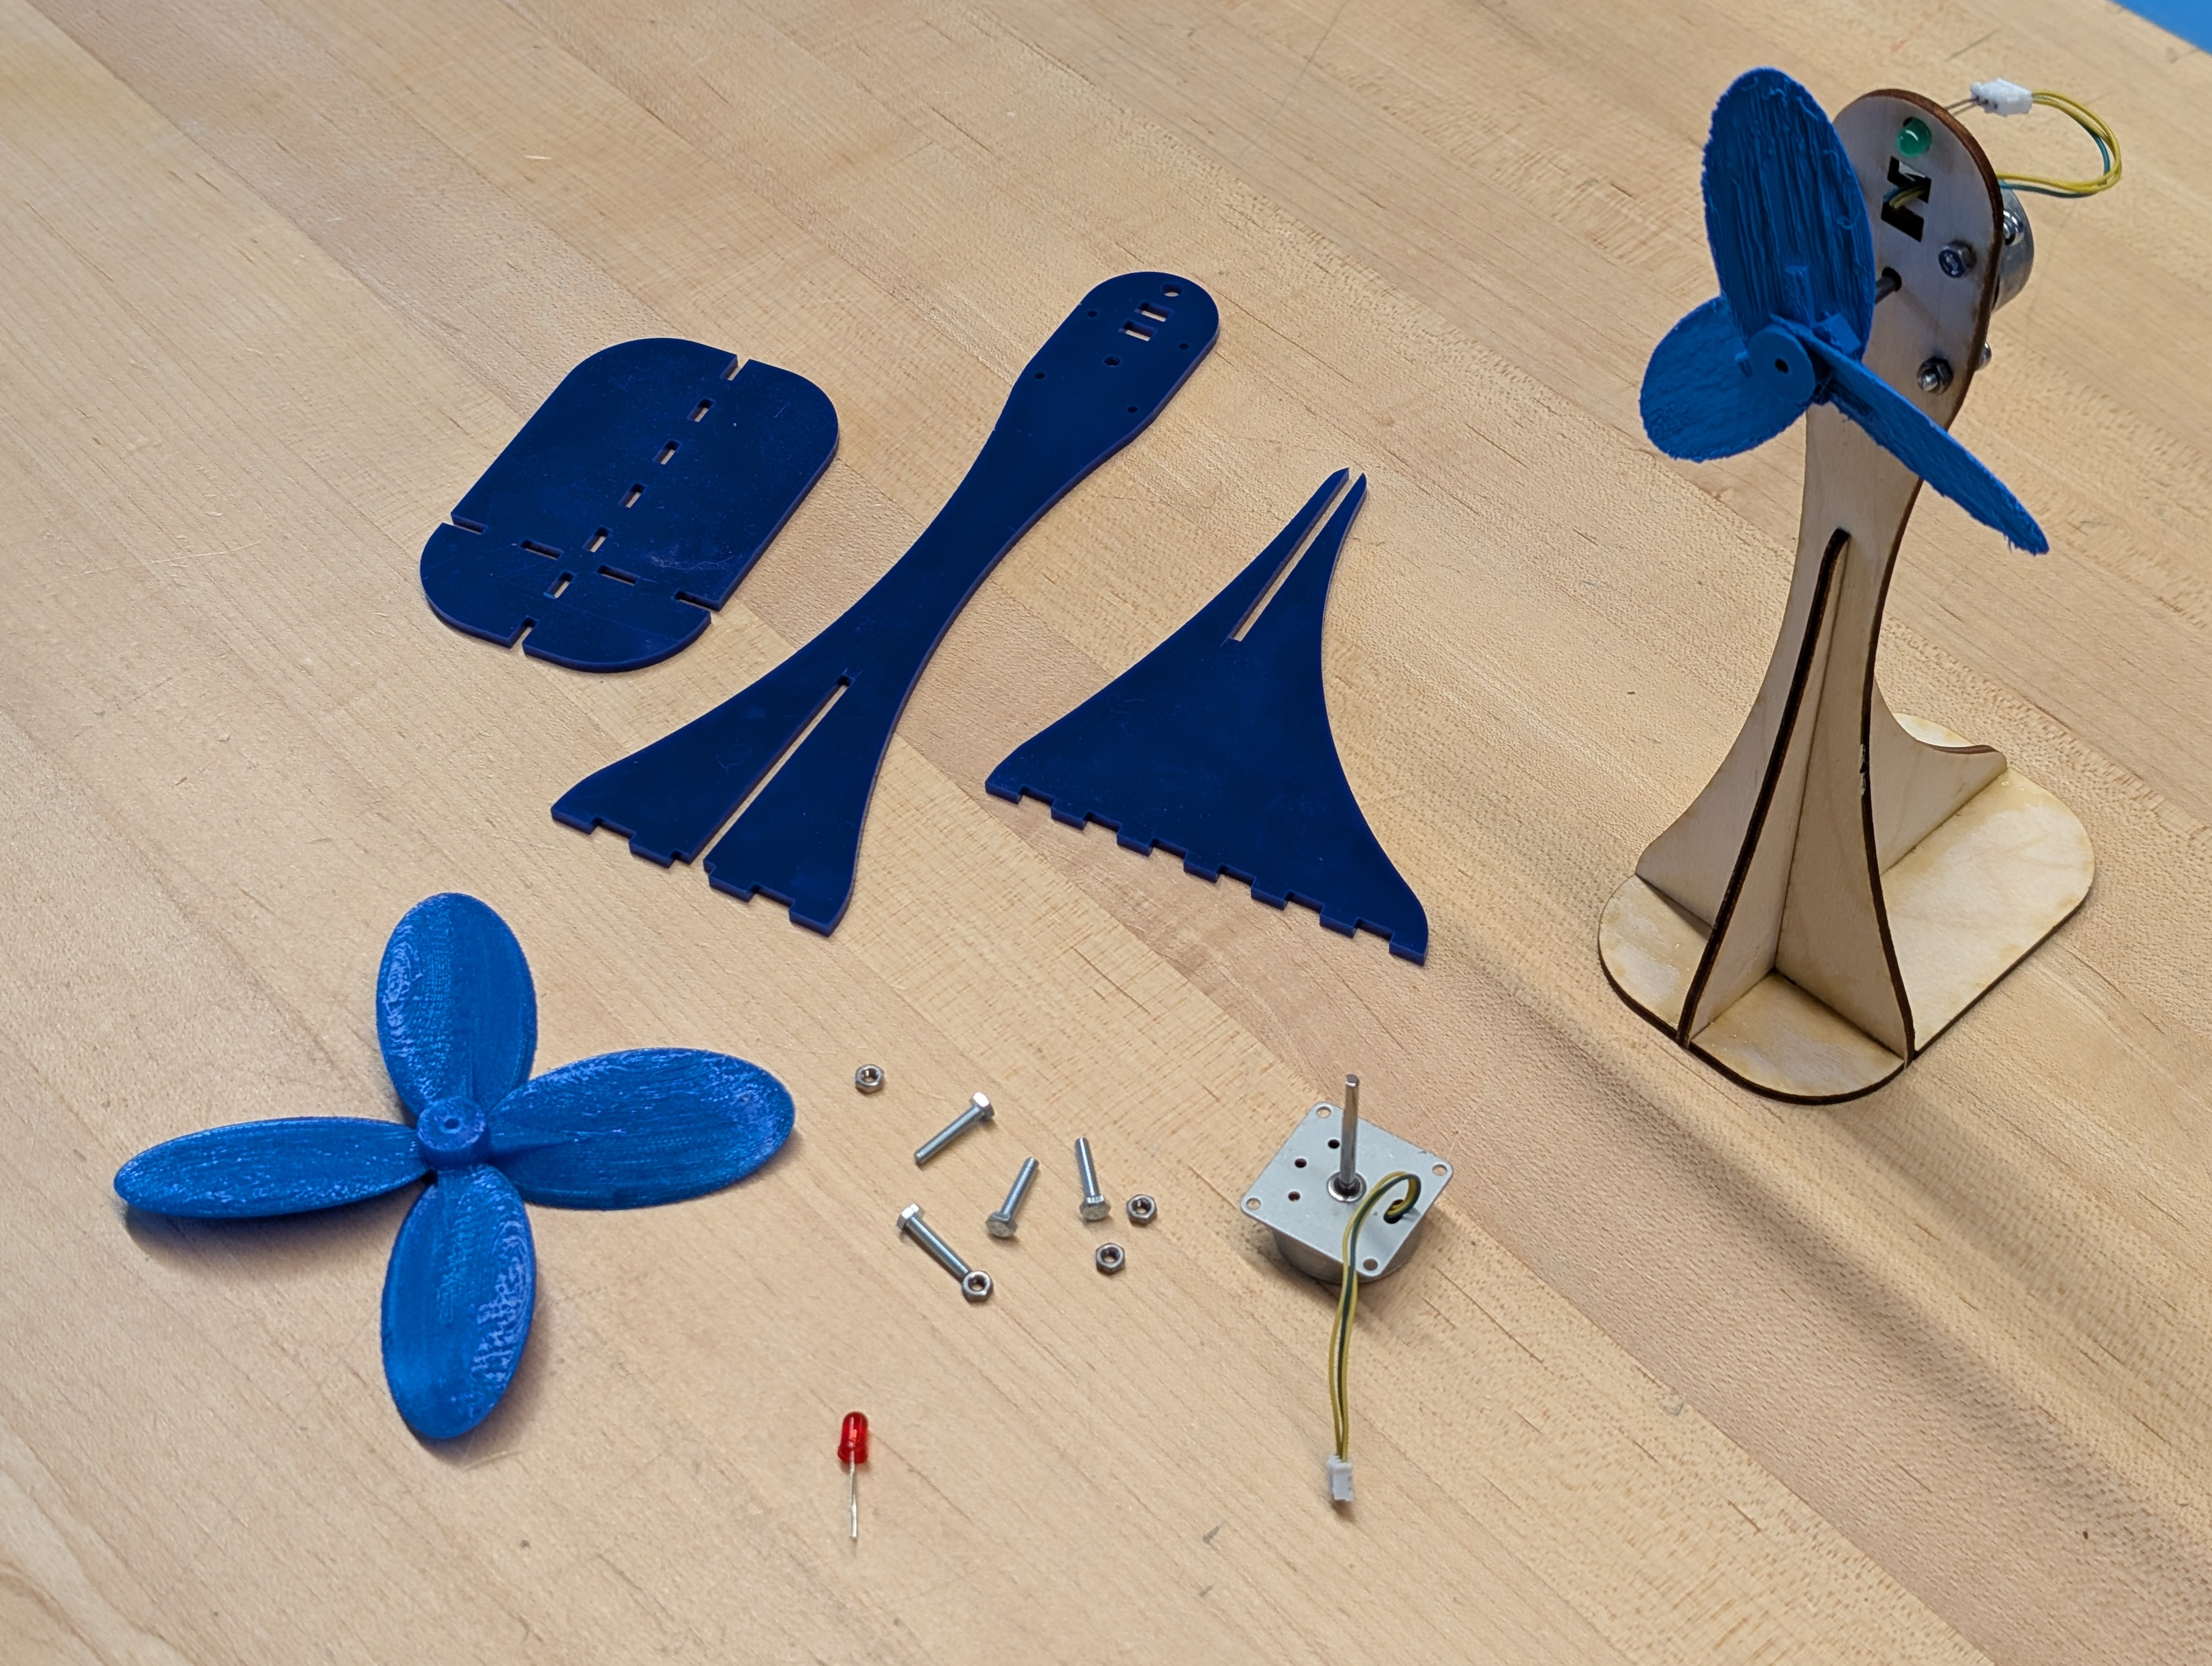
This turbine is can be partially disassembled to allow for more in-depth learning about the internals
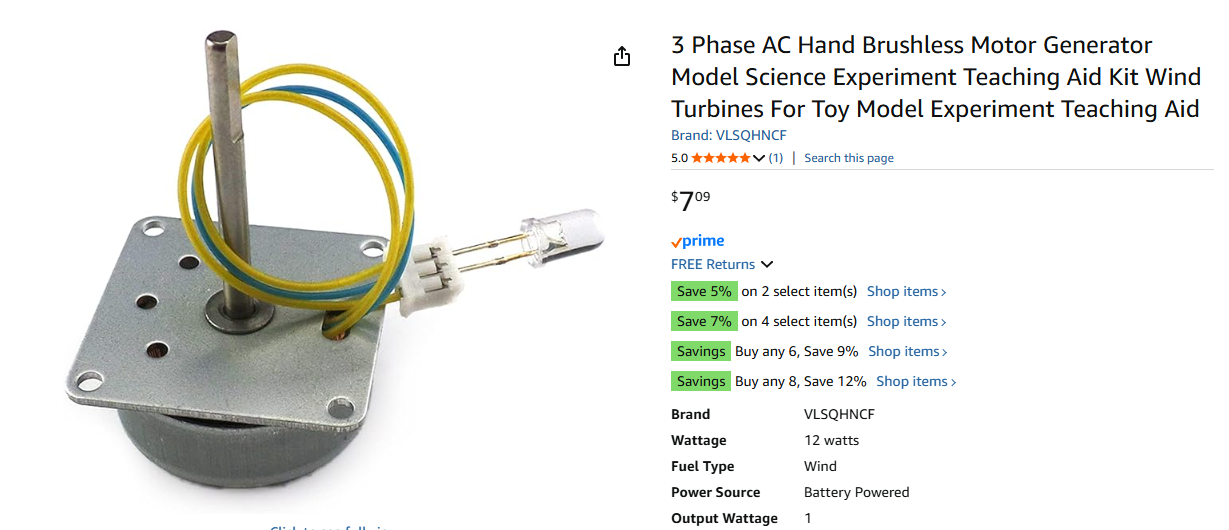
It also comes with a testing LED.
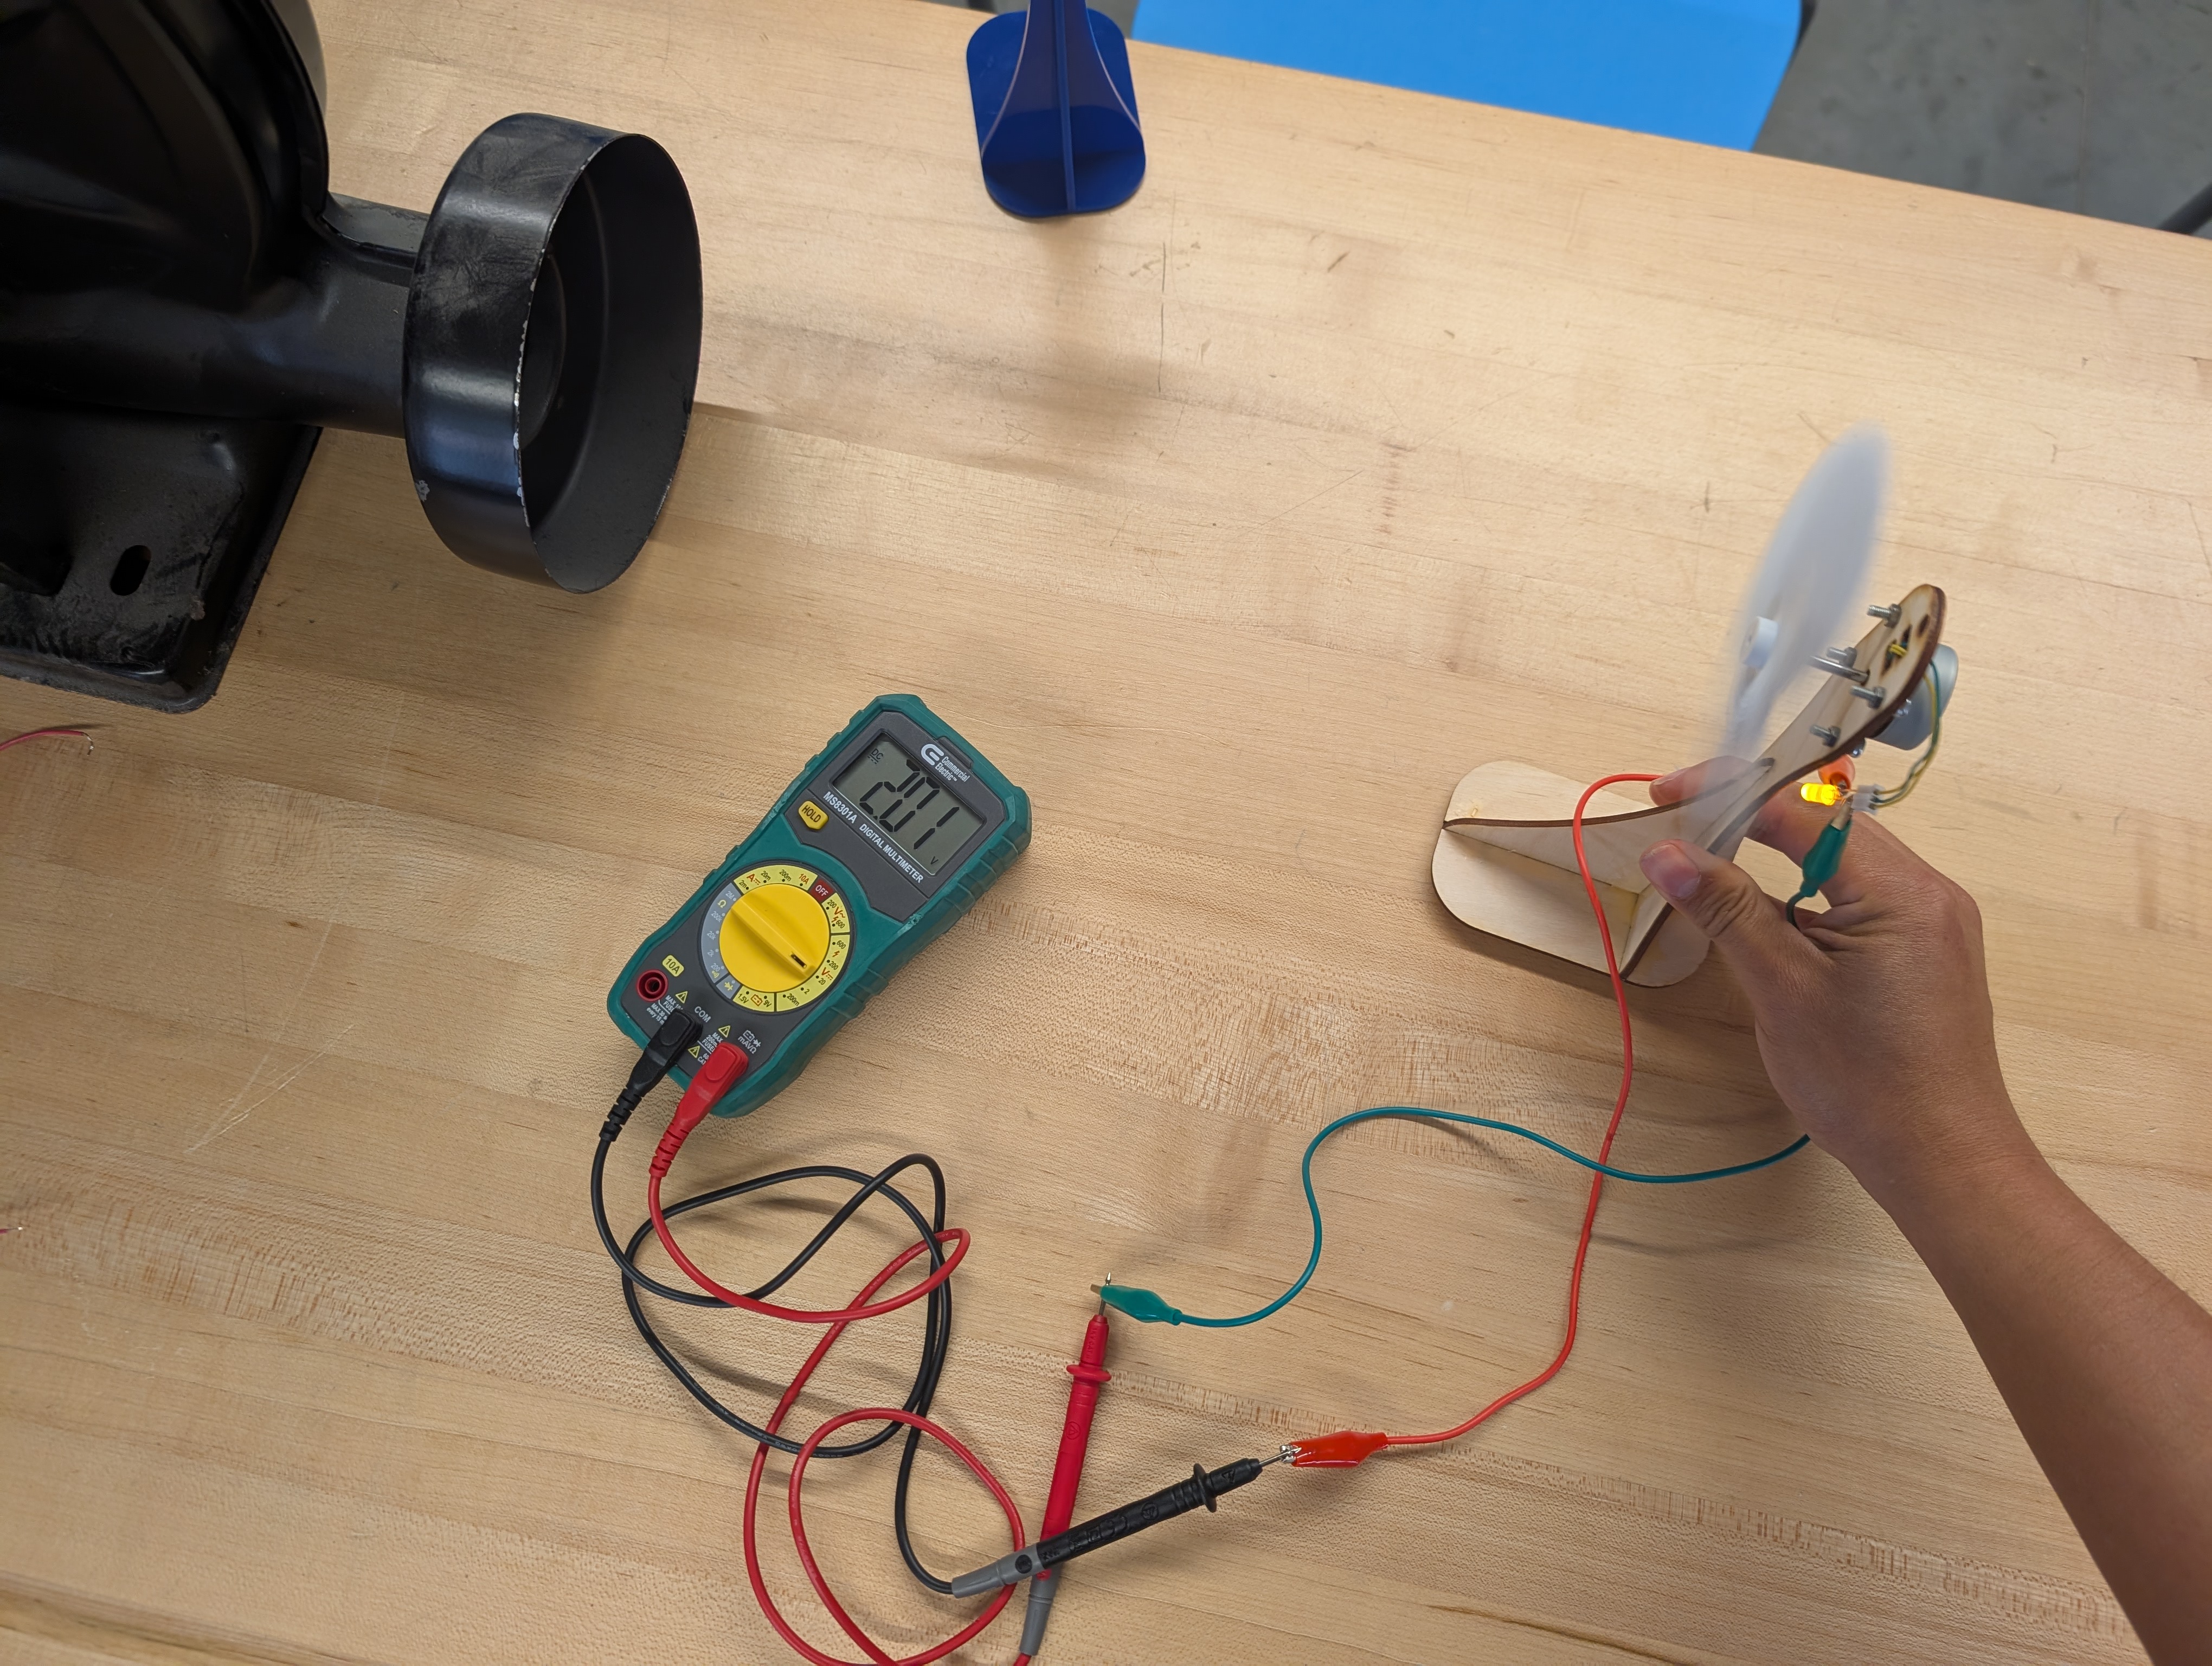
In addition, you will need a standard Multimeter for testing, a combination of dupont wires (and perhaps alligator clips to clamp testing leads to the output from the generator.
Four 3 mm machine screws and nuts, and this laser-cut template for a testing stand, which can be cut from 3 mm acrylic or plywood (the latter of which is likely more sustainable)
Separately, a multimeter is needed for measuring windmill effectiveness. A blower of some kind is required for a standardized source of wind energy. (Our industrial dust collector impeller option was a little overpowered, and would have benefitted from a configurable speed setting, but was great fun)
Students will be able to combine, align, and group geometric shapes in TinkerCAD to create a functional and 3D printable prototype.
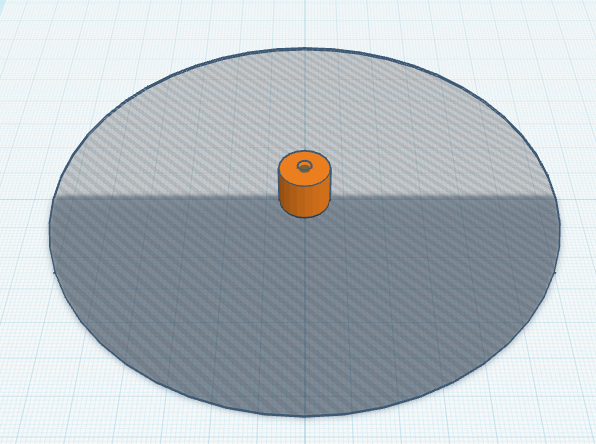
Students will be able to produce a rotor for a wind turbine, which can mount securely on the generator shaft and rotate with airflow, with a maximum clearance of 5 inches or 127mm.
Students will be able assemble a functional turbine system that features components which are laser-cut, 3D printed, and electrical, joined with both press fit and hardware connections.
Students will be able to explain at least one way that wind turbines convert kinetic energy from airflow into electrical energy, and in doing so contribute to sustainable energy access (SDG-7).
Students will be able to Identify phases of the engineering design process as defined by NASA’s JPL, and describe at least one decision made during this project reflects that process.
This project creates a few different ways to make minor pivots to meet students where they are. Students enter from a variety of places, and having pre-staged breakpoints in a lesson gives an opportunity for a teacher to make check ins, and offer individualized help. It also allows an activity to be scaled at a class level to make better use of the ZPD where a particular class might be, or make adjustments to scale delivery points to stay within a the zone even as content progresses.
In this delivery, a major challenge was that class sessions occurred once every approximately 10 days, meaning most sessions had to start with a fair amount of retrieval to make sure the students knew what was even happening. I collaborated with a 4th grade science teacher and her students for this, and her help in delivery of content was a big help making sure no one fell too far behind. While I did get some feedback from her, I also took an opportunity to tap the LLM button, for an AI analysis. In its mechanical efficiency, it evaluated a potentially critical factor in my Learning Objectives: I had not constructed my statements using the conventional formatting SWBAT. While my colleague read the more colloquially written “this lesson will” statements as being clear enough, interpreting them without a second thought to effectively enough state the goals of the lesson and recognizing the implicit statements toward the outcomes which might be achieve. This is fine for most lesson plans, which in our school rarely face the kind of scrutiny that would call out a readers need to do interpretation which should have been done by the writer. While I would imagine this reduces potentially harsh conversations about semantics among people, the bot had no such compulsion, and noted explicitly that my objective statements were, well, not objective enough. I had also, in my initial creation, had omitted a rubric. As I had overlooked that, I had not communicated its necessity, and what chance did my collaborator have in calling it out? Once again, the bot was equipped with explicit line-item accounting, and flagged the miss at once.
Luckily, these were easy enough to fix. The objective/outcome statements were adjusted in a way that seeks to reduce the amount of interpretation required of the reader, and the rubric was already partially present, in notes for assessment, and just needed to be cleaned up and constrained into a crisp, explicit document.
I’d also like to build a mini wind tunnel for these in the future, to help stabilize testing, and maybe tamper down on the aggressiveness of the clearly oversized blower, without detracting from the incredible fun the students had using it.
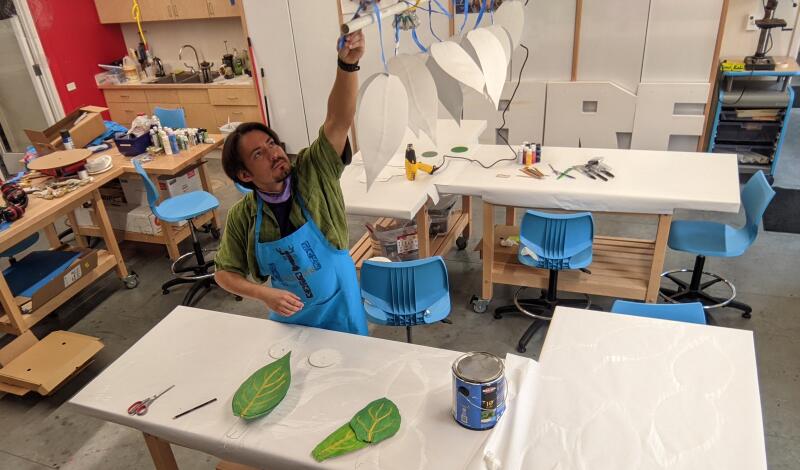
Display the generator parts, and open a discussion about how to catch the passing wind in order to rotate the tiny shaft.
Pass around a generator, with an LED on it, and let students practice turning it with their hands.
Ask how they might turn the rotor without having to touch it, and guide the discussion through the notion of a turbine blade as a combination of two simple machines, the inclined plane and the lever.
With the inclined plane as a means to push the rotor around, what other ways can we improve this design? How does the shape of that plane effect its usefulness at the task? What about its incline? Can we borrow from existing designs, like the wings of an airplane? After Paper sketches are complete, The following questions can be used in a low-stakes formative assessment of students' awareness of their design selections: Why is it important to consider shape, size, and material when designing windmill blades? Describe the features that are important in creating windmill blades. Why is it important for windmill blades to be aerodynamic? What factors could affect the efficiency of windmill blades in capturing wind energy?
With paper sketches, give students space to consider what number of rotor blades they will have, whether they will stretch out to the maximum length possible, the maximum width, what shapes will guide their design.
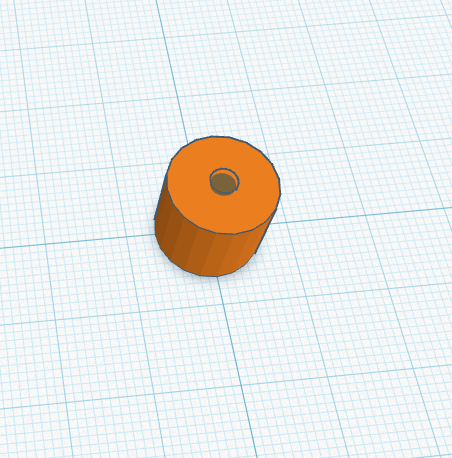
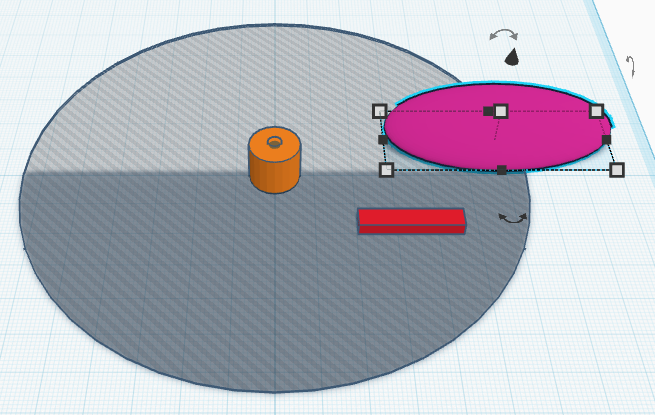
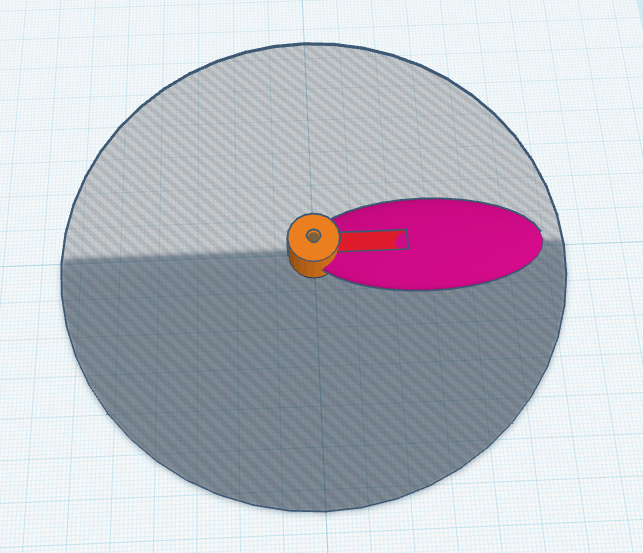
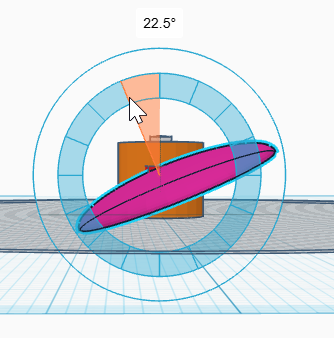
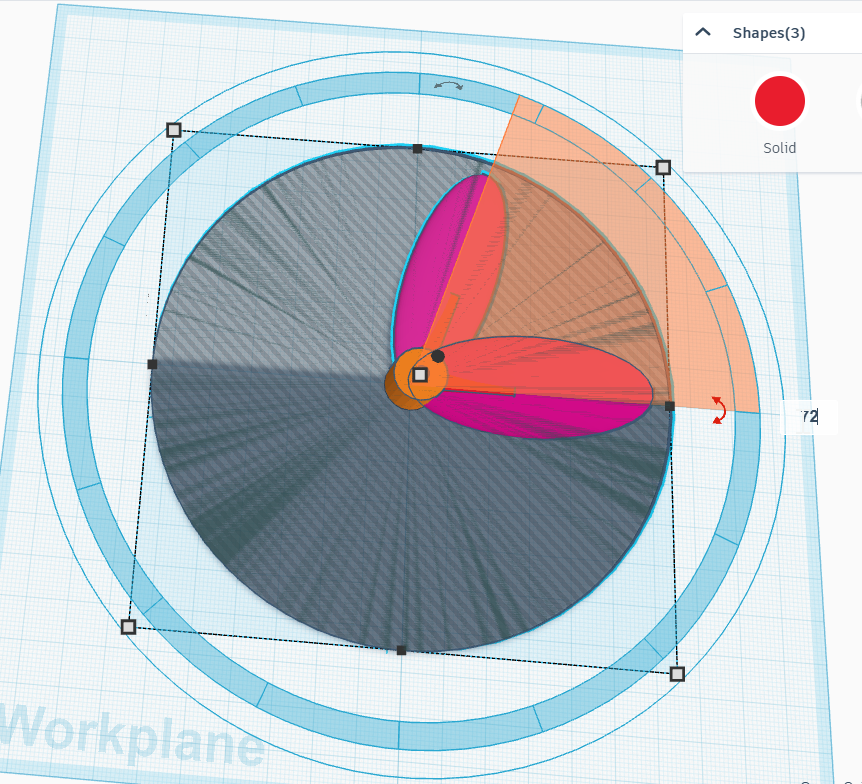
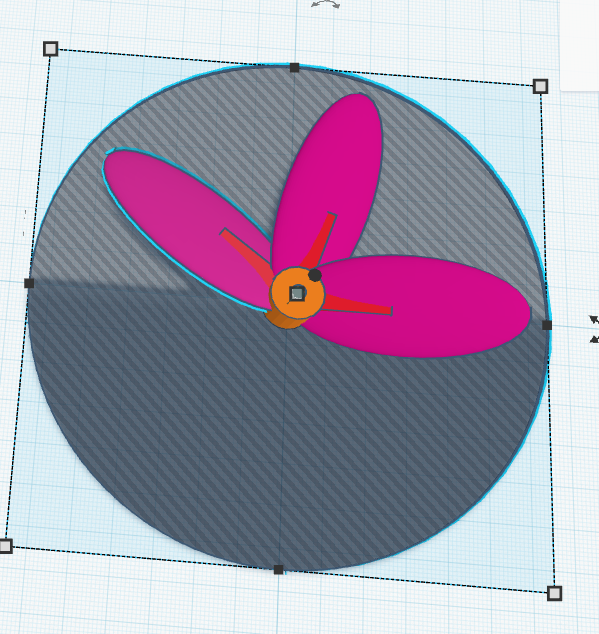
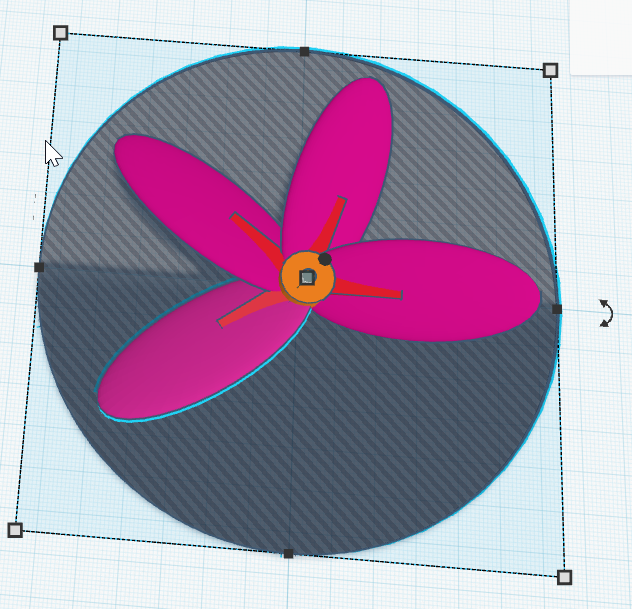
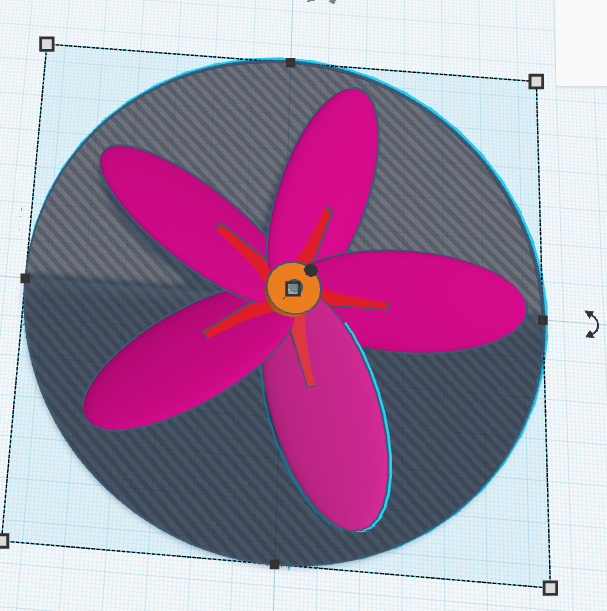
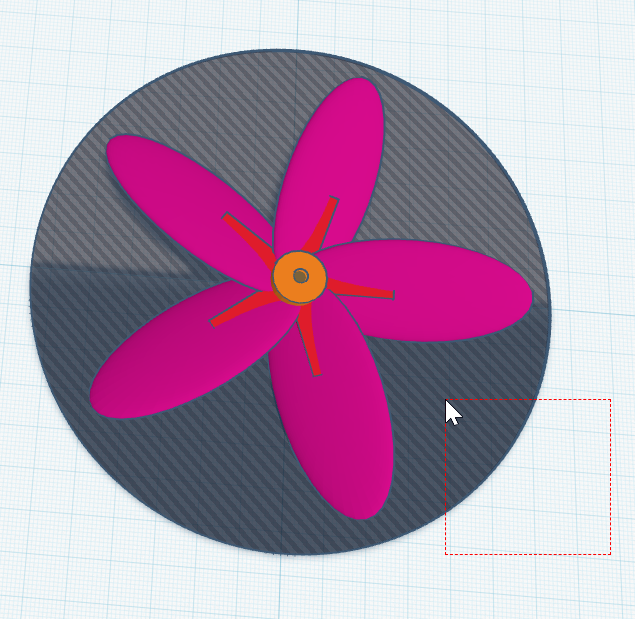
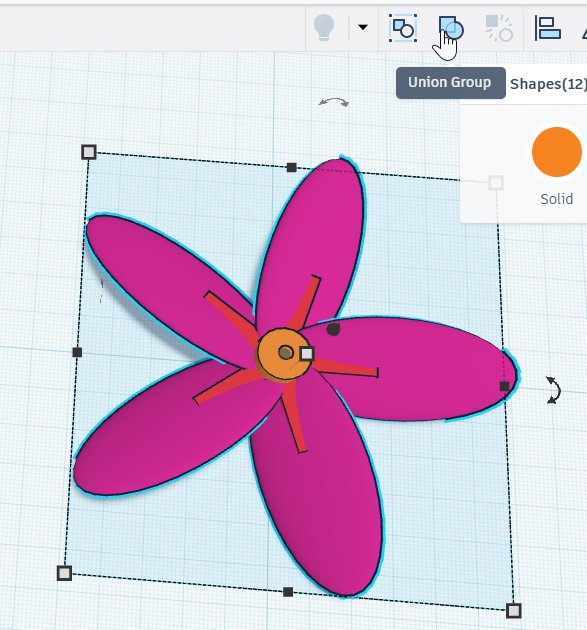
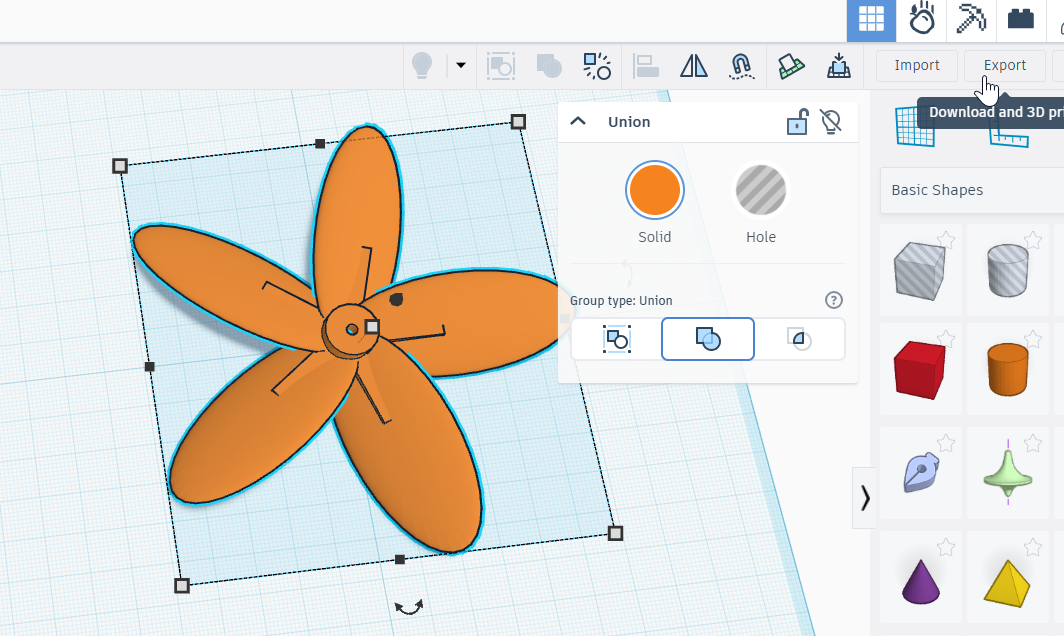
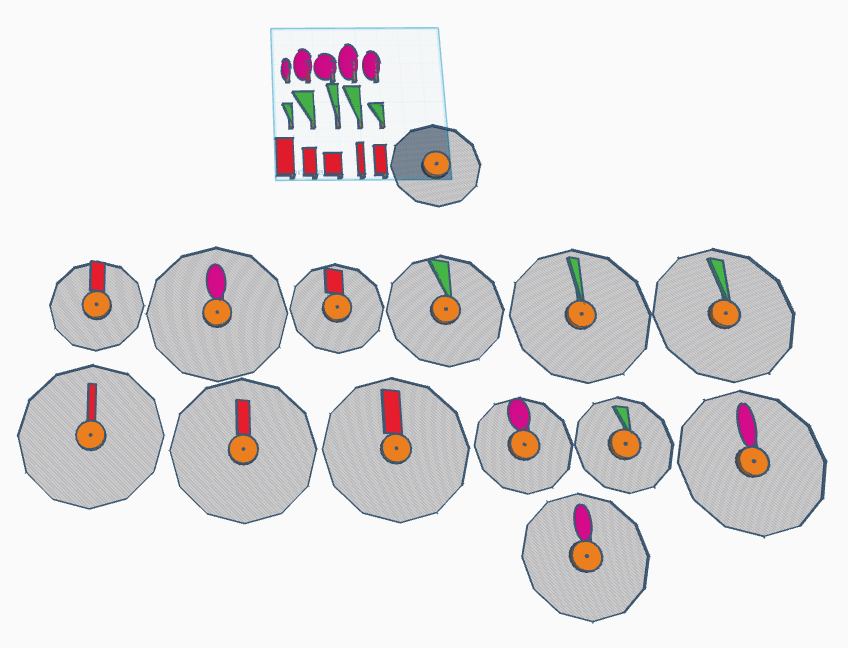
Use TinkerCAD to create a Computer Aided Design model a turbine hub and rotor blades. Students will use their brainstorming selections to constrain how many rotor-blades they will have attached to their hub, and how those rotor blades will be shaped, and what angle they will incline. TinkerCAD classroom is a great way to organize multiple scaffold options for various groups of students. In the same activity, it is possible to stage multiple variations for varied learners. Some learners can be overwhelmed by the blank canvas, and are more comfortable with a starting point, but how much is needed is variable. Consider each of the following phases, and set up a draft that stages the beginning point of each one. One of the included images also shows pre-drafted concepts along those the students could select from.
Phase 1: Hub and shaft-mounting hole.
Phase 2: Single blade shape and joining shaft.
Phase 3: Duplicate and Repeat.
Finalize and Export!
Use the slicer program native to the local printer to prepare a Computer Aided Machining file for the printer, and run the rotor components. Individual experience with this section may vary depending on the 3D printer available. After print files are saved, The following questions can be used in a formative assessment questionnaire: What is 3D printing, and how does it work? Describe the process of preparing a 3D printer for printing an object. What are some materials commonly used in 3D printing? What is CAD? What is CAM?
Import the model into the slicing program, and check for things like dimensional consistency.
Supports may be needed, depending on the angle of pitch given the rotors.
Configure settings for the machine, and slice.
Preview the sliced rendering to ensure that all desired settings have been considered.
Name each file (perhaps according to student, or design variation?), and export to print file.
Batch and print student files.
These instructions consider the included laser-cut tower, as one was needed for the project, but too much to include as a student designed component. After the build, the following questions can be asked as a formative assessment of this stage: What is Additive manufacturing? What is Subtractive Manufacturing? Name one application of 3D printing technology. What are two different forms of additive manufacturing?
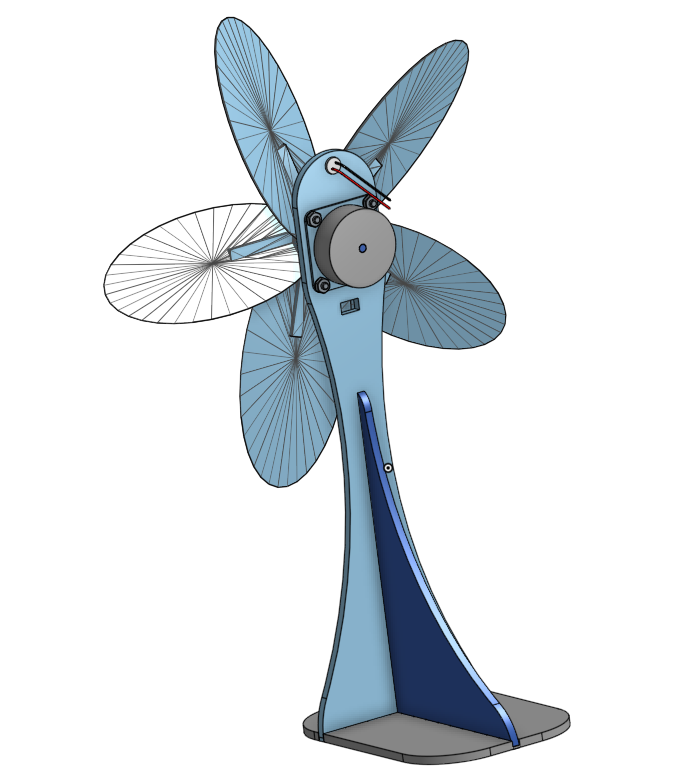
The Tower:
The Generator:
The Rotor:
LED for Demonstrations:
With the blower providing a standard (well, almost standard-- there is some variability to be had about where in its effective space the child holds their turbine) wind speed, students can clip test leads to their output, and measure voltage or amperage of their generator.
Attach the test leads to the output, and move the wind turbine into the path of the blower.
Let the number stabilize, and write it down.
After everyone’s designs have been measured, a discussion can be had about what features allowed for the highest values in voltage, amperage, or the wattage that results from multiplying the measured voltage and amperage.
Afterward, the following questions can be used as a summative assessment, or even just exit ticket discussion:
Having trouble? Let us know by completing the form below. We'll do our best to get your issues resolved quickly.
"*" indicates required fields