- Loading…
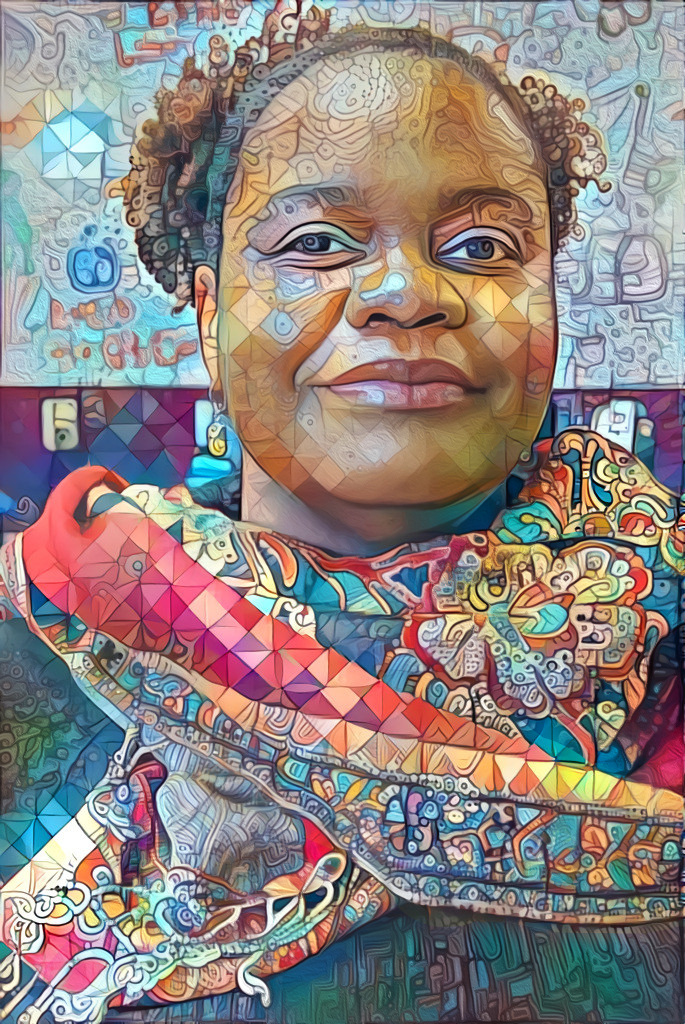
This lesson is inspired by different designers’ approaches for the Black Panther film. For example, LA-based designer Douriean Fletcher curated a special set of jewelry such as beaded bracelets, necklaces and a pair of earrings. Designer Ruth Carter embedded African symbols in the actors’ costumes and Hannah Beachler used remnants of ancient African languages in her set designs.

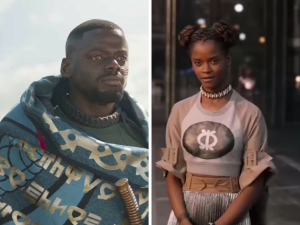
Images retrieved from https://www.douriean.com/blackpantherjewelry and https://www.syfy.com/syfywire/black-panther-designer-ruth-carter-reveals-the-african-symbols-embedded-in-the-costumes
Students will select cultural symbols, research their meanings, create and piece together components for jewelry using digital fabrication and computation. This lesson culminates in the creation of laser and 3D printed jewelry.
Additionally, this lesson includes the following culturally situated design tool (CSDT) unit:
This lesson includes the following tasks:
○ Research
○ 3D modeling & printing 2D symbols
○ Creating and assembling new designs for jewelry
Teacher Notes:
This lesson would follow introductory lessons to the basic tools introduced in the lab. Teachers should use their prep time to explore CSDTs, Inkscape, or Tinkercad if they have no prior experience. Additionally, teachers or the Fab Lab manager should know how to use a laser cutter and 3D printer.
Key Vocabulary
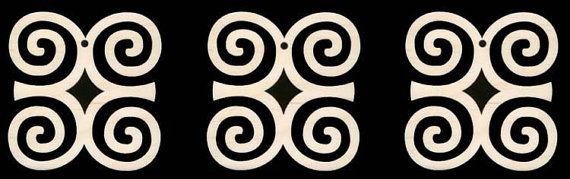
Adinkra – visual symbols that represent concepts or aphorisms. Adinkra are used extensively in fabrics and pottery among the Ashantis of Ashanti Kingdom and Baoulés of Cote d’Ivoire.
CSDT – Culturally Situated Design Tool or web-based application that simulates cultural designs using mathematics and computation.
Wakanda – a fictional African nation appearing in American comic books published by Marvel Comics.
3D Printer – an additive manufacturing process that makes three dimensional solid objects from a digital file.
Bling – flashy jewelry worn especially as an indication of wealth or status.
Materials List
Craft foam (sheets)
Scissors or wire cutters
Wire or string
Elastic string (optional)
Hot glue and glue guns
Protective gear
Digital Fabrication Software & Equipment
Inkscape
Tinkercad (3D modeling)
3D printer
Design Files attachment: Files to print
Sample Adinkra images(from Dora Milaje Tabi Boot project)
Preparation / Setup
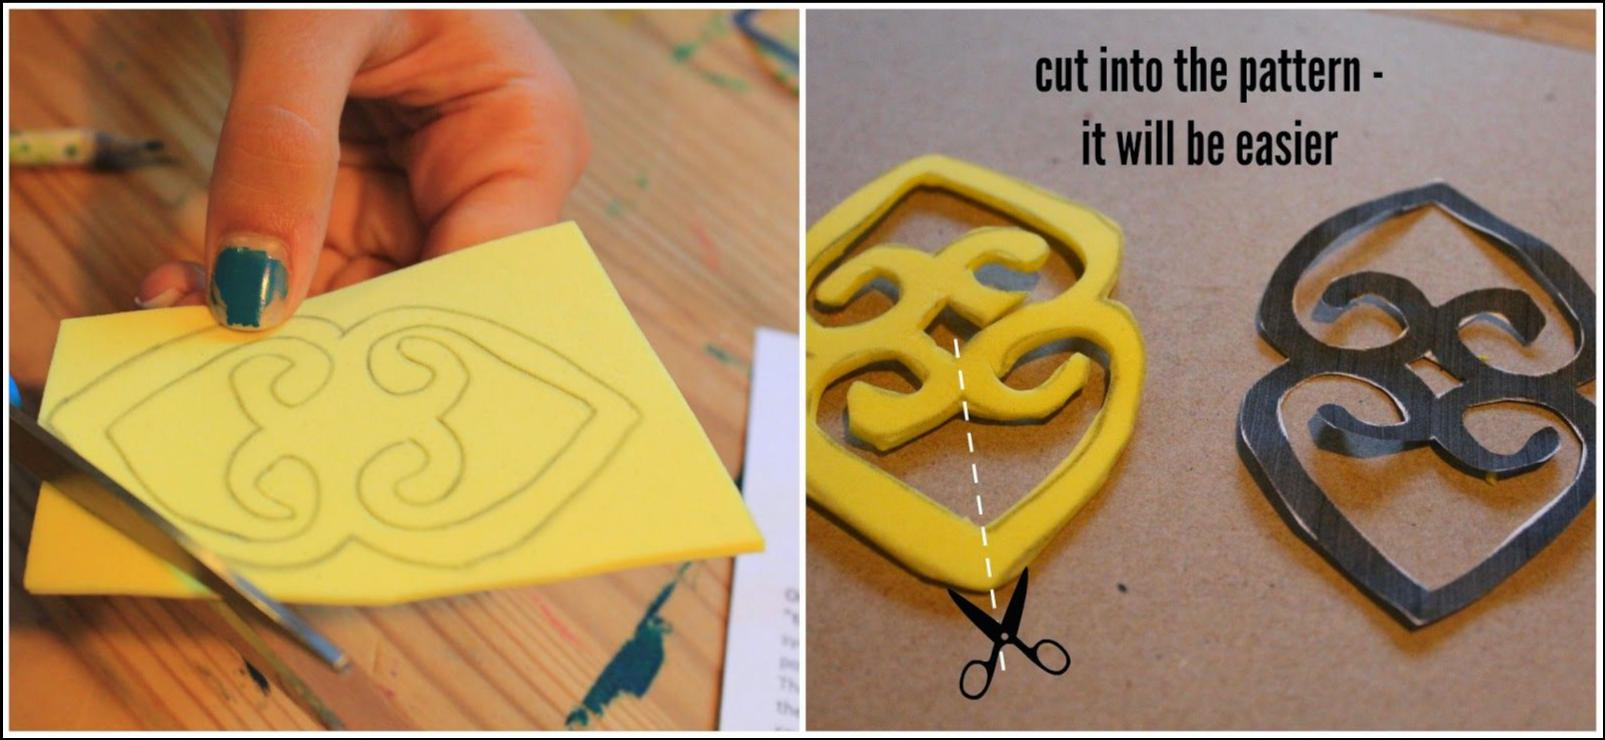
Depending on how much time, how many students, how many facilitators, and how many computers and tools, you might want to pre-cut or 3D print the jewelry symbols.
This project includes three levels of digital fabrication skills:
Step 1 – Introduction to Cultural Art & Jewelry Design (45 minutes)
Establishing the Activity (5 minutes)
Step 2 – Simulate & Model Cultural Symbols for 2D and 3D (45 minutes)
Black Panther designers repurposed and simulated cultural symbols, including Adinkra. Culturally Situated Design Tools(CSDTs) are web-based software applications that allow students to create simulations of cultural arts using underlying math principles. The software exposes users to computation and design, as well. On the RPI CSDT Community sitethere is a “Challenges” section with a selection of Adinkra symbols that can be simulated in order of difficulty. The Dwennimmen simulation was the hardest symbol to simulate.
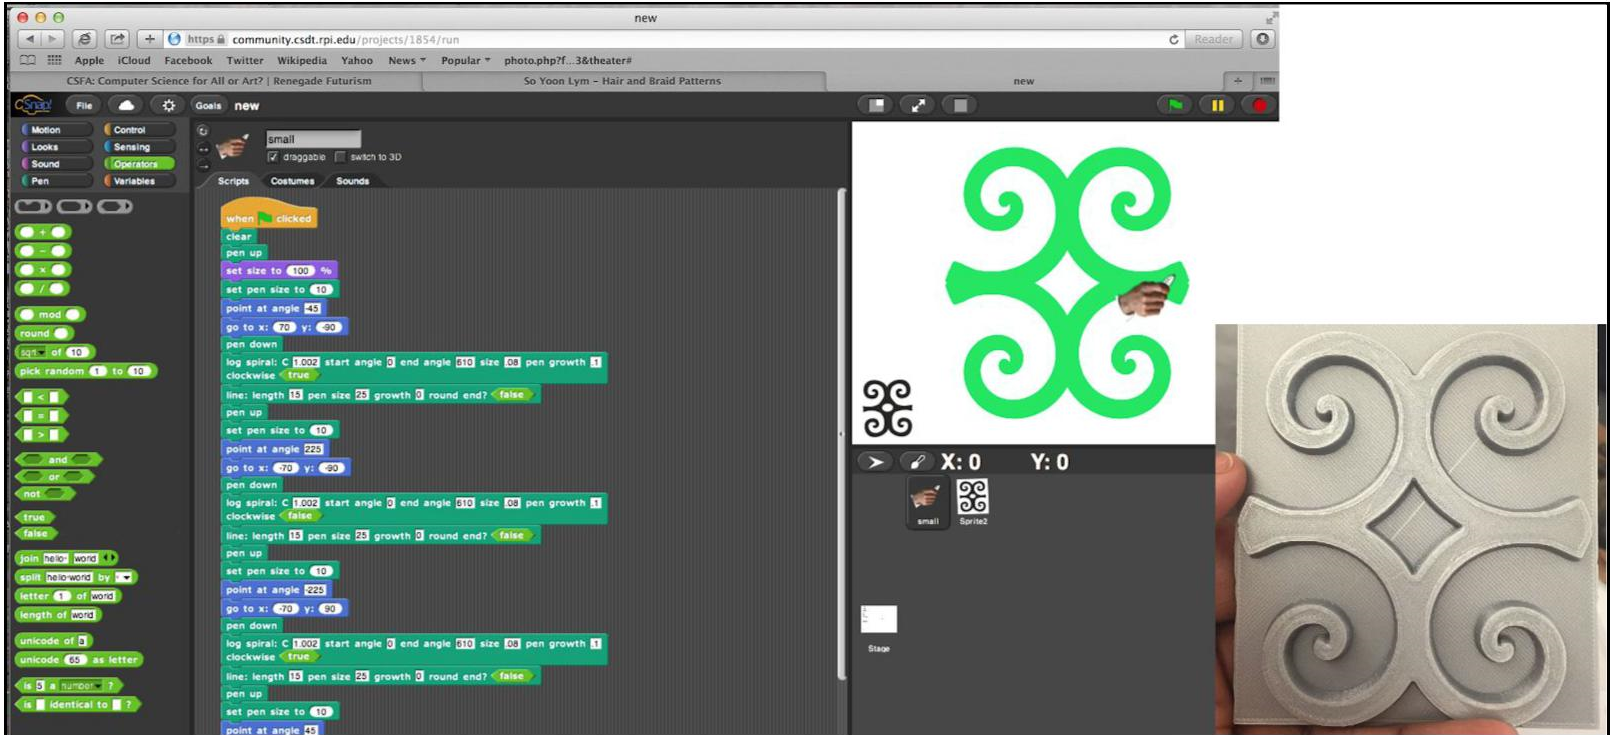
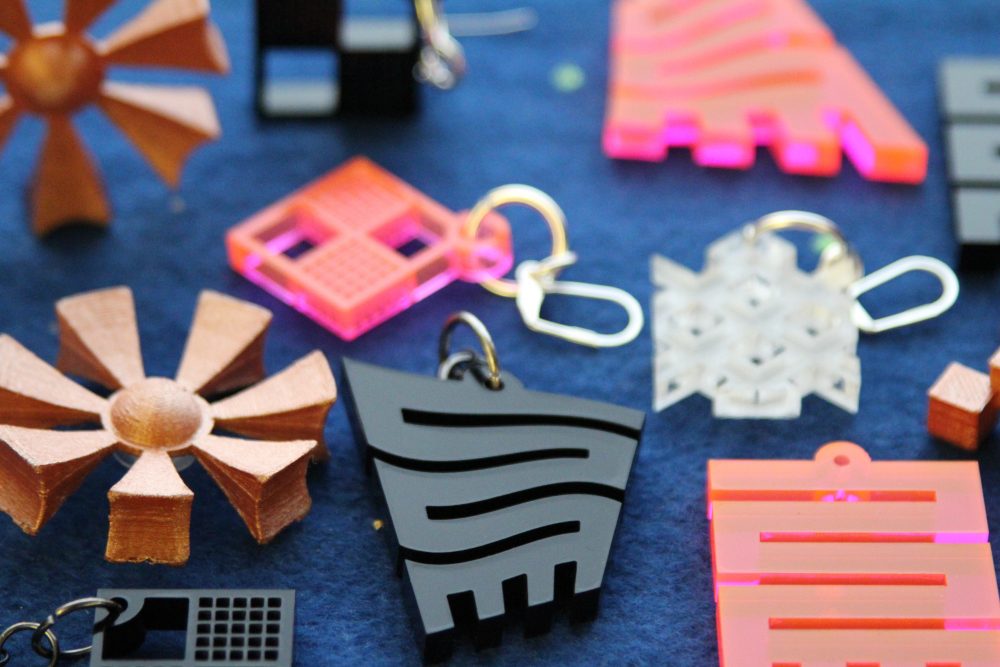
After students create their CSDT symbols, they can screen grab and trace them in Inkscape. Then, the digital files can be laser cut from cardboard, foam, wood, or plastic, or made ready for 3D printing using Tinkercad. If time allows, students can 3D print their objects using PLA (plastic) material.
Note: If there are time constraints, students can download Adinkra symbols using the Web (Google).
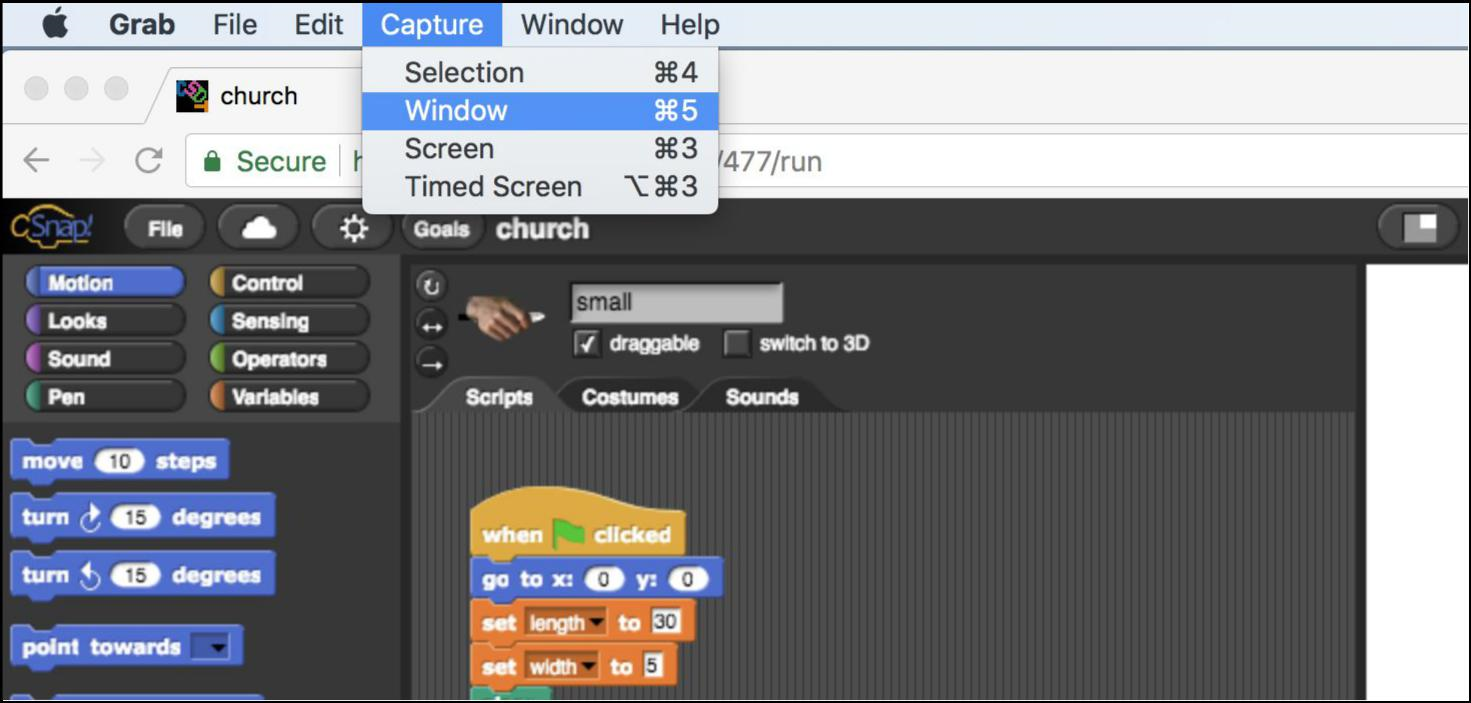
To screen capture the symbol on a Windows PC: Click on the window you would like to capture and press Ctrl + Print Screen (Print Scrn) by holding down the Ctrl key and then pressing the Print Screen key.
Step 2 – Digital Fabrication: Laser Cutting
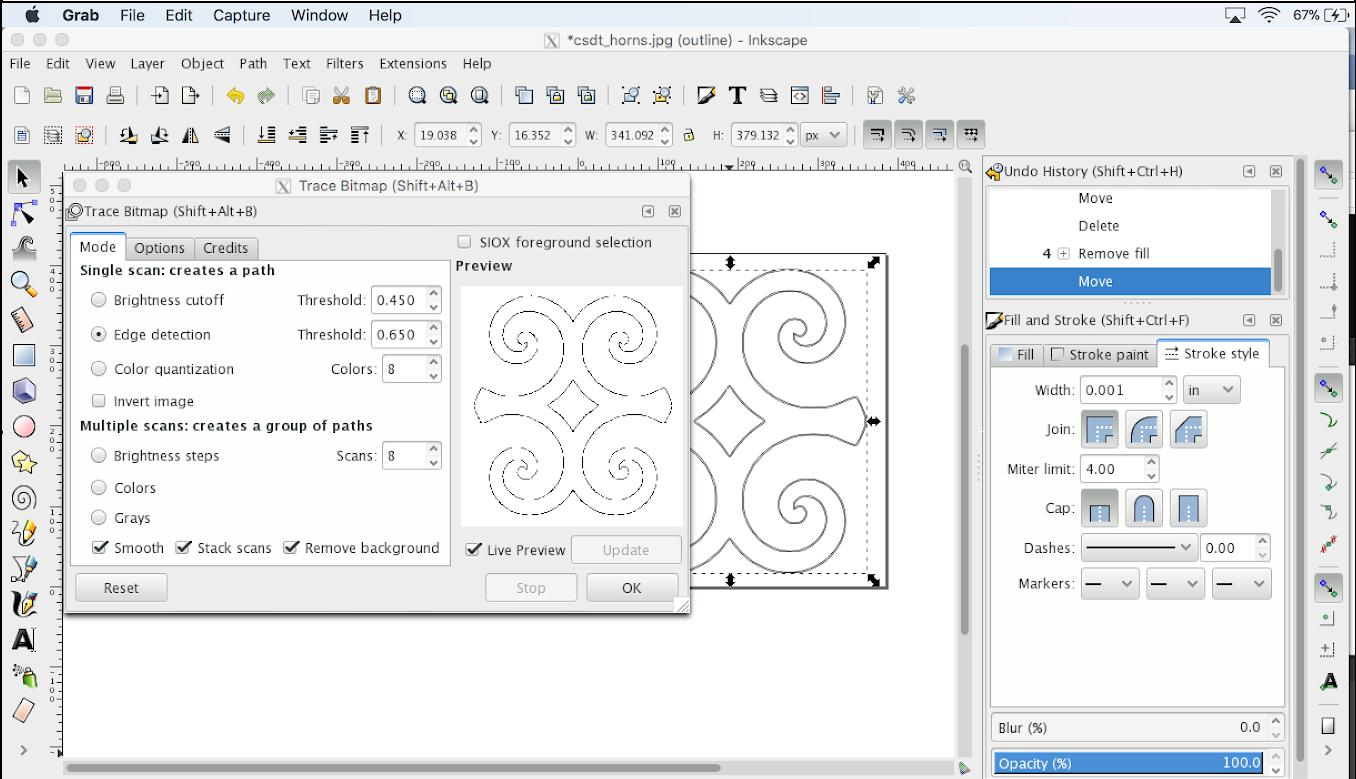
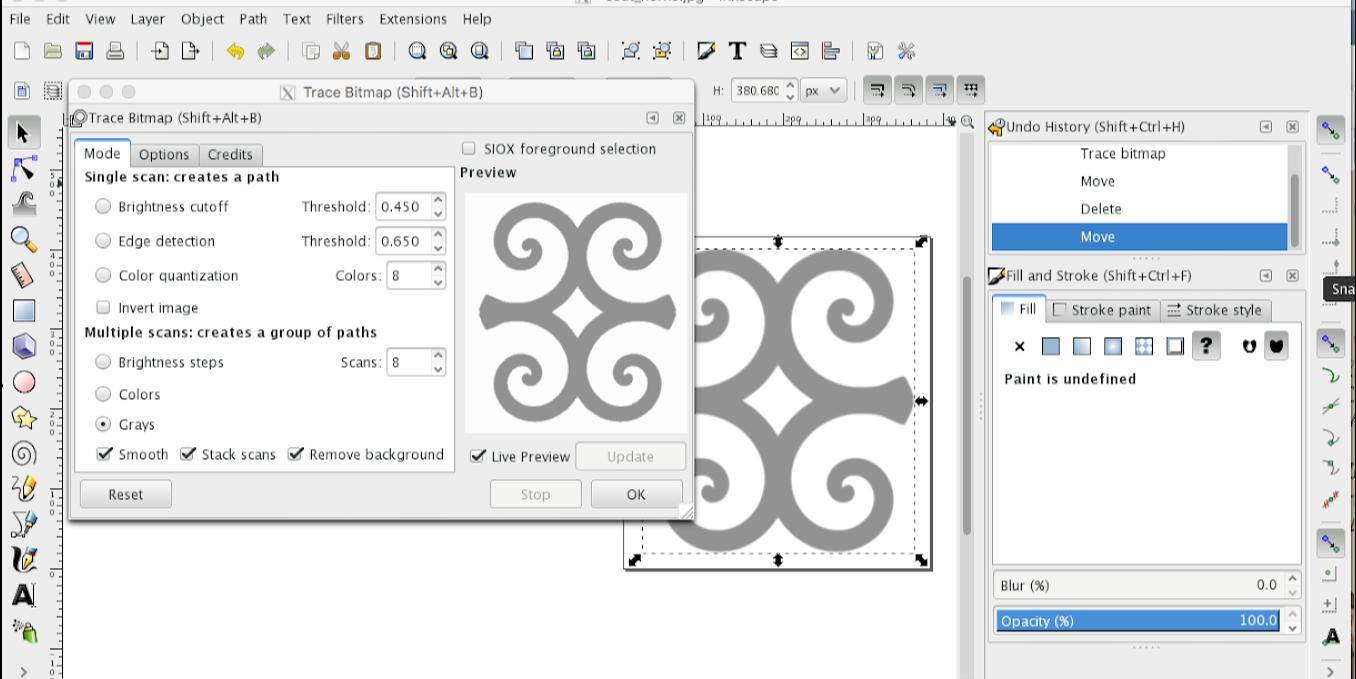
In this step, students will take their imported symbol (a raster image) and trace it to create a vector image. A raster image is composed of pixels, while vector images are made of mathematical paths connected by lines, or curves. A vector image is ideal when creating a shape to digitally fabricate due to its high quality and ability to edit without losing detail. Once they understand the basics, students can tinker and create multiple iterations of their designs.
Create Vector Shape From Symbol Using Inkscape:
Prepare Vector Shape (symbol) for Laser Cutting:
Step 3 – Digital Fabrication: 3D Printing (OPTIONAL)
Create Vector Shape From Symbol Using Inkscape:
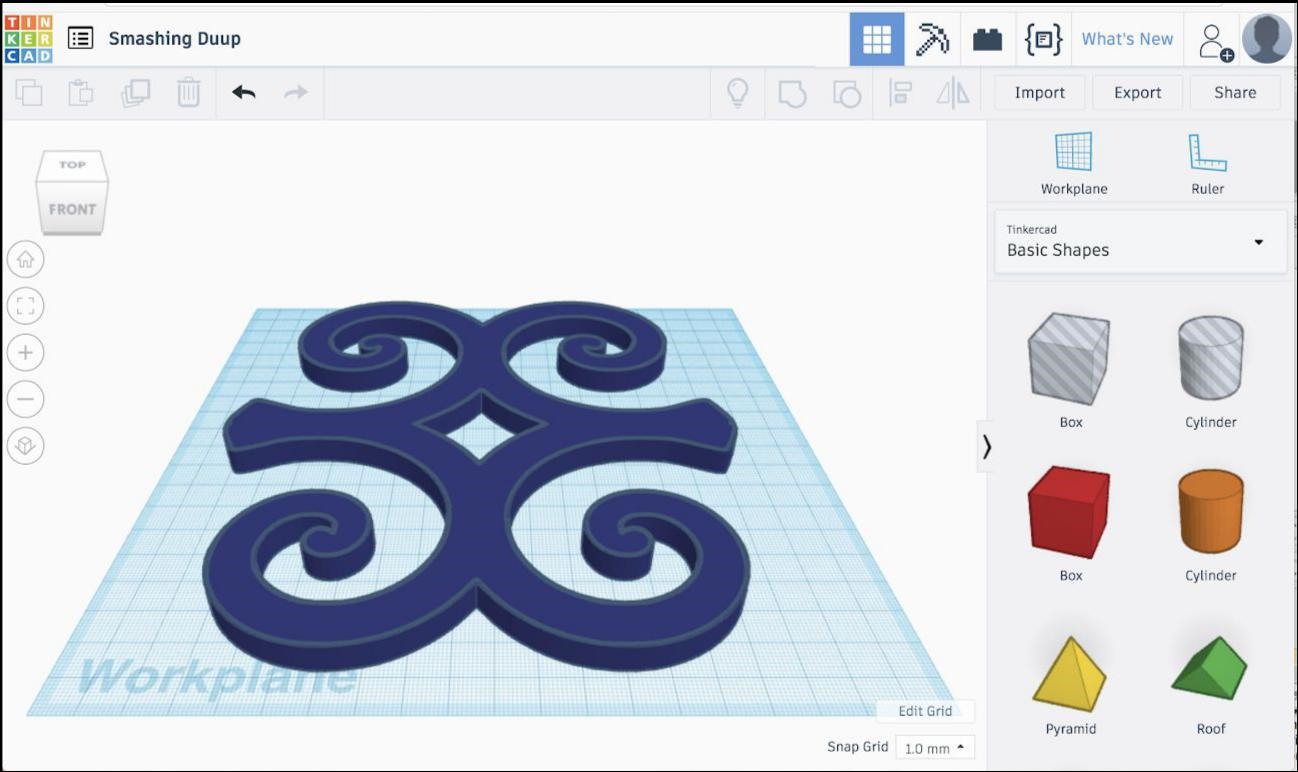
Designing 2D to 3D
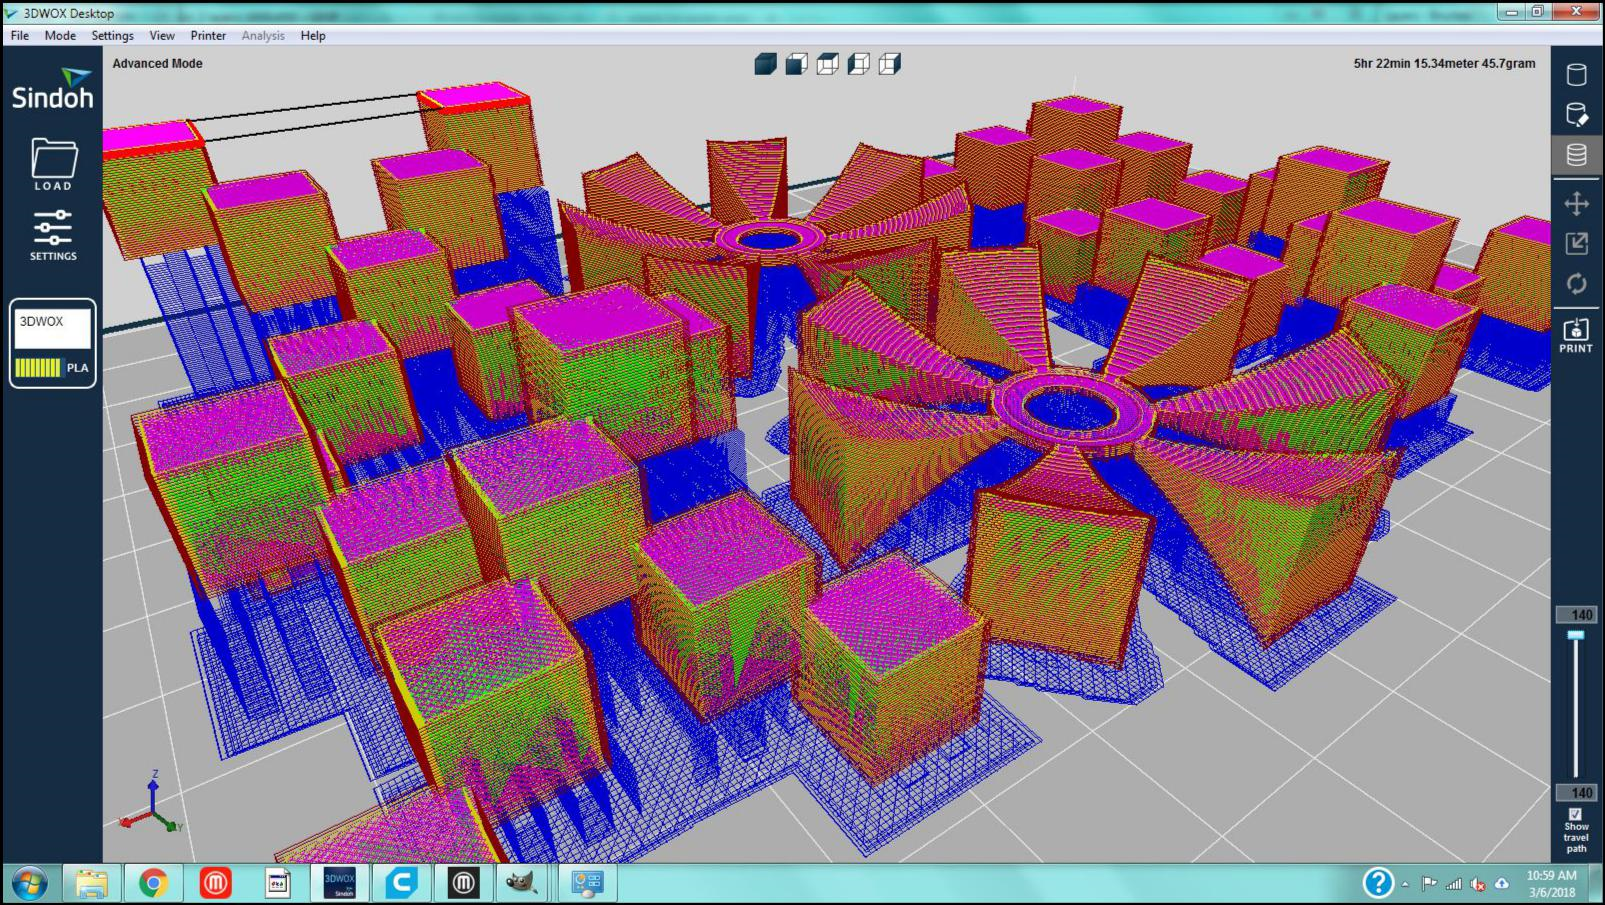
After students 3D print their objects, they can assemble the pieces by stringing them together with wire, string, or elastic. More advanced students can create/3D print a centerpiece that has some personal meaning to them or even a holder for an electronic device.
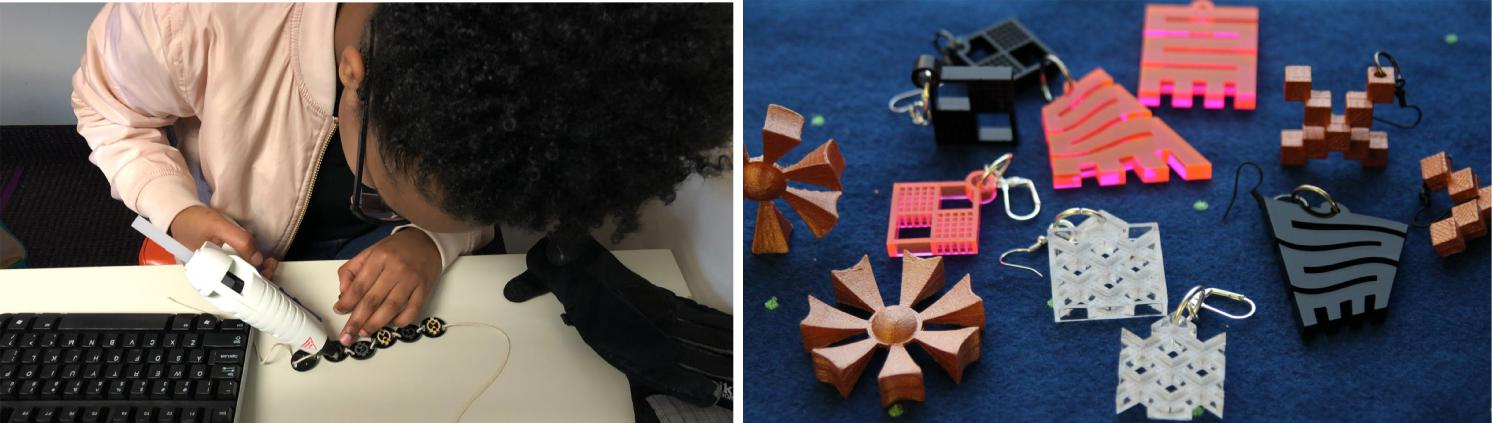
Share Activity (10+ minutes)
Having trouble? Let us know by completing the form below. We'll do our best to get your issues resolved quickly.
"*" indicates required fields