- Loading…
This workshop aims to teach participants Python coding and its fundamentals, using Python programming language. Which includes IoT pre-built and DIY devices how to use and build them with whatever processor/controller they have, using all kind of sensors and actuators. In addition participants will have an “Open-Eye” on many different aspects of Python coding, and most of the area where Python excels.


Projector/Screen, Laptop, Internet Access
Lesson Materials:
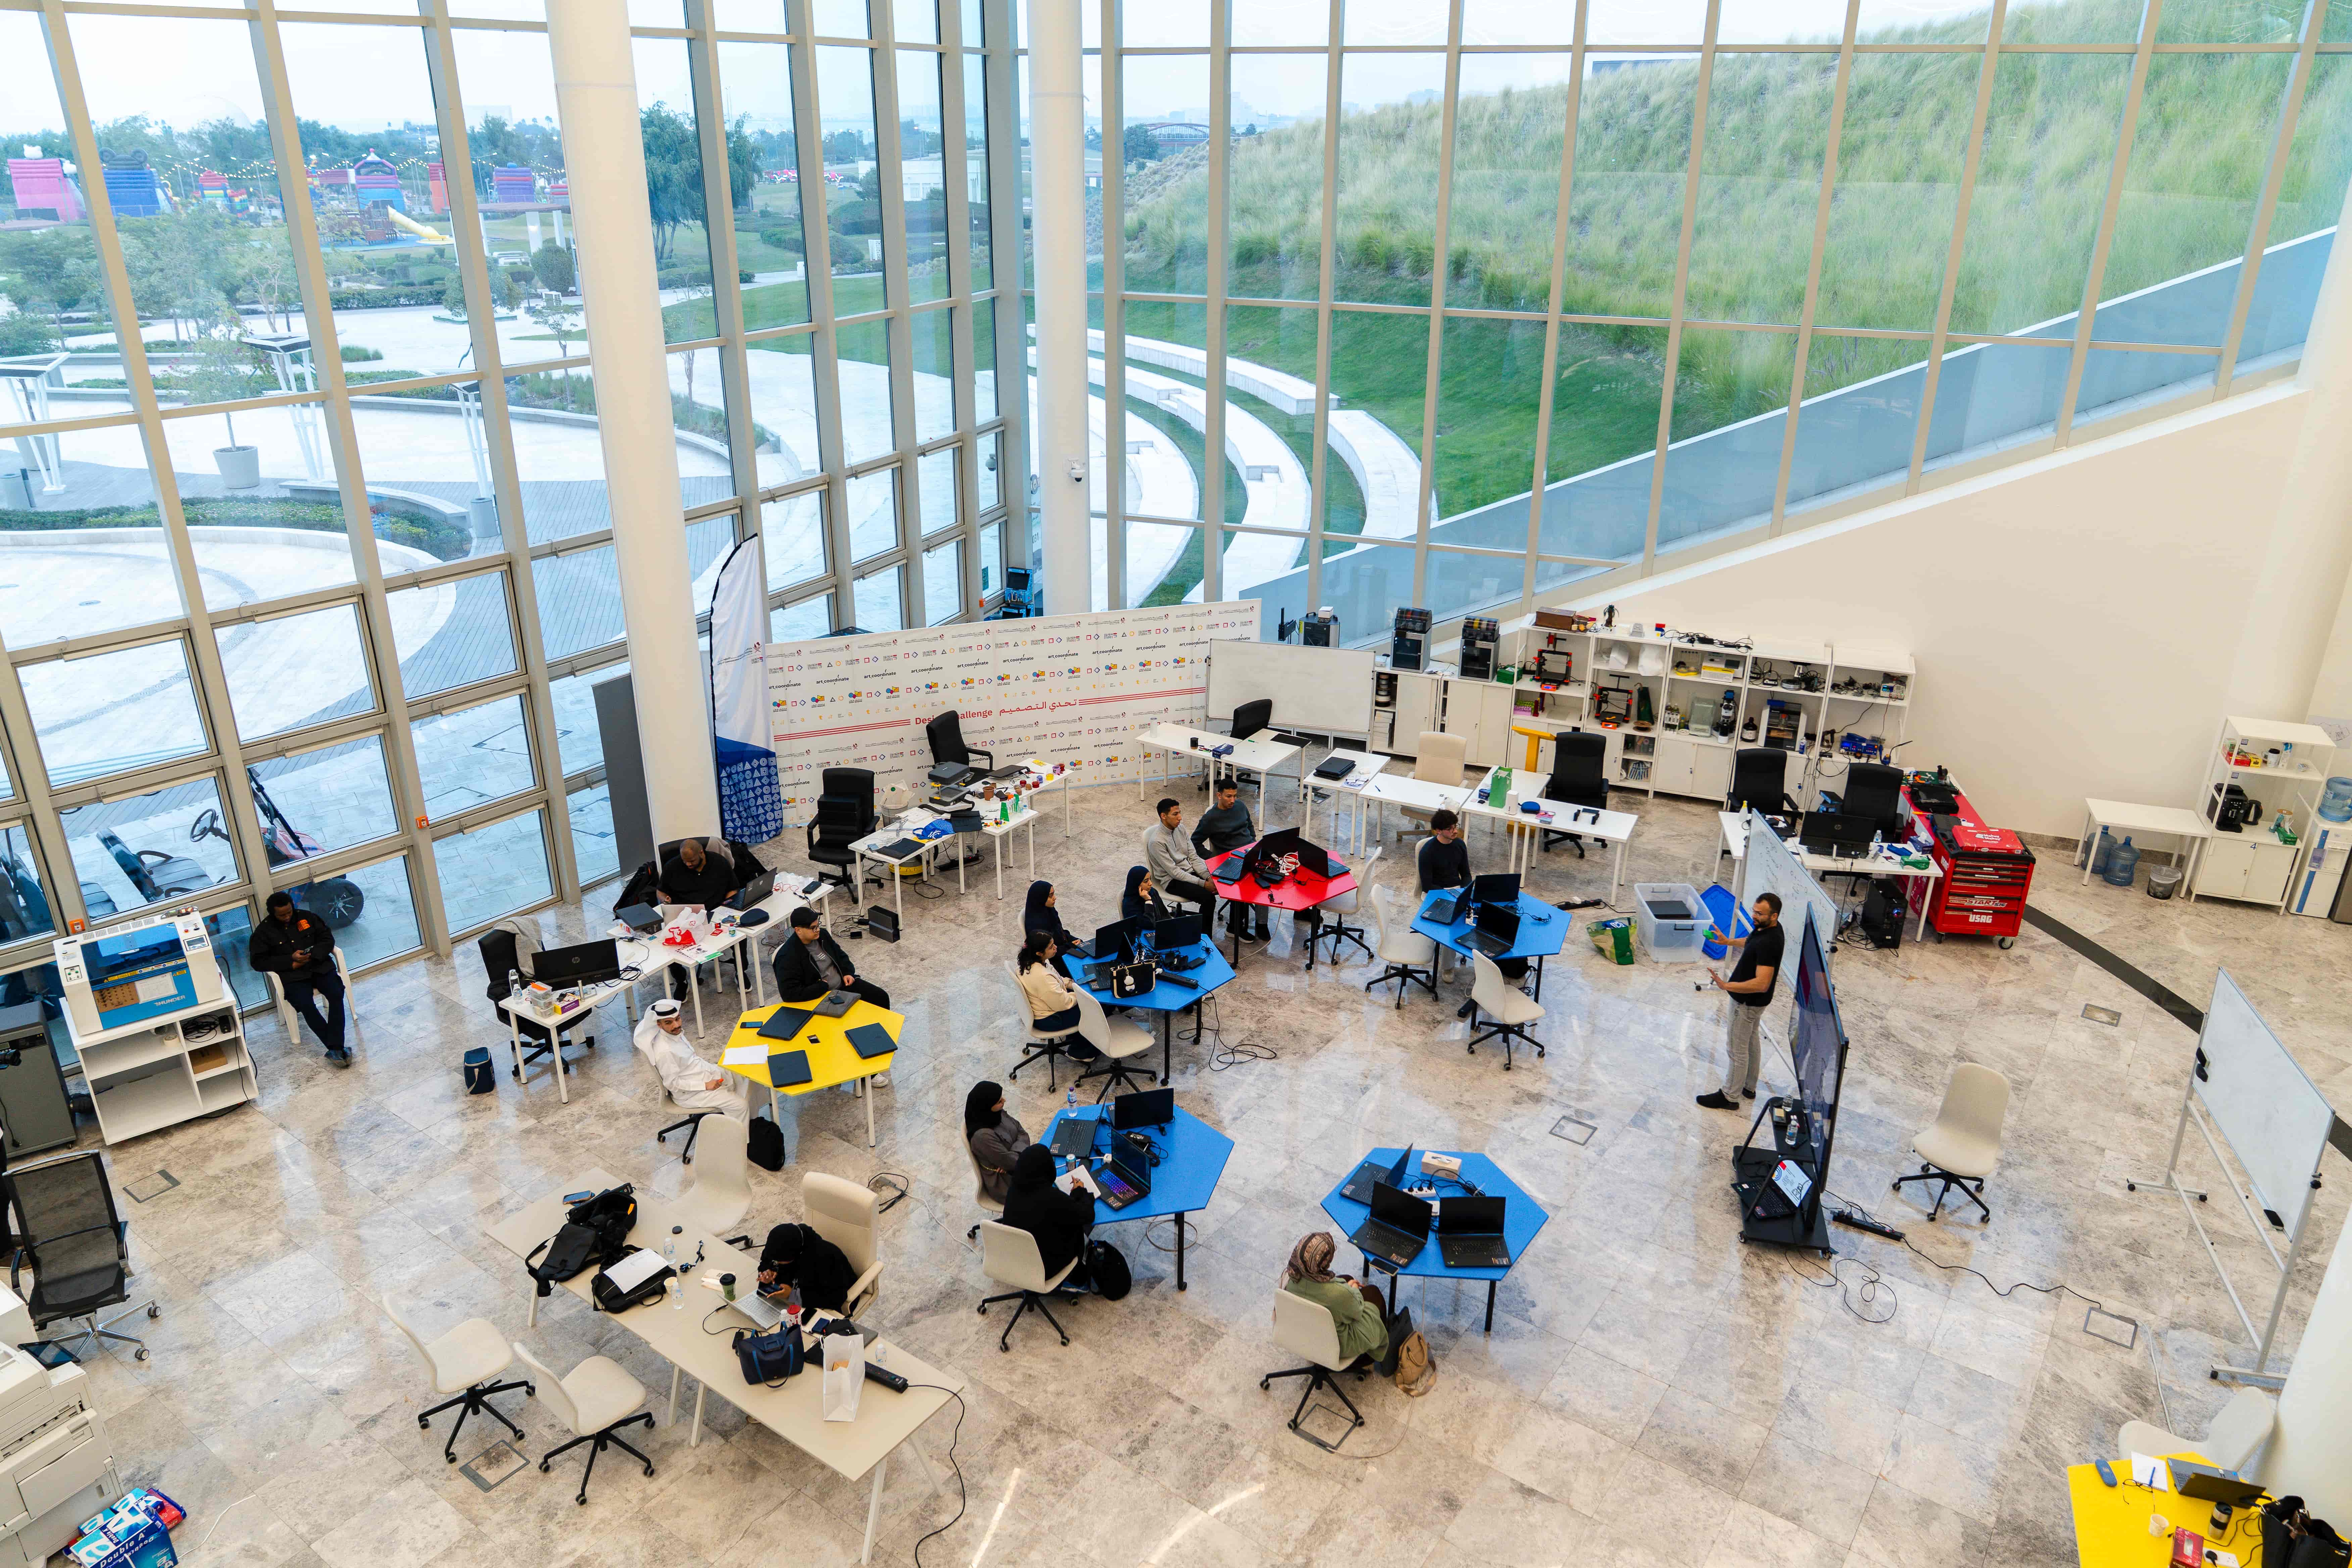
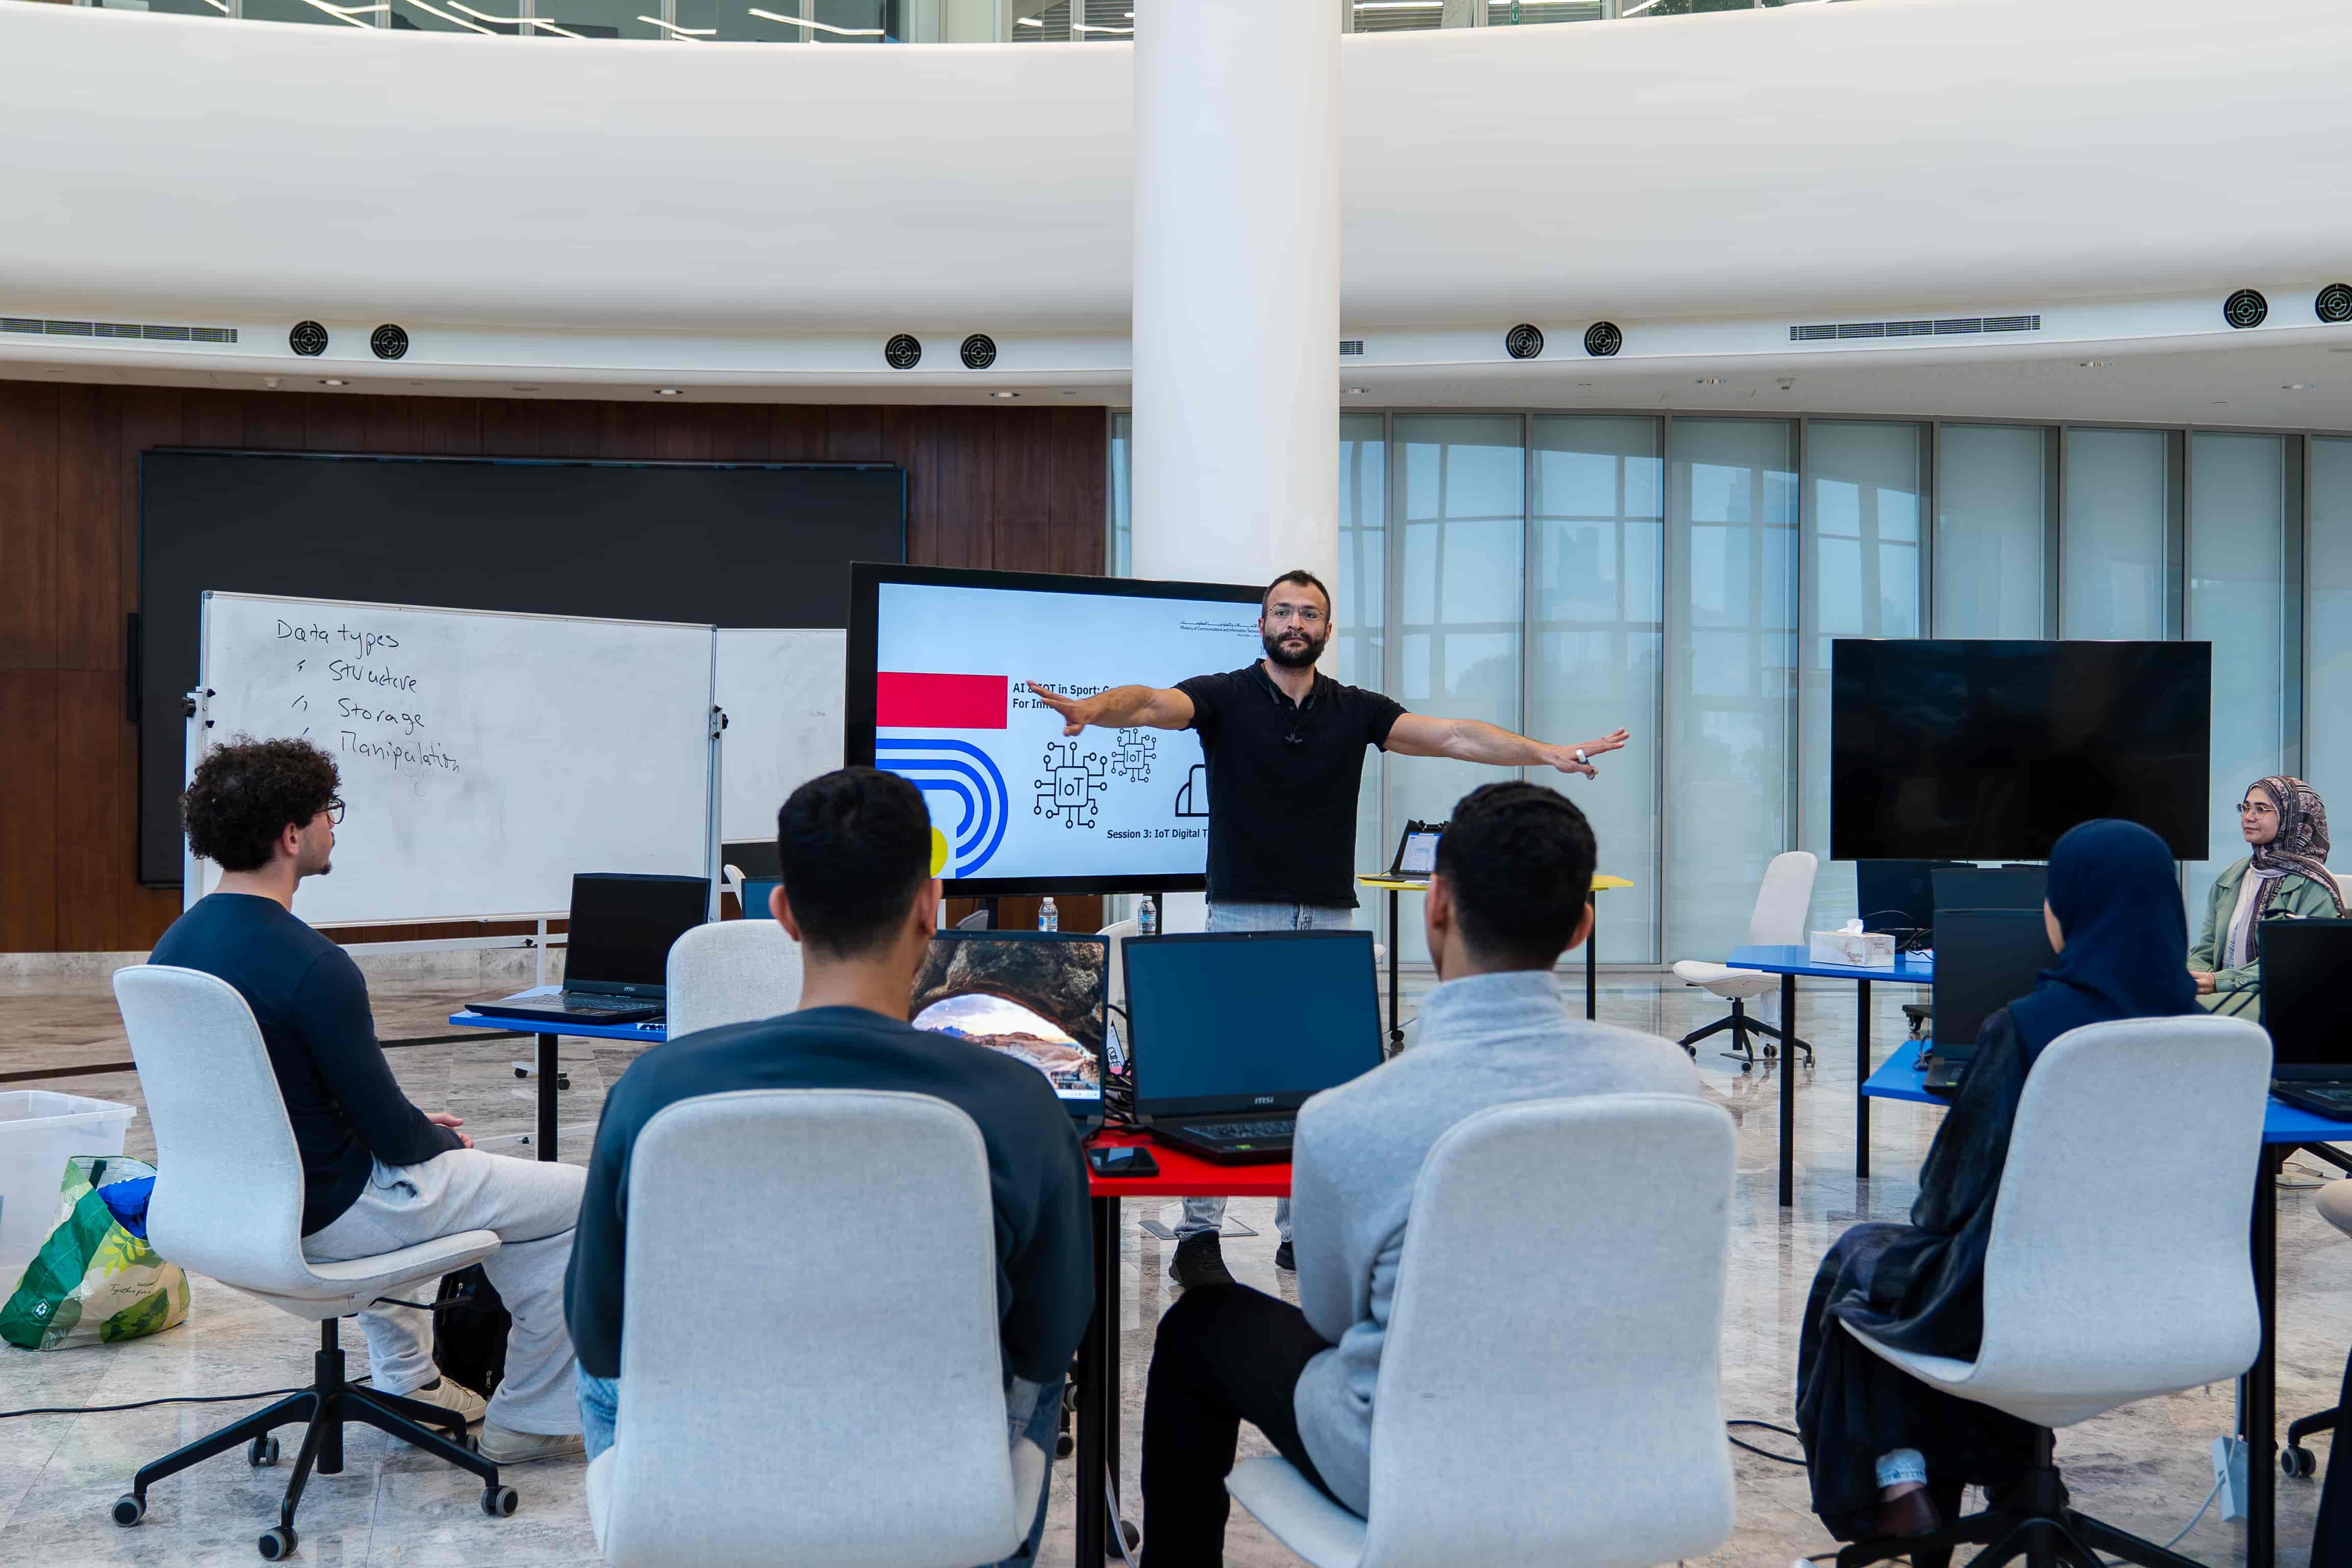
This session depends a lot on discussion and student input and work.
A quick introduction about us and a way to break the Ice with the participant in order to engage with them in indirect way just to make a conversation and then a question to start the session.
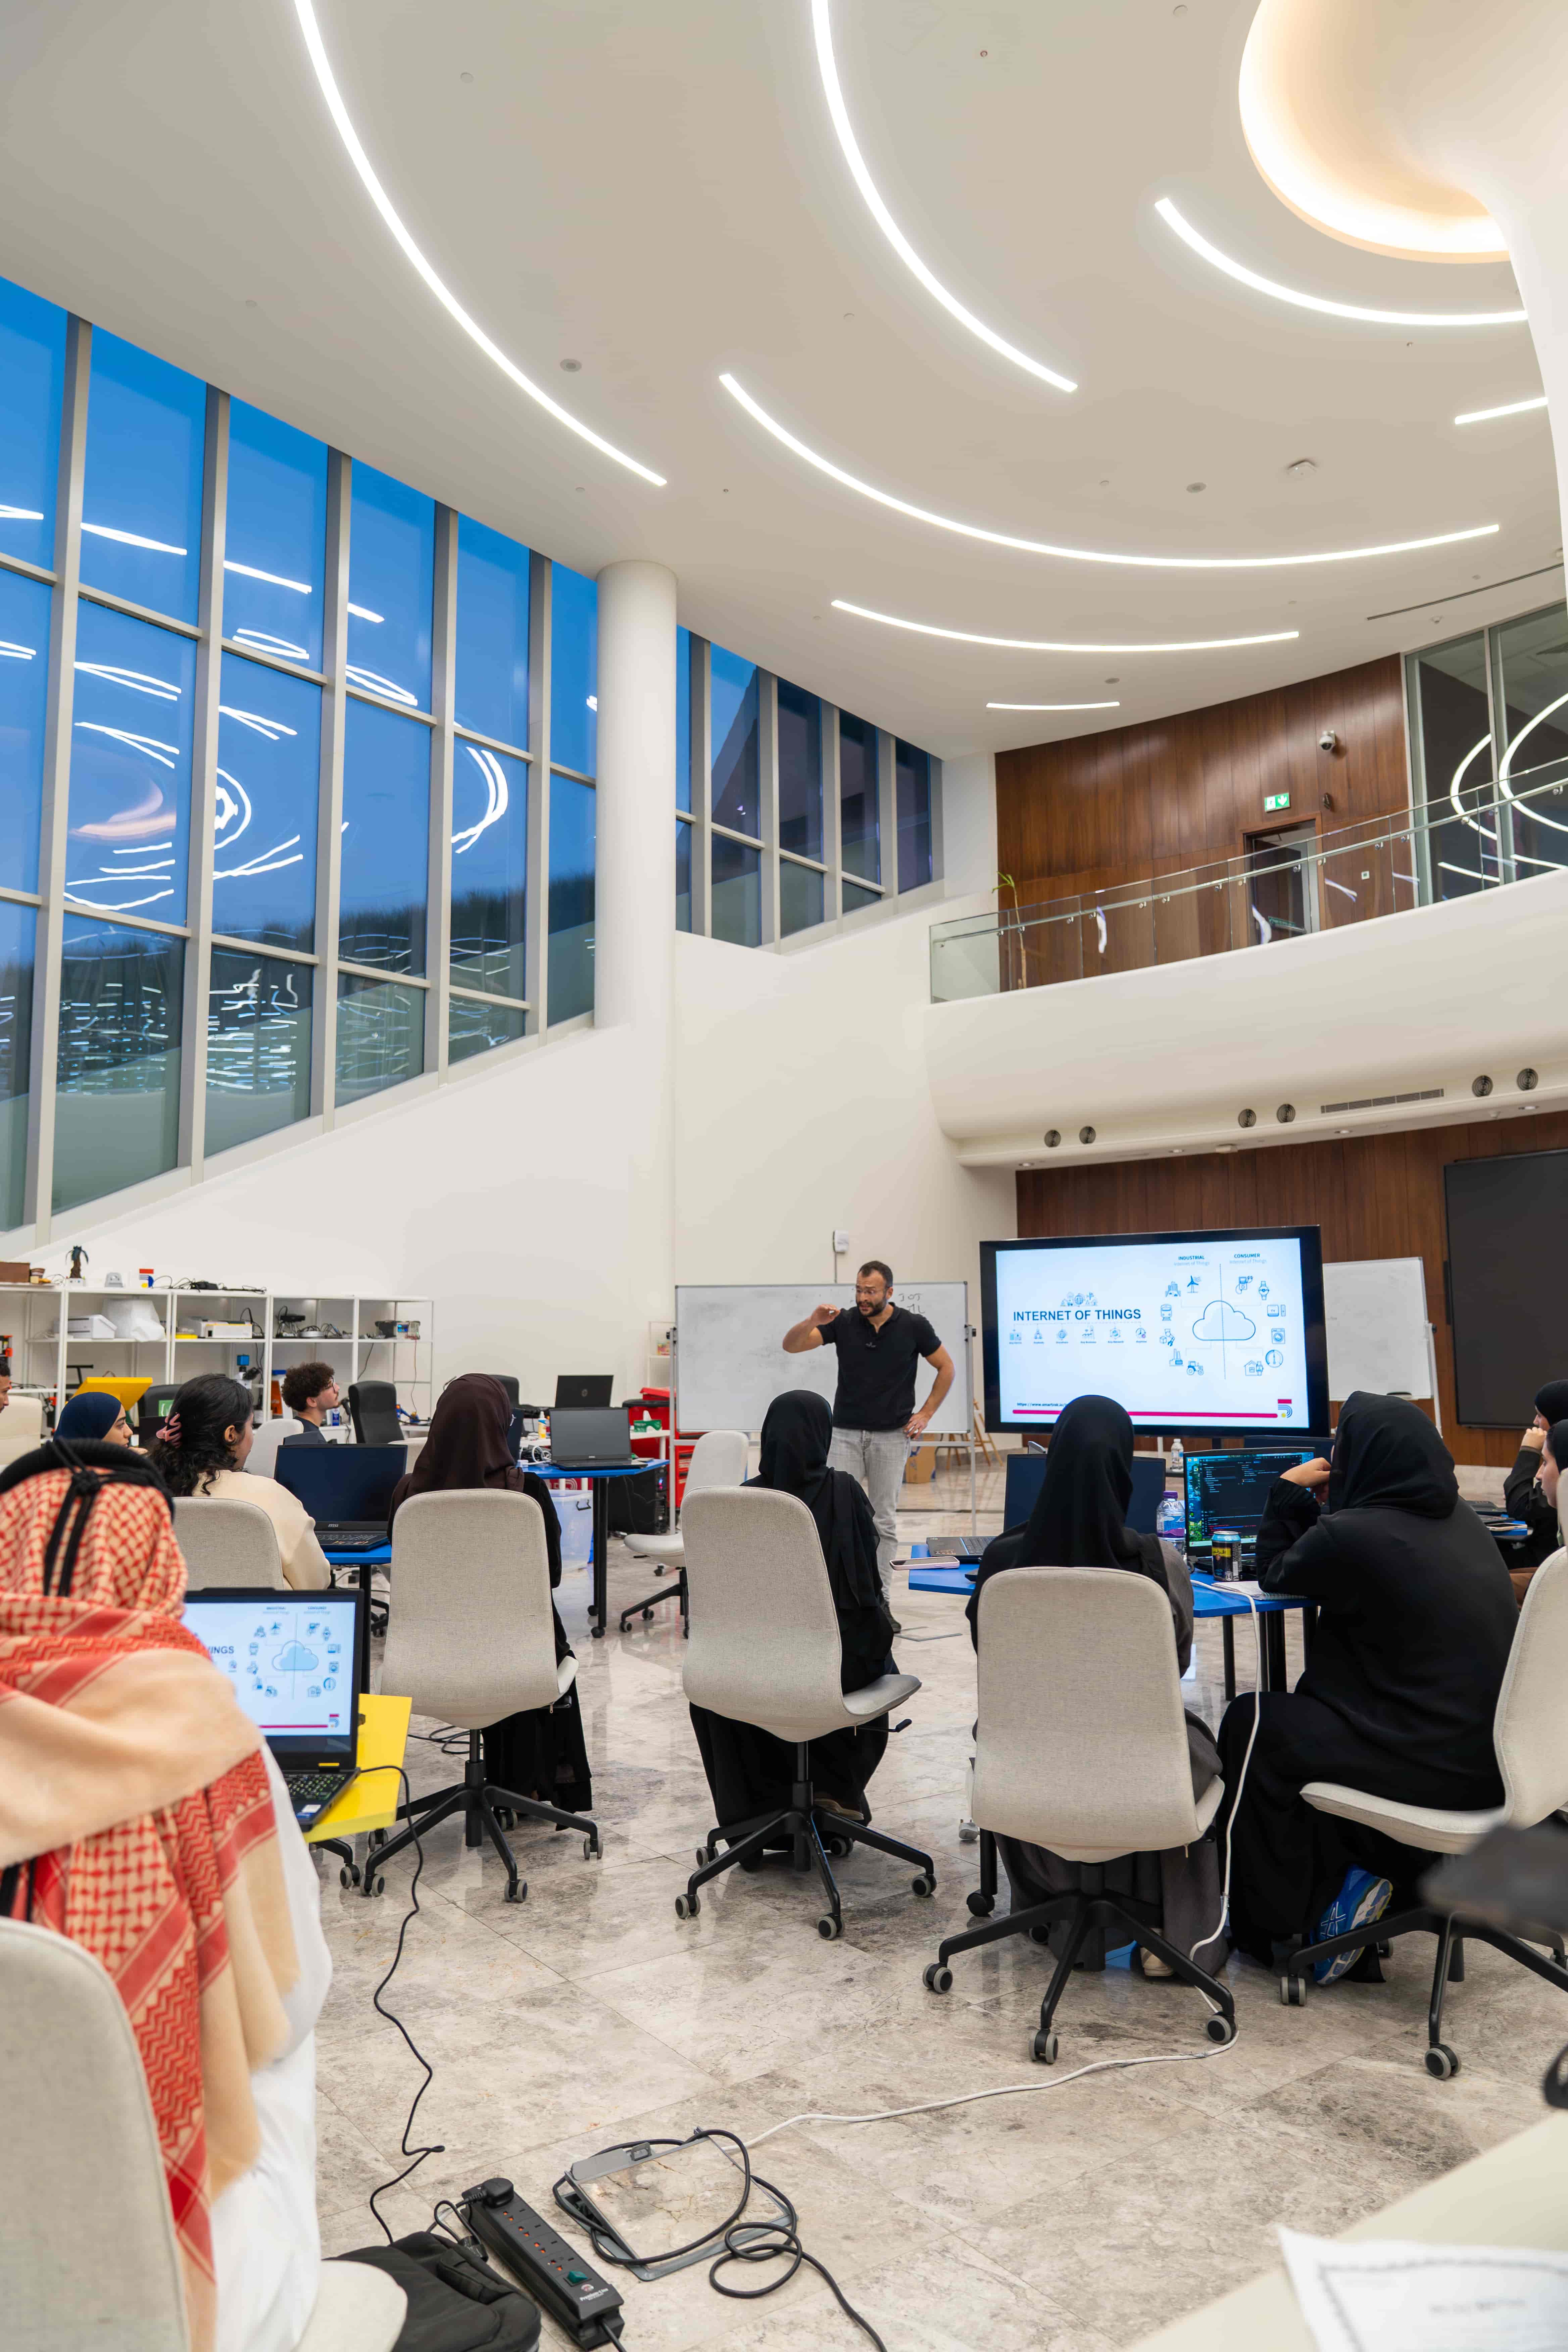
Introduction & Icebreaking
Introduce yourself and Studio5.
Ask about what is IoT (Ice breaking).
Presentation :
1 – Introduction to IoT in Python: What is IoT?
The Internet of Things (IoT) is a vast network of physical objects—from smart home devices and wearables to industrial machinery—embedded with sensors, software, and connectivity to collect and exchange data over the internet
ما هو إنترنت الأشياء (IoT)؟
إنترنت الأشياء (IoT) عبارة عن شبكة واسعة من الأشياء المادية – من الأجهزة المنزلية الذكية والأجهزة القابلة للارتداء إلى الآلات الصناعية – مزودة بأجهزة استشعار وبرامج واتصال لجمع البيانات وتبادلها عبر الإنترنت
It consists of:
يتكون من:


There are hundreds, possibly thousands, of potential use cases for the Internet of Things (IoT) across various industries and consumer applications.
Specific market research identifies at least 27 distinct IoT use cases within categories like smart operations, smart supply chains, and connected products.
توجد مئات، بل ربما آلاف، من حالات الاستخدام المحتملة لإنترنت الأشياء (IoT) في مختلف الصناعات والتطبيقات الاستهلاكية.
وقد حددت دراسات السوق المتخصصة ما لا يقل عن 27 حالة استخدام متميزة لإنترنت الأشياء ضمن فئات مثل العمليات الذكية، وسلاسل التوريد الذكية، والمنتجات المتصلة.
The number of connected IoT devices is projected to grow to approximately 21.1 billion globally in 2025.
This number is forecast to more than double, reaching over 40.6 billion IoT devices by 2034.
من المتوقع أن يرتفع عدد أجهزة إنترنت الأشياء المتصلة إلى حوالي 21.1 مليار جهاز على مستوى العالم بحلول عام 2025.
ويُتوقع أن يتضاعف هذا العدد أكثر من مرتين، ليصل إلى أكثر من 40.6 مليار جهاز بحلول عام 2034.
2 – How to use pre-built system.
Smart Speakers: Alexa, Siri, Google, …
Wearables: Smartwatches, Fitness Trackers, …
Industrial IoT: Trackers, Sensors, Smart Meters, …
Healthcare: Patient monitoring, …
مكبرات الصوت الذكية: أليكسا، سيري، جوجل، …
الأجهزة القابلة للارتداء: الساعات الذكية، أجهزة تتبع اللياقة البدنية، …
إنترنت الأشياء الصناعي: أجهزة التتبع، أجهزة الاستشعار، العدادات الذكية، …
الرعاية الصحية: مراقبة المرضى، …

3 – Where to use pre-built system and Why.
For a Pre-Built system, the user interference in how the whole system works, is nearly Zero.
Those devices are Well-Built so users only Use Them and Not Program Them
في الأنظمة الجاهزة، يكاد يكون تدخل المستخدم في طريقة عمل النظام بأكمله معدوماً.
هذه الأجهزة مصممة بجودة عالية، لذا يقتصر دور المستخدمين على استخدامها فقط دون الحاجة إلى برمجتها.
4 – How to create a system out of pre-built devices.
it is as easy as connecting Smart devices to a service provider (picture below)

5 – How to create DIY IoT system.
Sensors: Temperature, Motion, Light, …
Micro Processor/Controller: Raspberry Pi, Arduino, NVidia Jetson, ESP32, …
Software: Dashboard, Web Visualiser, Cloud Data Storage …
Programming: Python, C/C++ , …
المستشعرات: درجة الحرارة، الحركة، الضوء، …
المعالج الدقيق/وحدة التحكم: راسبيري باي، أردوينو، إنفيديا جيتسون، إي إس بي 32، …
البرمجيات: لوحة التحكم، أداة عرض البيانات على الويب، تخزين البيانات السحابي …
البرمجة: بايثون، سي/سي++، …

For a DIY system, the user interference is Maximum.
Those hardware requires Building, Programming, Testing, Modification, Prototyping …
في الأنظمة التي تُصنع ذاتيًا، يكون تدخل المستخدم في أقصى حد.
تتطلب هذه الأجهزة البناء والبرمجة والاختبار والتعديل والتصميم الأولي…


Combine the above 3 pictures and you’ll have a clear idea of a complete IoT-DIY System!
6 – How to analyse/manipulate Data from the new DIY system.
Step 1: Read From Sensor
Step 2: Data Processing
Step 3: Write on Actuator
الخطوة 1: قراءة البيانات من المستشعر
الخطوة 2: معالجة البيانات
الخطوة 3: كتابة البيانات على المُشغِّل
#CODE EXAMPLE 1:
#pip install RPi.GPIO
import RPi.GPIO as GPIO
# Set up GPIO mode
GPIO.setmode(GPIO.BCM)
# Define pin number
sensor_pin = 4
led_pin = 17
GPIO.setup(sensor_pin, GPIO.IN)
GPIO.setup(led_pin, GPIO.OUT)
# Read sensor data
temperature = GPIO.input(sensor_pin)
print(‘Temperature:’, temperature,‘°C’)
# Turn On LED
GPIO.output(led_pin, GPIO.HIGH)
#CODE EXAMPLE 2:
#pip install RPi.GPIO
import RPi.GPIO as GPIO
# Set up GPIO mode
GPIO.setmode(GPIO.BCM)
# Define pin number
sensor_pin = 4
led_pin = 17
GPIO.setup(sensor_pin, GPIO.IN)
GPIO.setup(led_pin, GPIO.OUT)
# Read sensor data
temperature = GPIO.input(sensor_pin)
print(‘Temperature:’, temperature,‘°C’)
# Turn On LED
GPIO.output(led_pin, GPIO.HIGH)
7 – How to access data from the internet/dashboard (ESP32).
#include
#include
#include
char ssid[] = “your_wifi_name”;
char pass[] = “your_wifi_pass”;
#define temperature_pin 5
#define led1_pin 13
#define temperature_vpin V1
int led1_state = 0;
BLYNK_CONNECTED() {
Blynk.syncVirtual(temperature_vpin); }
BLYNK_WRITE(temperature_vpin) {
led1_state = param.asInt();
digitalWrite(led1_pin, led1_state); }
void setup()
{
pinMode(temperature_pin, INPUT_PULLUP);
pinMode(led1_pin, OUTPUT);
digitalWrite(led1_pin, HIGH);
Blynk.begin(BLYNK_AUTH_TOKEN, ssid, pass);
}
void loop()
{
Blynk.run();
listen_temperature_pin();
Blynk.virtualWrite(temperature_pin, led1_state);
}
void listen_temperature_pin(){
if(analogRead(temperature_pin) > 50)
{
delay(200);
led1_state = 1;
digitalWrite(led1_pin, HIGH);
Blynk.virtualWrite(temperature_pin, led1_state);
}
else
{
led1_state = 0;
digitalWrite(led1_pin, LOW);
Blynk.virtualWrite(temperature_pin, led1_state);
}
}

https://www.blynk.io/blog/esp32-blynk-iot-platform-for-your-connected-product
Having trouble? Let us know by completing the form below. We'll do our best to get your issues resolved quickly.
"*" indicates required fields
