- Loading…

In this workshop students will learn to make a Clap Switch with Arduino.
Students learn about electronics and programming by creating their own Clap switch. Students will study the elements and principles of design and understand how they are used to create a laser cut computer programmable clap switch. In this lesson, students will conceptualize and then turn their ideas into real-life models.

– Arduino Uno
– Jumper wires
– Bulb
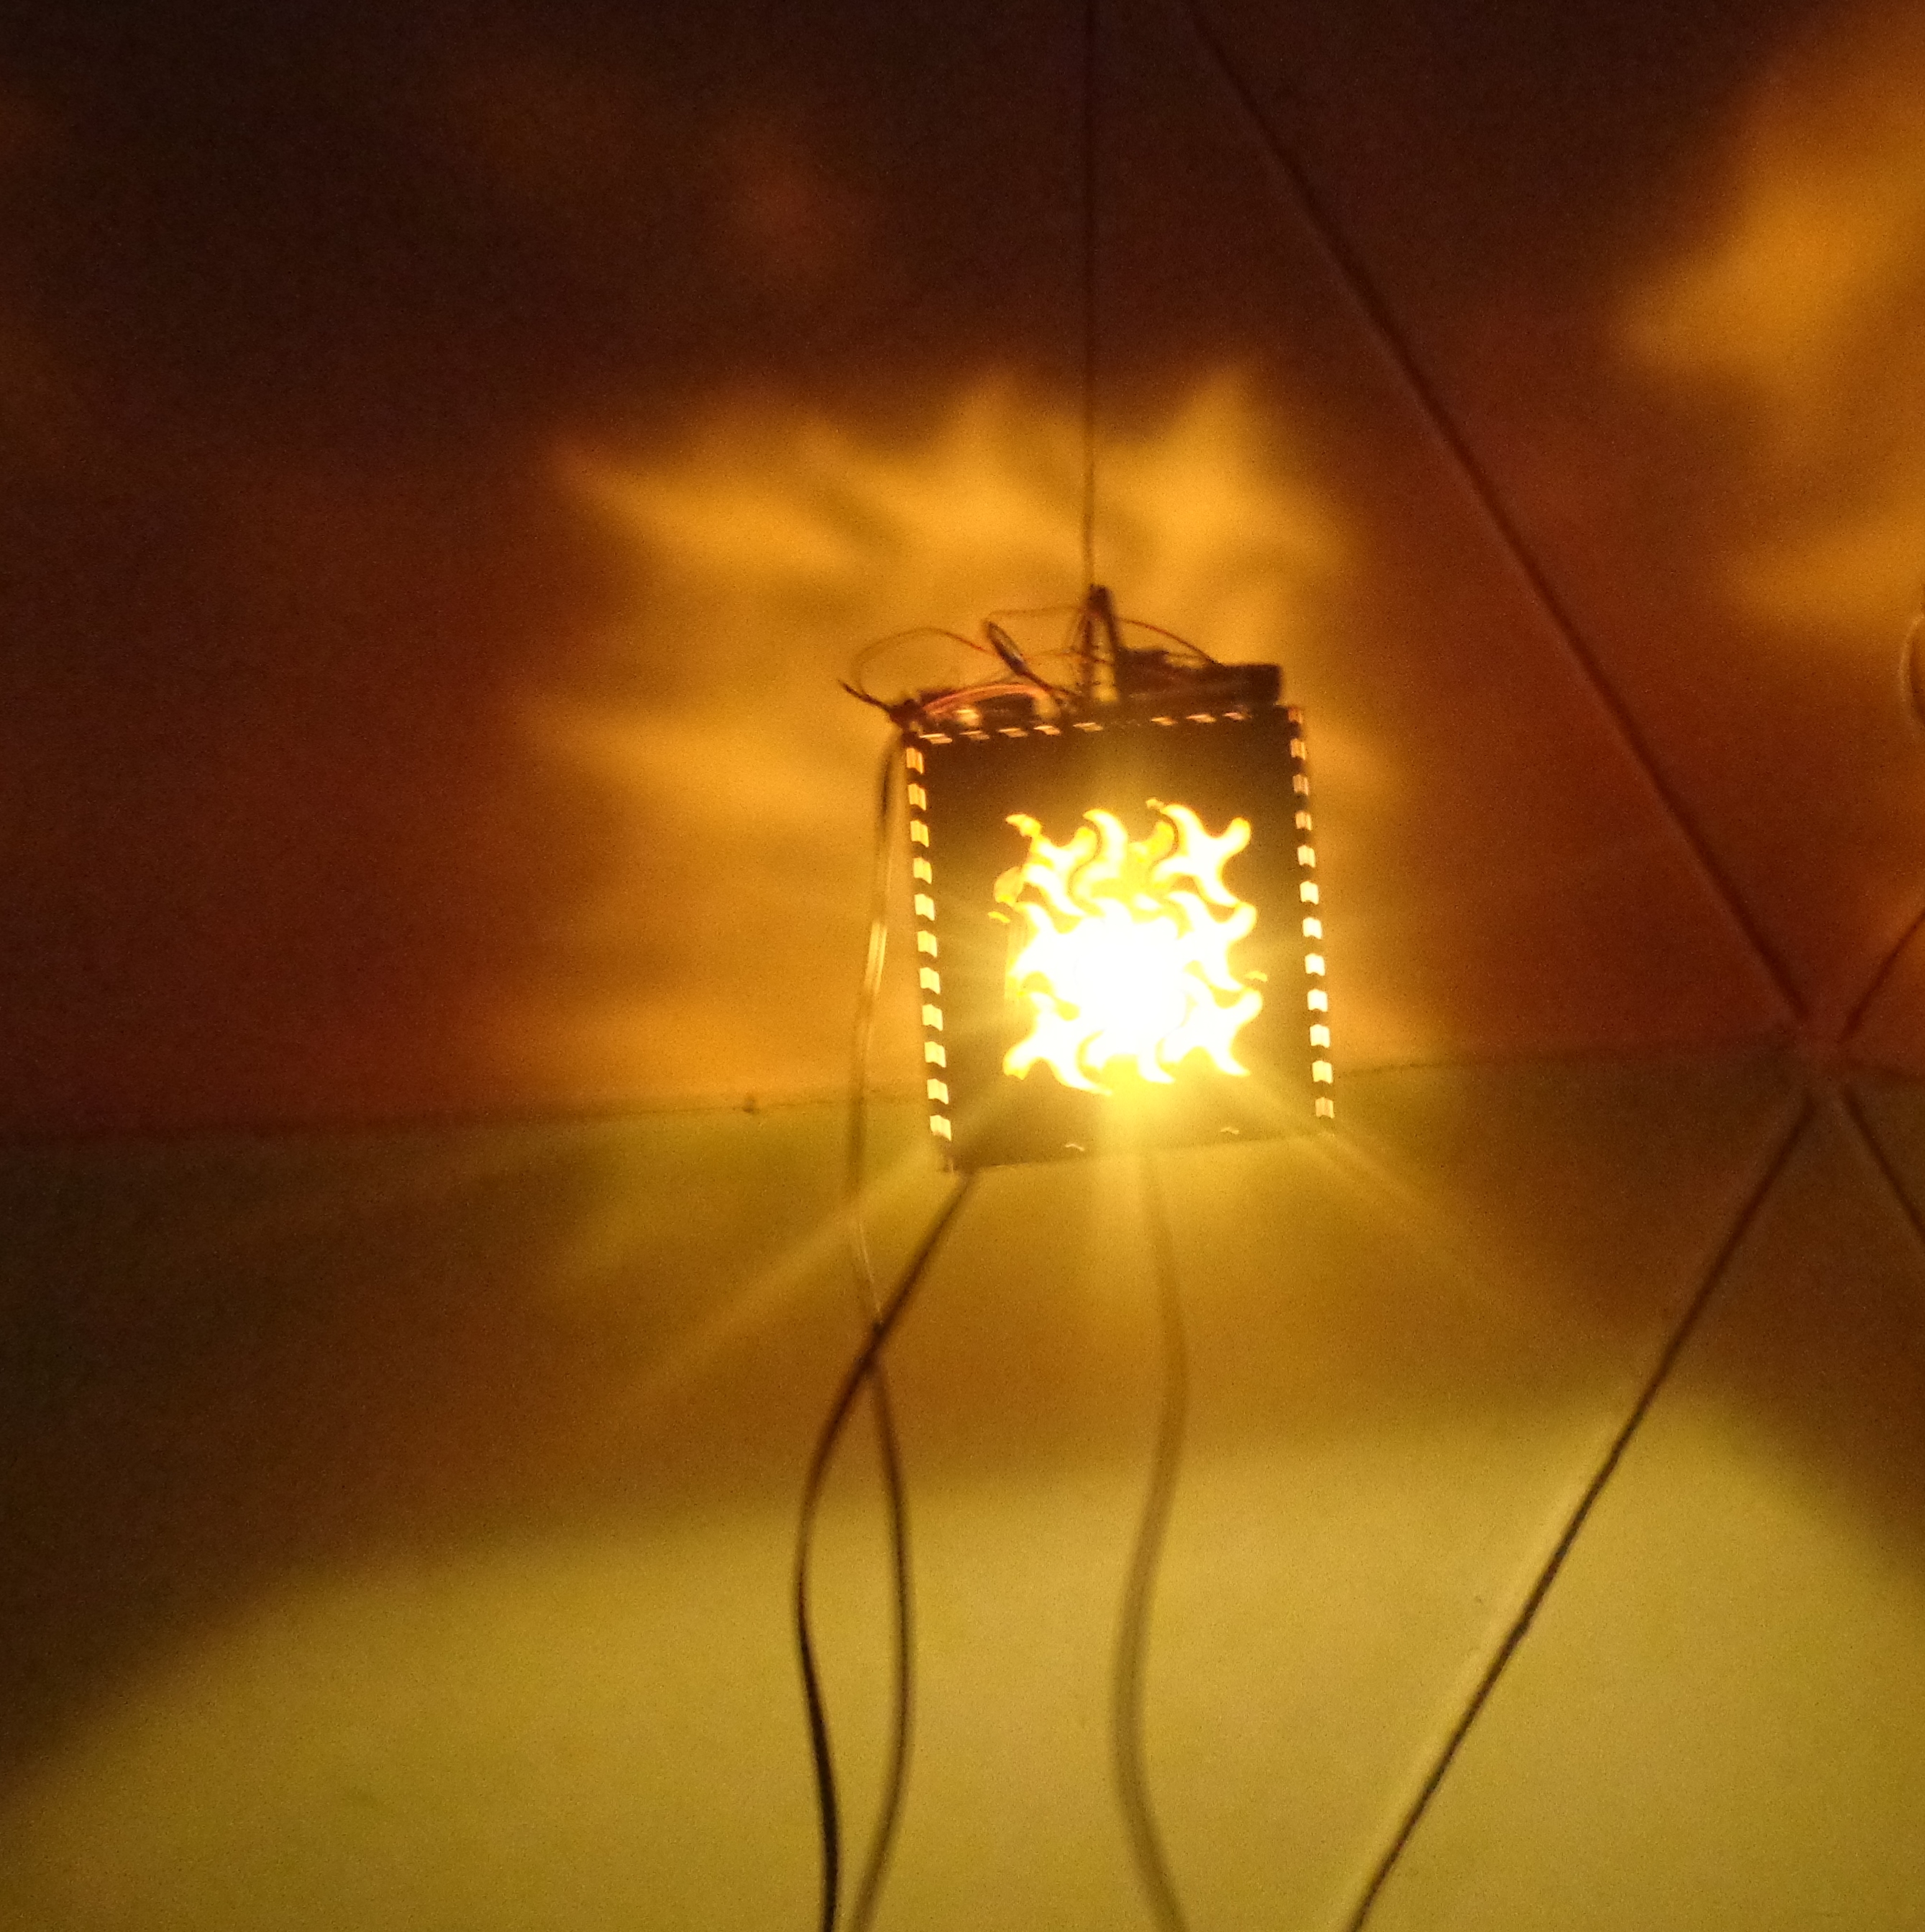
– Lantern
– USB cable
– Sound Sensor
– Relay 5V DC
– Fevistick
– Power supply / Adaptor 9V 1A
– Glue gun &glue stick
– Laser Cutter
– Soldering Iron
– Wire cutter/stripper
Ask Student how light get on & off. Discuss with them concept of switch. Motivate them for thinking in different ways.
Ask them, Is it possible to on & off light by clapping the hands?. Let them think on it.
Tell students about our body's sensor. Likewise, in electronics there are various sensor which sense different things. Sound Sensor is one of them which we use while making the clap switch. Because we want to on & off switch by clapping hands.
Make different design what you want. In this session we make lantern design with the help of 2D design software Inkscape.
Introduce them with Inkscape which is design software & Benbox which is machine software.
Now your Design parts is ready. Attach it & make your lantern.
See they cut it properly or not.
Now your lantern is ready. so take information of Arduino. There are different types of Arduino. Take which Arduino board you wnt to suitable for it. For our project Arduino Uno is perfect thats why we take it.
Now, Make programming for clap switch. After making a program upload it in arduino board.
Introduce them with Arduino IDE software.
With this give them information about relay module.
Connect Sensor to Arduino according following table : Sound sensor Arduino VCC 5V GND GND OUT 2 b) Connect Relay to Arduino according to following table: Relay Arduino VCC 5V GND GND Vin 3 C) Connect relay to Bulb & plug pin: Relay Plug Pin Bulb Holder NO - Positive COM Positive - - Negative Negative
See the making connections are properly or not.
Test it properly. If it is not working then see where is the problem shall we have change in program or loose connections. check it properly.
Having trouble? Let us know by completing the form below. We'll do our best to get your issues resolved quickly.
"*" indicates required fields