Designing PancakeBot 3D Printed Extensions - SCOPES Digital Fabrication

Lesson Details

Age Ranges
Standards
Fab-Safety.2, Fab-Programming.2, Fab-Fabrication.2, HS-ETS1-2
Additional Contributors

You need to login or register to bookmark/favorite this content.

Author

Miguel Valenzuela
Miguel Valenzuela
Maker
Miguel Valenzuela is a California Registered Civil Engineer, maker, and the inventor of PancakeBot.  Miguel currently runs the PancakeBot Innovation Center and Makerspace in Vestfossen Norway, a space dedicated to art and cultural centric innovation with a tasty twist. Miguel’s… Read More

Summary

Hacking machines to either improve, or change the original purpose of the machine can be rewarding and gives the user control over their machine as well as what they can do with it.

PancakeBot 1.0 has a large surface printing area, and some times, you may want to increase your output.

The best way to do this is to add an additional bottle.

With this lesson you will learn and accomplish the following:

  1. Modify the pneumatic system to split the air flow in two.
  2. 3D print, test, and observe two different 3D printed extensions
  3. Design your own 3D printed extension arm to address any short comings in the two proposed designs.

What You'll Need

  1. PancakeBot
  2. Vermierscaliper for measuring (metric preferred)
  3. Anything to write on
  4. Writing Utensil, (pencil, pen, etc.)
  5. Parametric Modeling software such as Onshape, TinkerCAD etc.
  6. 3D FDM Printer
  7. Pneumatic Tee from either LEGO or Fab Foundation (Options for printing your own pneumatic Tee are included)


SAFETY FIRST

When operating the PancakeBot, there are few precautions one must take.


  1. Keep lose hair or clothes away from the belts while the PancakeBot is moving. The belts and motors are low powered but may pinch fingers during movement if caught between the belt and the drive motors.
  2. Always assume the griddle is hot. The griddle will remain hot even after it is unplugged and turned off.
  3. Take care when removing the thermostat heating probe. The metal probe should always assumed to be hot.
  4. Always unplug the electric cord from the power outlet after use.
  5. The griddle may warp slightly during extended usage. Drop the temperature down on the thermostat should this occur.
  6. The griddles for PancakeBot are voltage specific and there are different voltages for US(110V) and EU(220V) approved Griddles. Check the bottom of the griddle to make sure you are using the right voltage.
  7. Always assume a risk of fire when using any cooking appliance. Discuss any fire risks with the appropriate safety personnel.
  8. Check the temperatures of the pancakes to insure they are safe before eating them. Steam may get trapped inside air pockets in the batter.


The Instructions

Reviewing proposed designs

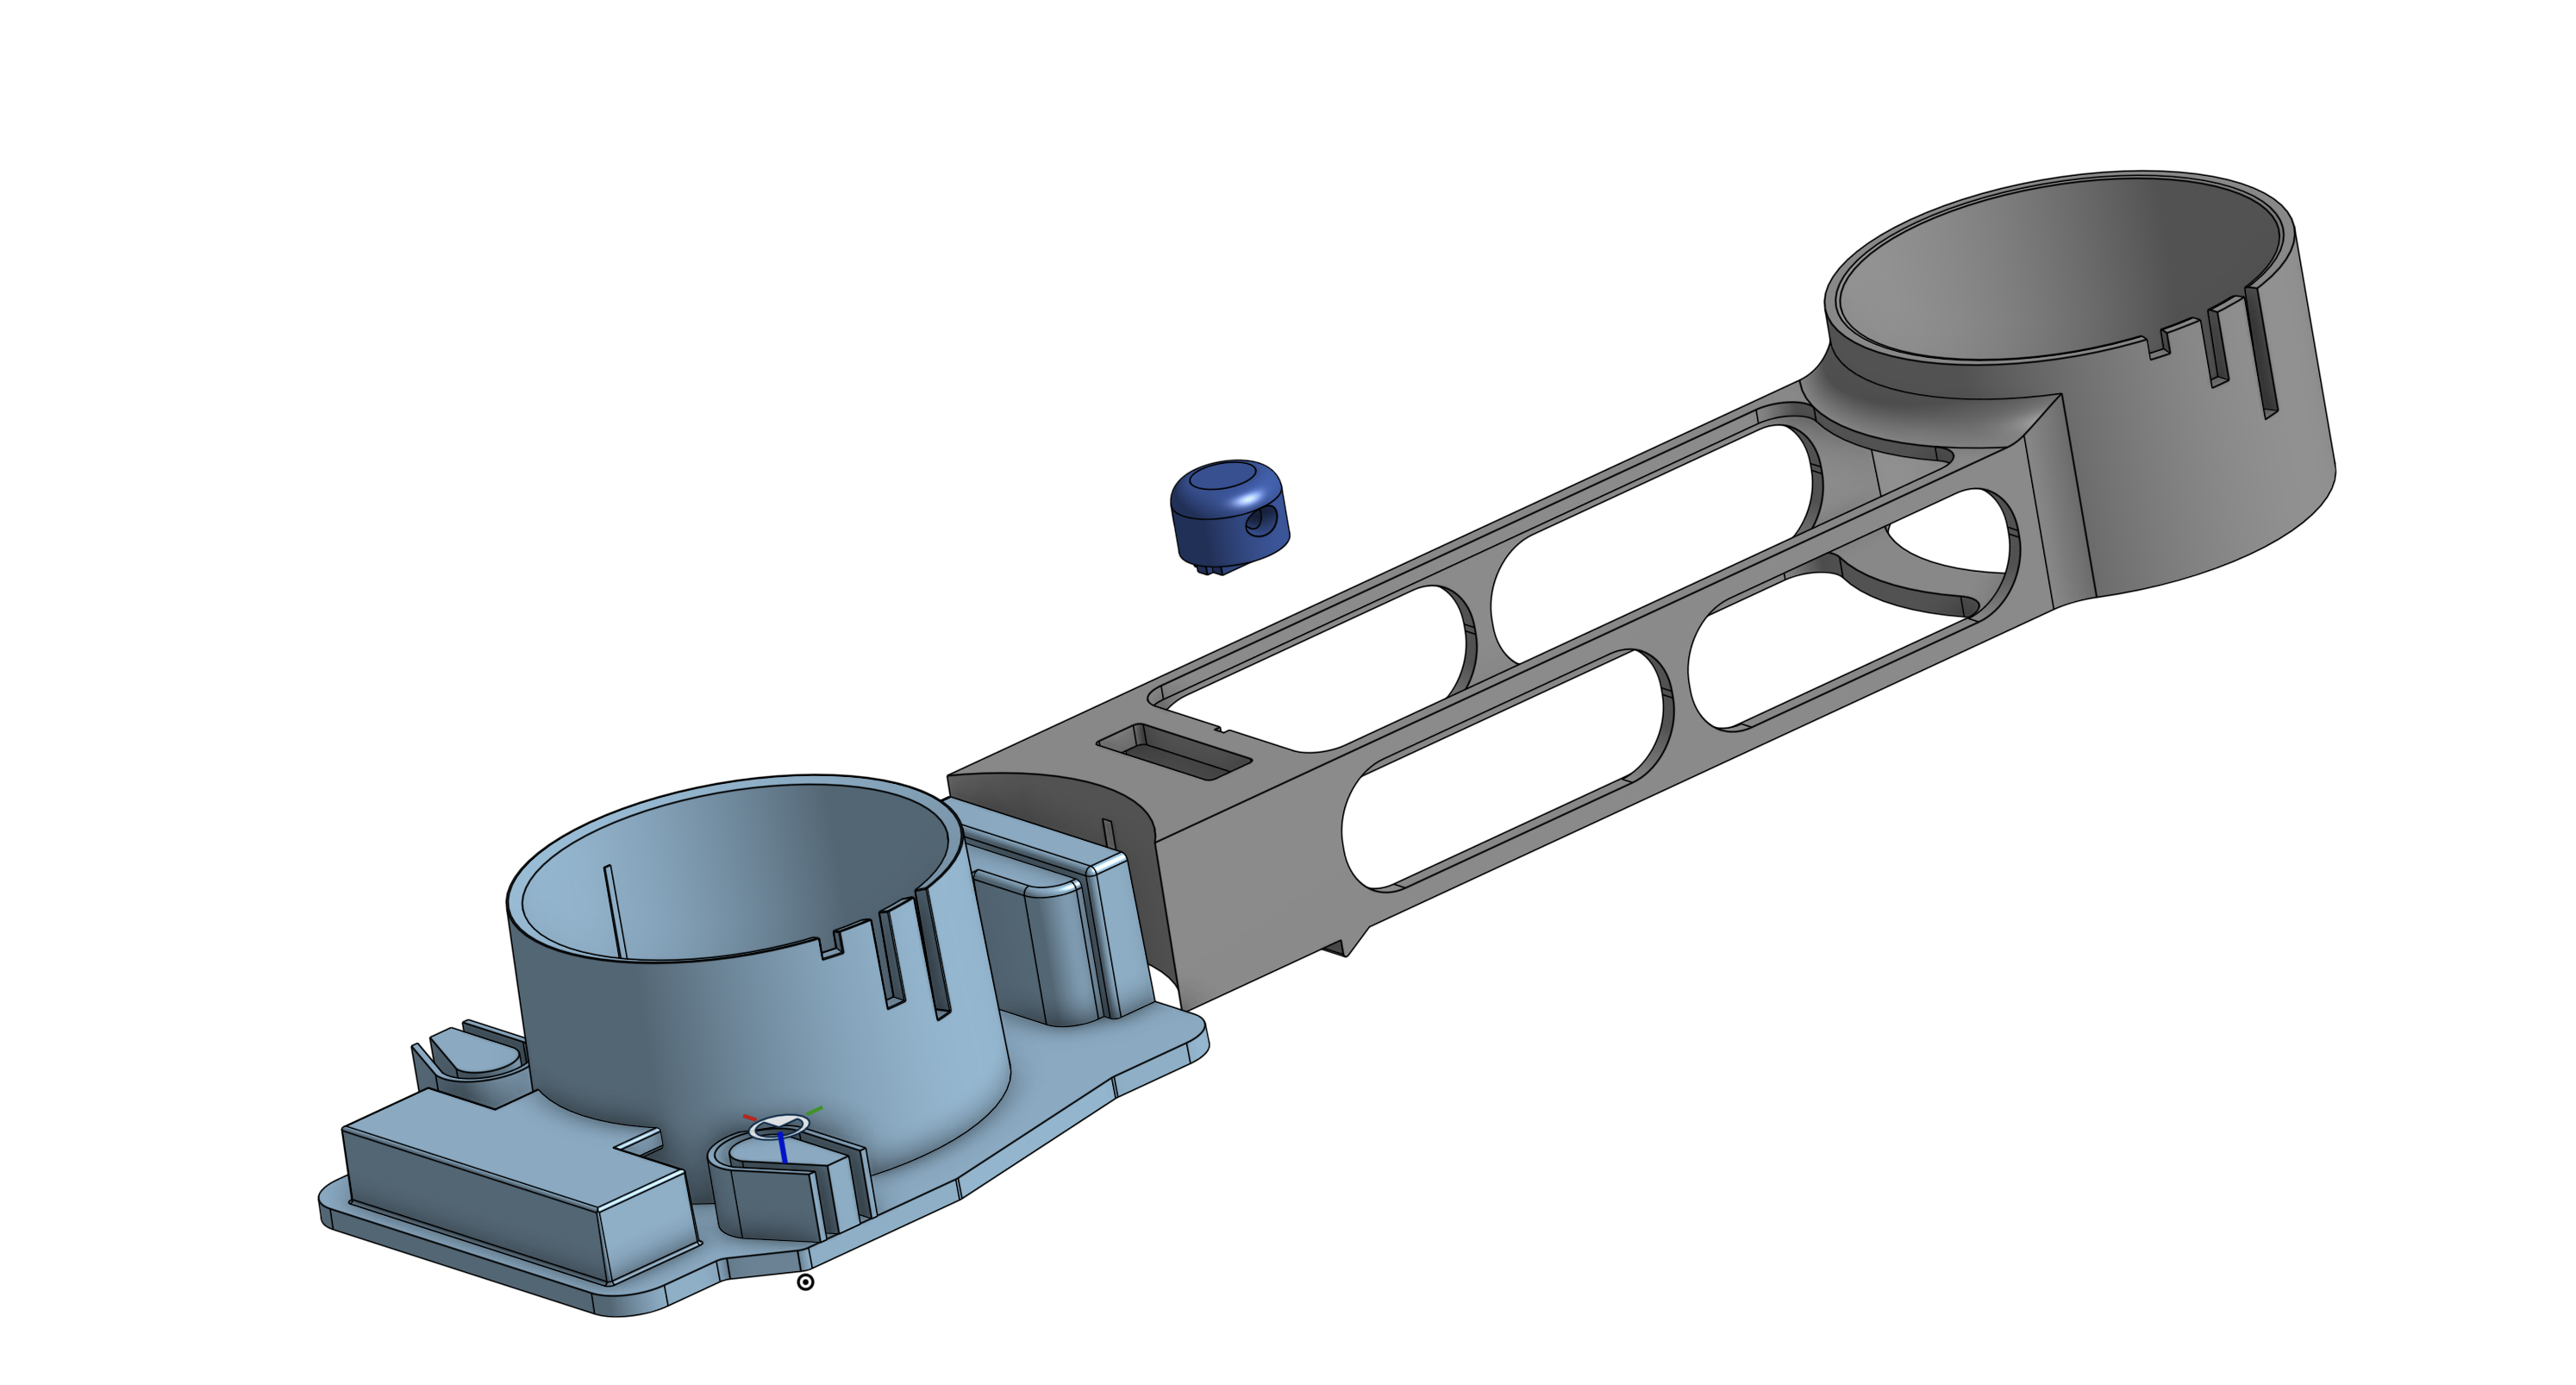
While there are many ways to solve a problem, studying other attempted solutions can give you an insight to what others have tried, what works, and what doesn't work. In this step you will look at two different designs for the extension arm initially proposed by the inventor of PancakeBot.


When looking at these designs, take into consideration the following points.

  1. Forces due to load – What forces will the extension arm experience due to the weight of the bottle?
  2. Forces due to movement – What forces will the extension arm experience due to movement during printing.
  3. Other Forces – Can you identify other forces that the extension arm may experience due to other factors?
  4. Can you sketch a free body diagram that shows the different forces for the different cases you identified?


Printing the designs

Here you will print out two original design proposals by the inventor of the PancakeBot.

Tolerances and the Printed Y Connector

The onboard pneumatic system for the PancakeBot has one outlet which switches back and forth between positive and negative (vacuum) pressure. It emulates a ketchup bottle. When you squeeze the bottle, it builds up pressure and pushes the batter out. When you let go of the bottle, the plastic qualities of the bottle act as a spring and return the bottle to its original shape, this in turn creates a vacuum in the bottle. In order to dispense to two bottles, we need to split the flow of the air into two, thereby controlling two bottles simulateniously. The air can be split with a pneumatic Tee or a Y but if you cannot access one, printing your own can be a solution. Here we'll look at the design for a pneumatic three-way connector and discuss the design considerations and how your printer tolerances will affect performance. Then you will print the connector and test.

Figure 1: Technical drawings of the pneumatic Y fitting.


The pneumatic Y allows to split the flow of air from the PancakeBot Gantry to two different bottles. This then allows you to draw two pancakes simultaneously.


Study the drawing before printing. Using your vermier calipers, measure the dimensions of the hose on the PancakeBot Gantry. How big is the hose compared to the insert holes in the pneumatic Y?


Engineering Tolerances

Engineering Tolerances are dimensions where the dimensions during fabrication may vary slightly. This can be due to a variety of issues when it comes to 3D printing that would change the desired dimension of the print.


Things to Consider

  1. Consider FDM and SLA printing and what issues may arise during the printing that may affect the dimensions of the insert holes.
  2. Will the diameter of the holes become bigger or smaller due to these potential printing issues?
  3. How can you change the tolerances of the design to compensate these predicted variations?


Standards

  • (Fab-Safety.2): I can operate equipment in a Fab Lab following safety protocols.
  • (Fab-Programming.2): I can create a program with more than one instruction.
  • (Fab-Fabrication.2): I can develop workflows across four or more of the following: modeling softwares, programming environments, fabrication machines, electronic components, material choices, or assembly operations.
  • (HS-ETS1-2): Design a solution to a complex real-world problem by breaking it down into smaller, more manageable problems that can be solved through engineering.

Lesson Feedback