- Loading…
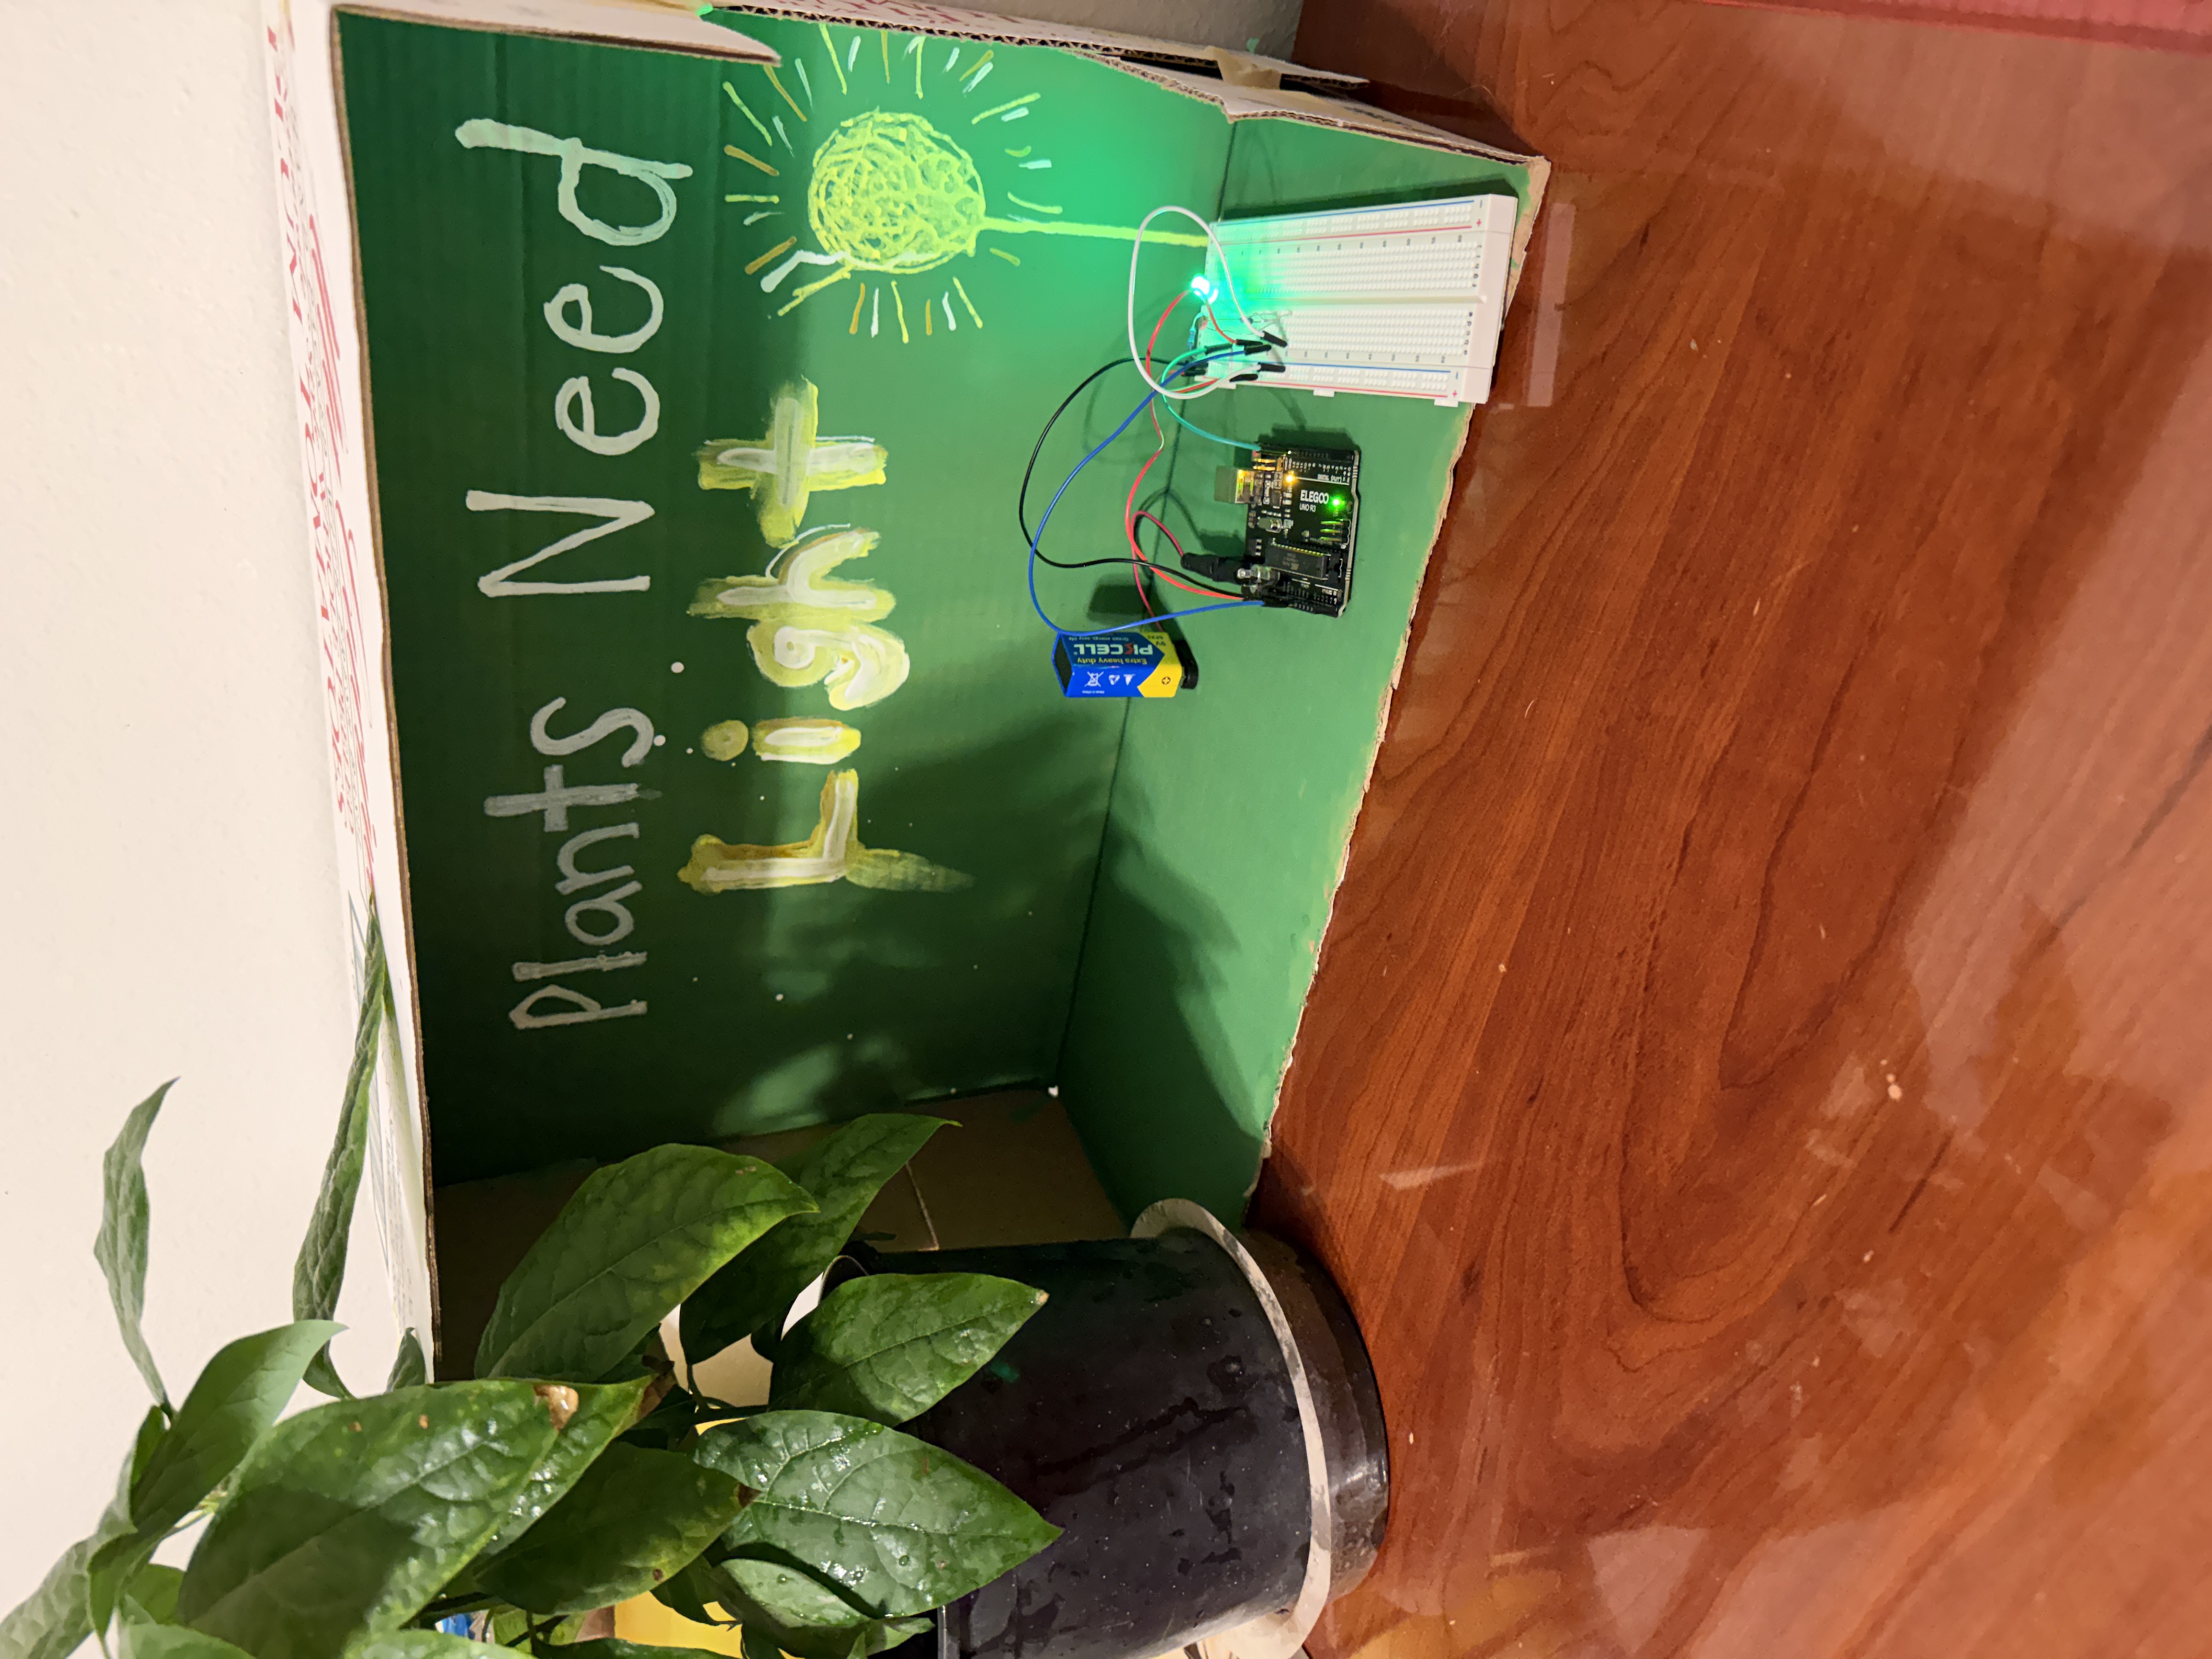
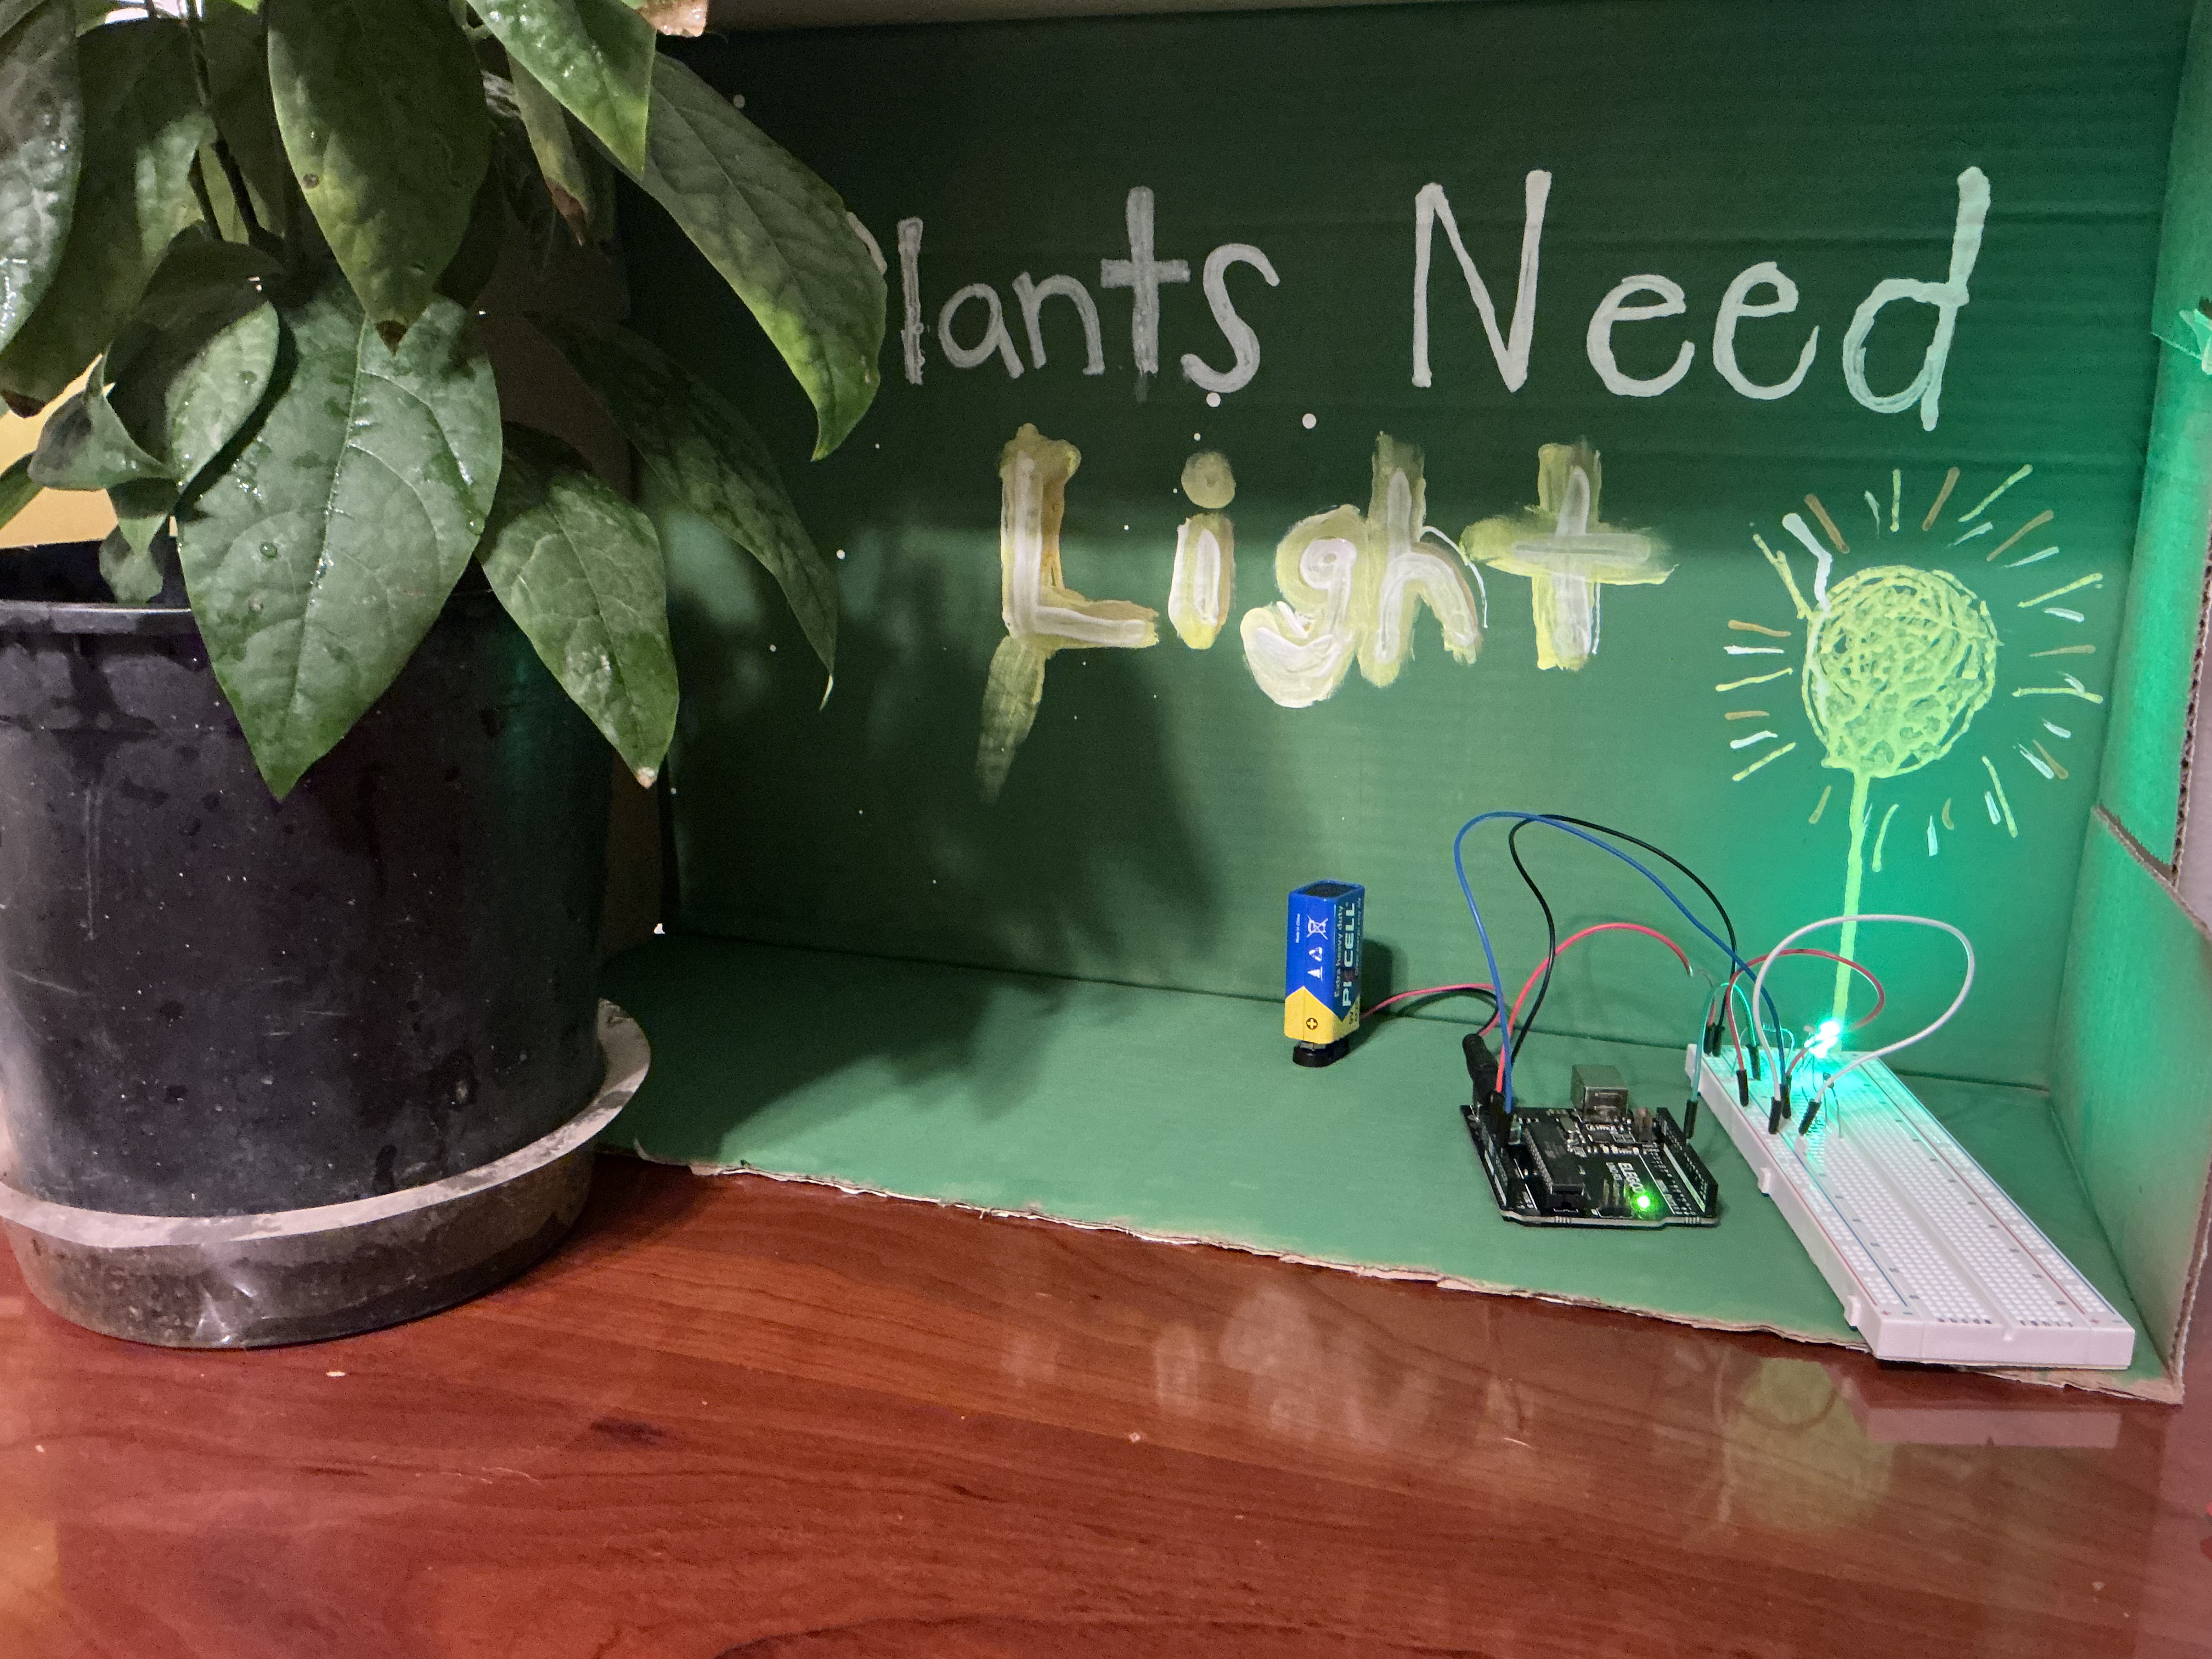
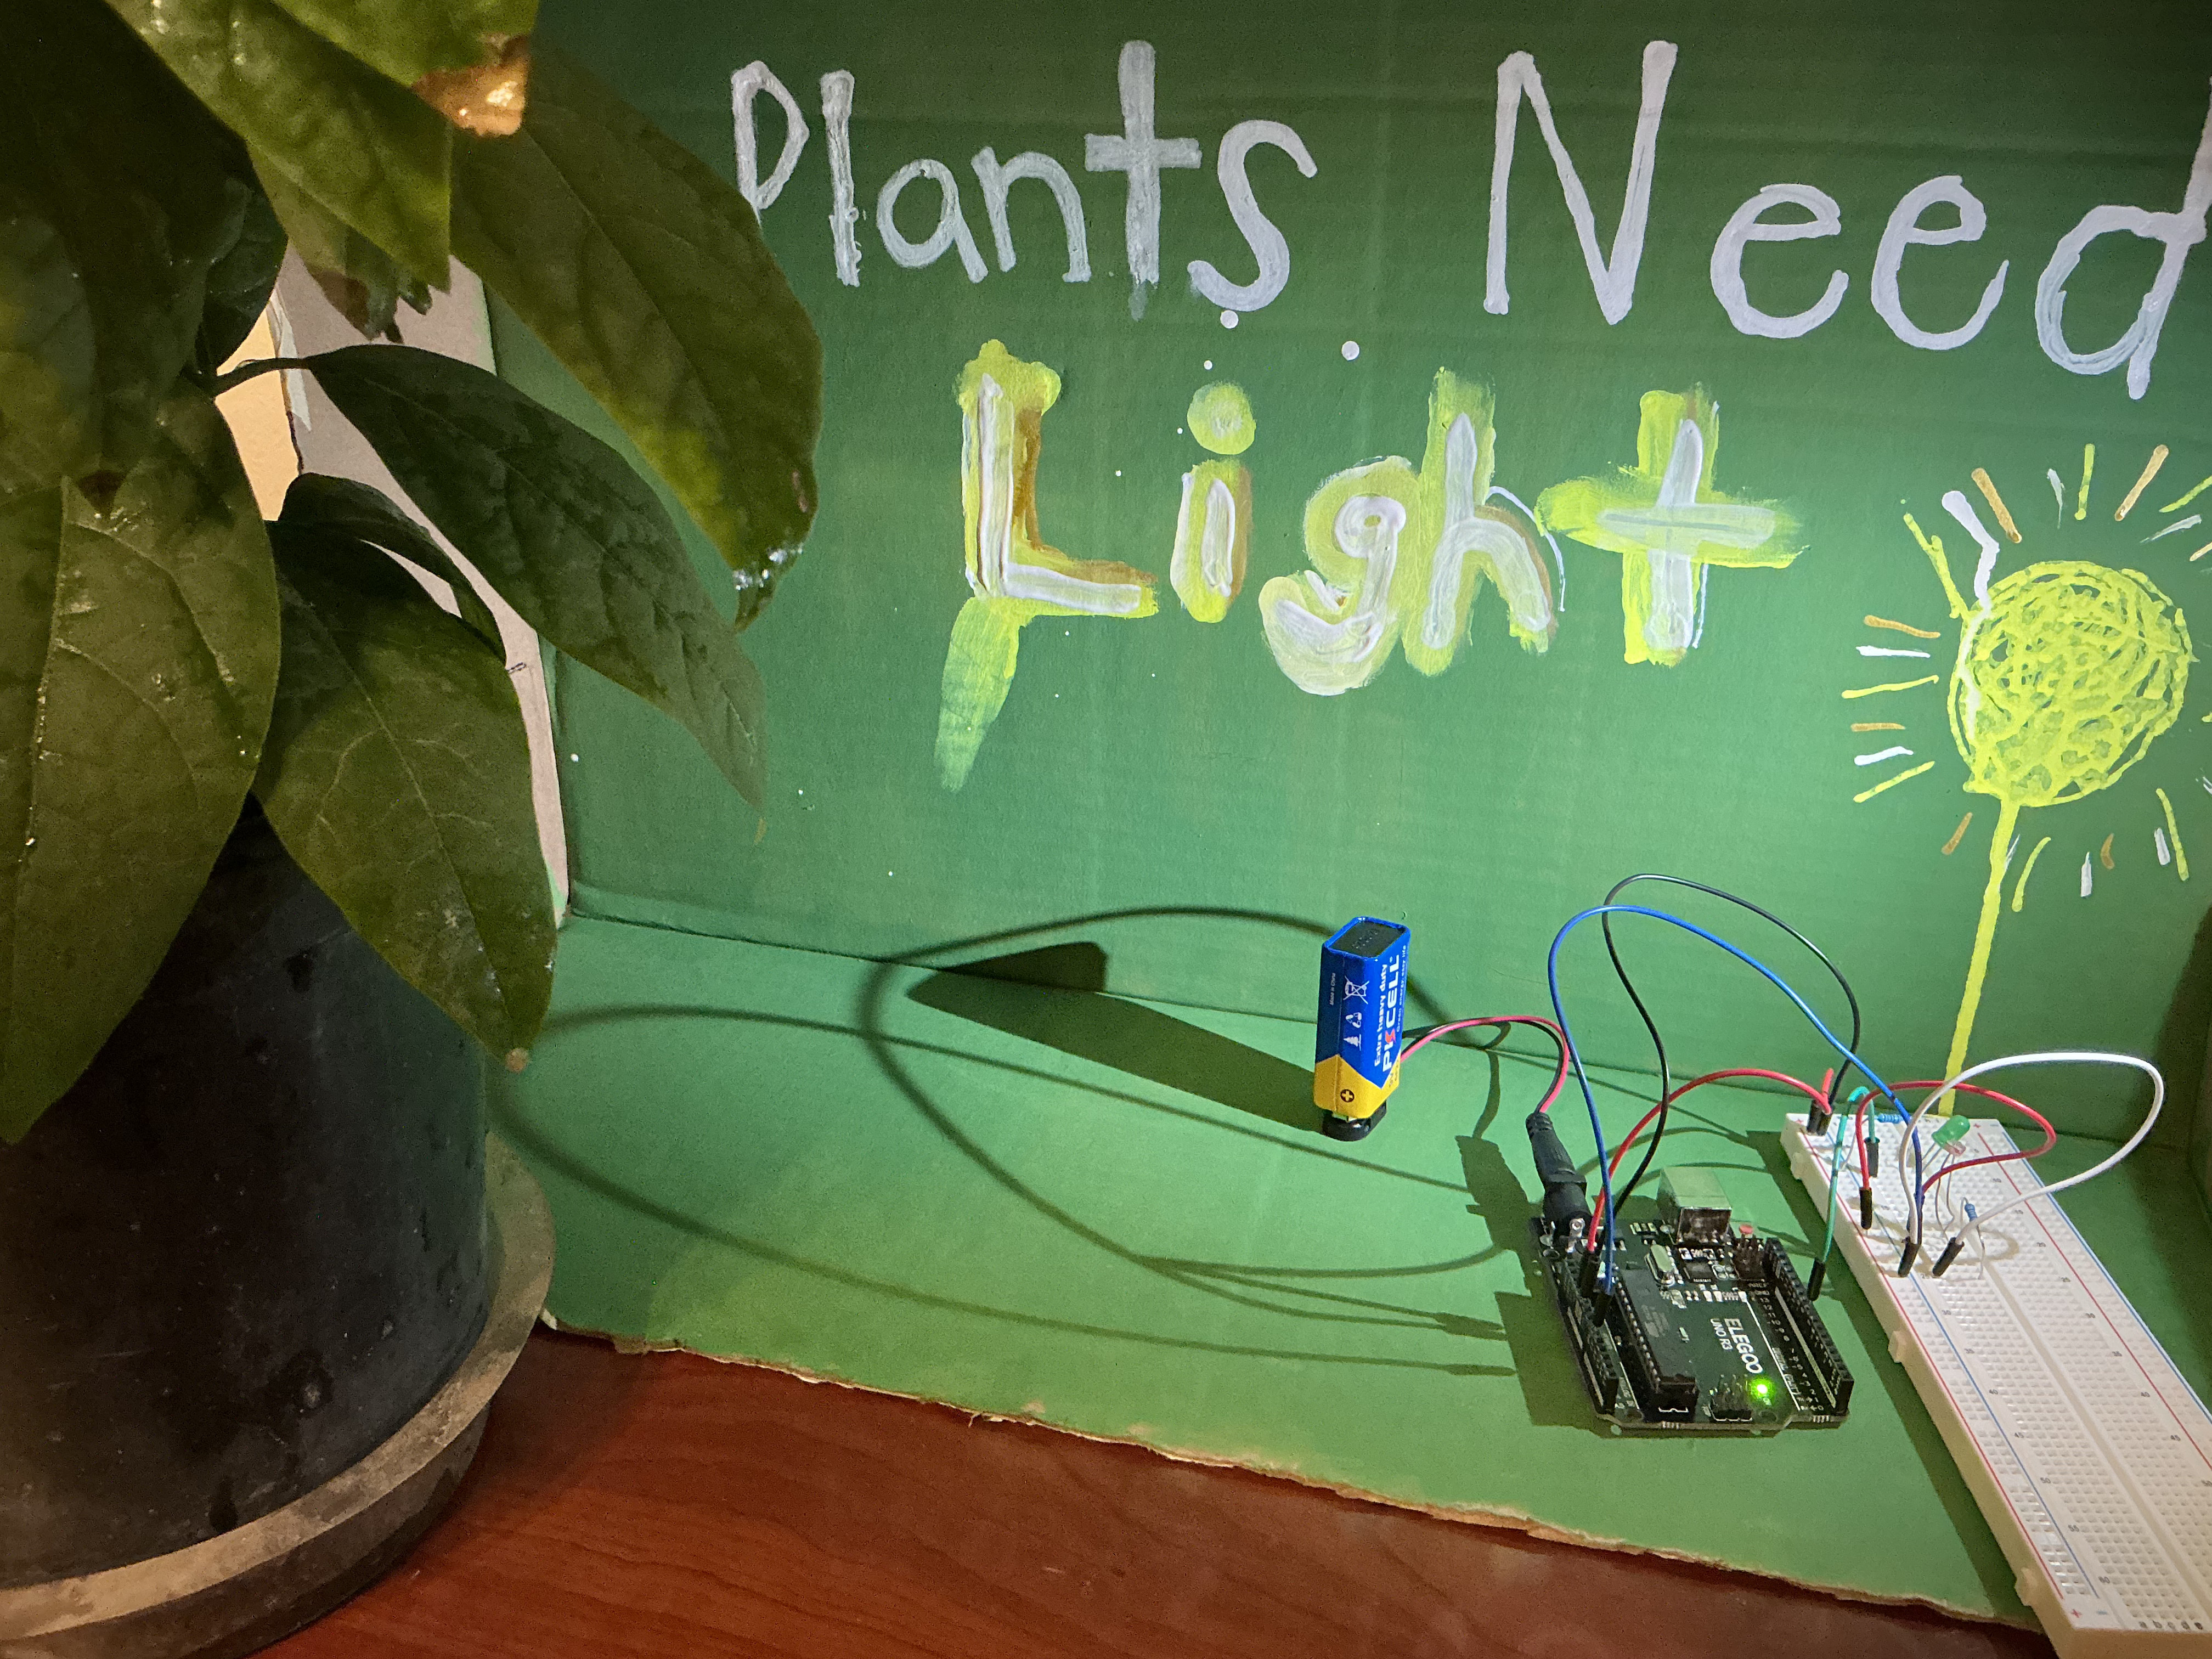
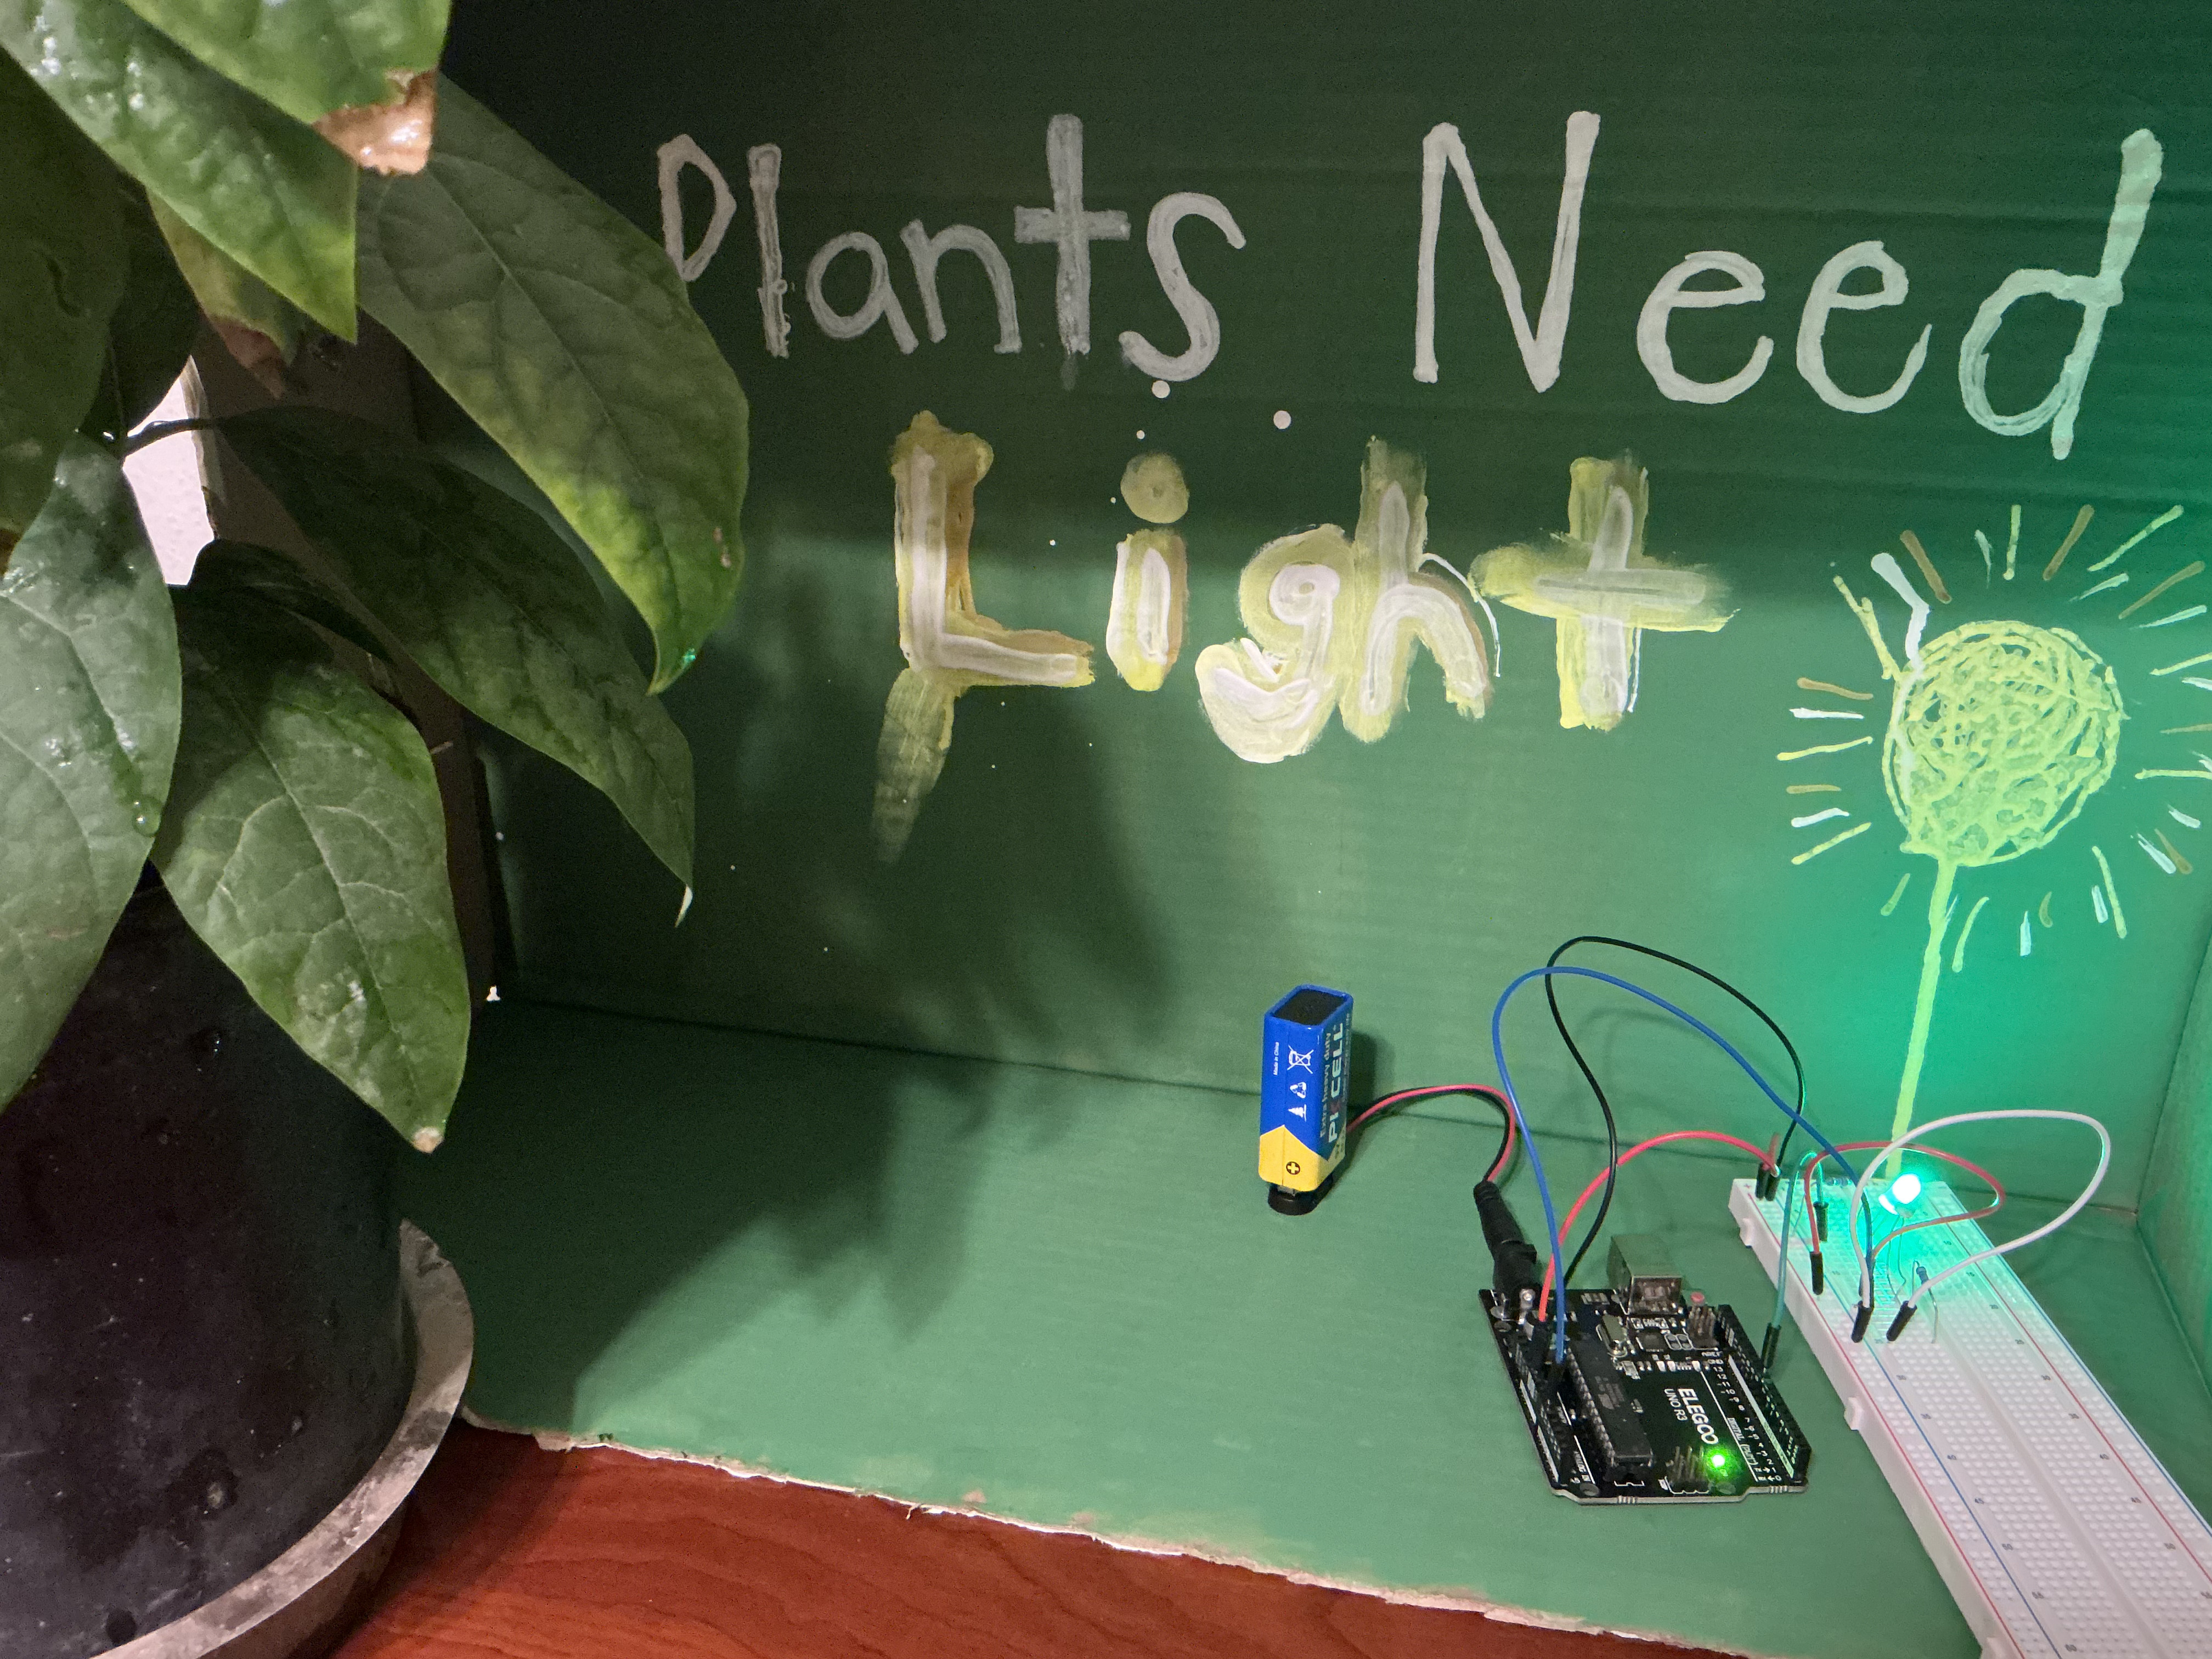
Students design and build a smart plant monitoring system using an Arduino, a sensor, and an LED. They collect and analyze data such as light levels to determine when a plant needs care, then program the system to respond automatically. Through this project, students apply concepts from science (plant needs), math (data and thresholds), and engineering/technology (circuits and coding) to solve a real-world problem.
Plant
Arduino Uno R3
220 Resistor
LED light
Photoresistor
100 Resistor
Controller board
Breadboard
USB cable
Jumper wires
F-M dupont wire
9V battery
9V battery connector with DC
Computer
By the end of this lesson, students will be able to:
This lesson was challenging and exciting to watch come to life. Collaborating with FabLab student assistants was a rewarding experience because I was not very familiar with Arduino and how to set it up. Once I was able to get past the programming it was fun putting the lesson together for students to physically see a sensor letting them know one of the needs of the plants is not being met.
Students begin by learning about the basic needs of plants through a short presentation.
Students will begin the lesson with a brief review of what plants need in order to survive. Ask students the following questions:
What happens if you forget to water a plant?
How do plants ‘tell’ us they need something?
Give a mini presentation covering key concepts:
Light
Water
Air
Nutrients
Space
From there students will apply this knowledge to develop and build a smart plant monitoring system using Adruino.
Connect Arduinos to real world scenarios and how the activity we will be starting today connects to them. Introduce students to Arduino and how they work.
Tell students: We just learned plants need water and light. But what if no one is around to check on them? Engineers solve this using tiny computers that can sense and respond automatically. Today, you’re going to use one.
Show students examples of: Smart irrigation systems, automatic lights, and temperature control.
Introduce what an Arduino is, tell students: An Arduino is a small computer that can take in information from the world (like sensors) and make decisions, then control things like lights, sounds, or motors.
Show students how Arduinos work and connecting it to plant needs.
Input- light is measured
Output – if not enough light is sensed an LED will light.
Allow students to create a simple circuit that generated light.
Allow students hands-on time with the Arduinos to create a simple circuit to become familiar with the Arduinos. Provide students with a demonstration and a step-by-step tutorial of how to set up a circuit using Arduino.
Use the following materials create a circuit:
Arduino Uno R3
USB Cable
LED
220 resistor
Bread board
Jumper wires
Once students have created a simple circuit and coded the Arduino to light the LED allow students time to create a sensor for plants that are not receiving enough light.
Ensure that all students are able to get their LED to light up before moving on. Once students have lit up their LED encourage them to move on to the next step. Have students connect the sensor to the breadboard and upload the code to determine which values need to be entered in order to sense the proper amount of light the plants need.
Students will need to adjust the numbers for the code to ensure that the correct amount of light is being recorded.
Here is the code: https://www.tinkercad.com/things/60PsCXNVOVP/editel
Having trouble? Let us know by completing the form below. We'll do our best to get your issues resolved quickly.
"*" indicates required fields