- Loading…

Participants will learn how to create an electric circuit without using cables but using conductive tape and sticker LED. They will also create a gift card, integrate the sticker LED with it, and customize it with colors.


1- Cardboard card.
2- Coin battery.
3- Copper tape.
4- Sticker LED.
5- Colors.
6- Glitter.
7- Velcro.
8- Origami sheets.
9- Pencil.
The kit of conductive tape and sticker LED can be found here: https://chibitronics.com/
Participants will discuss what they will be doing in this workshop, the theme of it, and the final product.
1- Who are we and what we do (Studio 5/6)?
2- Introduction to digital fabrication concept and tools.
3- Ice breaking activity using origami sheets.
4- Discuss the theme of the workshop: National day of Qatar.
5- Discuss how you celebrate the national day in Qatar?
6- Brainstorming: how we will be celebrating it in 2030?
7- Discuss what we will be building today and the components used.
8- Learn the difference between open and closed circuits.
9- View the structure of the electric circuit. 
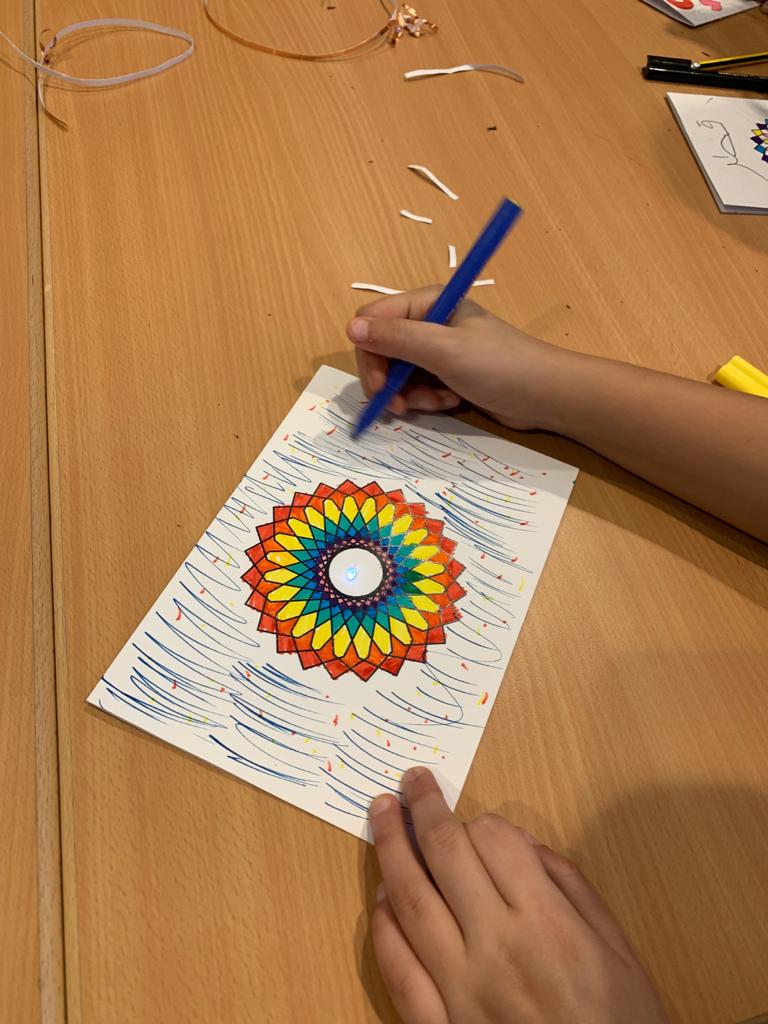
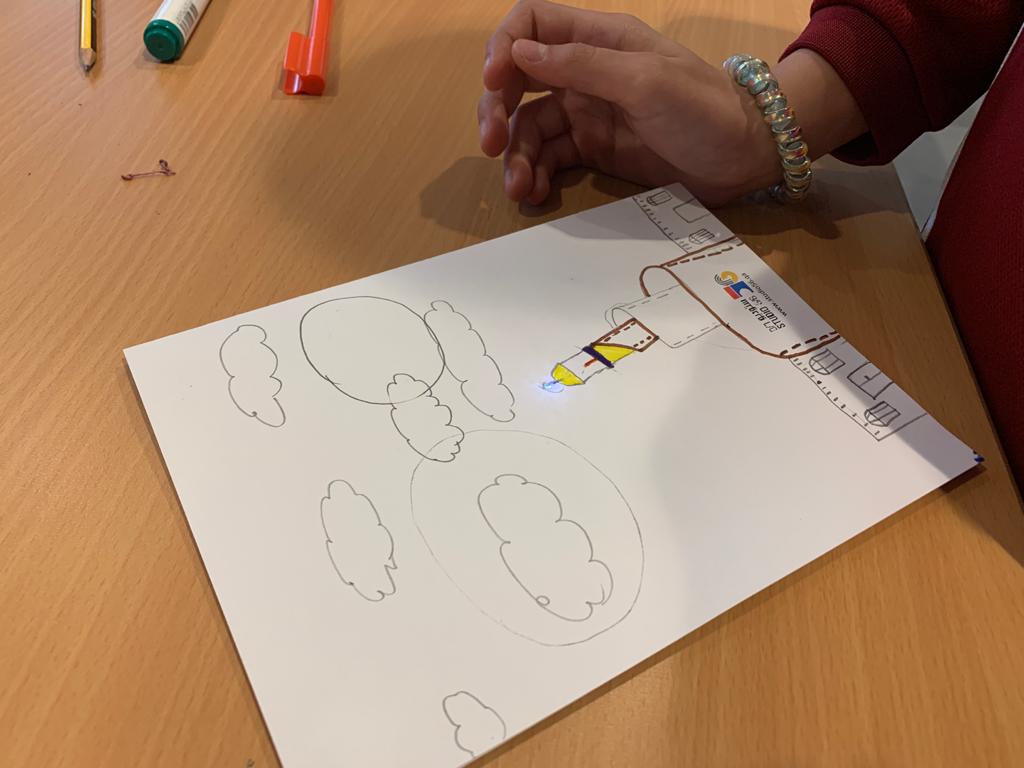
Participants will build the circuit using the components provided.
1- Look for the correct side of the card to place the circuit on.
2- Draw the circuit components and connection on the right side using pencil.
3- Take the first piece of the copper tape, remove paper from the sticky side, and place in the correct place (hence: where you drew your lines earlier).
4- Make sure to follow the right procedure in corners, which are:
a. Fold the copper tape to the opposite direction of where you want it to go.
b. Fold it back to the correct direction where you want it to go.
this step is important to make sure that the copper side is always connected and not isolated with the sticky side.
5- Take the second piece of the copper tape, remove paper from the sticky side, and place in the correct place (hence: where you drew your lines earlier).
6- Take the sticker LED, remove paper from the sticky side, and place it in the correct place (hence: where you drew your lines earlier).
7- Make sure that the sticker LED is in contact with the two copper tapes, each on one side.
8- Make sure that there is space between the two copper tapes and they are not connected.
9- Place the battery in the correct place, make sure that one side (negative pole) is touching the first copper piece, and the other side (positive pole) is touching the second copper piece.
10- Use paper tape to fix the battery from moving.
11- Test the circuit and fix any issues if found.

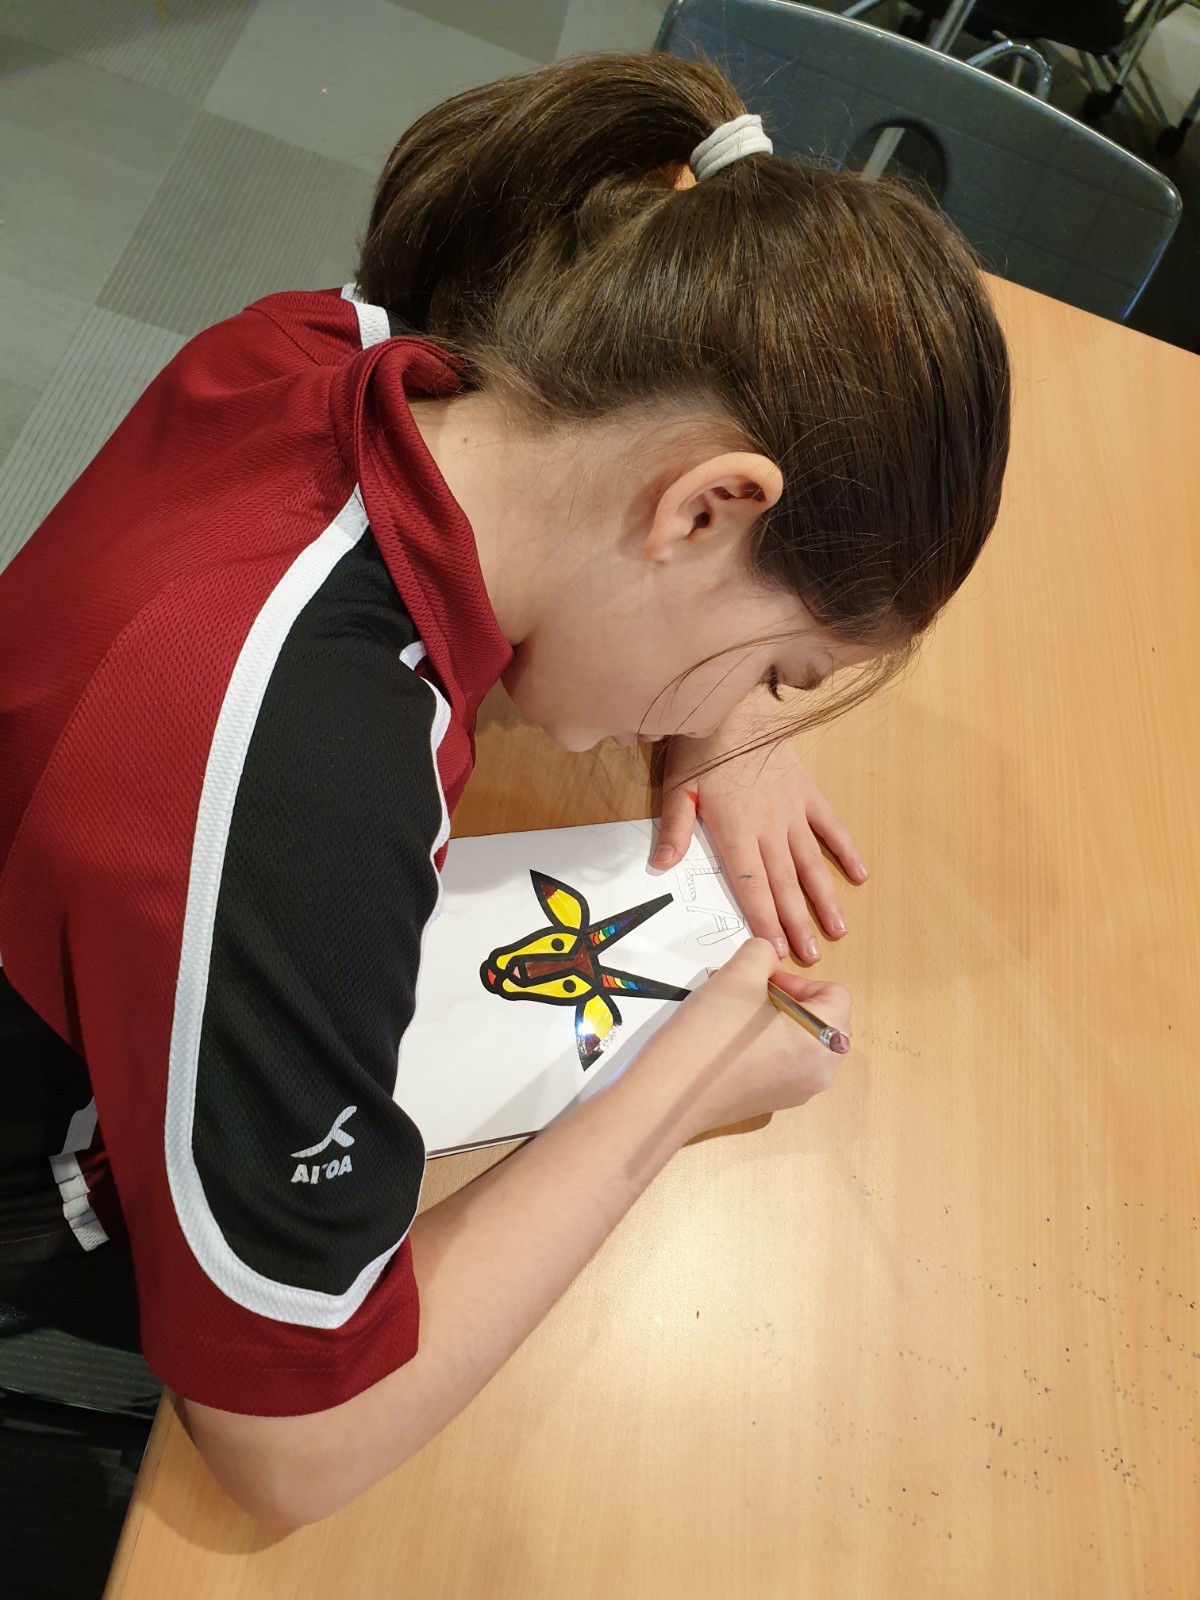
Participants will decorate and personalize their cards.
1- Use colors and glitter to decorate your card and reflect your personality.
2- Use Velcro to create a lock by placing it in the two sides of the card.
3- Show your card to friends and share comments.
4- Enjoy!
Having trouble? Let us know by completing the form below. We'll do our best to get your issues resolved quickly.
"*" indicates required fields