- Loading…

In this 5-day series workshop, children will learn how to create a magic ball app from scratch using App Inventor. They will first start by creating the app and on the subsequent days they will add different features such as layout design, Block Code programming as well as adding sounds and commands. On the last day, children will test and run the app they have created and then share it with the other participants in order to interact through it.
The participants will be introduced to the MIT app inventor’s interface and features.
Presentation :
1- Introduce who are we and what we do in Studio 56.
2- Explain which zone we will be in today.
4- Video about the magic 8 ball game and how it works.
5- Explain the 5 days program and the final prototype.
6- Explain what are mobile applications.
7- Types of mobile applications.
8- Introduce the program we will be using during the 5 days (MIT app inventor).
Prototype:
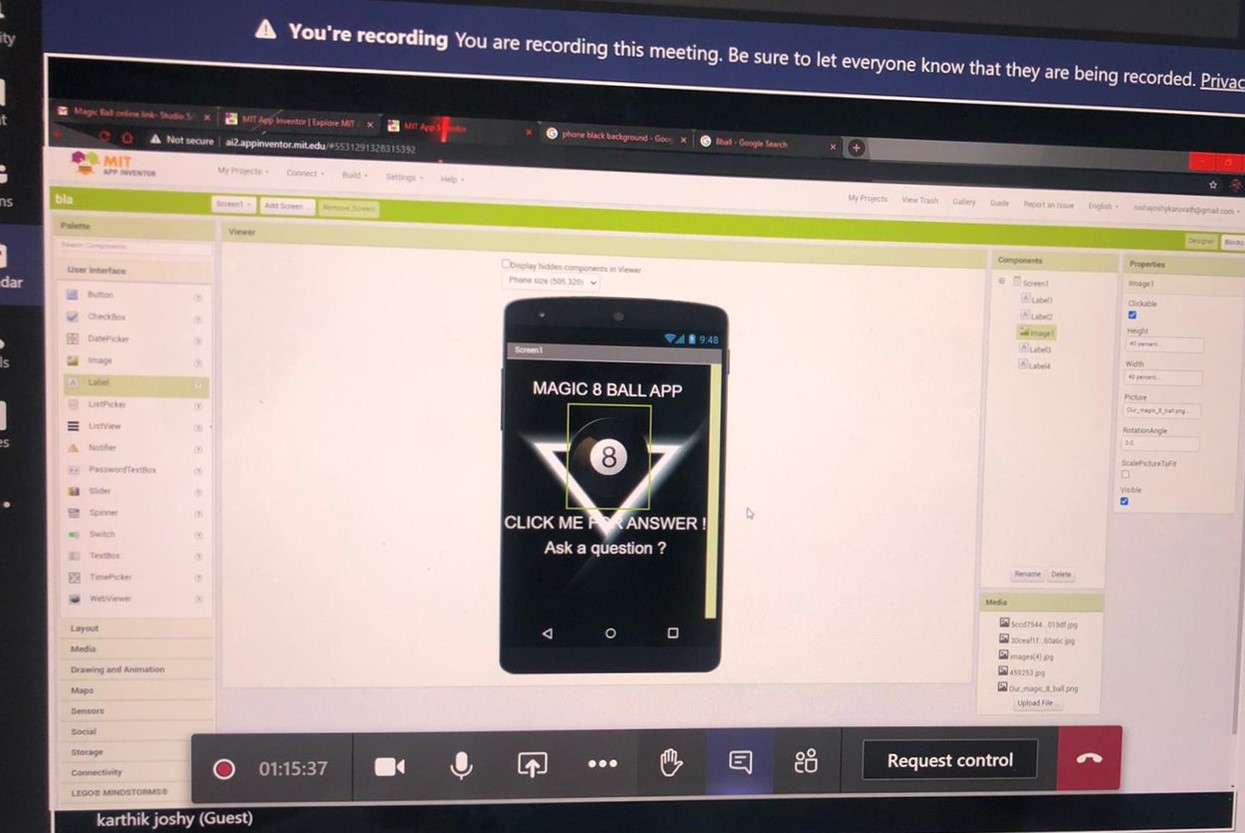
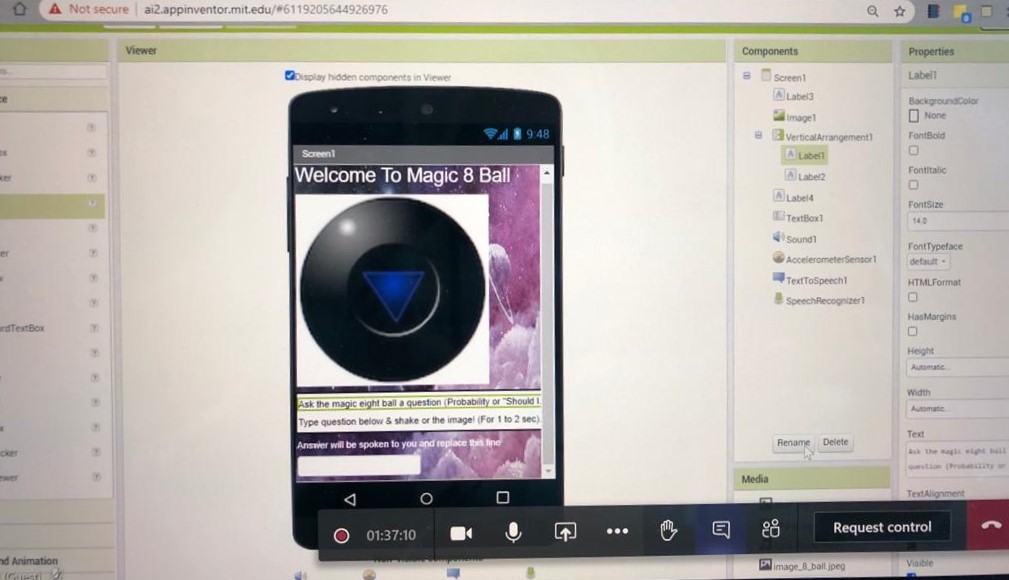
1- Explain the UI of MIT app inventor and structure of the platform.
2- Explain how you can add components to the UI and view them on the virtual phone.
3- Explain how you can change the properties of components to personalize them.
4- Make a simple application about yourself for practice:

The participants will design the layout and structure of the application user-interface, adding components, and adjusting properties.
Presentation :
1- Overview on what was done on Day1.
2- Explain what is the meaning of User-interface design.
3- Video about paper-based prototype making.
4- Explain what is paper-based prototype making.
5- What you need for the paper-based prototype (paper + pencil).
6- Explain the components are required to be on the user-interface and ask the participants to draw their own paper-based prototype.
7- Explain what will be done in this workshop.
Prototype:
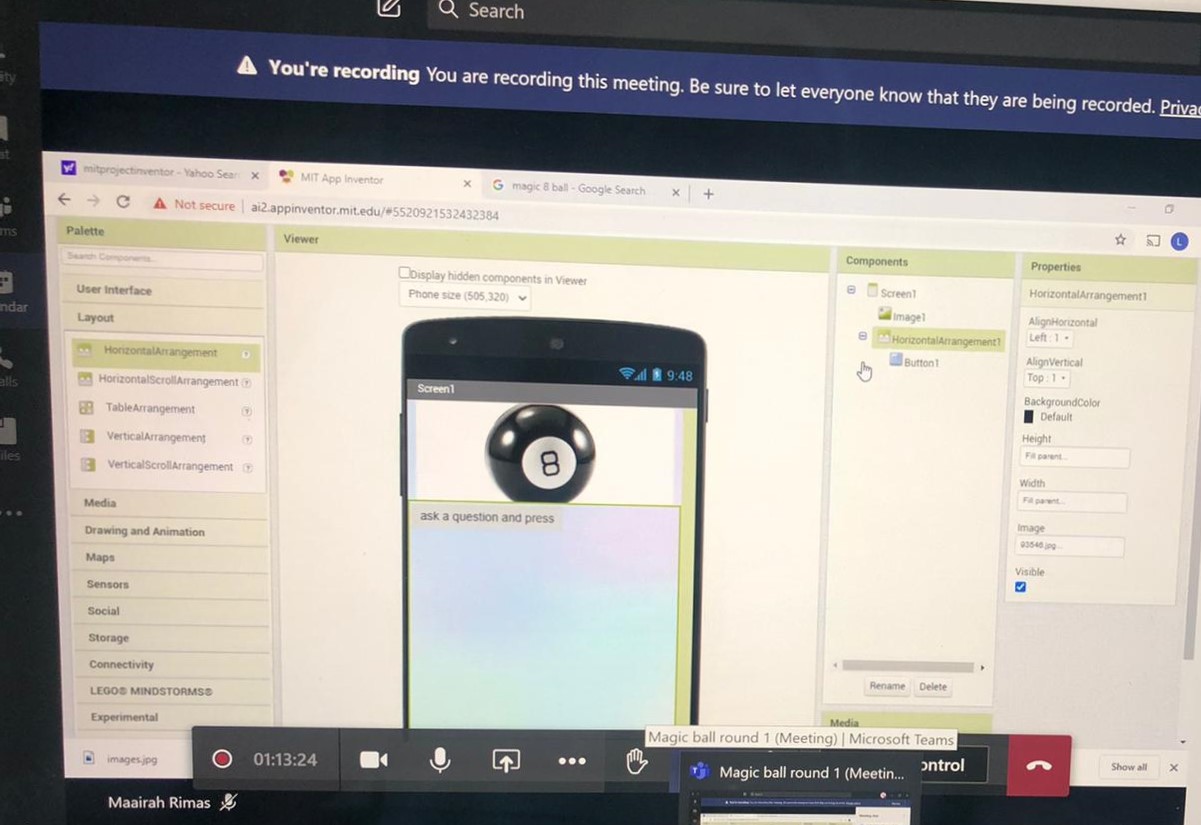
1- Explain the different components that can be added.
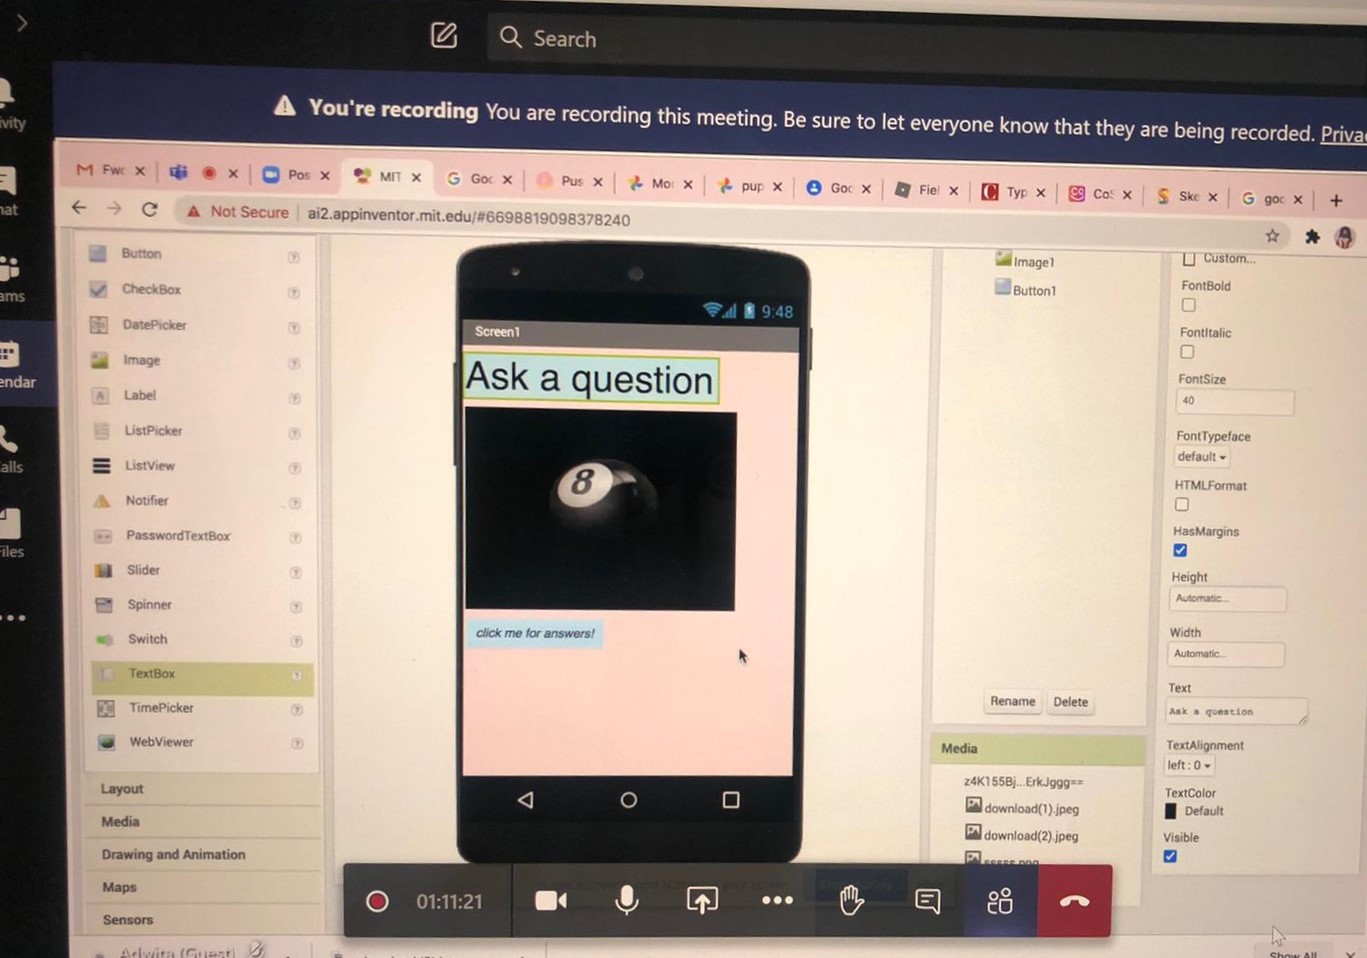
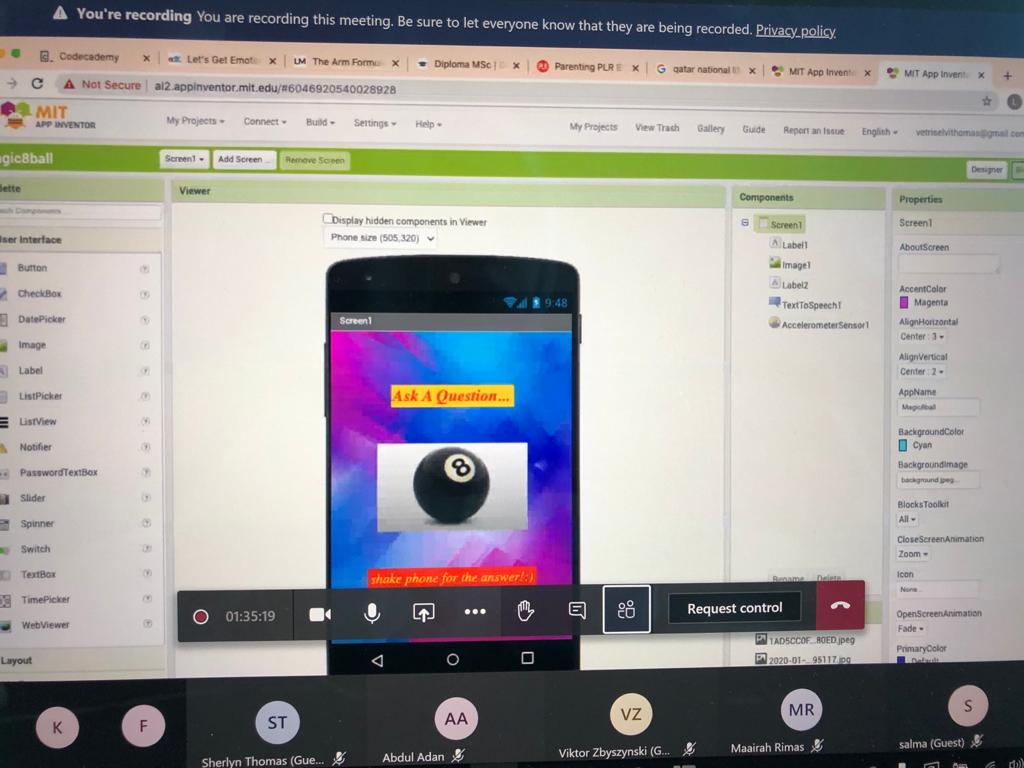
2- Decide on the exact components that must be added in the app user-interface (Label, image, button).
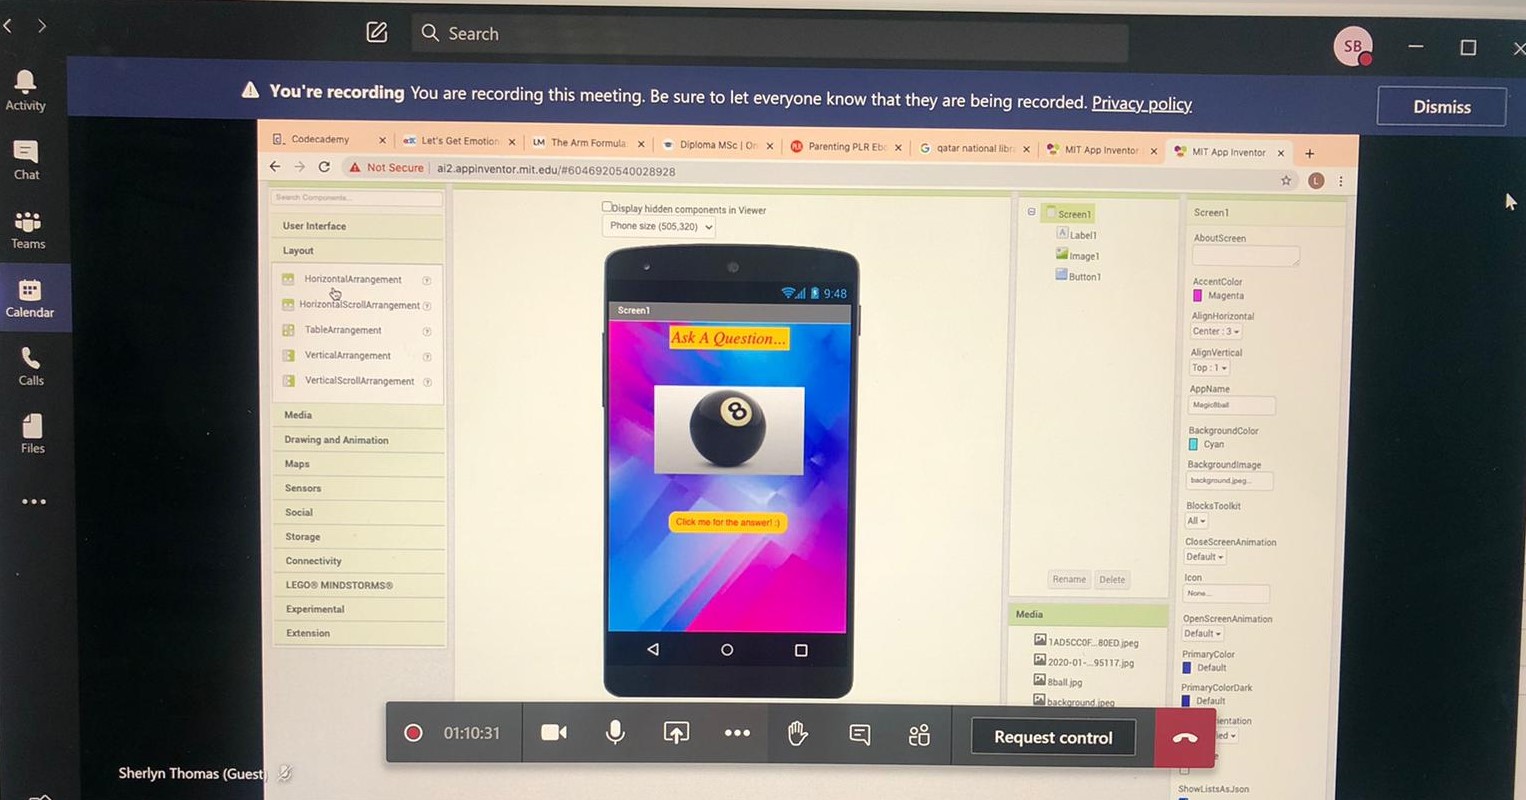
3- Search and add an appropriate background for the app.
4- Add the background, buttons, pictures, text in the appropriate structure.
5- Edit the properties of each component to look as desired for each participant.
6- Review the overall look of the application.
7- Fix any issues found.

The participants will use block coding to program the application to respond to the user’s instructions.
Presentation :
1- Overview on what was done on Day2.
2- Video explaining what is coding.
3- Brainstorming on what can be programmed in our daily lives.
4- Explain The difference between text-based and block-based coding.
5- Explain what will be done in this workshop.
Prototype:
1- Explanation of the block section of the MIT app inventor platform and how you can drag and drop coding blocks.
2- Explanation of the different types of blocks and their purpose.
3- Code the app to output a text when the user click on the button.
4- Code the app to select a random choice from a list of possibilities when the button is clicked.
5- Connect to a phone and test your application.
6- Fix any problems found.

The participants will add complex features to the app, like phone shaking command and sound commands.
Presentation :
1- Overview on what was done on Day3.
2- Video about what is phone shaking feature.
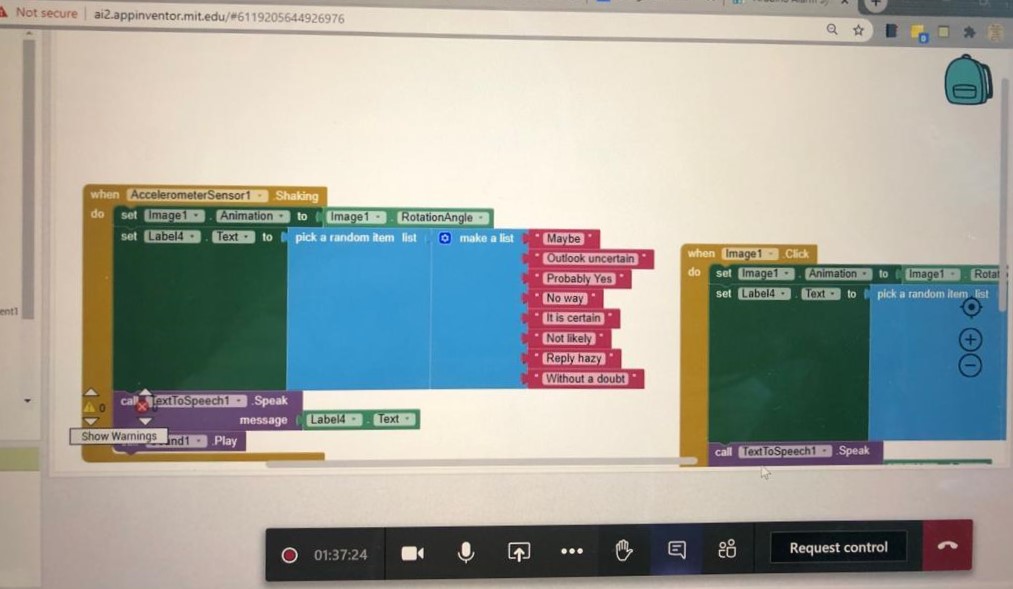
3- Explain the required code to add the phone shaking feature.
4- Challenge the participants to add a Text-to-speech feature to make the phone read the prediction.
5- Explain what will be done in this workshop.
Prototype:
1- Explain the required component in the Designer section for the phone shaking feature.
2- Add the required coding block in the Blocks section for the phone shaking feature.
3- Search for appropriate background sound in mp3 format and save it.
4- Add the background sound using the required component and coding block.
5- Connect to an android phone and test the new features.
6- Fix any problems found.

The participants will test the final application, fix any issues, and share there apps with others.
Presentation :
1- Overview on what was done on Day4.
2- Motivating video about mobile app development field.
3- Brainstorming for unique mobile application ideas that can be applied in the future.
4- What we will be doing today.
Prototype:
1- Connect to the phone and run the application.
2- Test if the app is working.
3- Fix any problems found.
4- Ask the participants to share their prototypes with others.
5- Discuss what they have learned during the five days.

Having trouble? Let us know by completing the form below. We'll do our best to get your issues resolved quickly.
"*" indicates required fields