- Loading…
What is an algorithm? How can algorithms be used to create cultural designs and 3D models? This lesson explores these questions by using visual programming to help students explore computational thinking or CT. Efforts to increase computational thinking in STEM is increasing in popularity. This lesson covers two areas in CT:
• abstraction: Identifying and extracting relevant information to define main idea(s)
• algorithm design: Identifying and organizing the steps needed to solve a problem

The goal of this lesson is to explore computational thinking through algorithmic design and to embed real world or meaningful contexts in digital fabrication to promote conceptual understanding. Students will use visual programming and Tinkercad Codeblocks to generate 3D models that can be 3D printed.


Paper (preferably graph paper)
Pencils or markers
Computer/laptop
3D Printer (optional)
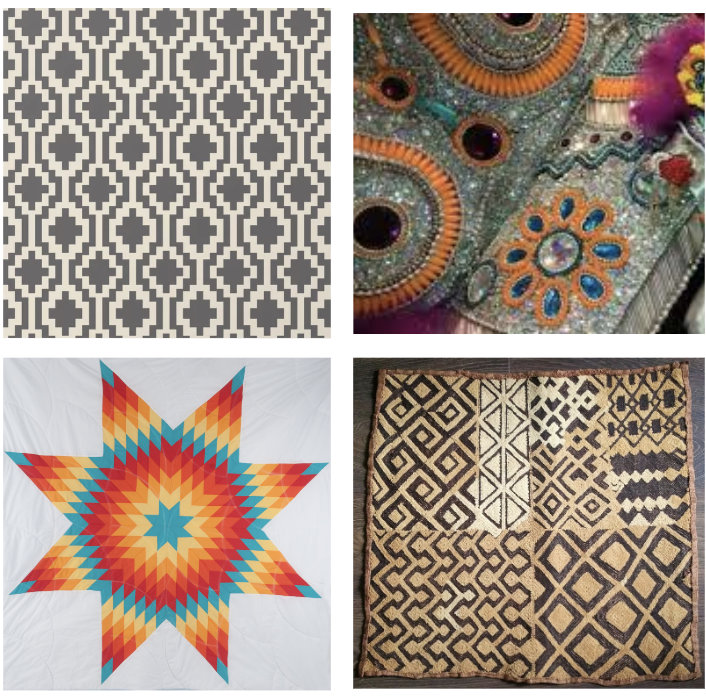
An algorithm is a set of steps to accomplish a task. You might have an algorithm for baking a cake or creating a design pattern such as the star in a quilt. For this step students need to identify algorithms in existing cultural patterns or designs. Duration: 30-45 minutes
Review the more in-depth Algorithmic & Computational Thinking in Design presentation.
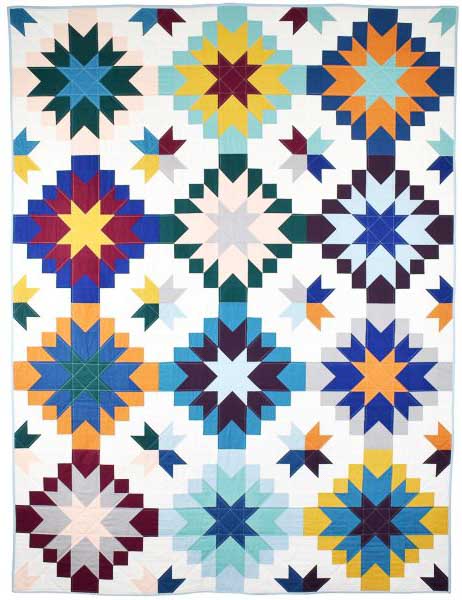
Can you write an algorithm to re-create this design?

Start with a 2D shape. Then, write the steps you would use to create a pattern using the shape. You might organize your shapes into categories: “triangle”, “square.” Use math to describe the size and position of the shapes (ex. on a coordinate grid). Indicate the colors of each shapes. The algorithm might looks something like this:
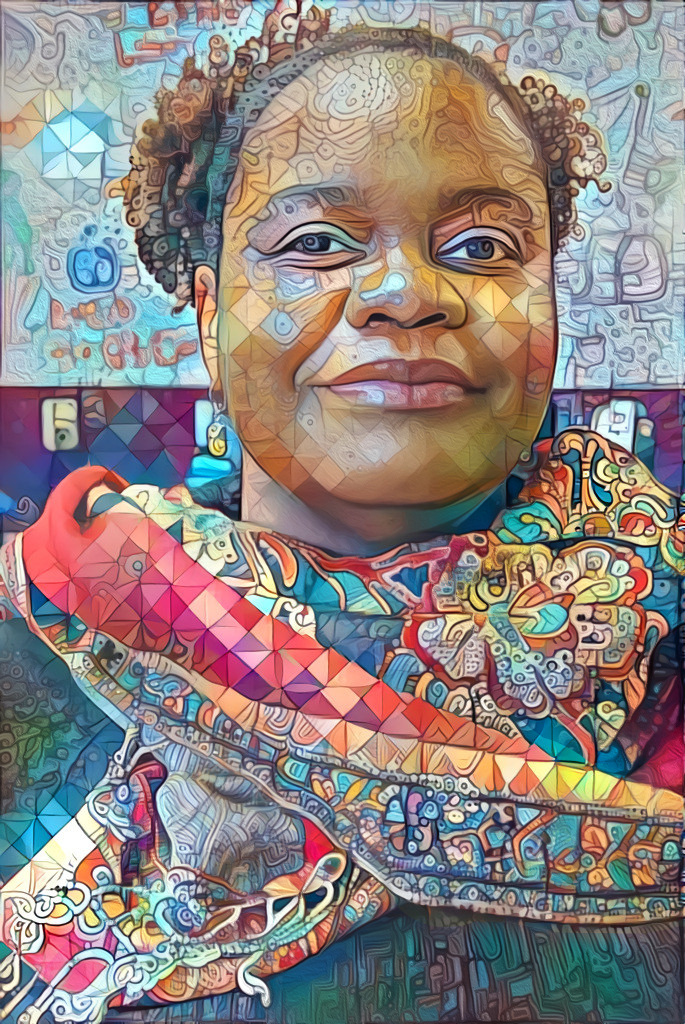
Algorithms like this example can be used to create colorful patchwork such as the ones worn in the costumes of Black Masking Indian performers: https://www.youtube.com/watch?v=yCxGIh9IKcE&feature=youtu.be.
Students will sketch their own simple design on paper and write down the steps to re-create their design using an algorithm (that they write as text). Duration: 45-55 minutes
In the Black Masking Indian community, children learn basic costuming skills by drawing patterns on simple pieces of cloth. As their skills increase, community elders continue to expand the children’s talent to more elaborate challenges – sometimes to create a headband or mask. Eventually, they become skilled artists with unlimited capabilities and challenges set before them.
Students should research more examples of algorithms in everyday life and choose one that inspires them. Then, using paper (preferably graph paper) they can sketch their own version of their chosen design and keep it simple. Graph paper simulates the Tinkercad “Workplane” and the Cartesian coordinate system grid.
After sketching their 2D designs, students will need to write simple algorithms that can be used to re-create their designs. They can do this using a computer/laptop with writing software (ex. Google docs). For example, with the design posted above the algorithm might look something like this:
During a peer review, students can “test” out their algorithms by having others try to create designs just using their text documents… but this step is optional.
Engage students in algorithmic thinking and a design process using visual programming. Students will reference their 2D sketches from step 2 and create a 3D design in Codeblocks. Duration: 55+ minutes (include additional time to learn and practice with Codeblocks)
A visual programming language or VPL is any programming language that lets users create programs by manipulating graphics rather than text (scripting). Some examples include Scratch, CSnap!, Culturally Situated Design Tools (CSDTs), and Tinkercad Codeblocks. For this lesson, students will learn how to design using Codeblocks.
In traditional Tinkercad, you build models by dragging basic shapes like a box, cone, or wedge onto the workplane. Codeblocks is similar, but rather than dragging a shape out to the workplane and then resizing it, you drag a block of code for an object whose parameters you can adjust.
Visit the Codeblocks Quickstart Guide and learn basic design and coding principles. The software is online and free to use.
Explore the process for creating designs in Codeblocks: Select, Stack, Run, Review, Adjust.
Use this checklist to create the 3D design in Codeblocks:
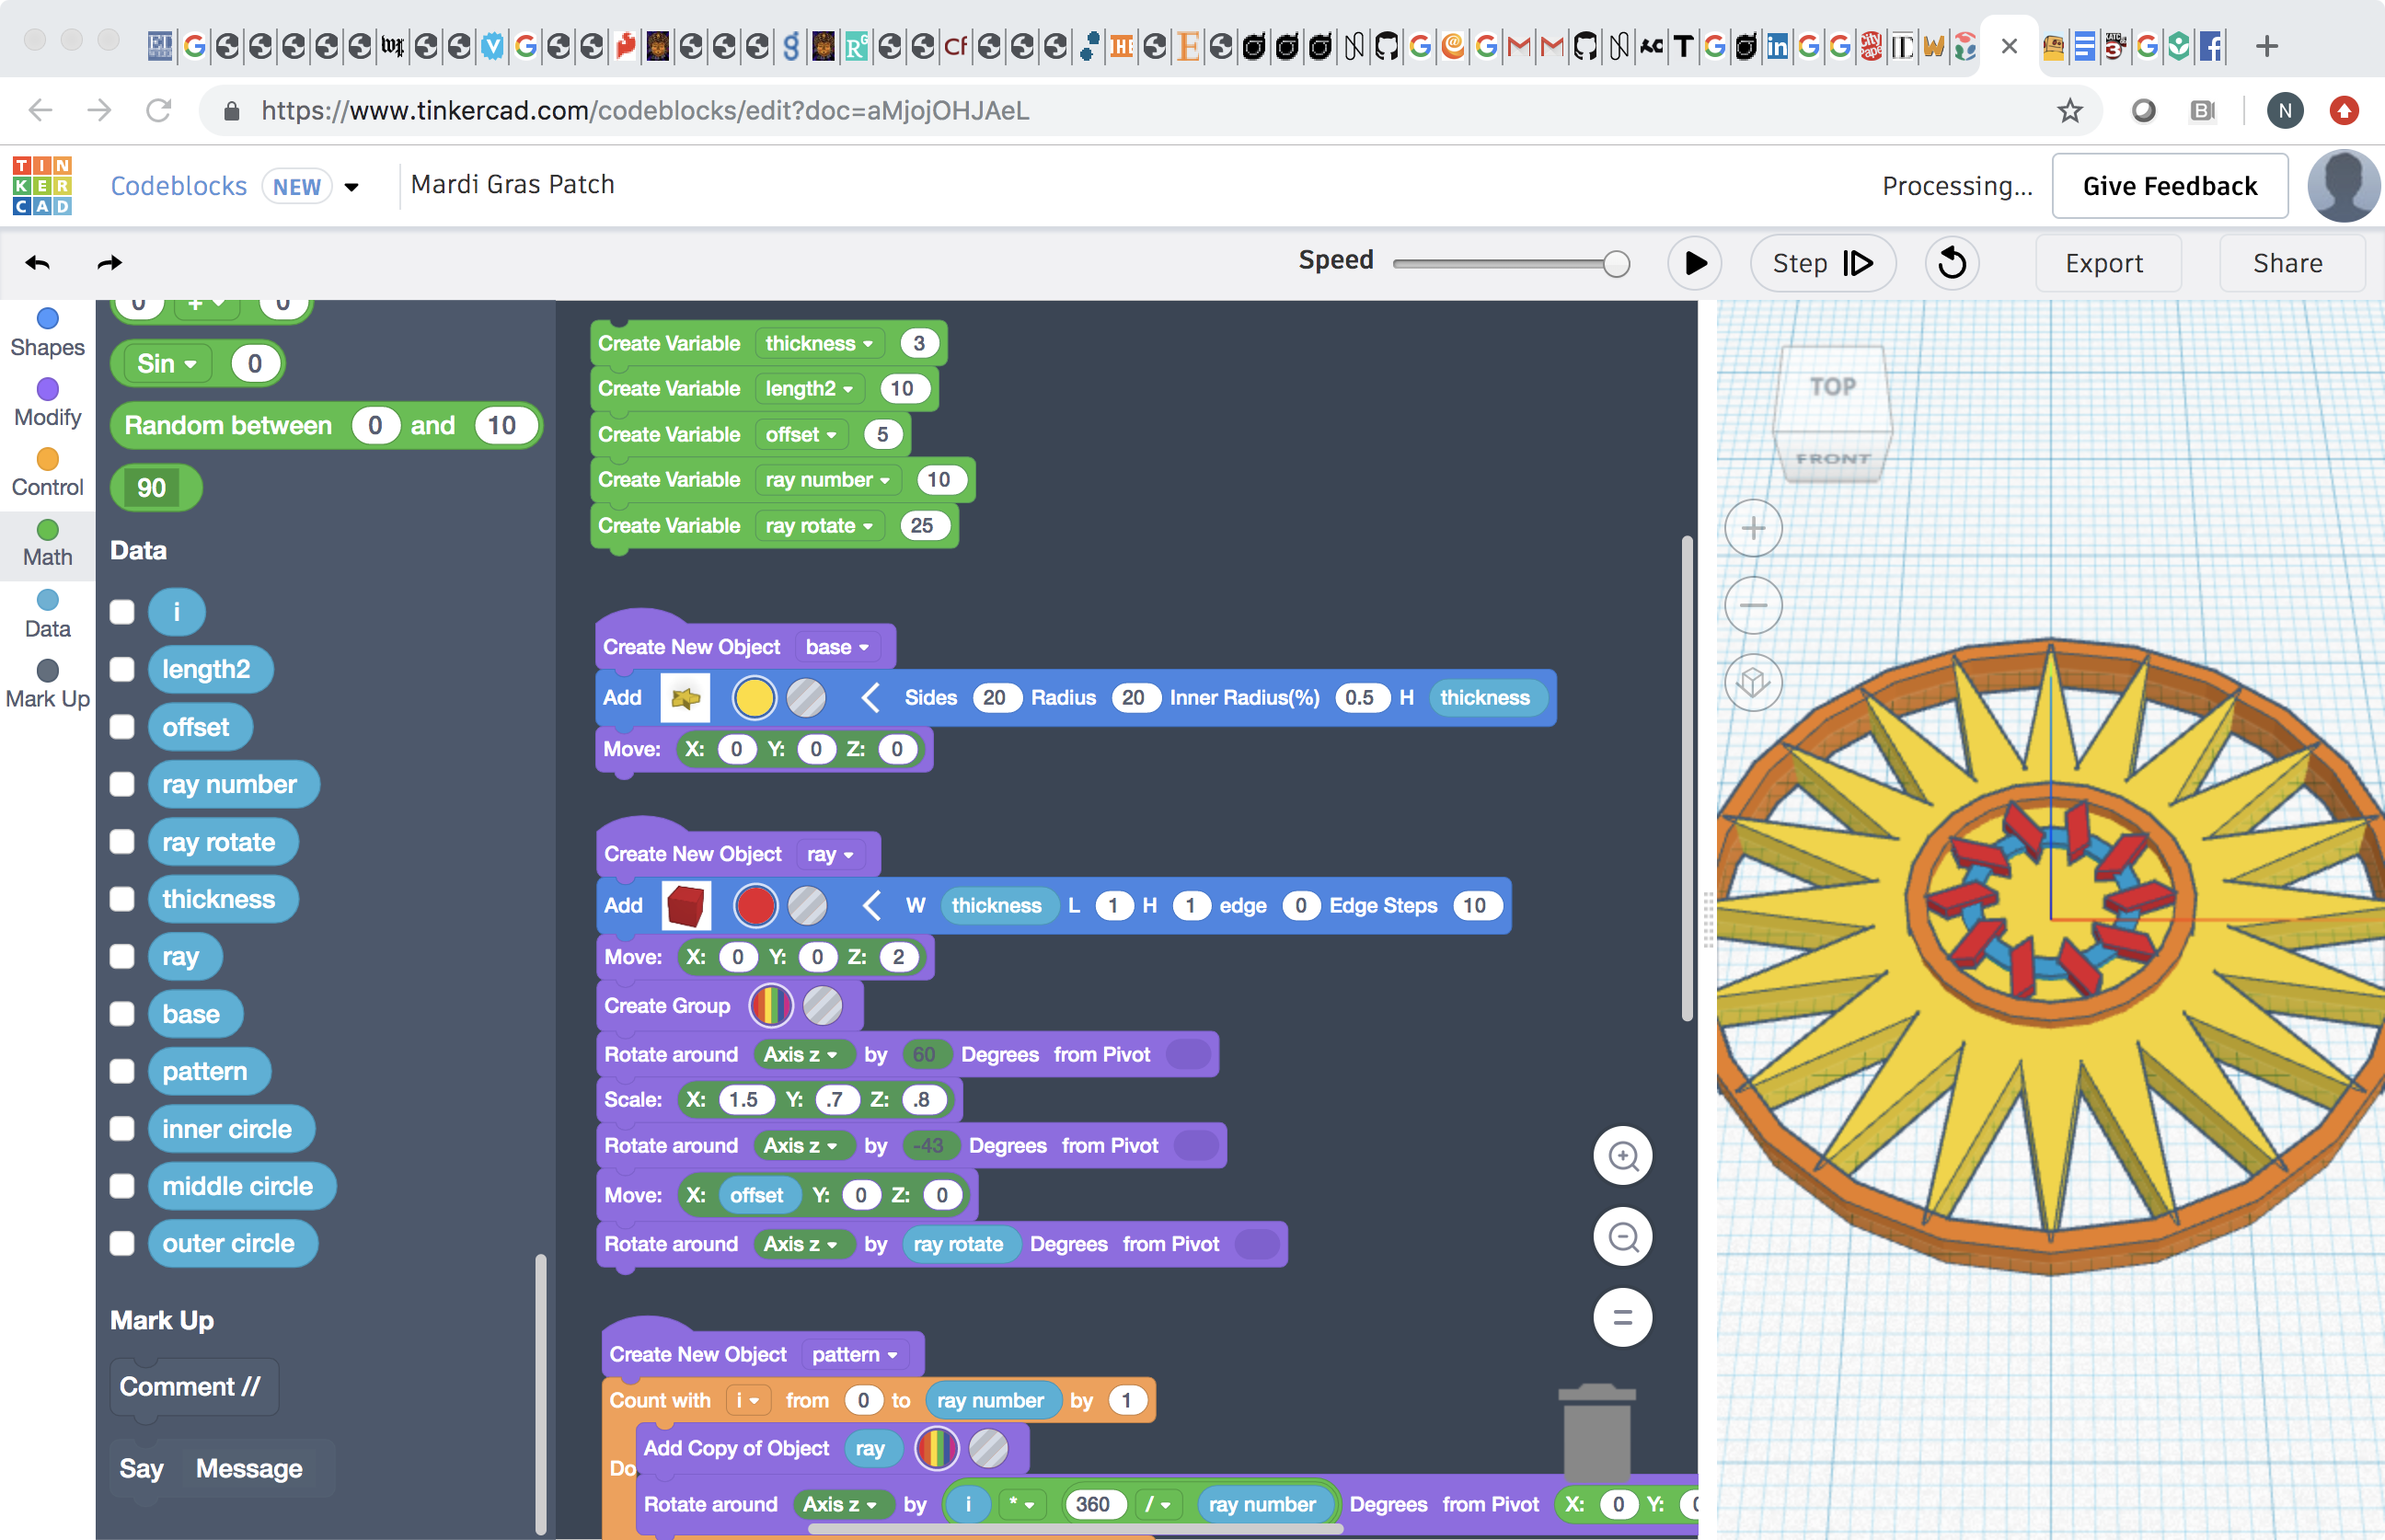
Use this script to create the base for the design.
Use this script to create the pattern for the design.
You can create variables that can be dragged and dropped onto the blocks.
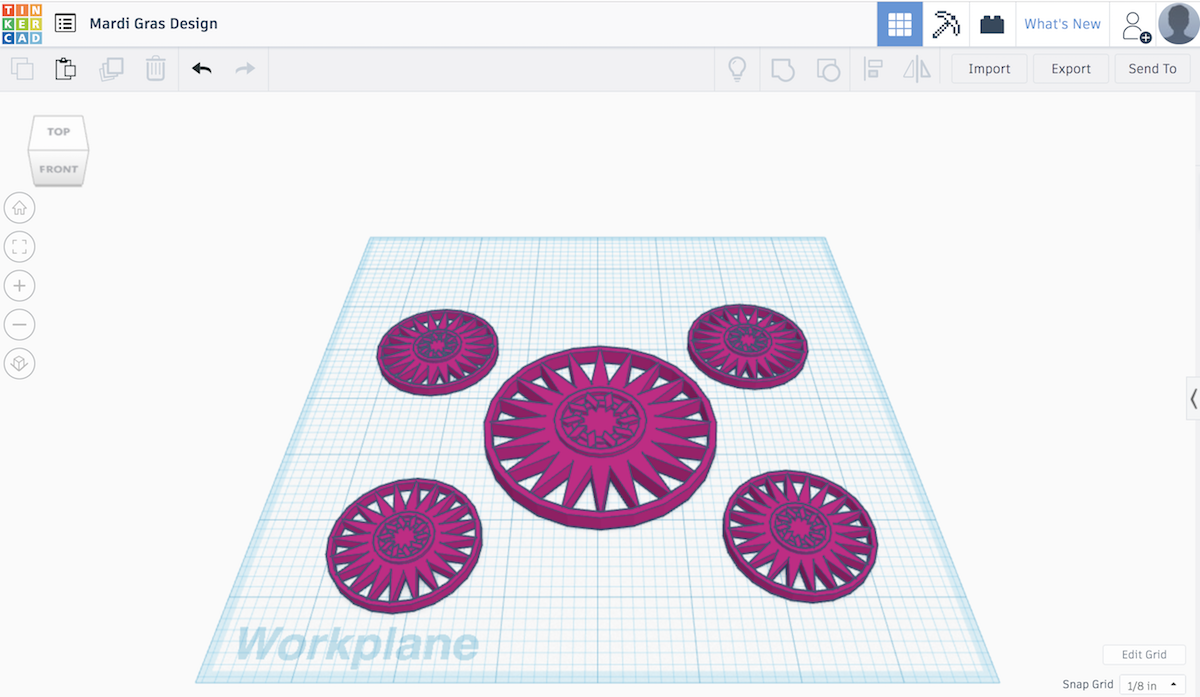
After creating 3D designs in Codeblocks students can export their designs for 3D printing or laser cutting. Duration: 5-10 minutes
Once the 3D design is complete it can be exported for 3D printing or laser cutting. Click on the “Export” button in the top right corner of the window.

Click .STL for 3D printing, or .SVG for laser cutting and other fab processes.
Here is more information on Tinkercad filetypes:
https://tinkercad.zendesk.com/hc/en-us/articles/360034615794
After exporting, the 3D model (.STL) can be imported into Tinkercad 3D design for further elaboration. For example:

Codeblocks provides options for exporting 3D models, including for 3D printing and laser cutting. This step covers the safety issues for both methods. Students can create physical objects that can be used in costumes, jewelry and other wearables. Duration: 55+ minutes
3D printing refers to processes used to create a three-dimensional object in which material is joined or solidified under computer control to create a physical object (see example below). Tinkercad allows just about anyone with a computer and Internet access to create a 3D model that can be 3D printed. Codeblocks bridges coding or programming with digital fabrication to make this happen.

In order for this to work, a machine called a 3D printer heats a part called the extruder that “extrudes” melted plastic onto a hot plate in layers to build up the physical object. Most 3D printers have screens that can alert the user that things are heating up to print (see below). As a general rule, students should take care not to touch the machine when it is preparing to print, during printing and when the machine is cooling down.

Another task to watch out for is removing the 3D printed object from the hot plate, which is often done using a chisel. Students need to take care when using sharp objects and push the tools away from their faces and other body parts.
More information about 3D printing can be found here: https://ultimaker.com/learn/code-your-3d-designs-with-tinkercads-new-codeblocks-app
Students can use a laser cutter to subtract material from cardboard, wood, acrylic, etc. Safety measures need to be taken before, during and after using the machine. Here are some general rules:
Having trouble? Let us know by completing the form below. We'll do our best to get your issues resolved quickly.
"*" indicates required fields


