MISSION TO MARS - SCOPES Digital Fabrication

Lesson Details

Age Ranges
Standards
Fab-Programming.2, Fab-Design.2
Author
Additional Contributors

You need to login or register to bookmark/favorite this content.

Author

Studio 5
Studio 5
K-12 teacher
In line with the Ministry of Communications and Information Technology’s Digital Youth Strategy, STUDIO 5 is mainly aimed at nurturing youth as digital learners by sharpening their 21st century learning skills, as they develop in an all-pervasive digital environment. In… Read More

Summary

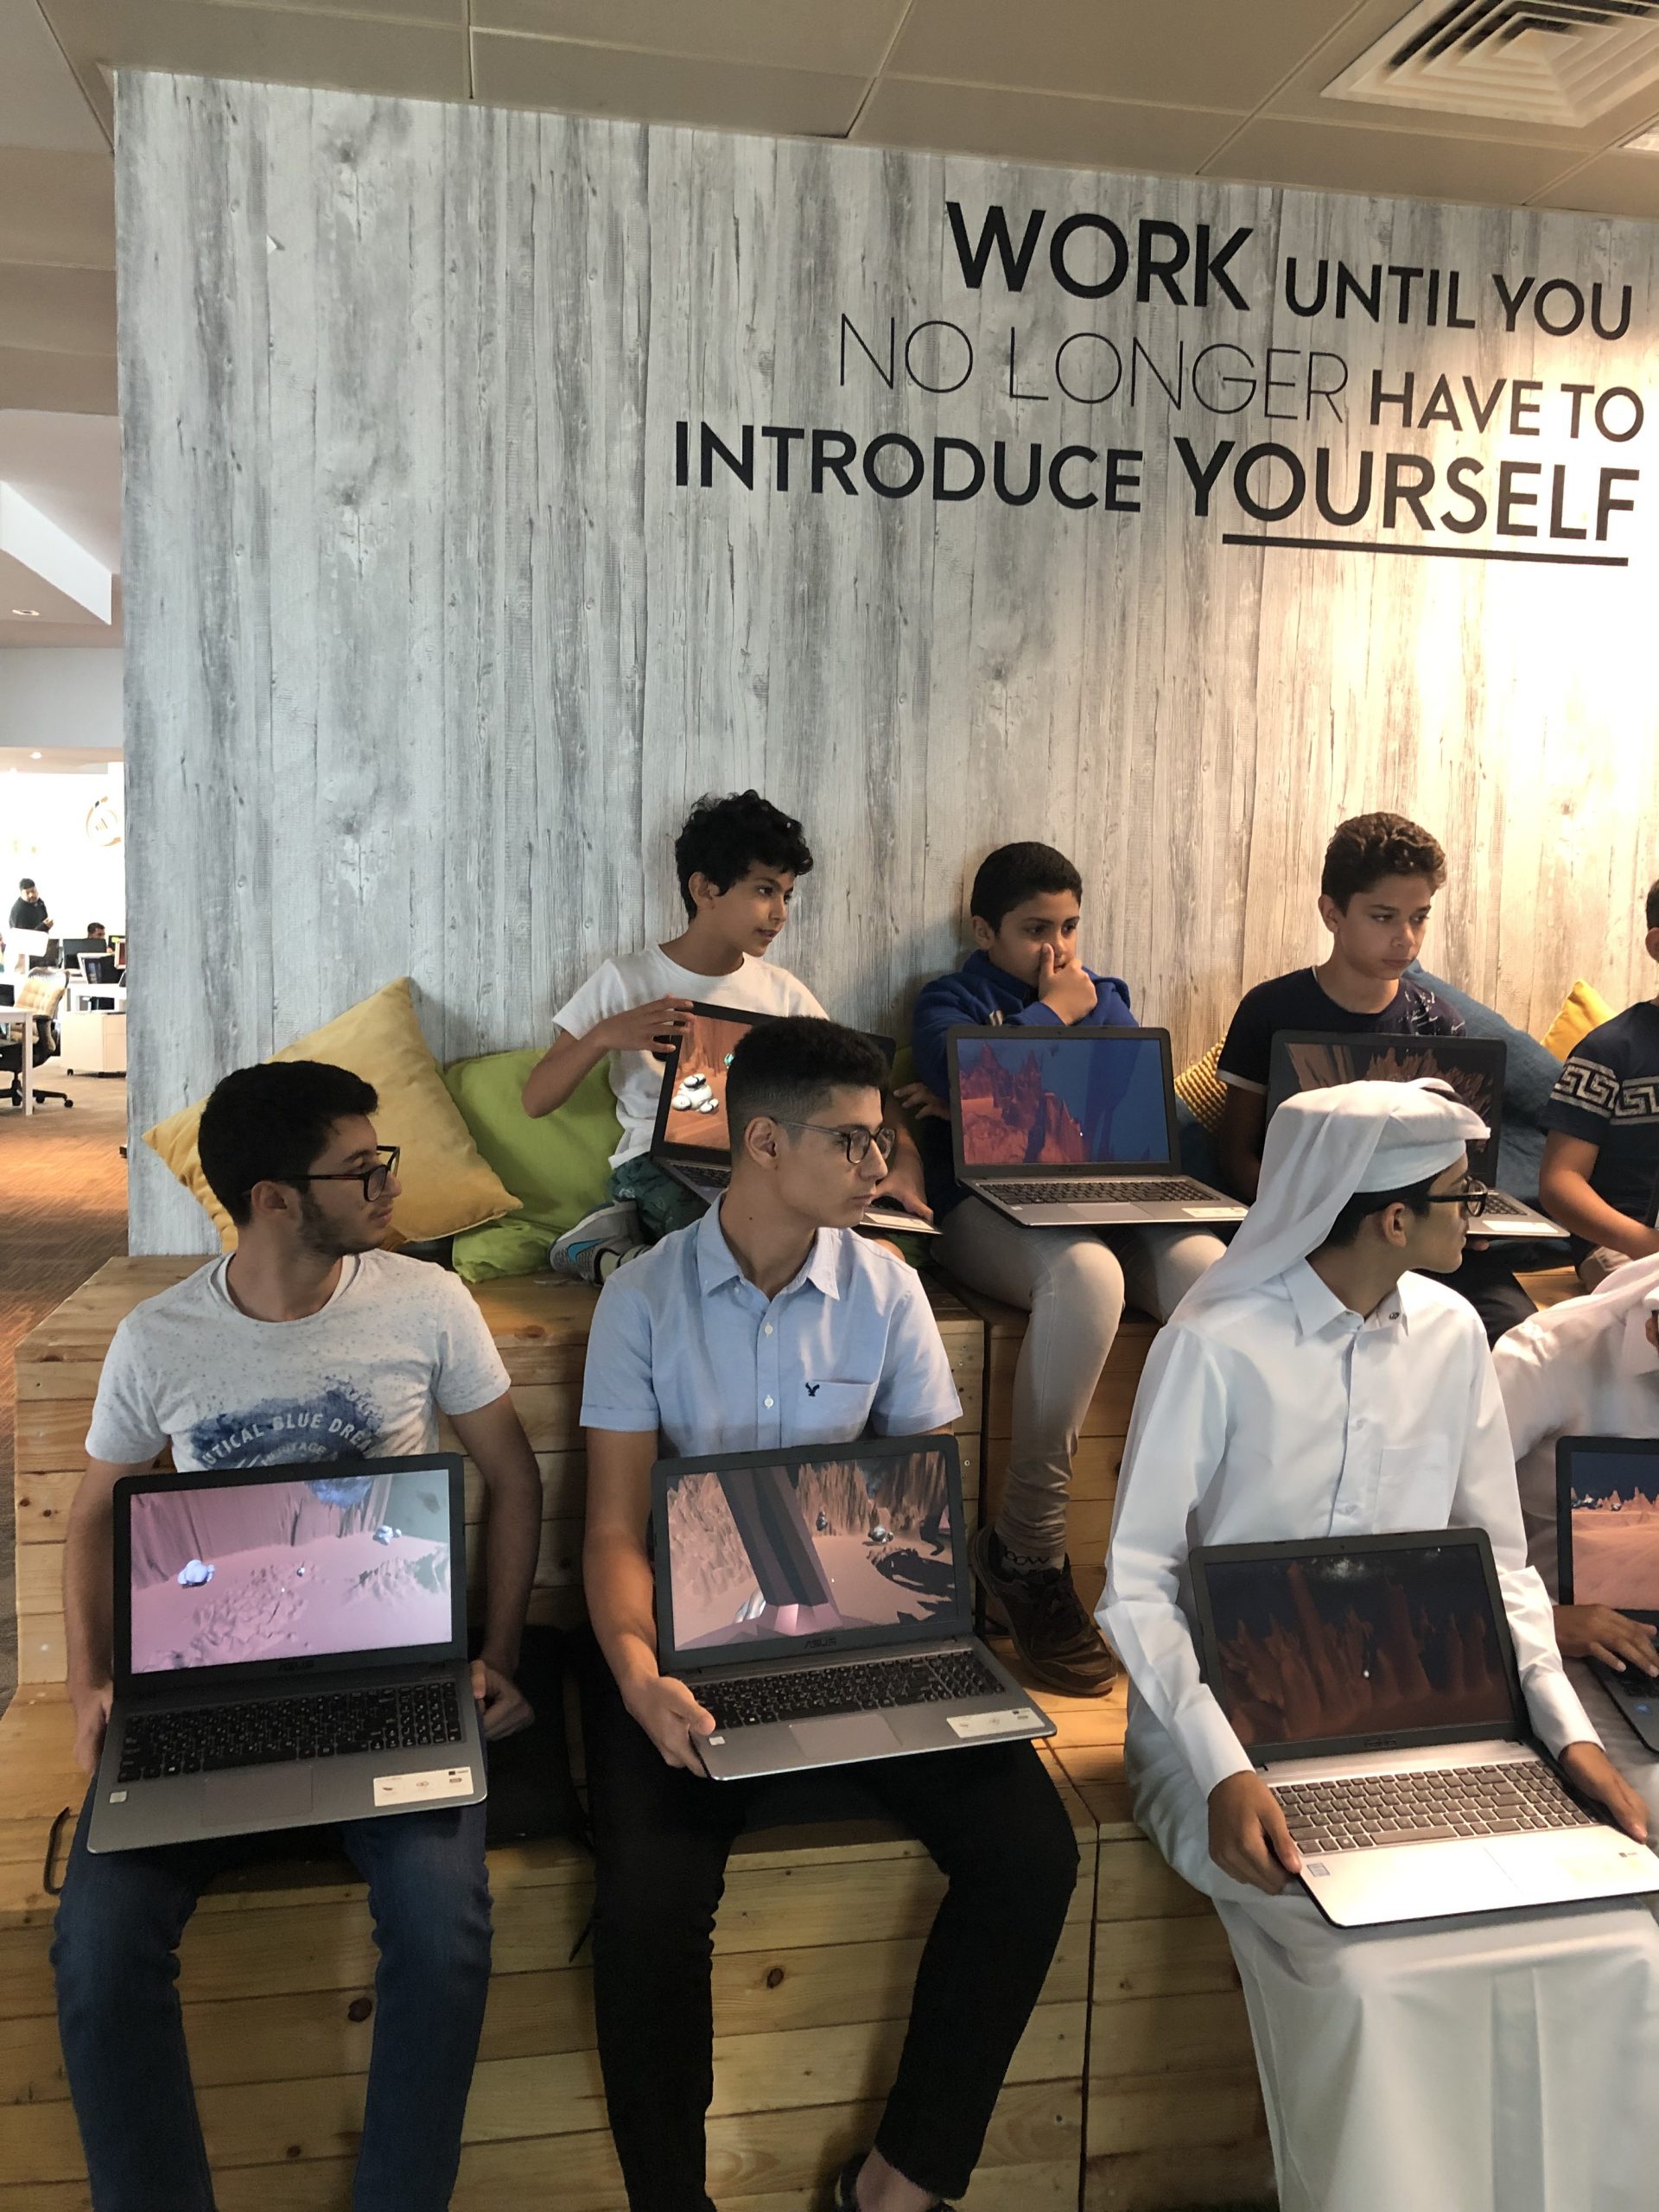
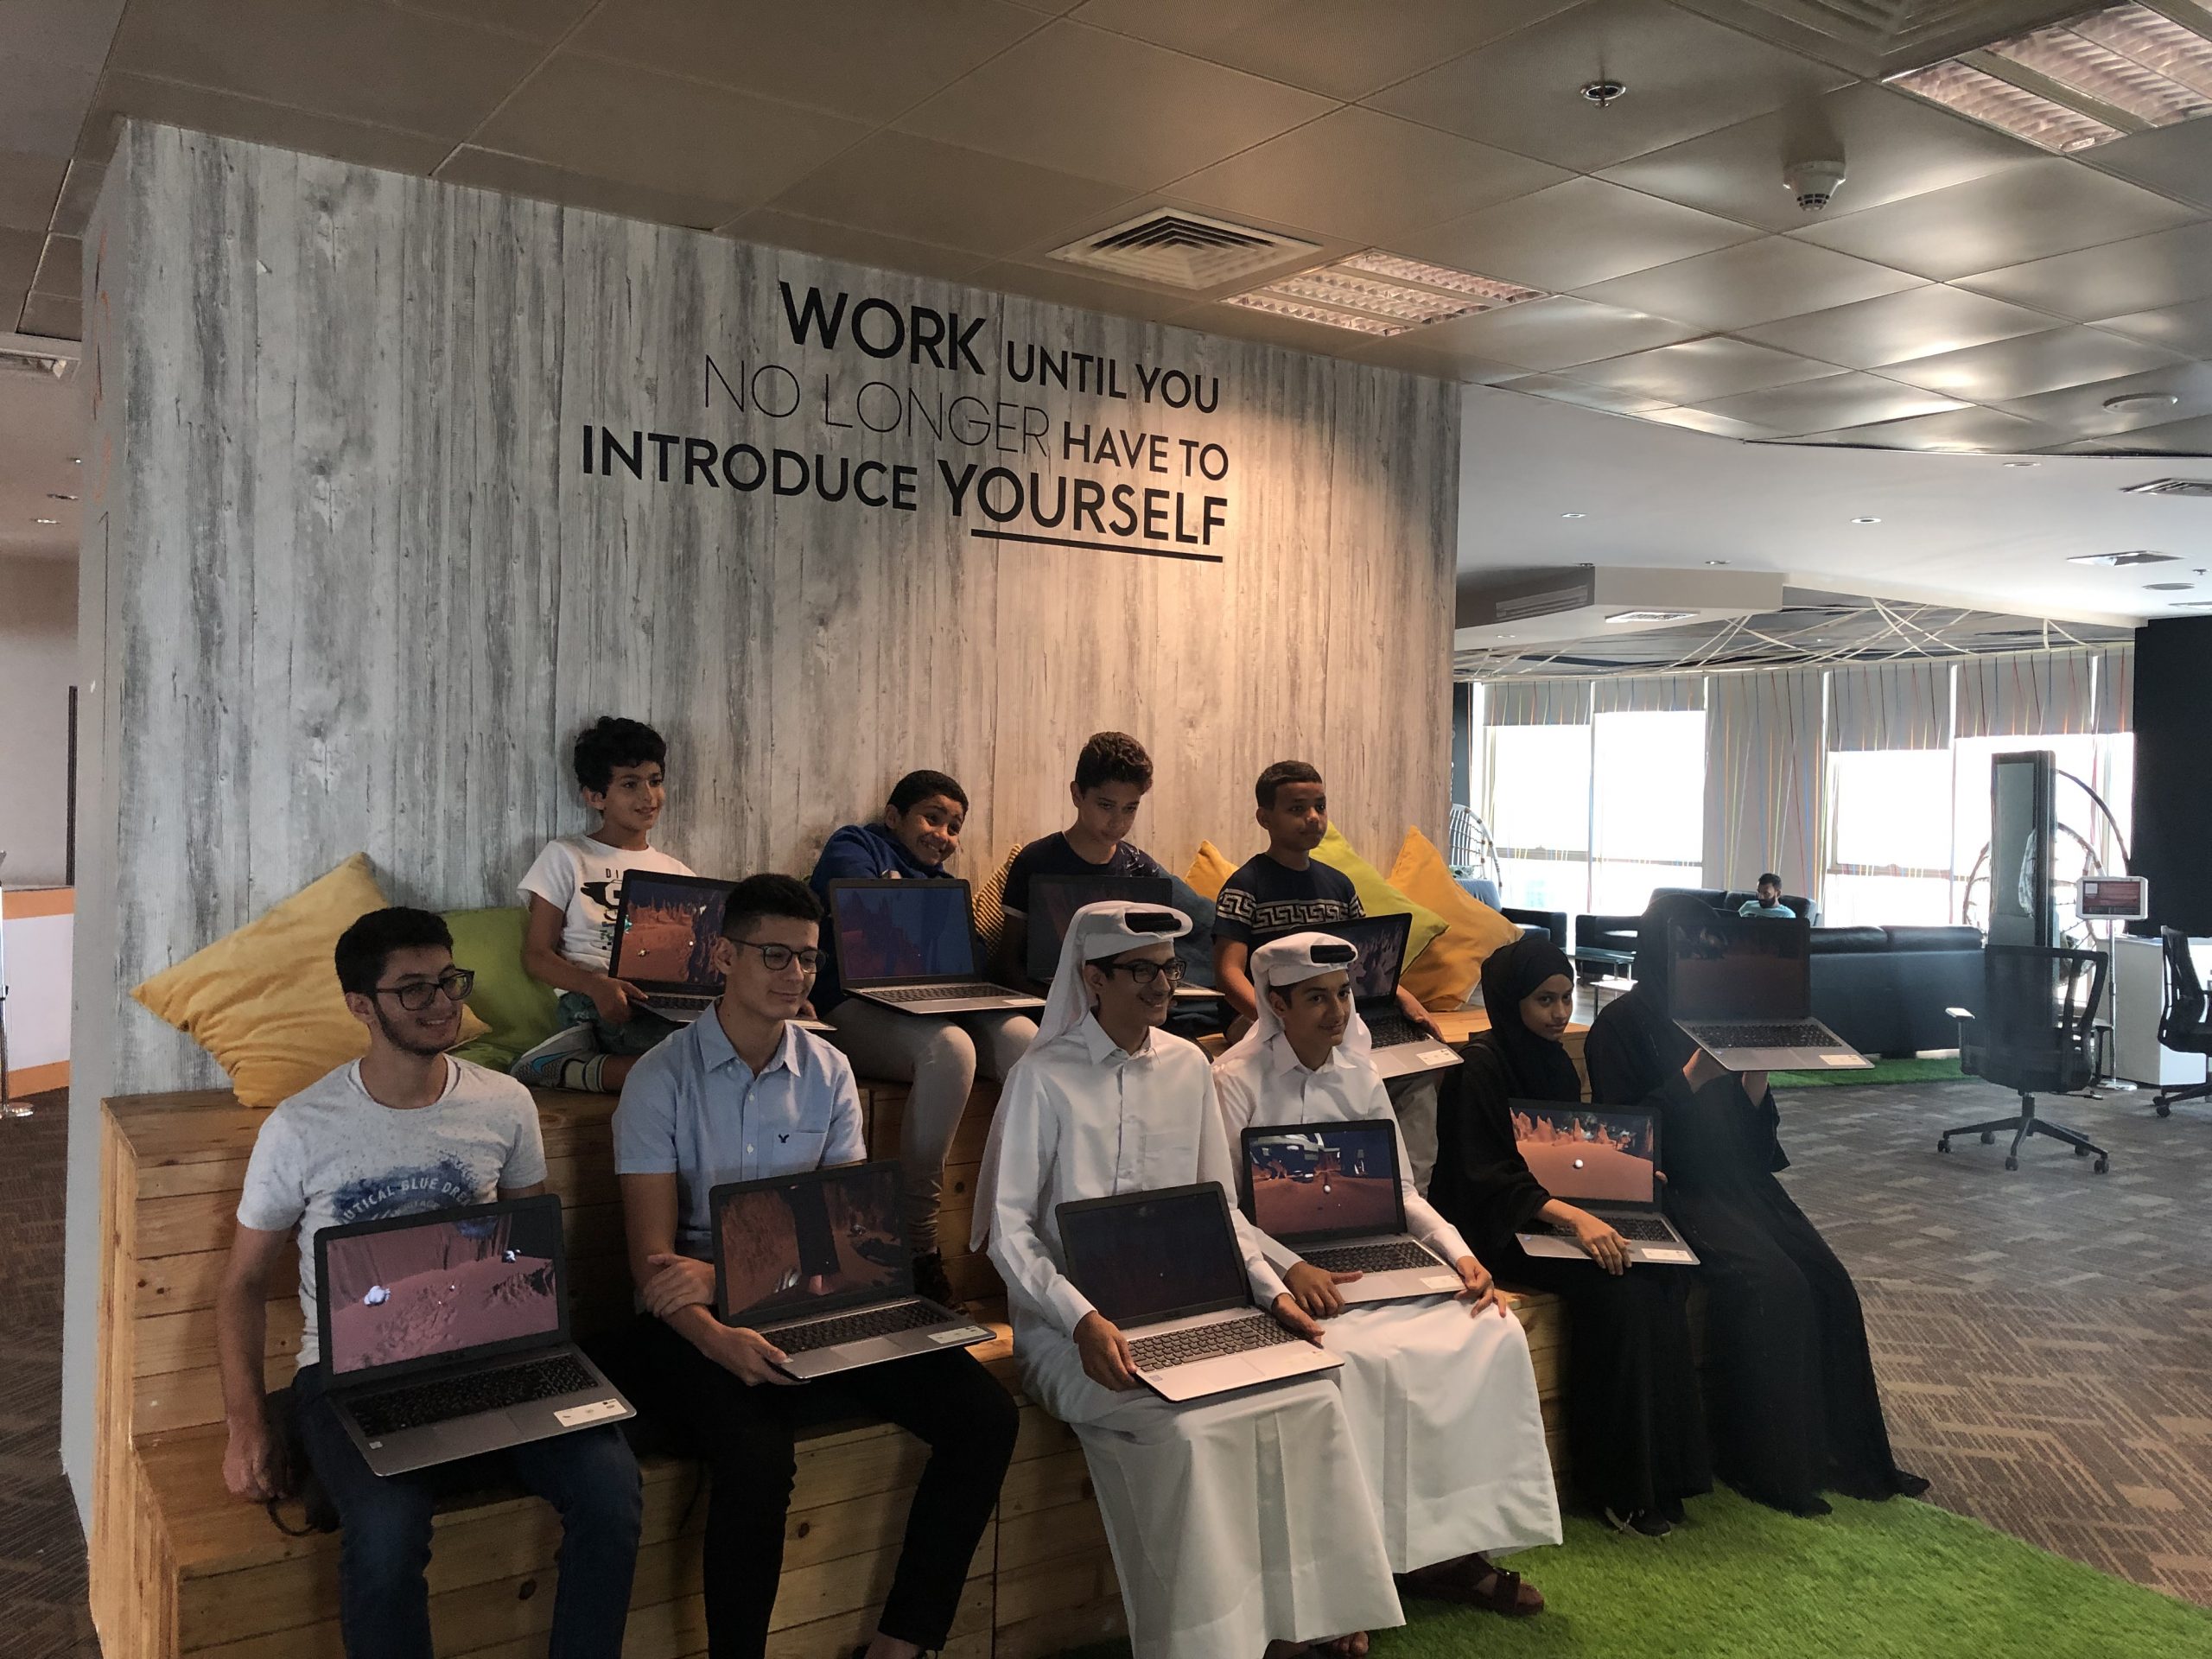
Students will learn how to develop a game using Unity software. In addition to importing wheeled robots and ready terrain for Mars, students will learn how to import and control Robots and how to link all of these together .


What You'll Need

  1. Laptop.
  2. Unity Software.
  3. Internet Connection.
  4. Packages and Assets ( Will be added to the Attachments and need to be uploaded on software)


Lesson Materials

The Instructions

Presentation

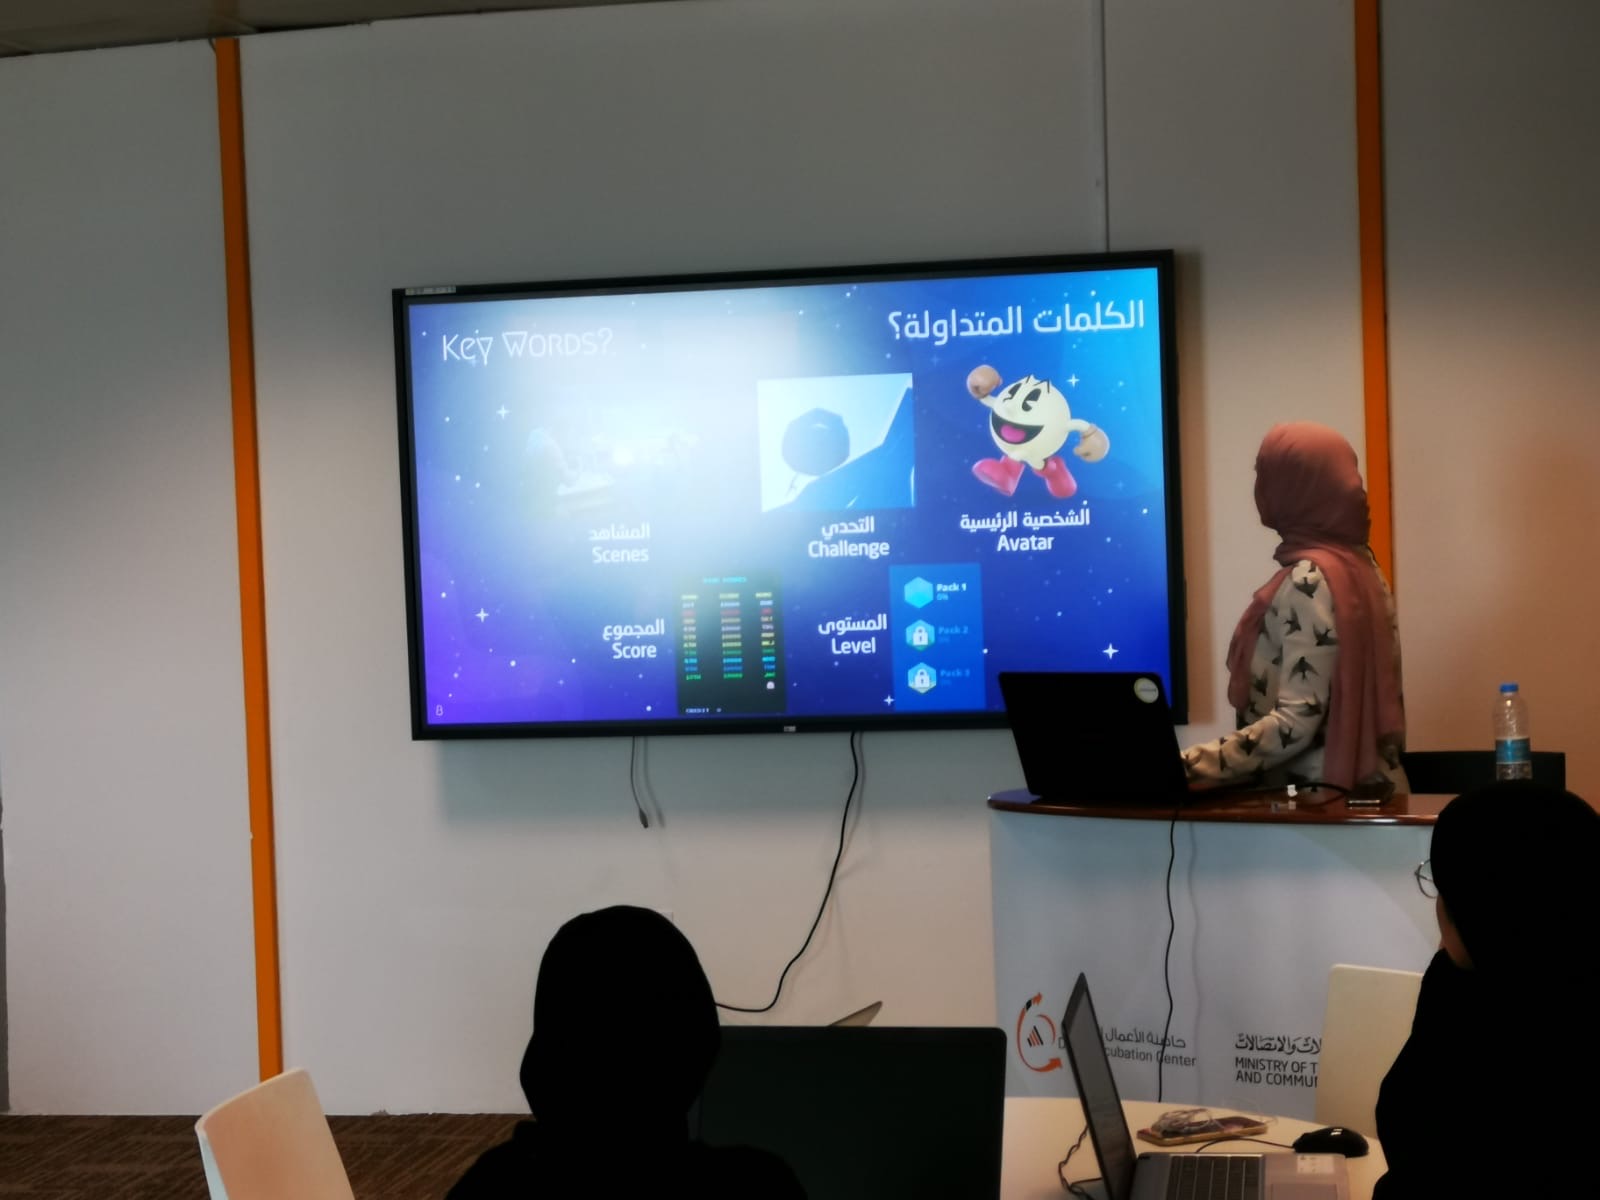
In this Step the Gaming development concept and gaming evolution will be presented ( Presentation is attached).

  1. Life on Mars presented.
  2. What is Video Games.
  3. video games evolution.
  4. What is Video Game Development.
  5. Main Concepts in Game development.
  6. Main Hardware used.
  7. Introduction to Unity Software.


Start ,Save and Unity interface

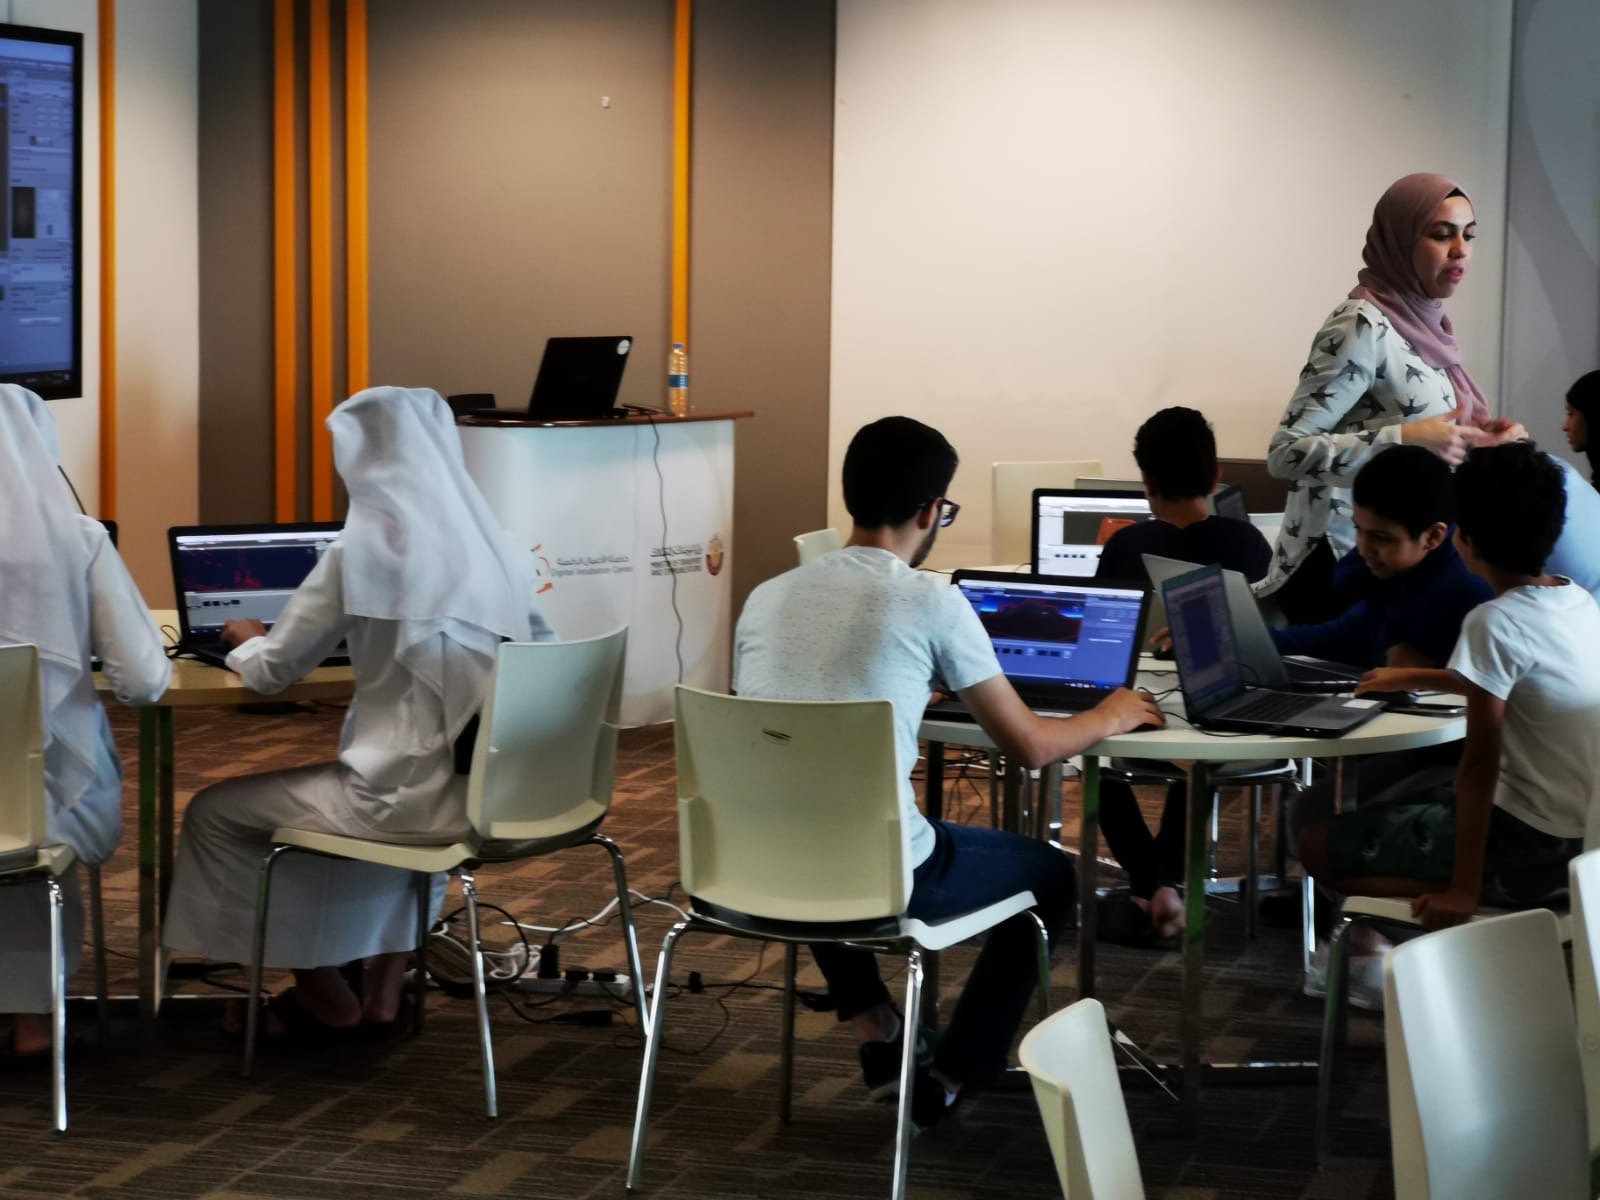
This step is to open the software and start a new project . and also introduction to unity interface.

  1. Open Unity Editor > Name the Project(Mission to Mars).
  2. Save the Scene, File > Save as > Mars
  3. Preview the Unity Interface.


Build Environment

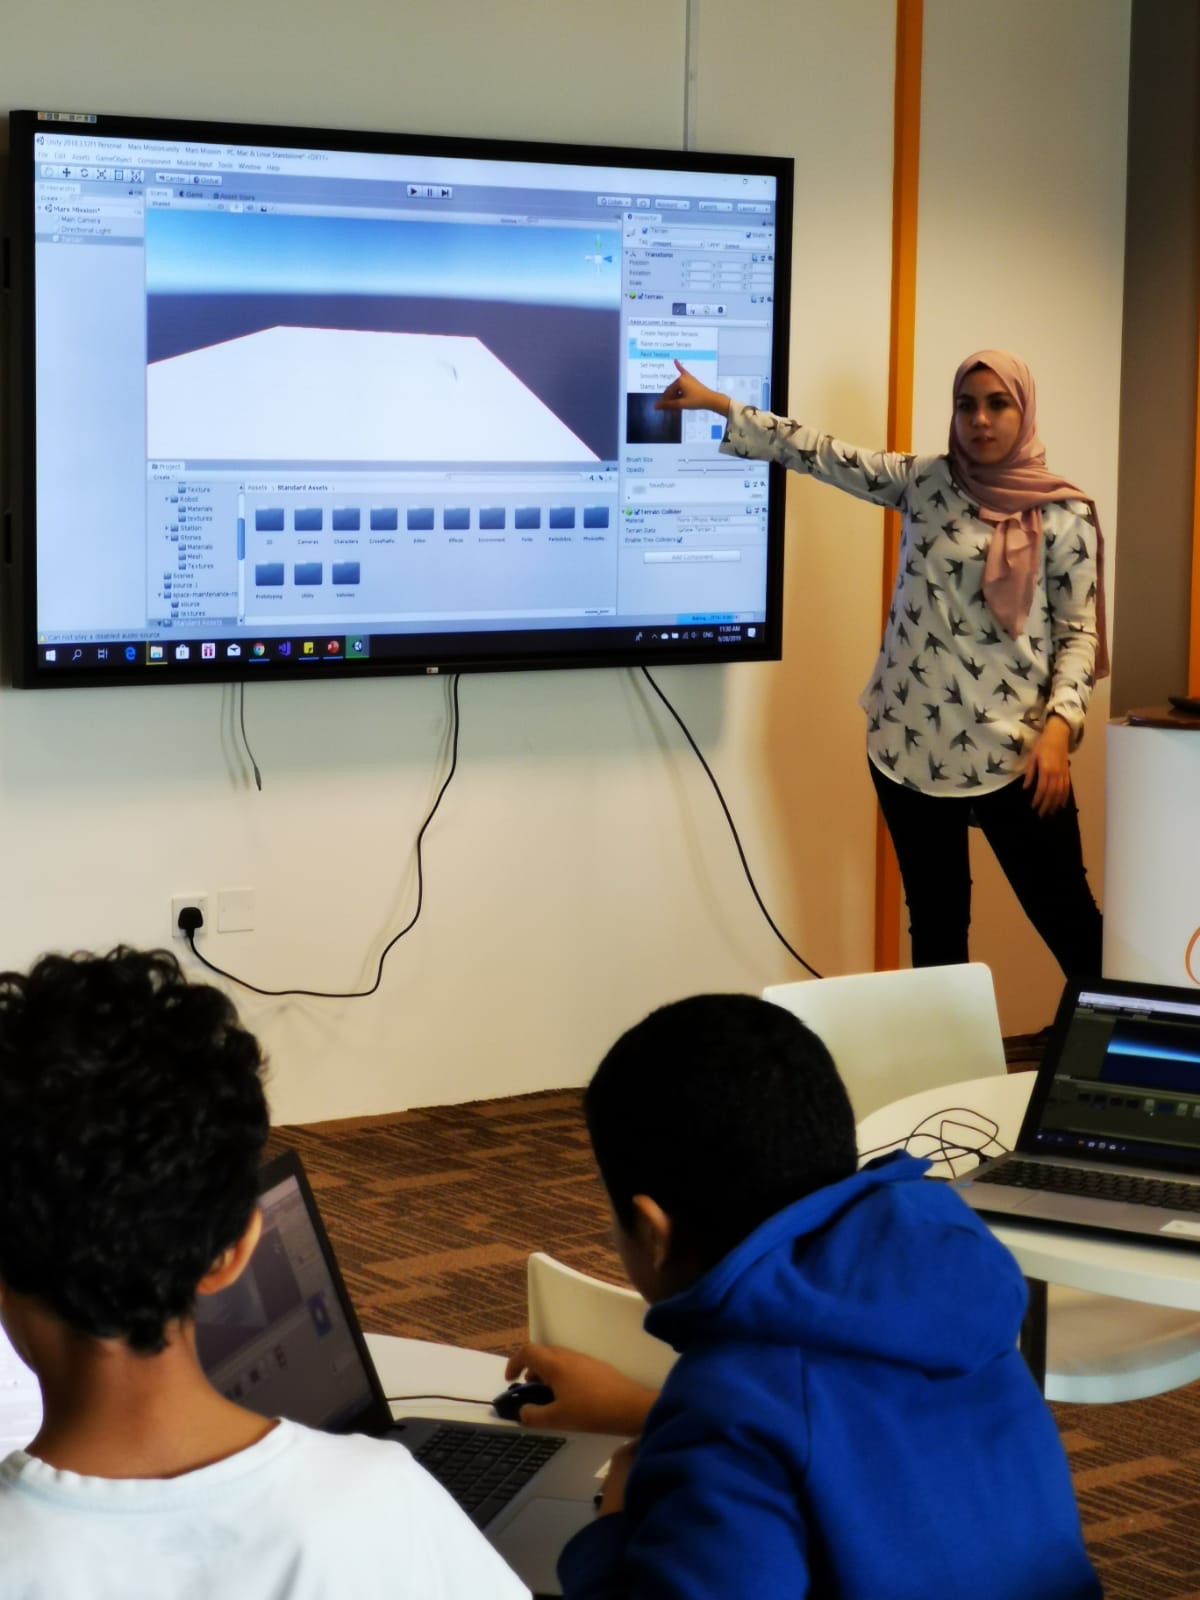
In this step we will build the base of the scene , Where all other objects will be added.

  1. Add Terrain: Game Object > 3D Object > Terrain.
  2. Select the terrain and view the inspector window that will allow you to edit.
  3. Add a mars texture to the terrain: Go to inspector window > select “Paint Texture” from the drop-down menu > Edit Terrain > Create Layer > select the Mars Texture picture.
  4. Start raising the surface of the terrain: Select Raise or Lower Terrain from the drop-down menu. For raising Left C, For Lowering Lift C and Hold Shift.
  5. Raise the edges of the terrain first to create borders for the player. 
  6. Explore the different types of brushes viewed in the Inspector. 
  7. You can Change the Size of the Brush any time.


Adding Assets and Robots

The main assets (Robots) will be added and prepared for the game( Assets are attached)

  1. Drag the Robot object inside the “Robot” folder in assets to the scene. 
  2.  To view the Robot object closely, select the robot name from the hierarchy window + press “F”.
  3. Give the robot a texture: go to “Texture” folder inside the “Robot” folder > drag the texture picture into the Robot object in the scene.
  4. Add a rotation script to the robot to make it rotate: Select the robot > from the inspector window > select “Add Component” > Type “Rotate” > Select the “Rotate” c# file. Code works on changing the Rotation transform value of the Robot continuously.
  5.  Add other robots: Select the Robot from the hierarchy window > right click > select “Duplicate”.
  6. Adjust the position transform (location) of the new robots. 


Adding Space Components

Other components like space station and Rocks will be added.

  1. Add space station to the scene: Go to “Station” folder > Drag the space station object to the scene.
  2. Give the space station a texture: Go to “Material” folder inside the “Station” folder > Drag the material to the space station object in the scene. 
  3. Add space rocks to the scene: Go to “Stones” folder > “Mesh” folder > Drag the rock objects to the scene.
  4. Add as many rocks as you want to fill your environment and change their position.
  5. Change the scale of the rocks to have different sized rocks. 
  6. Add sky-box to the scene: Go to “Milky way” folder > “Material” folder > drag the material to the sky of the scene.


Adding Player

Player will be added and modified

  1. Add a Capsule object as a player: Game Object > 3D Object > Capsule.
  2. Adjust the scale and position of the Capsule.
  3. Align the camera view with the player: Adjust the view in the scene to be behind the capsule object > select the Main Camera object from the hierarchy window > select the “Game Object” tap > select “Align with view”.
  4. Add a Rigid-body to the Capsule object using “Add Component” to give the object physical attributes.
  5. Add a Camera Controller script to the Main Camera object to make it follow the Capsule: Select the Main Camera Object > from the inspector window > select “Add Component” > Type “Camera Controller” > Select the “Camera Controller” c# file.
  6. Drag the Capsule object to the “Player” field of the Camera Controller.
  7. Add a Player Controller script to the Capsule to control its movement: Select the Capsule > from the inspector window > select “Add Component” > Type “Player Controller” > Select the “Player Controller” c# file.
  8. Set the speed of the capsule to “10”.


Building the Game

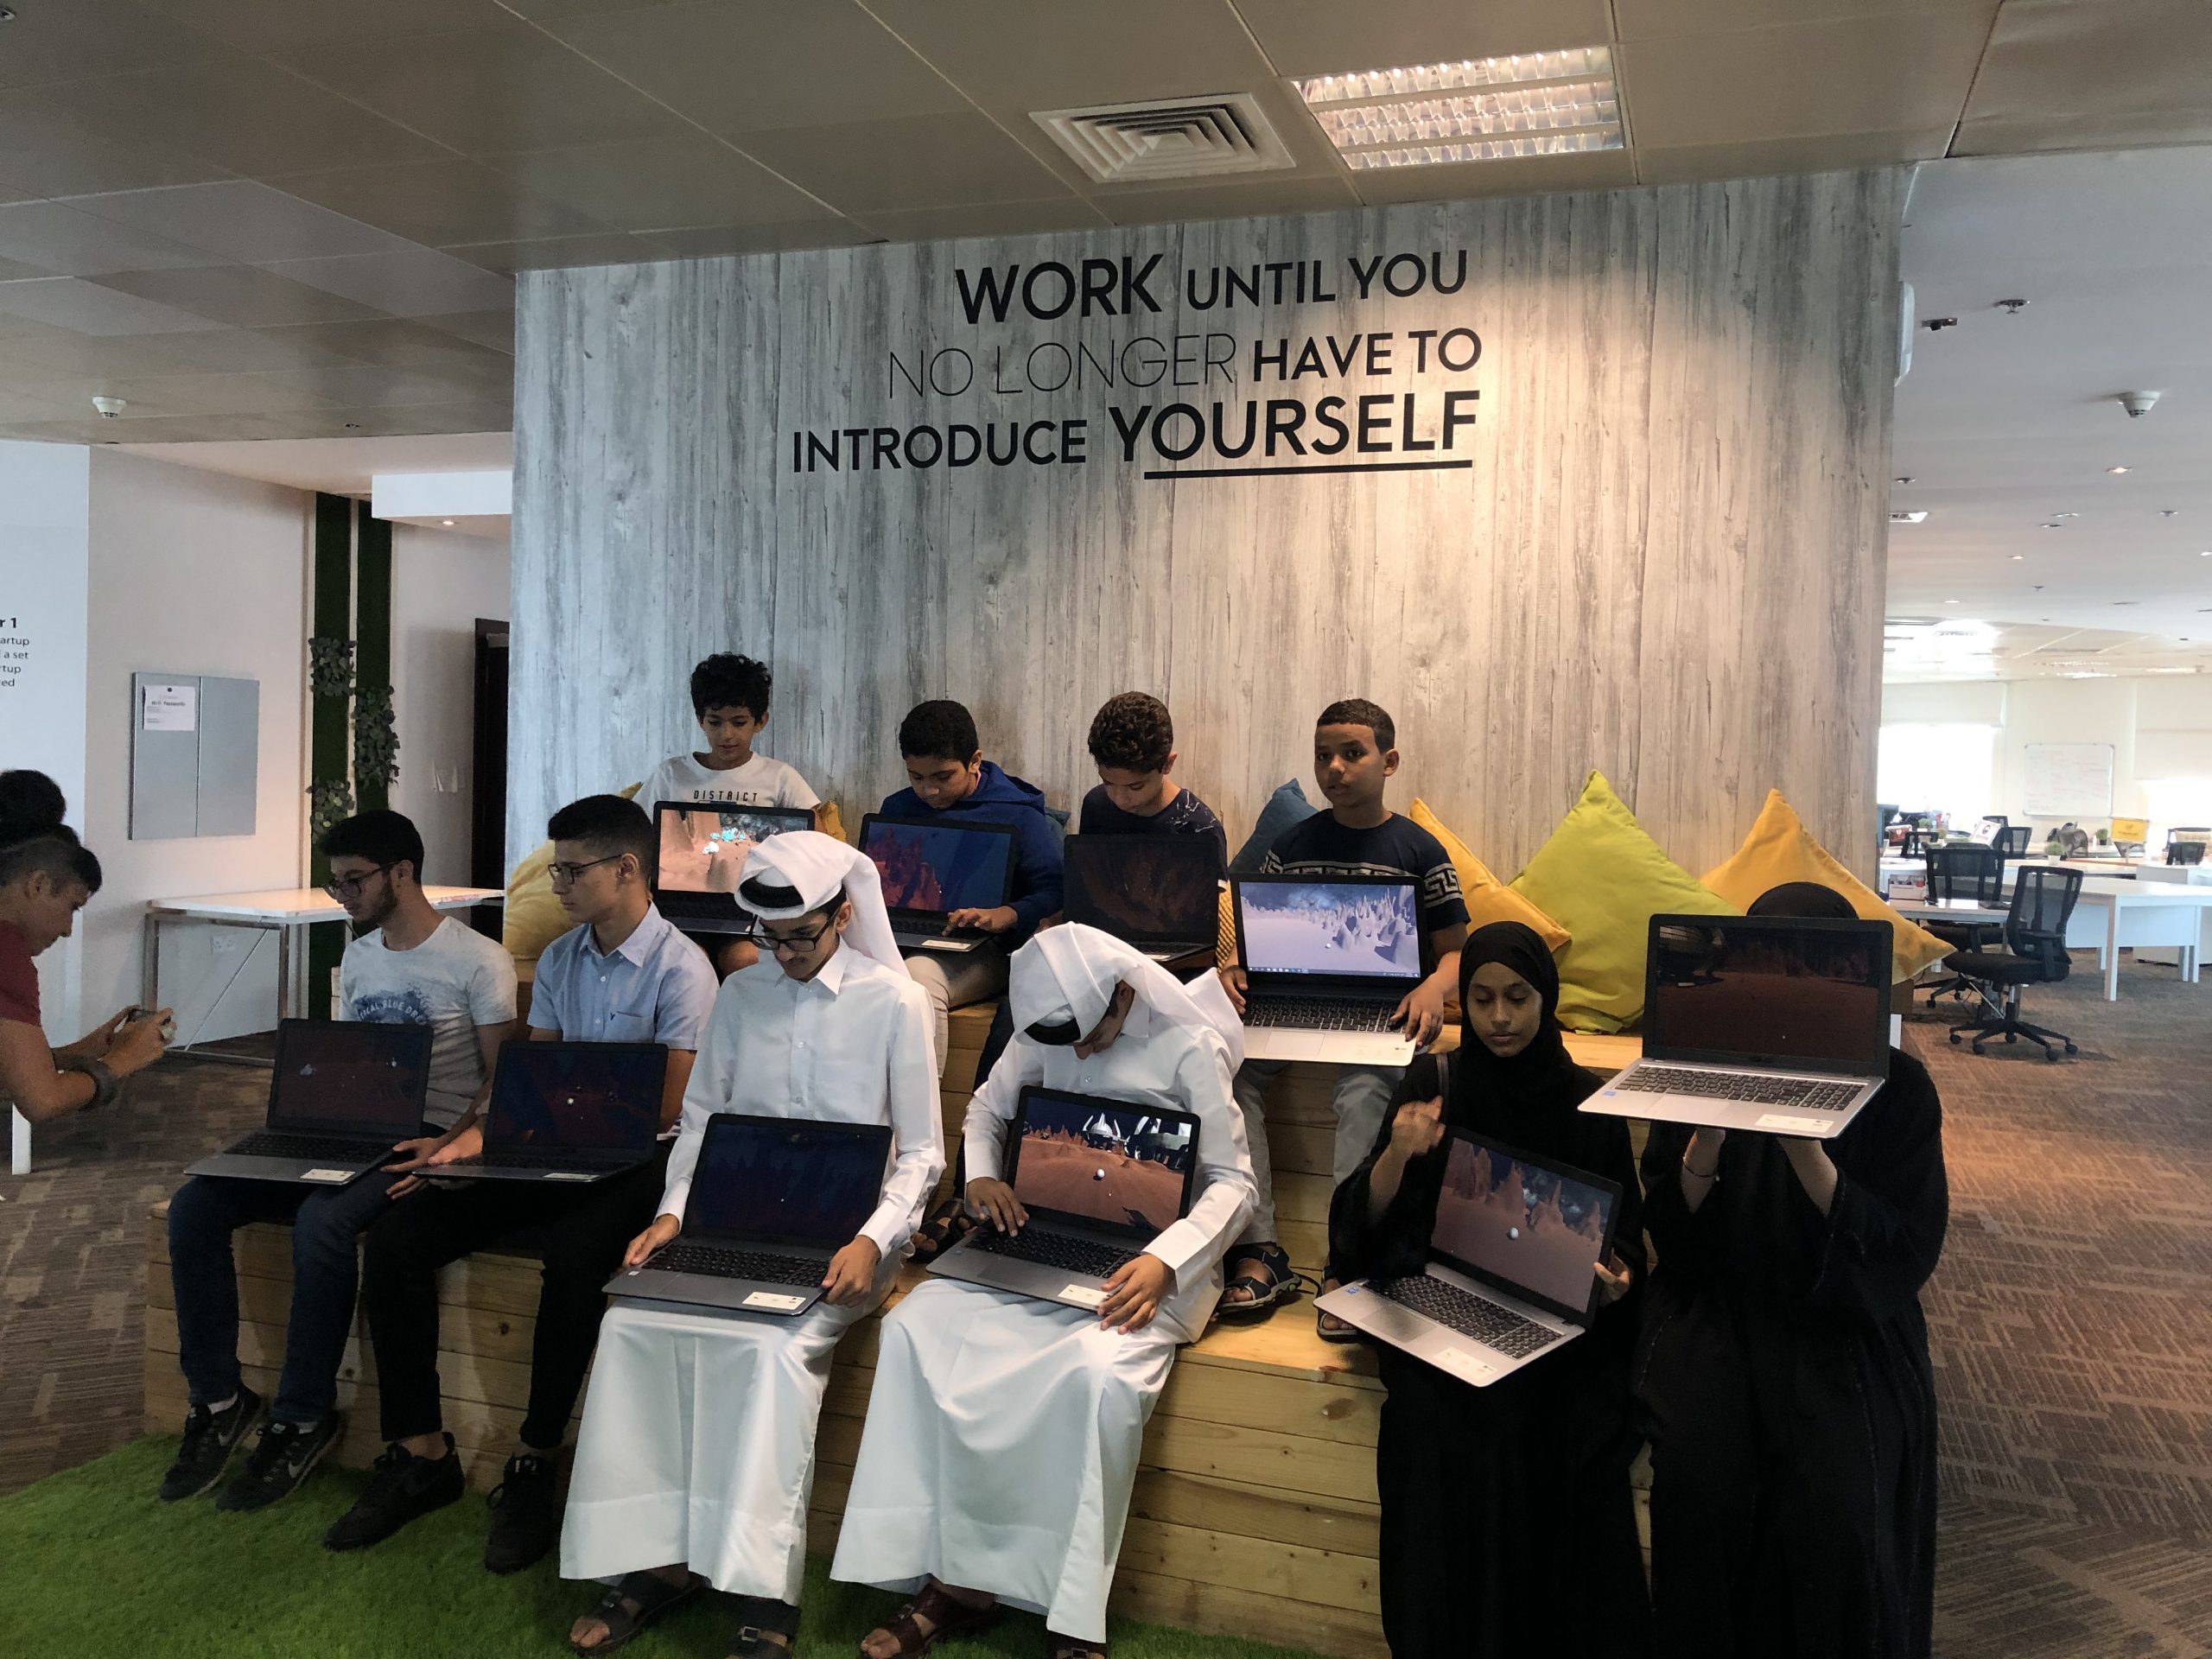
Last step is to save as a game and test.

  1. Play the game to ensure that there are no errors, and everything is working. 
  2. Build the game to get the executable file: Go to “File” tap > Select “Build and Run”.
  3. ENJOY YOUR GAME.


Standards

  • (Fab-Programming.2): I can create a program with more than one instruction.
  • (Fab-Design.2): I can participate in design reviews with prepared presentation materials as well as give and receive feedback from peers.

Lesson Feedback