- Loading…
Unit Background
The Primary 4 Art unit My Family is designed to help students understand how family relationships and values can be shown through art. Using selected local artworks, students learn how artists represent families using different forms, including realistic portraits and abstract sculptures. Throughout the unit, students develop their understanding of form and harmony through observation, discussion, drawing, and three-dimensional making.
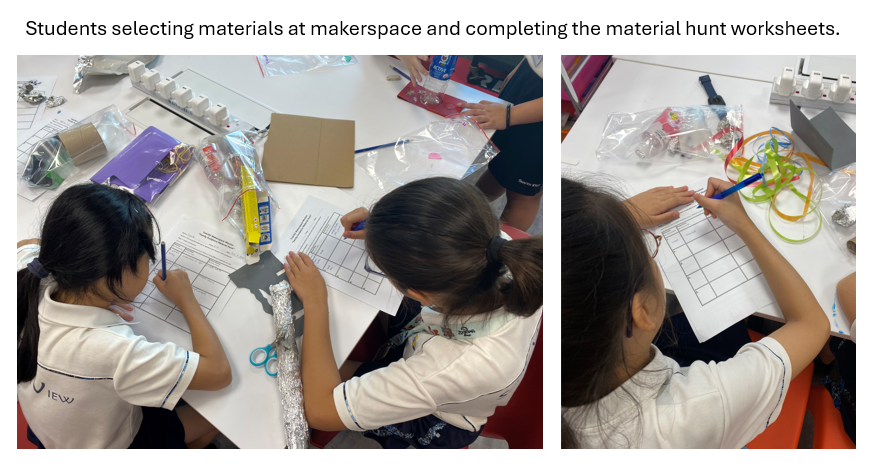
Before this lesson, students practice creating abstract family forms using plasticine and plan their material choices by selecting recycled materials with the material hunt worksheets. These 2 lessons serve as the final stage of the unit, where students apply what they have learnt to create an abstract family sculpture using recycled materials, supported by clear construction guidance and scaffolds for different learning needs. The lesson integrates sustainability by encouraging purposeful material reuse and reflection on recycling possibilities.
The lesson plans are conducted over two 1-hour lessons:
– Part 1 (60min) : focuses on just-in-time instruction in cardboard attachment techniques and construction planning
– Part 2 (60min) : provides time for sculpture building, refinement, and reflection.
However, these 2 lessons can be combined and carried out in 1 lesson of 2 hours.

Materials & equipment for students:
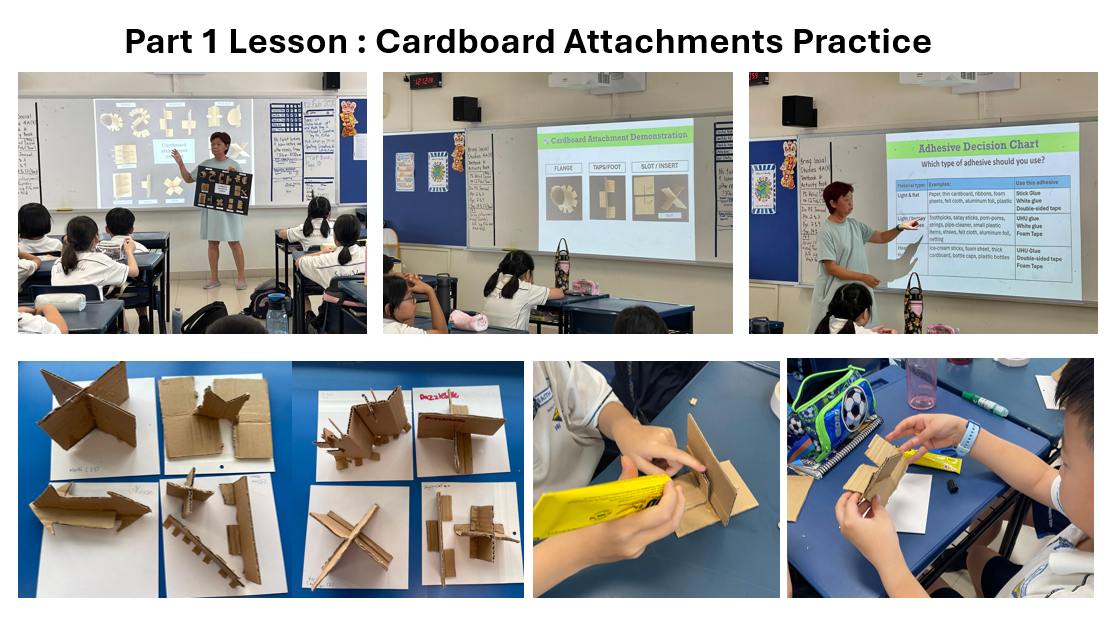
Part 1 Lesson : Cardboard Attachments Practice
· 3 small cardboard pieces per student (2 practice, 1 base)
· Visual samples/pictures of cardboard attachments and types of adhesives
· Scissors
· Adhesive: UHU all-purpose adhesive, Double-sided tapes, Foam tapes
· Some toothpicks
Part 2 Lesson : Final Sculpture Construction
· Recycled materials*
* Students collect their materials using the material hunt worksheet prior to the lesson.
* Teachers may provide some recycled materials (cardboards, papers, rolls, small plastic items, bottle caps, etc)
· 1 base cardboard per student to build on
· Scissors
· Adhesive : Craft glue, glue sticks, UHU all-purpose adhesive, Double-sided tapes, Foam tapes
· Student success checklist & Reflection worksheet
Pre-Preparation & Resources for teachers:
· Material Hunt worksheet for students to pre-collect their recycled materials
· Slides for attachment techniques demonstration
· Student success checklist and reflection worksheet
· Teacher assessment rubric
· Camera or device for taking photos of completed sculptures and share in Padlet (optional)
Curriculum Standards:
Singapore Ministry of Education – Primary Art Syllabus
https://www.moe.gov.sg/primary/curriculum/syllabus
Curriculum Alignment
The learning objectives are aligned to:
By the end of the 2 lessons, students will learn to:
Through this field activity, I gained valuable insights into designing and facilitating an interdisciplinary, maker-centred lesson that integrates art, construction, and sustainability. I observed that students were highly engaged in hands-on making, and many were able to demonstrate understanding of abstract representation, basic construction techniques, and initial sustainability concepts.
At the same time, this experience highlighted several areas for improvement. Managing a large class and limited lesson time made it challenging to provide sufficient support for all students, particularly during the construction phase. I also noticed a gap between students’ design plans and their final outcomes, as well as a tendency for sustainability understanding to remain at a surface level.
This experience has prompted me to refine my practice by incorporating clearer scaffolds, more time for iteration, and explicit teaching of sustainability concepts, so as to better support deeper and more meaningful learning in future lessons.
Link to detailed reflection on FLA Module 3 Learning Diary page here.
Link to sample students’ work and teacher’s assessment:
Introduction & recall (10 min) (Refer Slide #1)
Revisit:
• Plasticine sculptures from previous lesson
• How forms and grouping represented family relationships
• Introduce today’s focus:
To learn how to join and support materials so that their ideas can stand up.
Teacher-led demonstration (with live modelling) (Refer Slide #2 to 5)
1. Introduce types of cardboard attachment methods using visual samples/pictures. (slide #2)
2. Explain different types of adhesives and when to use them. (slide #3 & 4)
3. Demonstrate 3 cardboard attachment methods (slide #5): Flange, Tap/Foot, Slot/Insert
4. Demonstrate how to use 3 types of adhesives: Uhu glue, double-sided tape, foam tape
5. Teacher emphasizes structure stability and appropriate use of tapes.
Inform students that tapes should be well hidden to achieve a pleasant aesthetic appearance (i.e. no visible & messy tapes)
Individual activity: Students practice cardboard attachment of their choice. (Refer Slide #6 & 7)
1. Give each student 2 cardboards (for building) and 1 base cardboard.
2. Instruct students to choose a task based on readiness:
3. Support scaffold: Follow demonstrated steps to join 2 cardboard pieces using tabs.
4. Core task: Choose 1 attachment method to build
5. Challenge: Combine 2 attachment methods to improve strength or balance.
6. Teachers circulate, giving targeted feedback.
Success Check:
✔ Structure stands by itself
✔ Structure is firmly attached to the base
Students revisit their Material Hunt worksheet. (Refer Slide #8)
Students look at their Material Hunt worksheet to :
1. Re-examine the materials for harmony check
2. Decide which attachment method(s) they plan to use for constructing the final piece
3. List 1 construction challenge and solution
Note to teacher: No final sculpture building yet — focus is on readiness and confidence.
Recap & Safety Reminder (5 minutes) (Refer slide #1 - 3)
1. Introduce today’s focus:
To build the family sculpture using the selected materials from the material hunt activity previously.
2. Quick recap of attachment techniques and the correct use of adhesive.
3. Emphasize safe and responsible use of materials
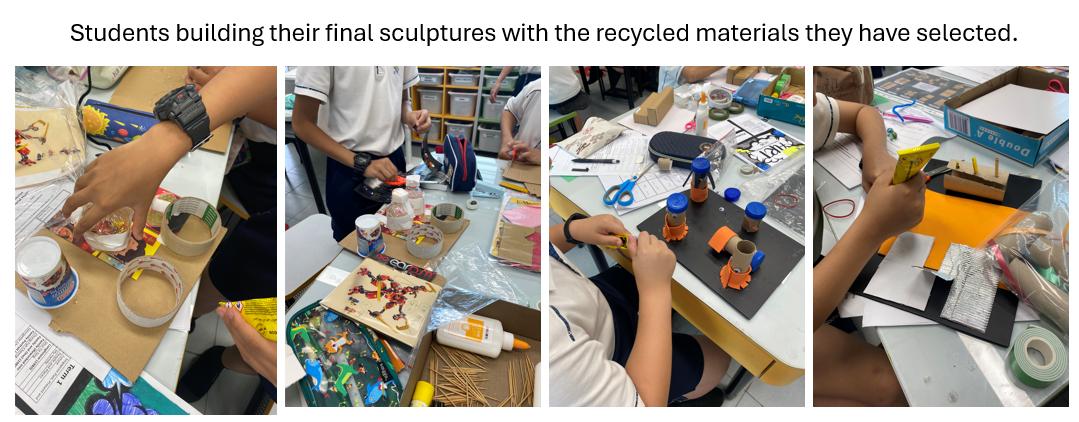
Students build their abstract family sculpture. (Refer slide #4)
1. Students refer to their sketches in the previous planning lesson and look through the material hunt worksheets.
2. Instruct students to focus on:
– Creating abstract forms that represent each family member
– Arranging forms to show family relationships and interactions
– Applying harmony through consistent material choices, colours, or repeated shapes
– Applying at least 1 attachment techniques they have learnt during practice lesson.
– Ensuring structural stability
Note to teachers : To provide just-in-time prompts, not fixes.
3. Students complete the success checklist when they have completed the construction.
1. Students place their sculptures in a table-top gallery walk format.
2. Within the same table, each student briefly explains:
– Which materials represent which family members and why
– How they created harmony in their artwork
3. Students take a photo of their sculpture using iPads and upload into Padlet.(optional)
4. Students complete the reflection worksheets individually.
Having trouble? Let us know by completing the form below. We'll do our best to get your issues resolved quickly.
"*" indicates required fields