- Loading…

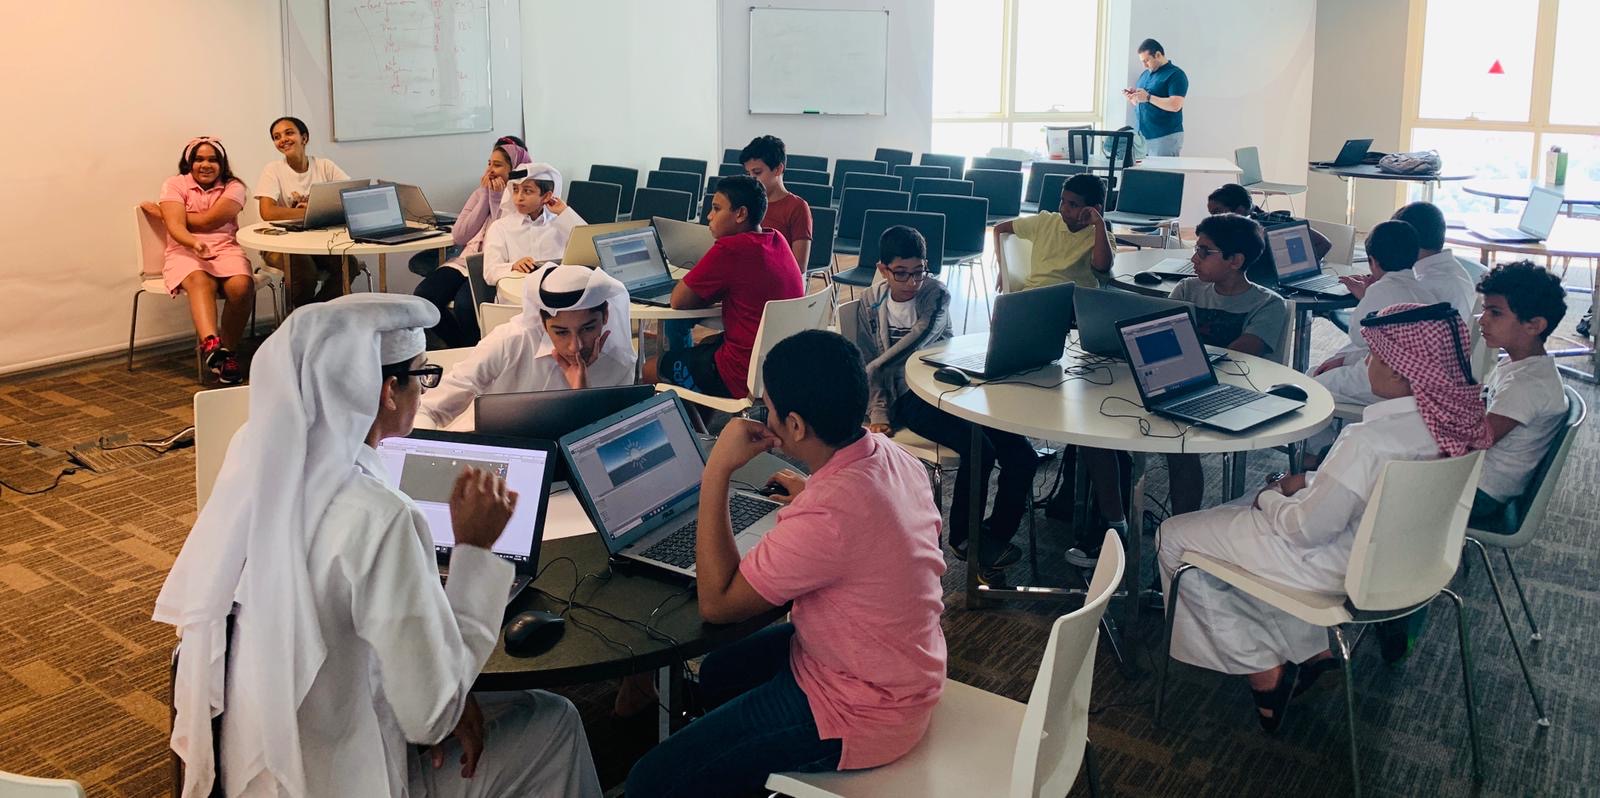
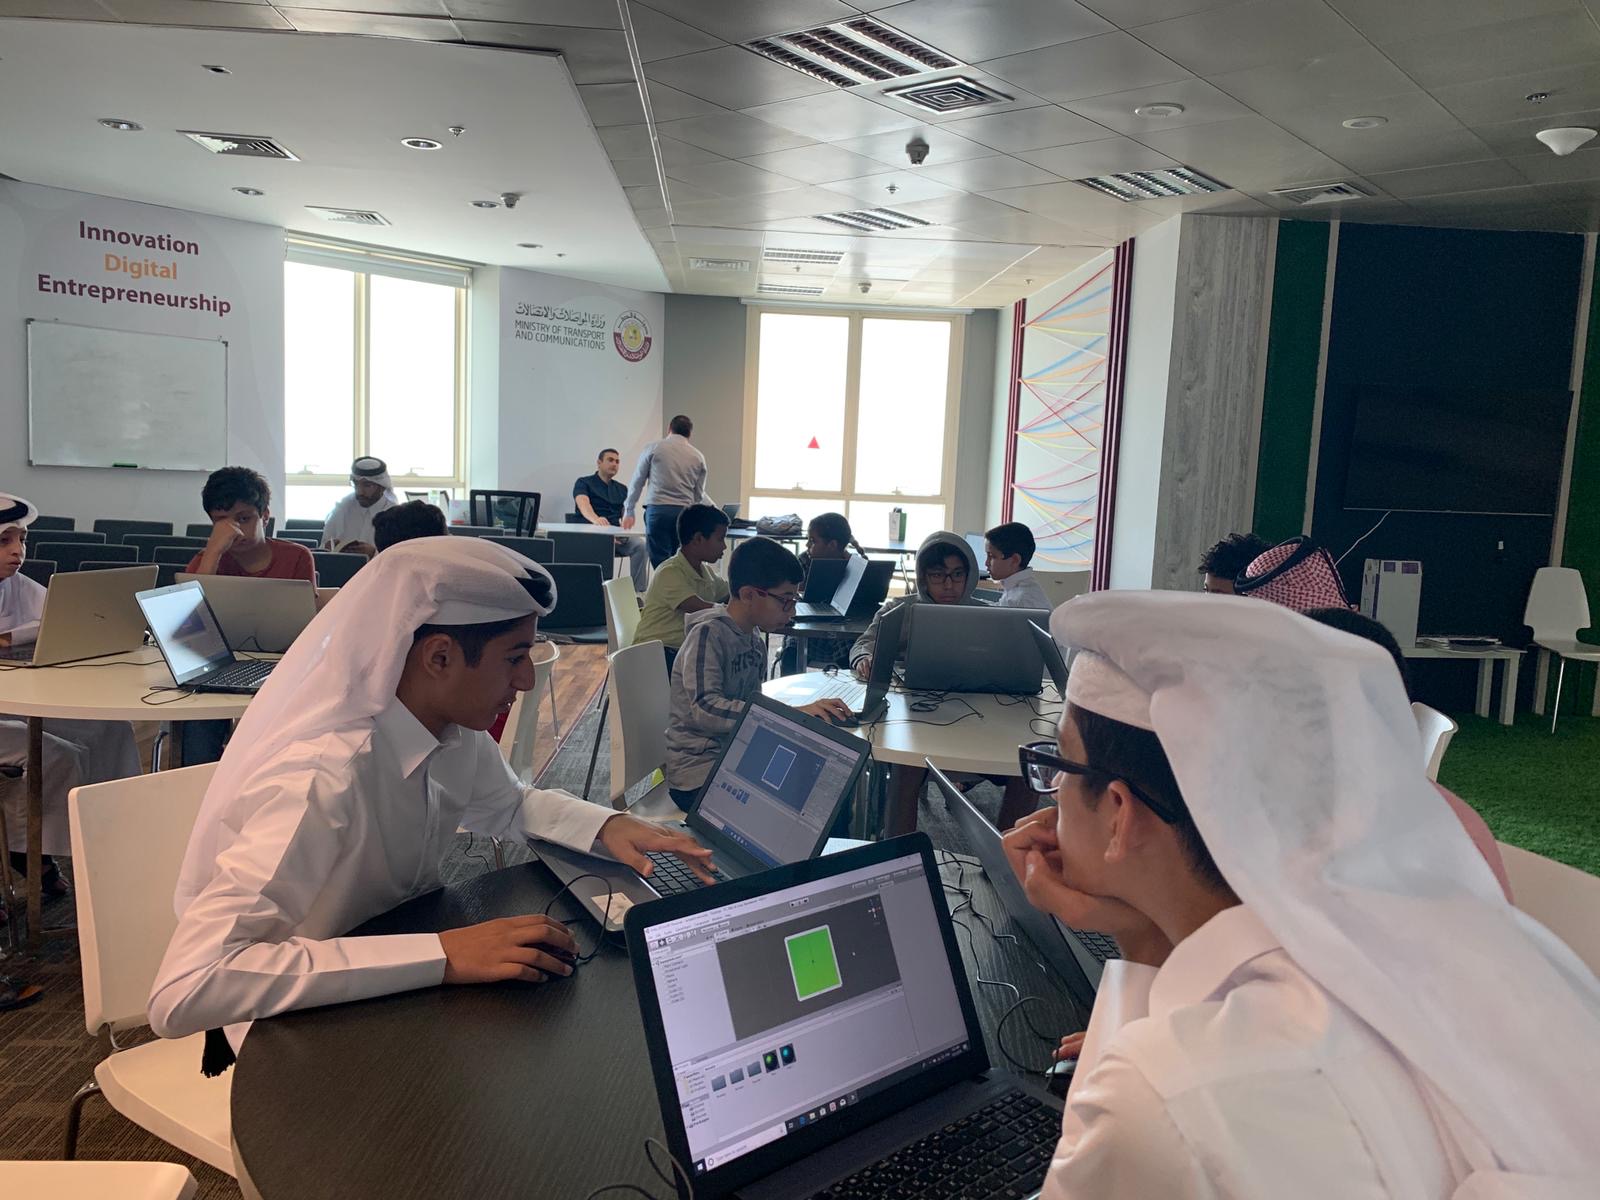
Participants will learn how to develop a new version of the famous PacMan game using Unity Editor. They will build the environment of the game and control the sprite to collect coins.
1- Computer.
2- Unity software.
3- Unity packages.
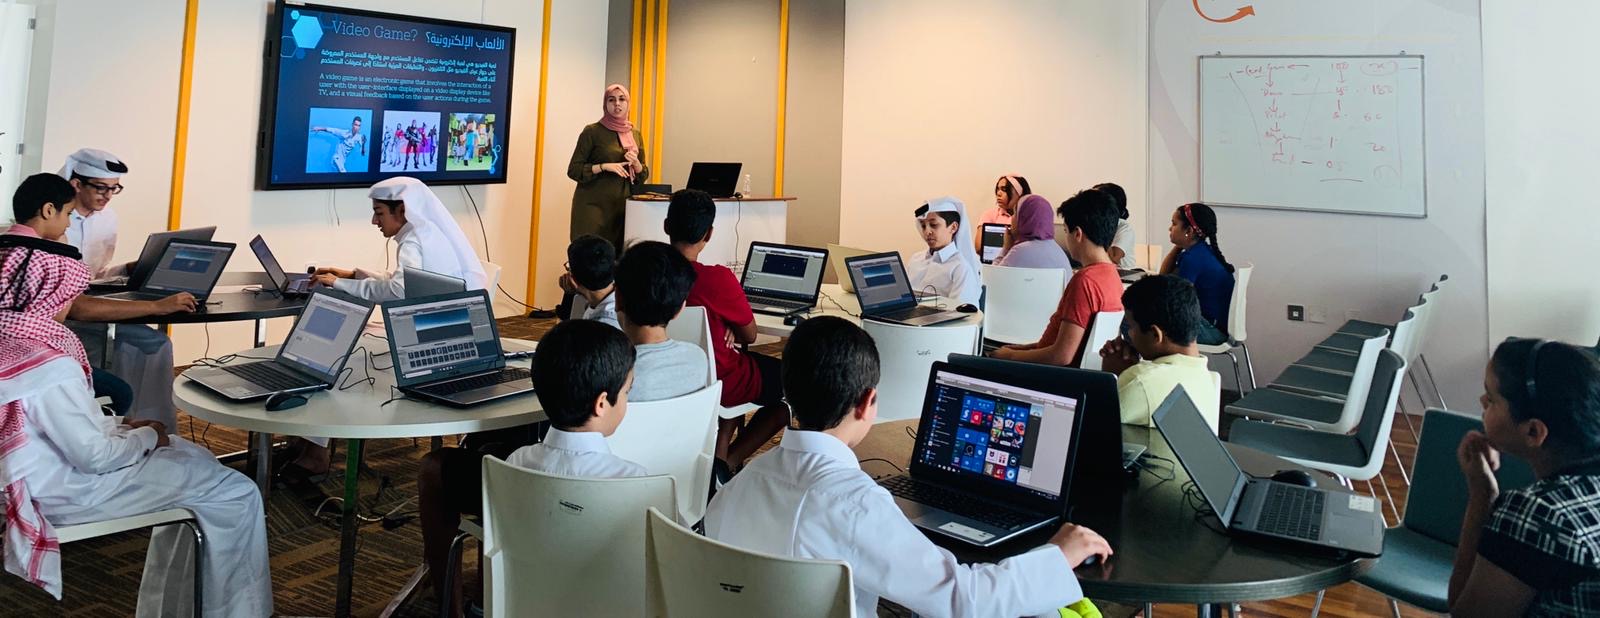
Present to participants the Game Design and Development concept, and what we will be doing.
1- What are video games?
2- The difference between video games and toys.
3- The history of video games.
4- Brainstorm for games that can be done in the future.
5- What is game development.
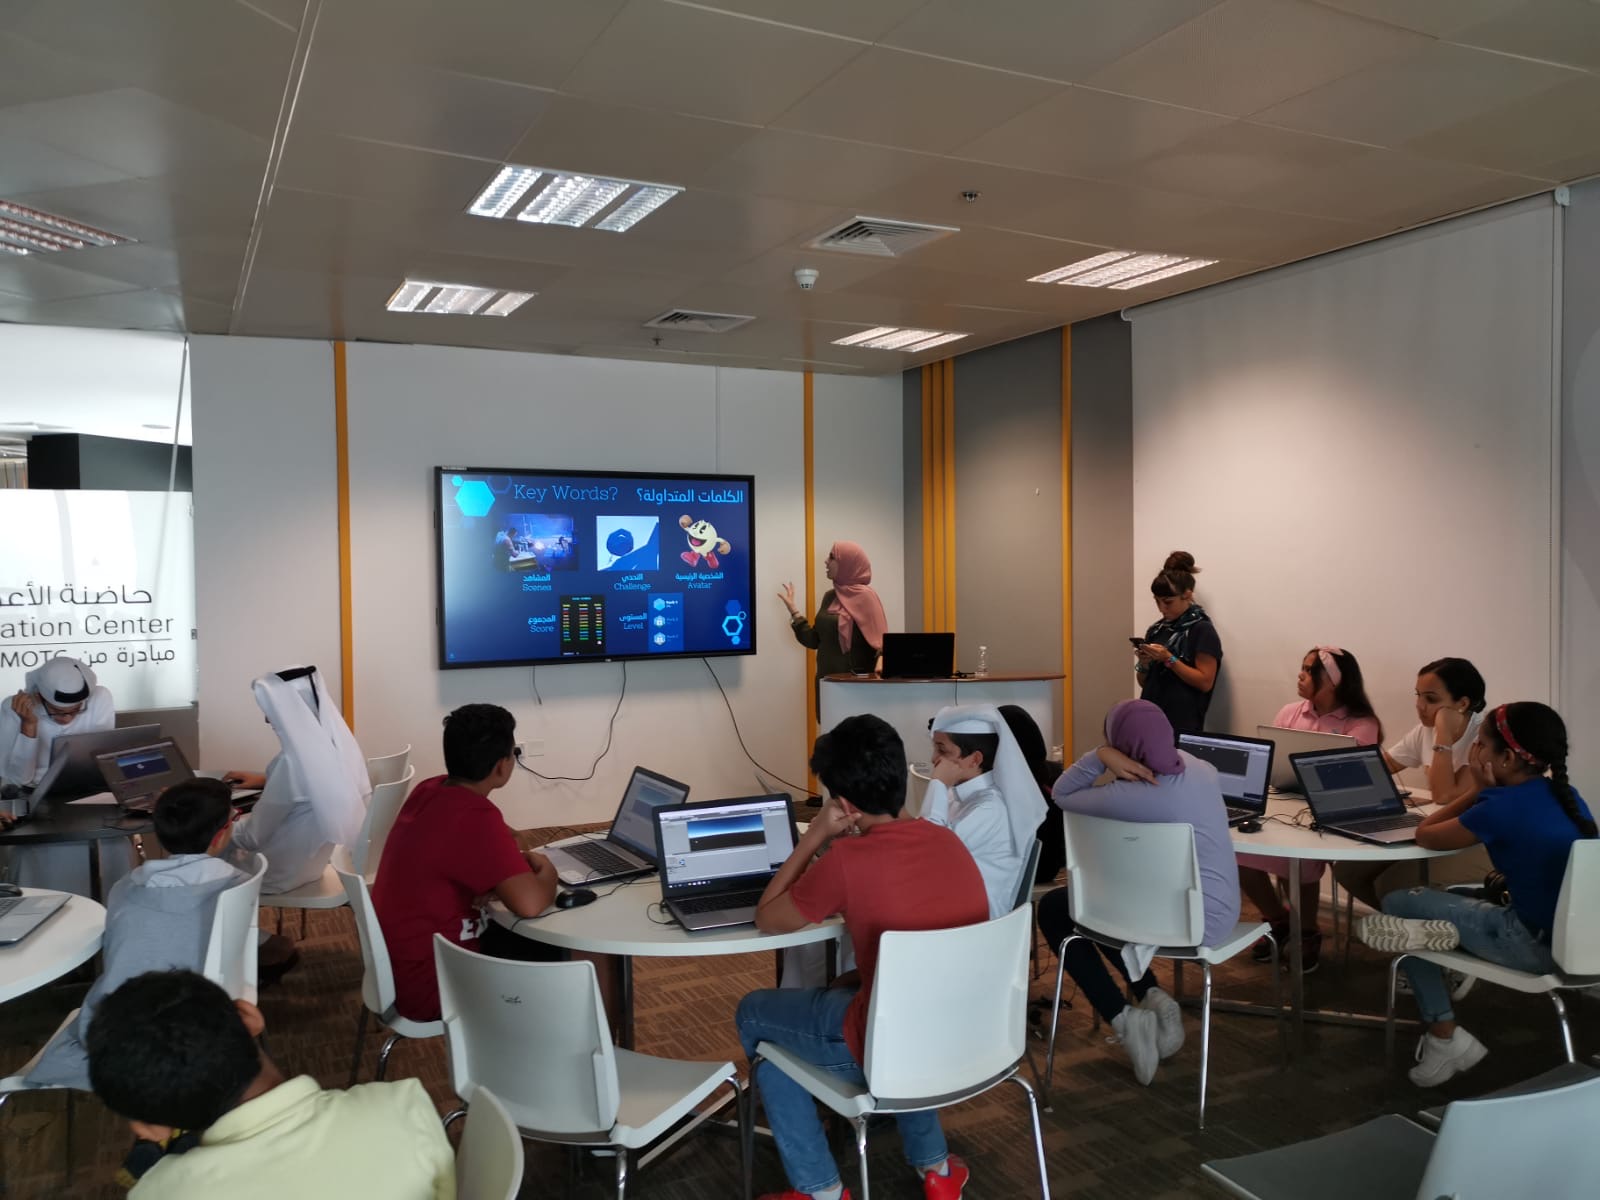
6- Key words used in the gaming field.
7- Devices used to play games with.
8- What we will be doing in the workshop.
9- Unity software and UI.

The participants will open a new project, build the scene, and save it.
1- Open the Unity Editor and name the project (Pacman 2.0).
2- Save the Scene: Go to File > Save As > Name the Scene (Pacman).
3- Now you are ready to start adding components to your Scene.

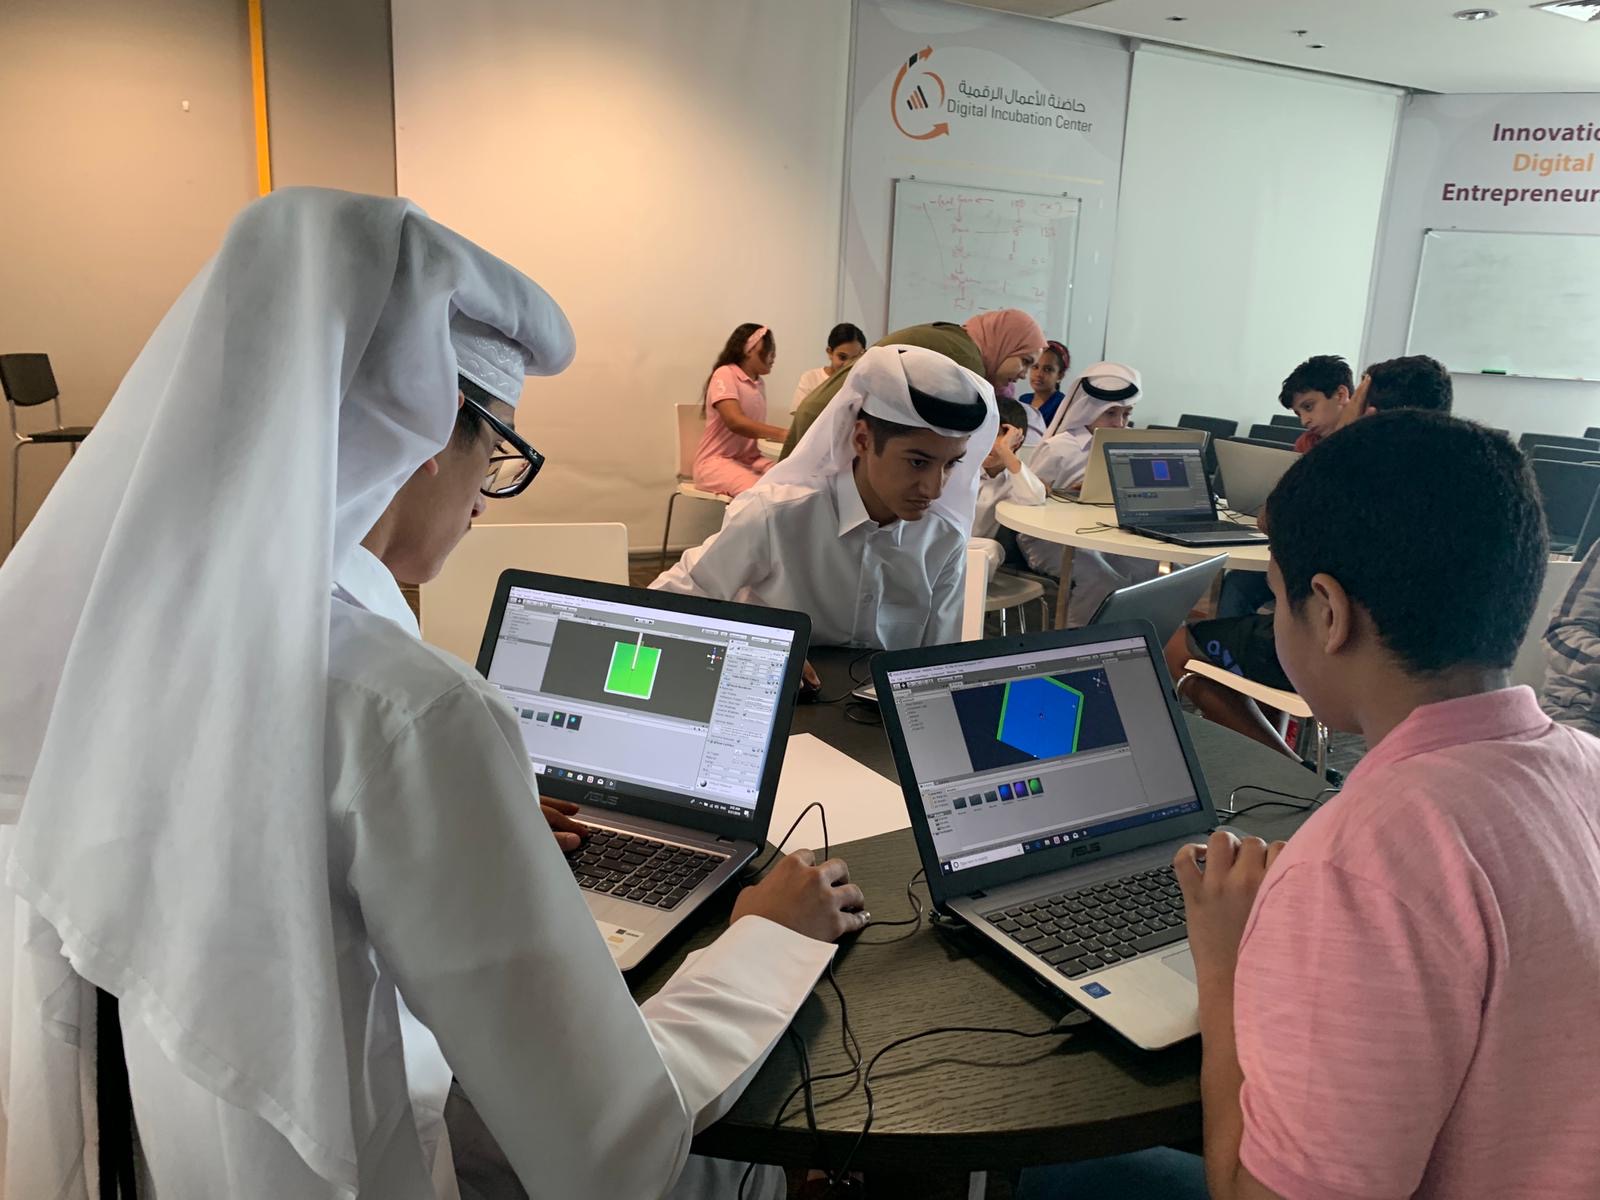
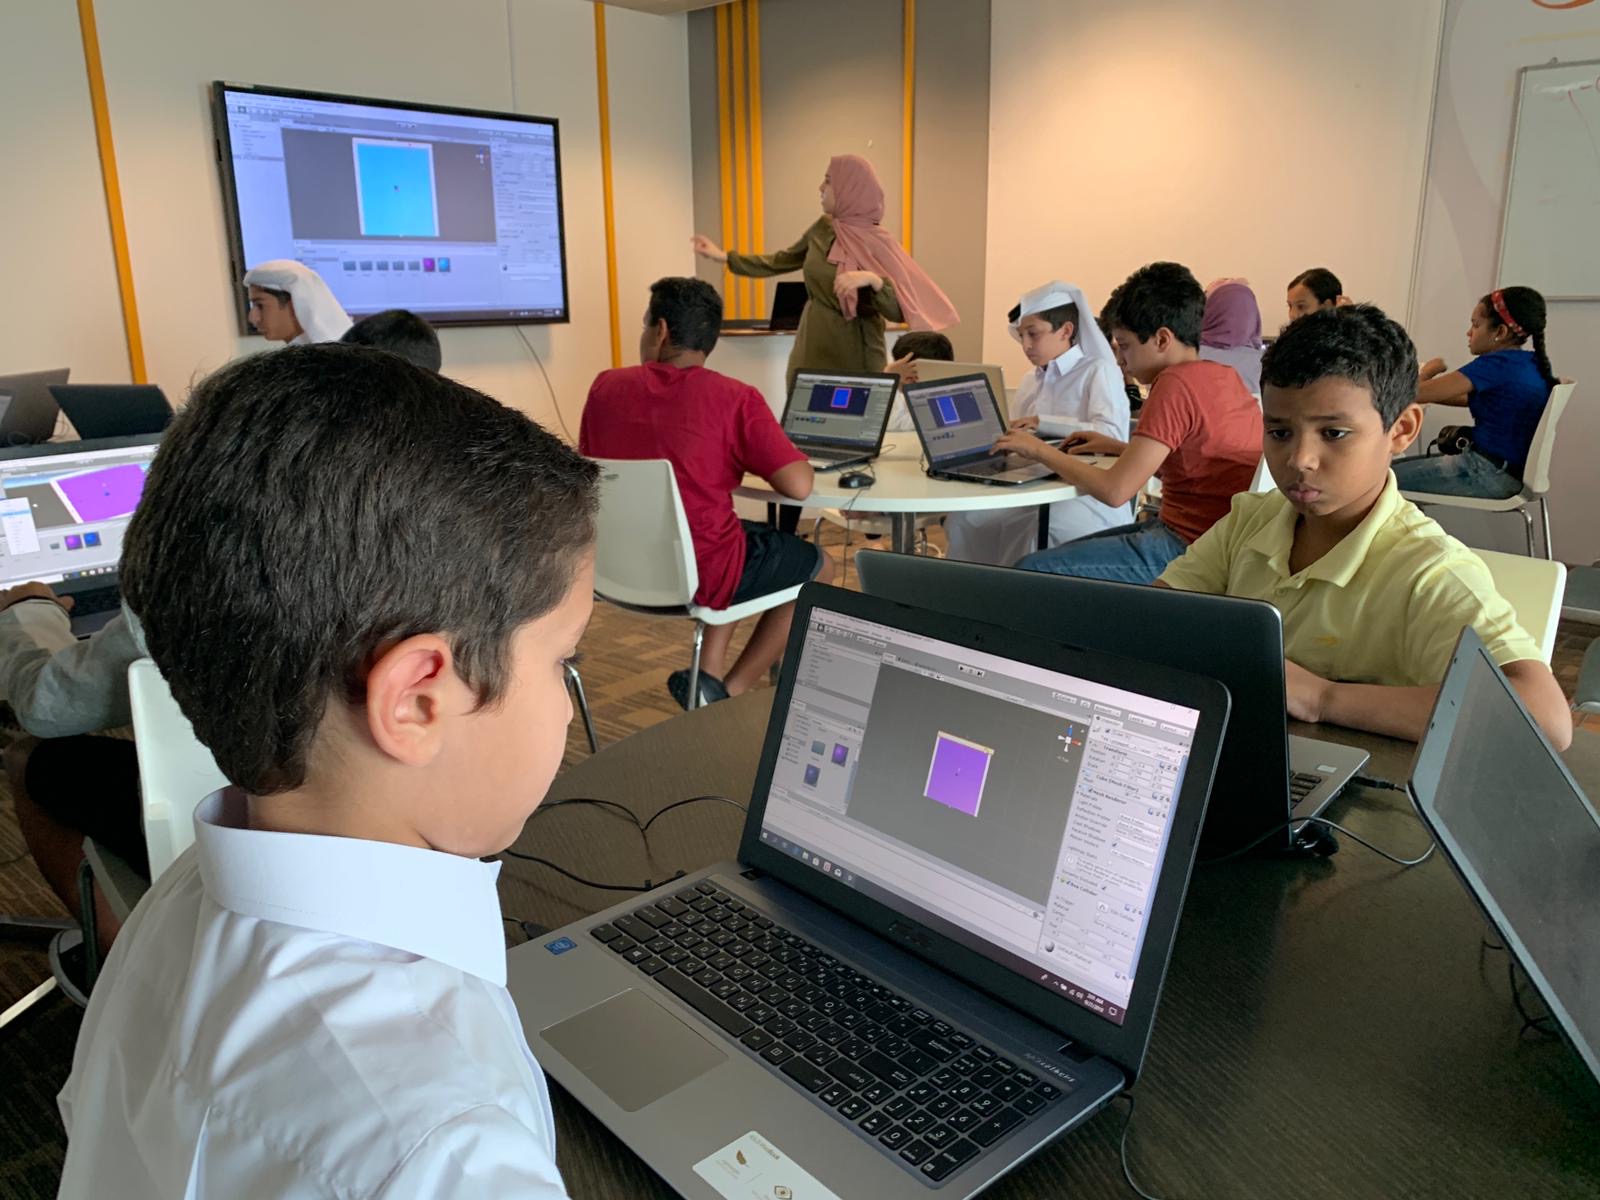
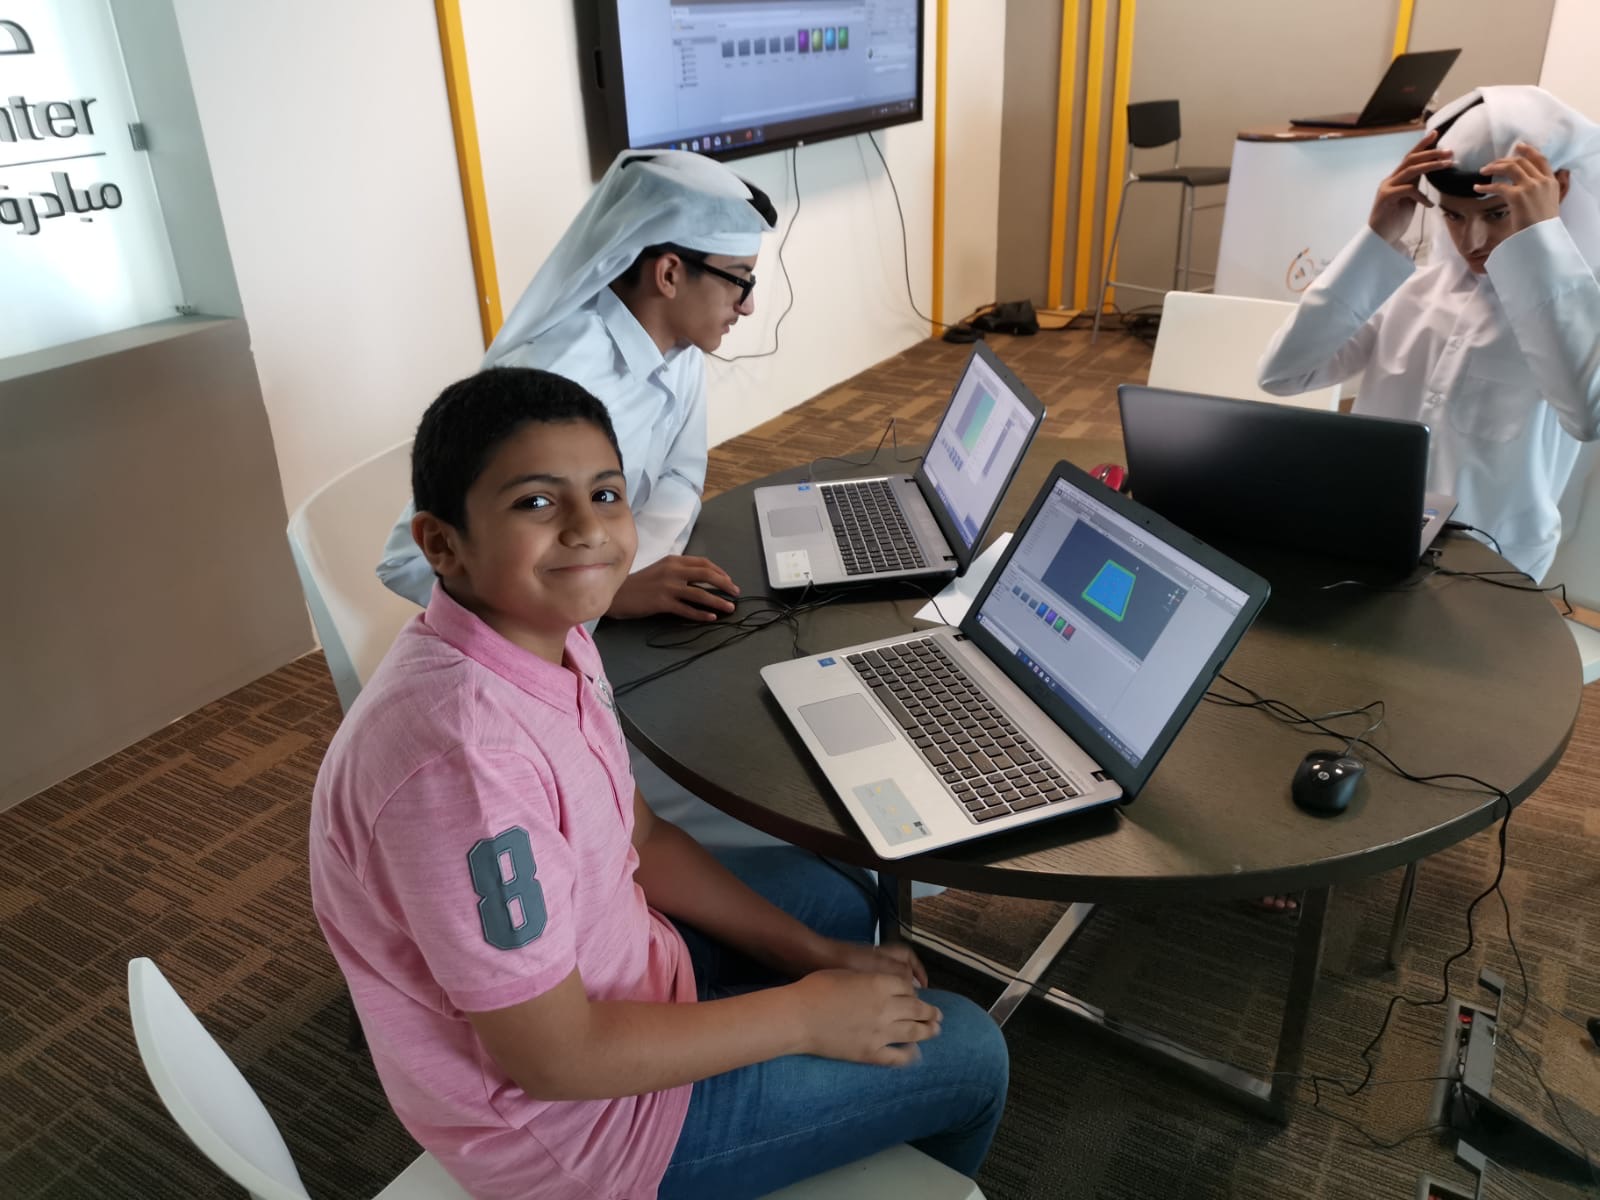
The participants will build the environment of the game by adding a plane, walls, and material.
1- Add a Plane: Go to GameObject > 3D Object > Plane.
2- Explain to the participants that the Plane is the base in the environment, where objects will be placed.
3- Add Walls around the plane: Go to GameObject > 3D Object > Cube.
4- Adjust the scale and position of the cube to create the first wall.
5- Duplicate the first wall to create 3 others: Select the Cube from the hierarchy window > right click > select “Duplicate”.
6- Change the position and rotation of the new walls to fit around the Plane.
7- Make sure you don’t leave space between the Plane and the Walls.
8- Color the Plane and Walls to become clearer: Go to Assets folder > Right click > select “Create” > select “Folder” > name the folder “Material”.
9- Inside the “Material” folder > Right click > select “Create” > select “Material” > name the material.
10- A ball will appear inside the folder representing the Material, to select the color of material: Select the Material > in inspector window look for the small box next to the color drop > select the box > a color pallet will appear > select the color you prefer.
11- Once you selected your color, drag the material to the plane/walls in the scene.

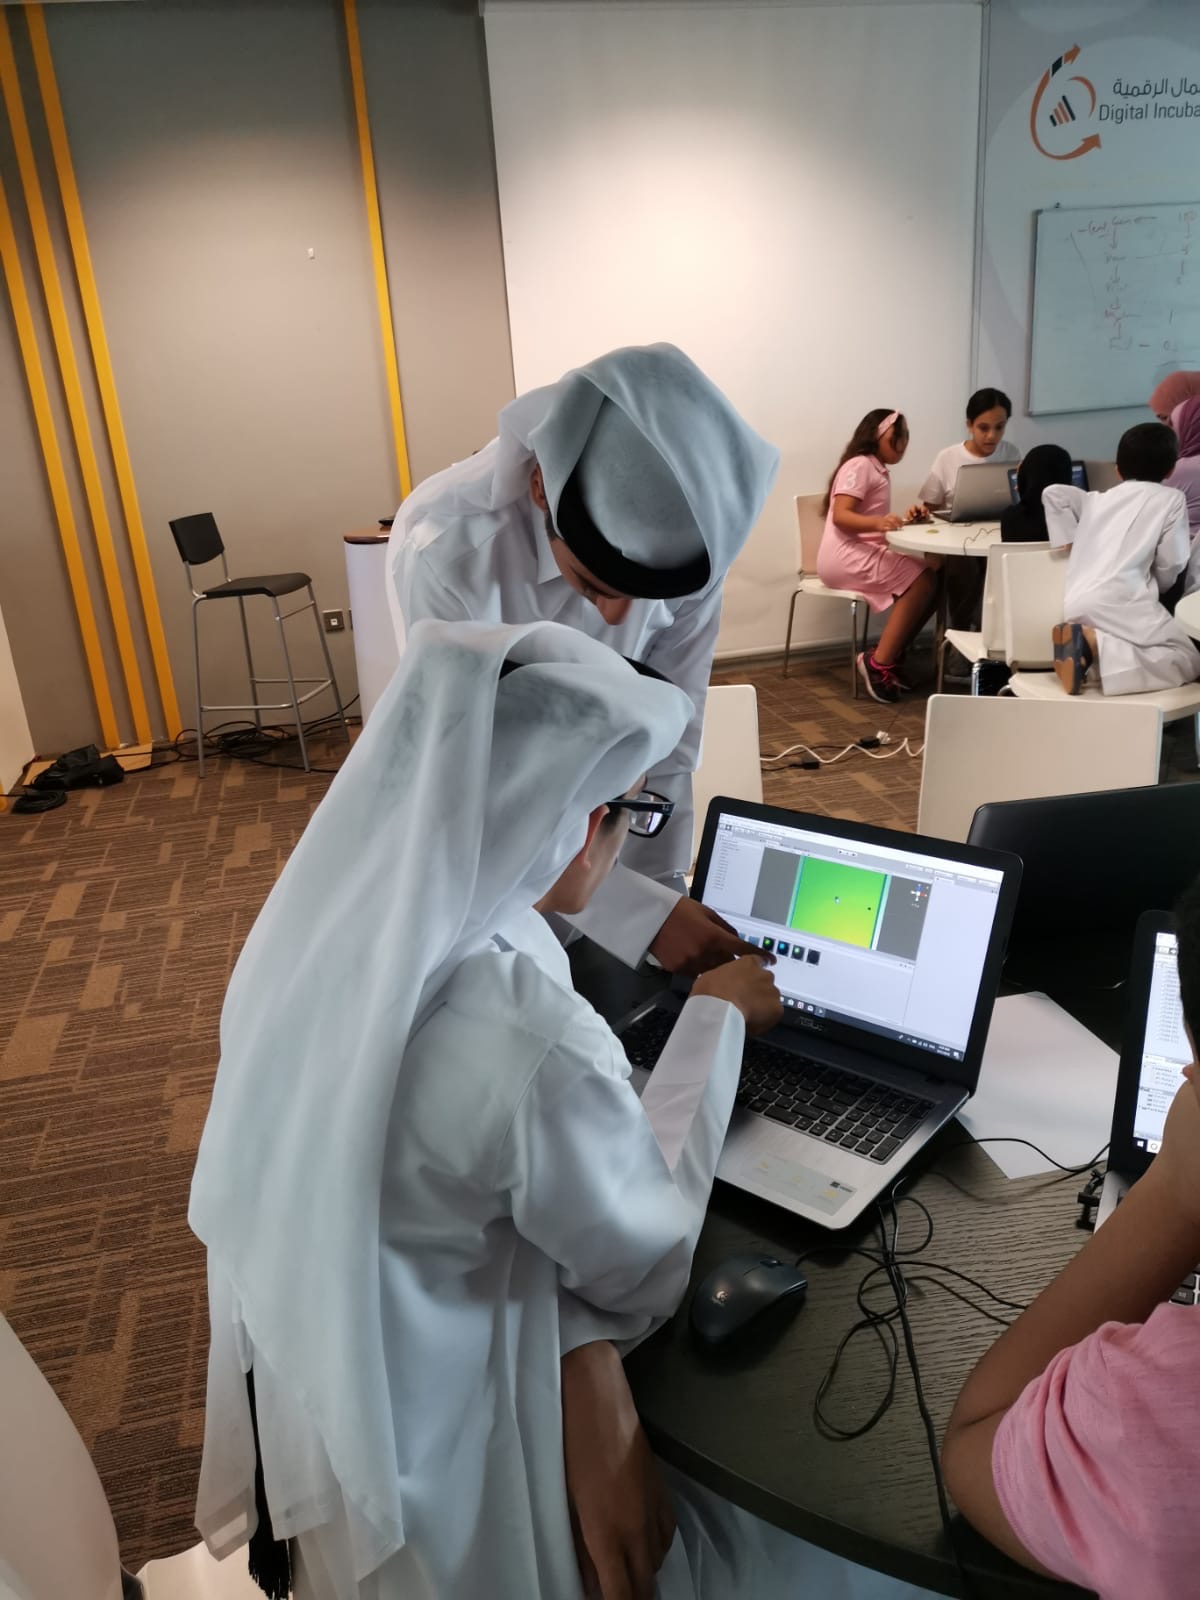
The participants will add a player and program it to move around the space. They will also program the camera to be behind the player and follow it.
1- The player in Pacman 2.0 has to go around and collect all objects.
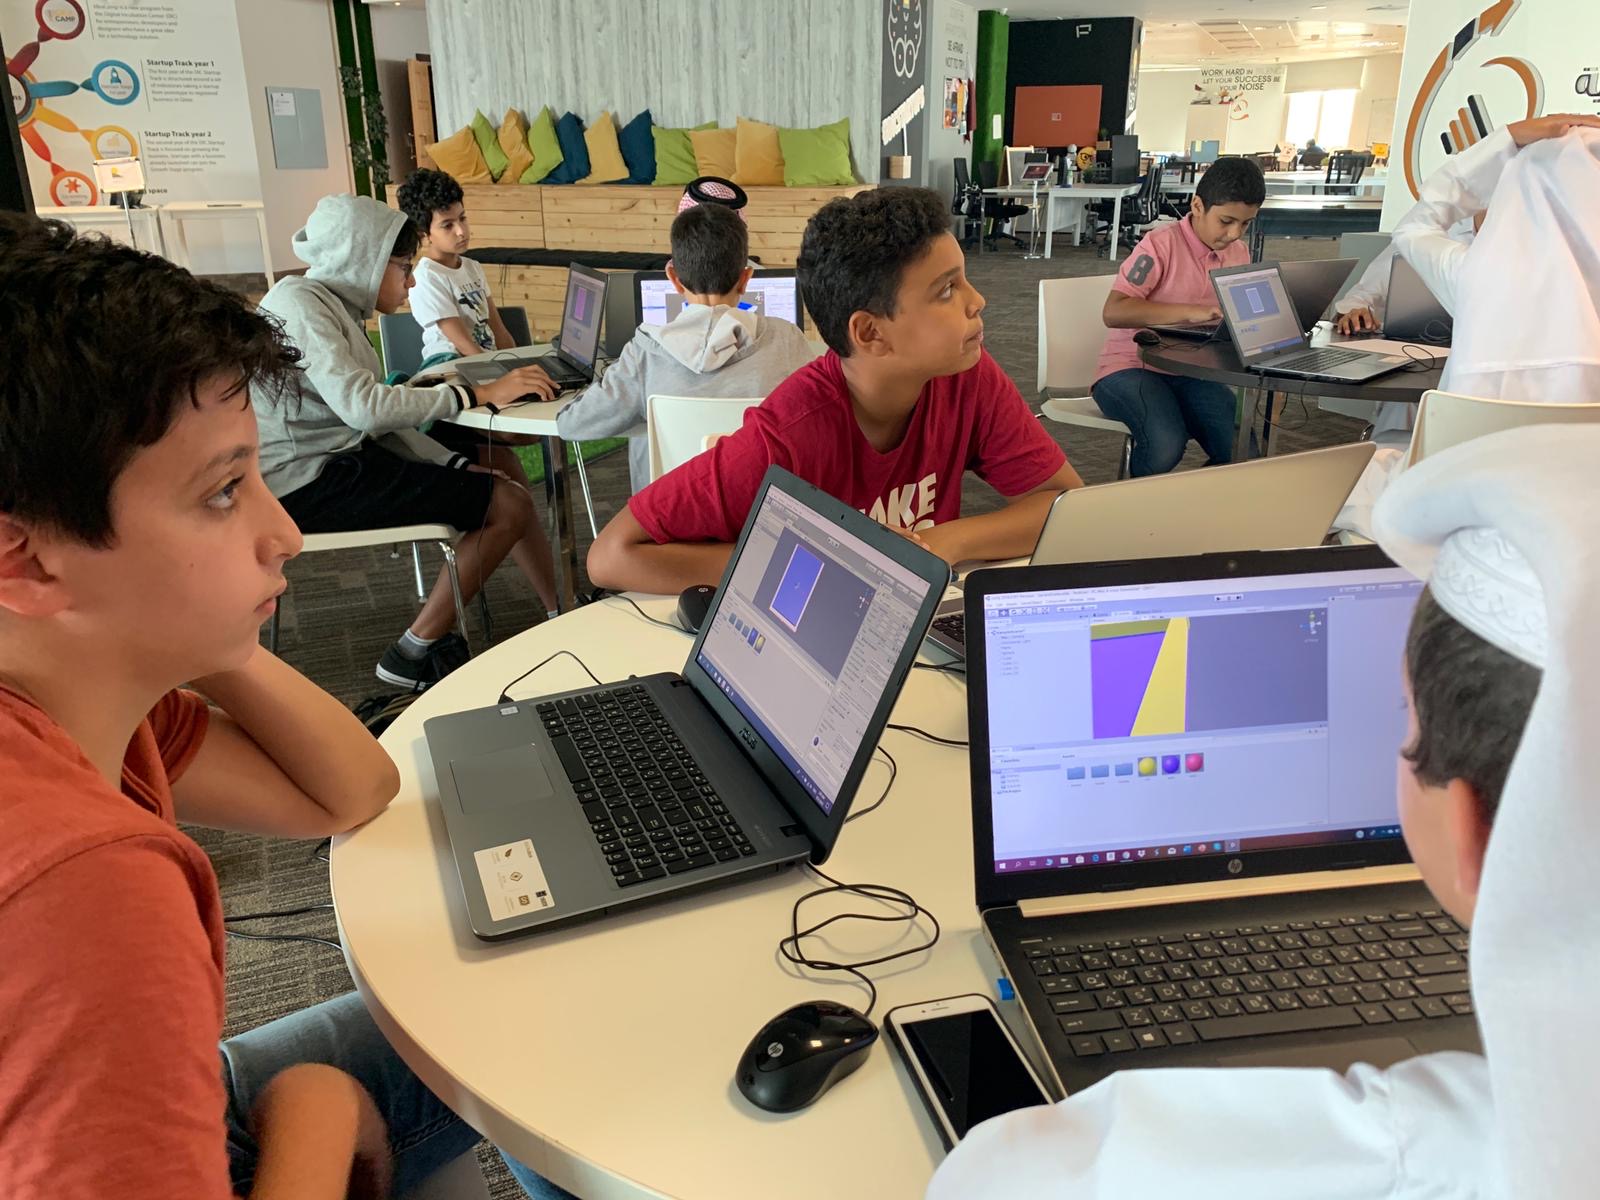
2- Add Player to the scene: Go to GameObject > 3D Object > Sphere.
3- Adjust the scale and position of the Sphere.
4- Create a new Material and drag it to the Sphere.
5- Add a Rigidbody to the Sphere object using “Add Component” in inspector window to give the object physical attributes.
6- Add a Player Controller script to the Sphere to control its movement: Select the Capsule > from the hierarchy window > select “Add Component” > Type “Player Controller” > Select the “Player Controller” c# file.
7- Set the speed attribute of the Sphere to “5”.
8- Align the camera view with the player: Adjust the view in the scene to be behind the Sphere object > select the Main Camera object from the hierarchy window > select the “Game Object” tap > select “Align with view”.
9- Add a Camera Controller script to the Main Camera object to make it follow the Capsule: Select the Main Camera Object > from the inspector window > select “Add Component” > Type “Camera Controller” > Select the “Camera Controller” c# file
10- Drag the Sphere from the hierarchy window to the “Player” field of the Camera Controller.
11- Now hit Play to test the movements of the Player.

The participants will add pickup objects around the space. They will program them to rotate and to disappear when triggered by the player.
1- Add Pickup objects to the scene: Go to GameObject > 3D Object > Cube.
2- Adjust the scale of the cube to be smaller (0.5, 0.5, 0.5).
3- Adjust the rotation of the Cube to look like a diamond.
4- Create a new Material and drag it to the Cube.
5- Now we need to program the cubes to disappear once touched by the player.
a. Select the cube from the hierarchy window > in inspector window, look for the “Tag” attribute > click on the drop-down menu > select “Add tag”.
b. The list of Tags will appear, click on the “+” sign > name your tag “cube”.
c. Go back to the inspector view, look for the “Box collider” component > inside the component you will find “isTrigger” attribute > tick the box next to it to enable it.
6- Explain to the participants that by giving the cube a Tag, we are allowing the player to recognize it when touched, as the “Player Controller” script will look for any object triggering the sphere with the “cube” tag and disable it (disappear).
7- Add a Rotate script to the cube to give it a rotation movement: Select the Cube > from the inspector window > select “Add Component” > Type “Rotate” > Select the “Rotate” c# file.
8- Duplicate the pickup cube to have eight of it and distribute them around the plane.

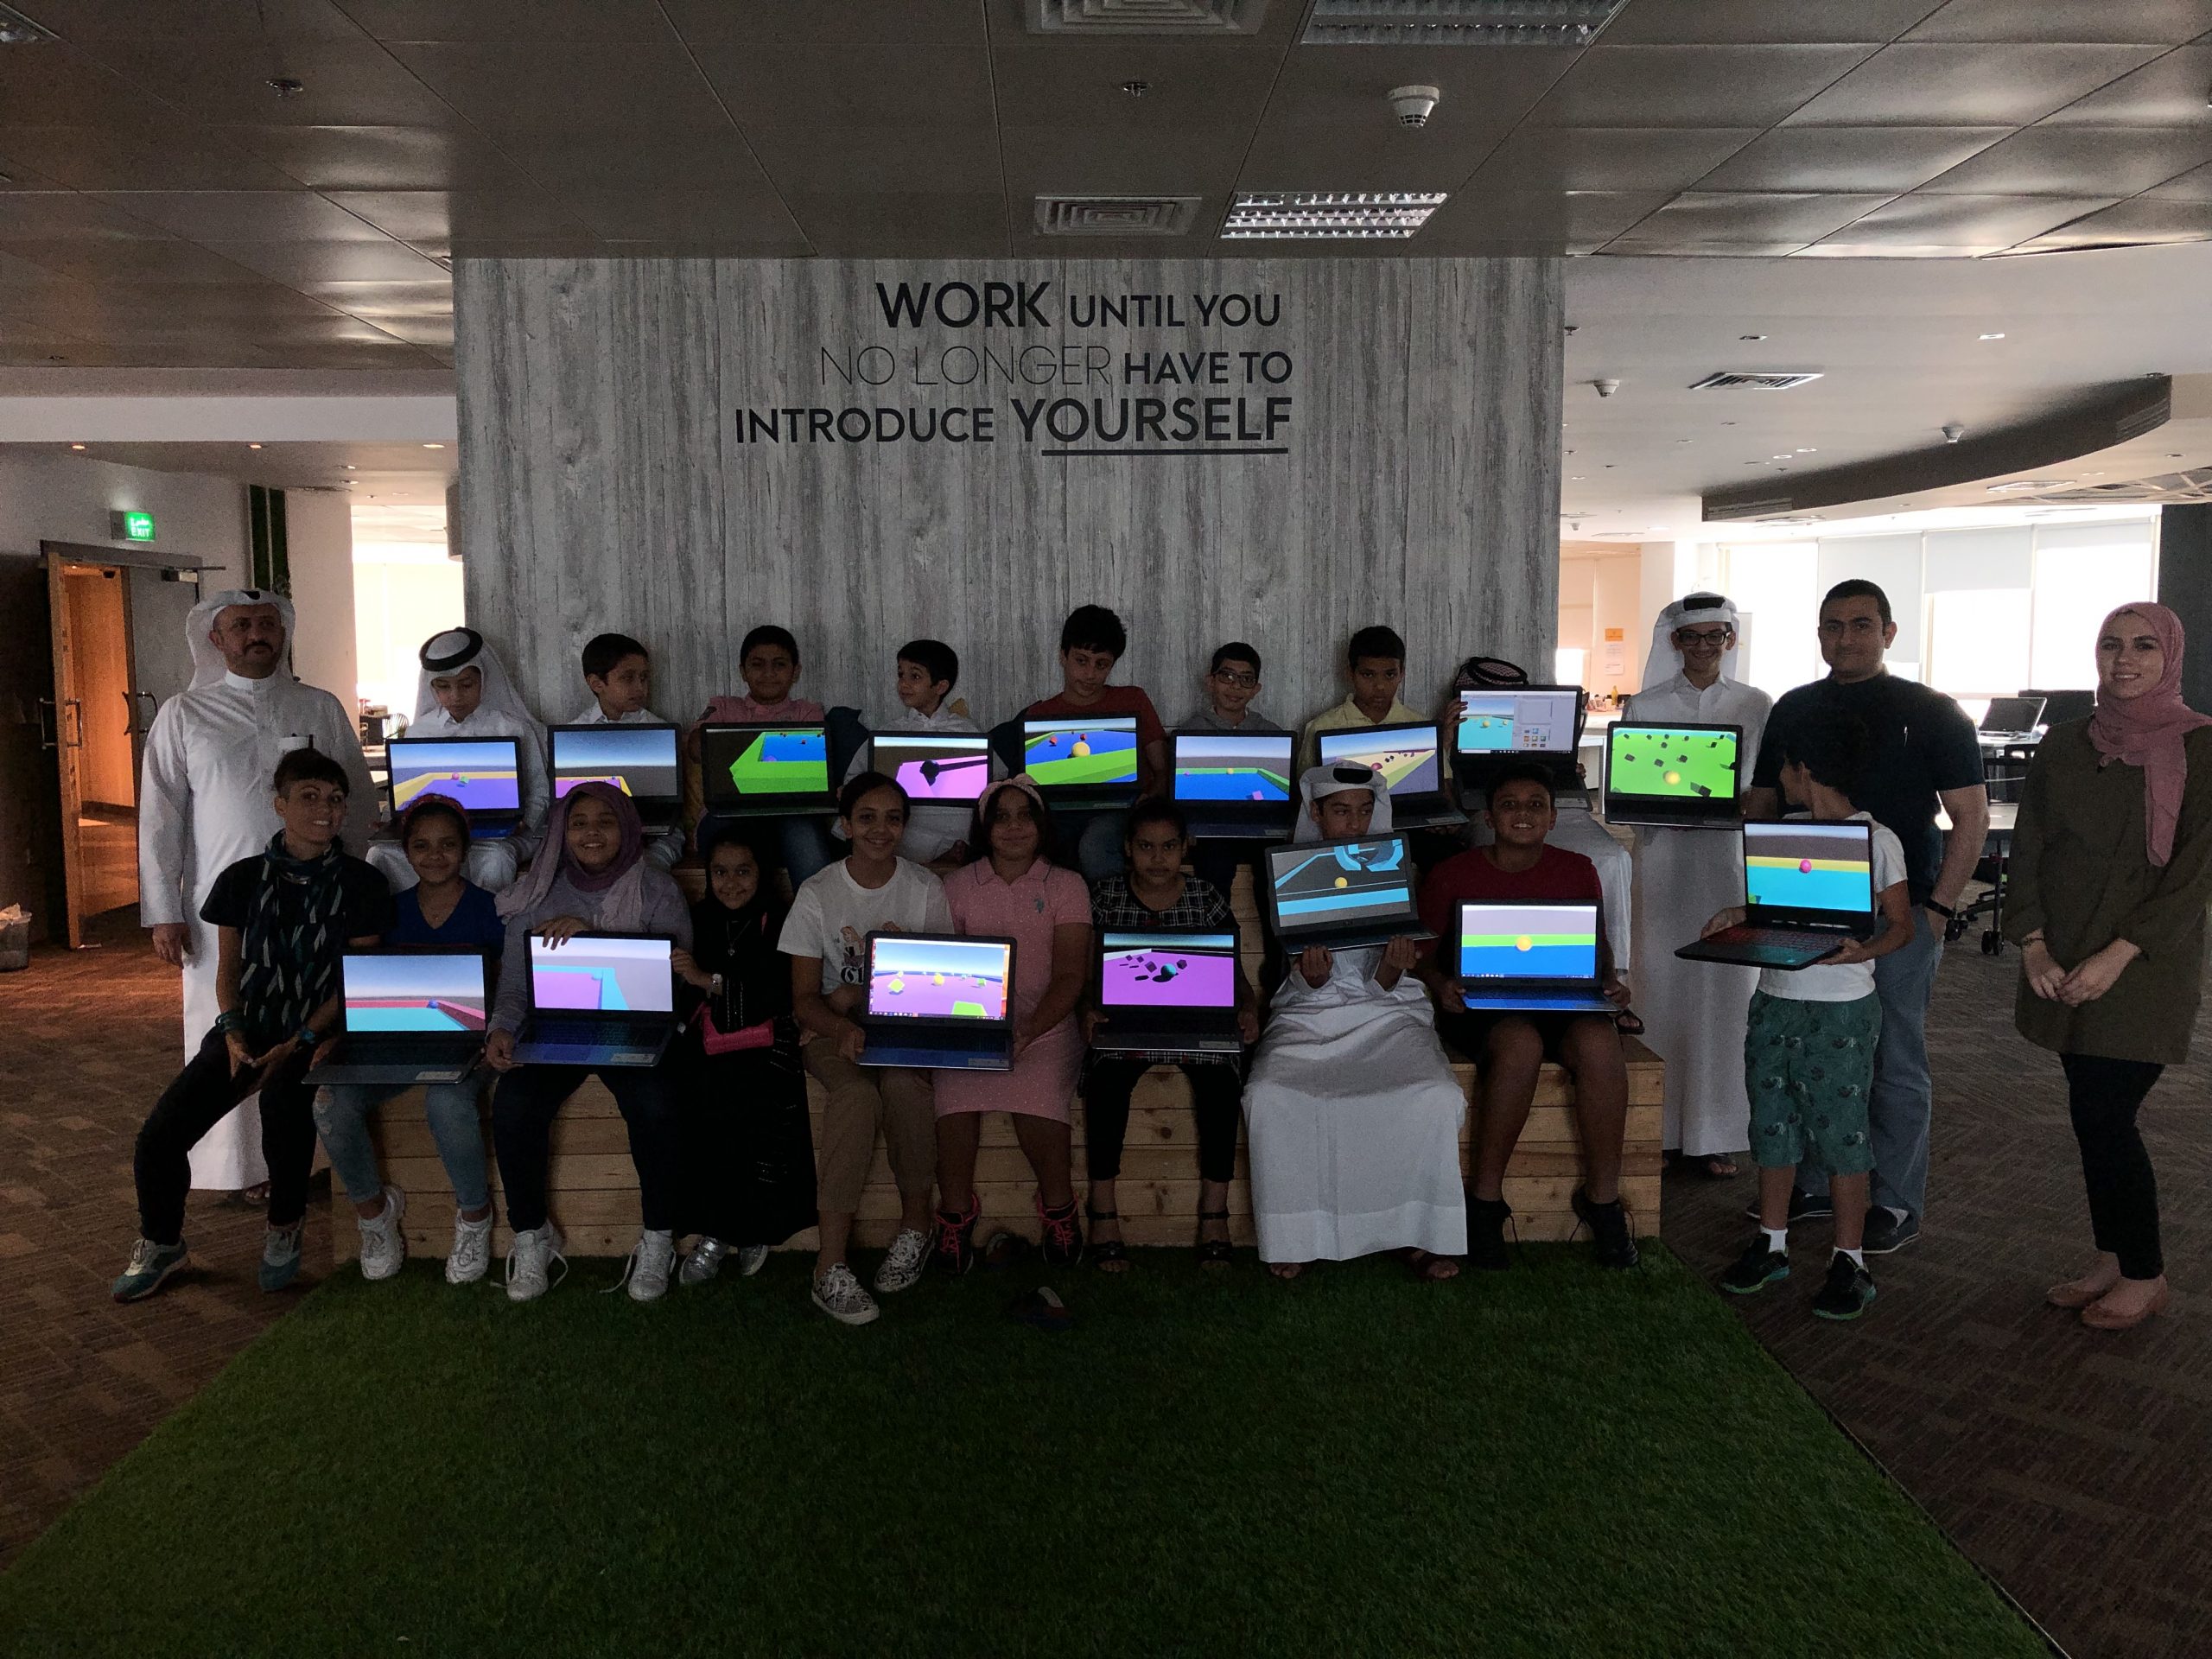
The participants will build the game to get the executable file and test it.
1- Play the game to ensure that there are no errors, and everything is working.
2- Build the game to get the executable file: Go to “File” tap > Select “Build and Run”.
3- Just enjoy!

Having trouble? Let us know by completing the form below. We'll do our best to get your issues resolved quickly.
"*" indicates required fields