- Loading…
During this lesson, students design a car using the material found in the fablab. This car should be able to hold the MicroBit and its battery pack. Using their creations, they measure how steep the different ramps of the school are. If the car moves fast, the ramp is too steep, if it has less acceleration, it’s not too steep. In order to measure this, they also program the MicroBit so that it can show a different face on the lights according to the acceleration. This lesson is done with the colaboration of different subjects and teachers.

LEGO pieces
Scrap/recycled materials (cardboard, plastic, etc.)
Micro:bit
Battery pack
Technology
Math
Engineering
Sustainability
Soft Skills
During this lesson, the students described that they had a lot of fun. We selected a few students from a class to work with them so it felt like a special class. Their attention was always very high and focused on the materials and the activities that they needed to do. Since we described the importance of knowing how steeps the ramps are for our friends who need it, they were concerned and ready to think of ideas of how to solve the problem if they found it. The rest of the teachers also mentioned that students were more focused during their classes since it was information that would be useful in the future for their project.
Students learn about ramps and the importance of having the right angle for the people who need it.
Greet students
Ask students ifi they have seen ramps in school and try to remember how many they have seen.
Ask them to describe them, are they long, short, steep or plain.
Show students a video about ramps and how they are a simple machine
Show students about acceleration and how we can use it to measure the ramps in school
Show students the video of acceleration (for this lesson, only the first 2 minutes of the video are necessary) https://youtu.be/PH2GJ5fdbOM?si=O_f8C9Aey8CBOooP
Explain to students how they will be creating their own car to measure the acceleration that the car has on each of the ramps of the school.
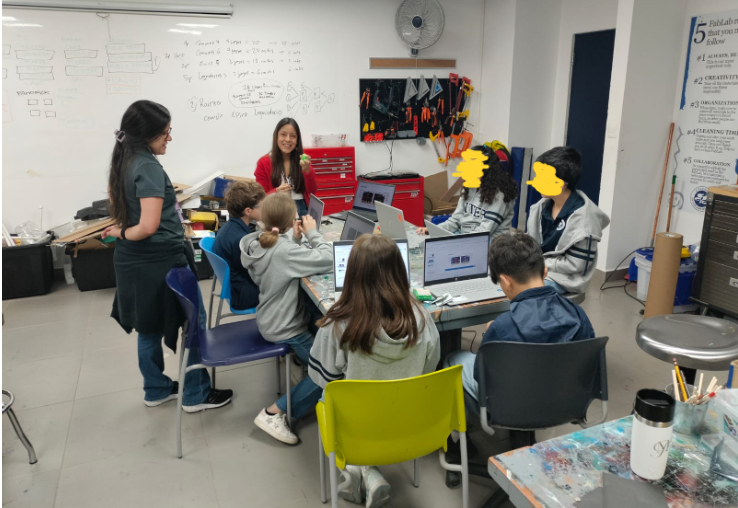
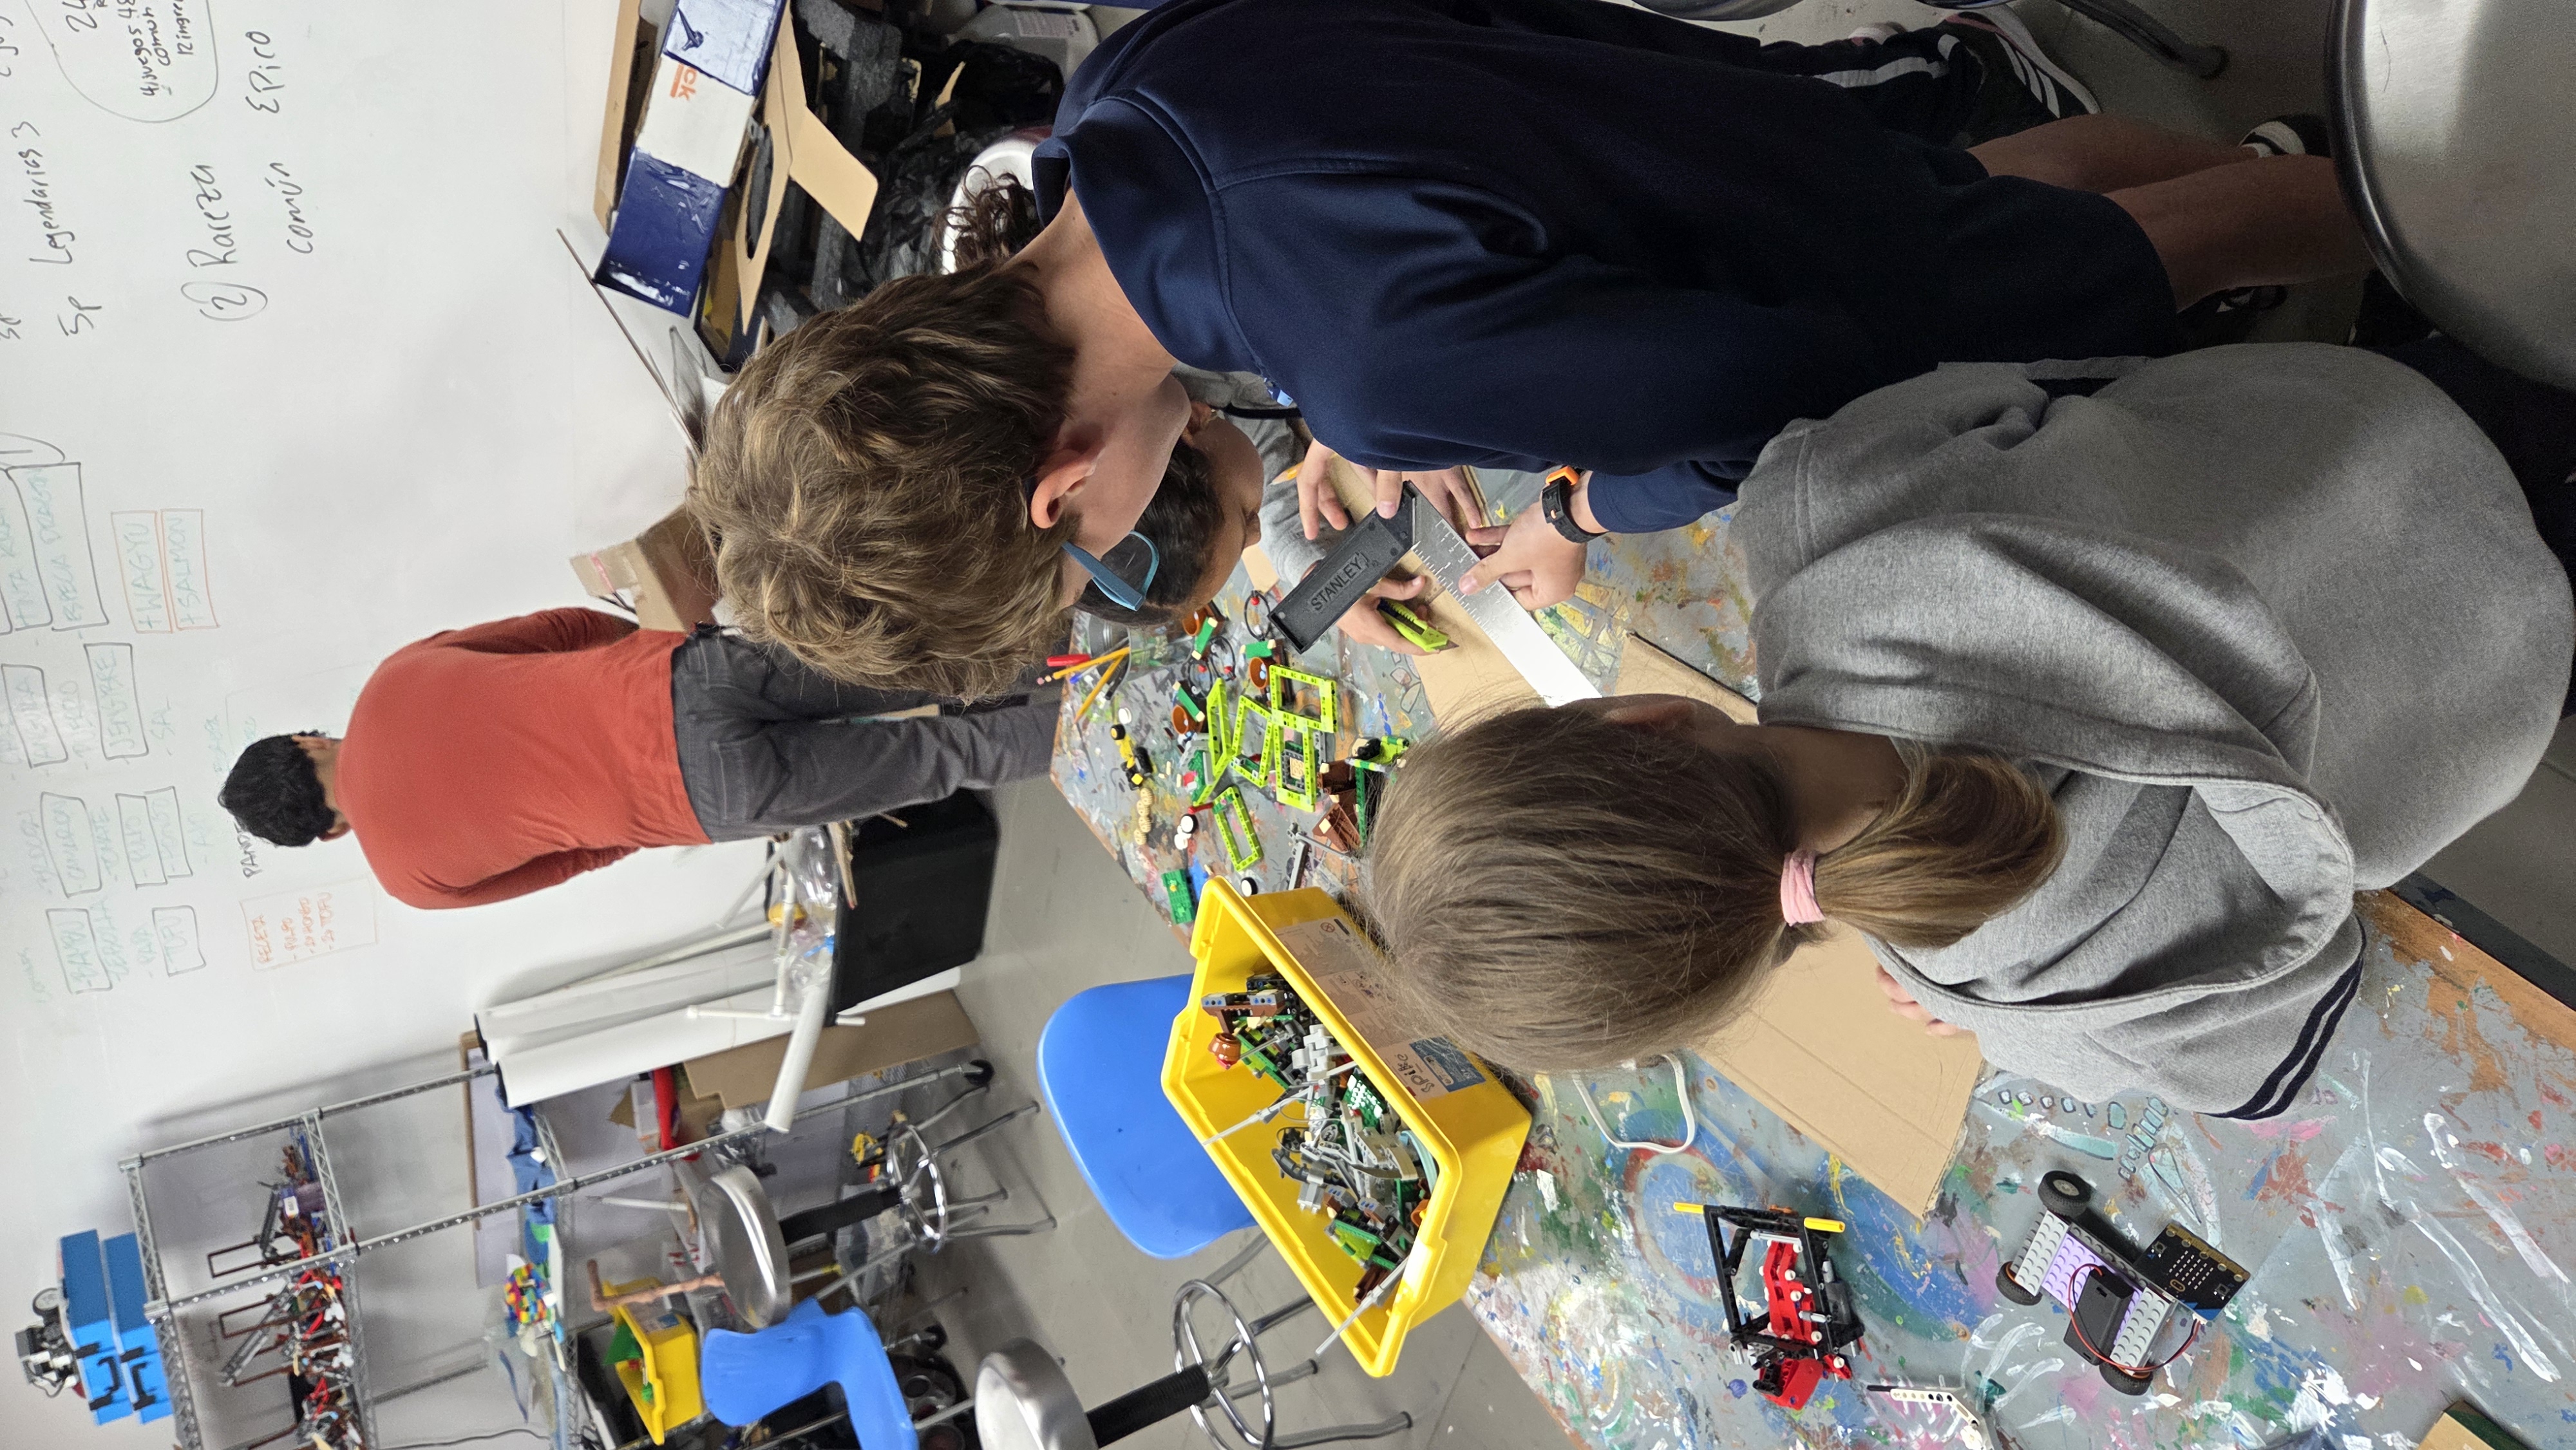
During this stage, students will have time to create their cars with the different materials that they find in the FabLab. They will be creating a car that can hold the MicroBit and the battery pack so they will be able to see and hold one of each per group.
Get students in groups.
Show students the MicroBit and the battery pack. This will help them create the best car in order to fit both items.
Give them a time frame so they can be focused on how to create the car. (about 45-55 minutes)
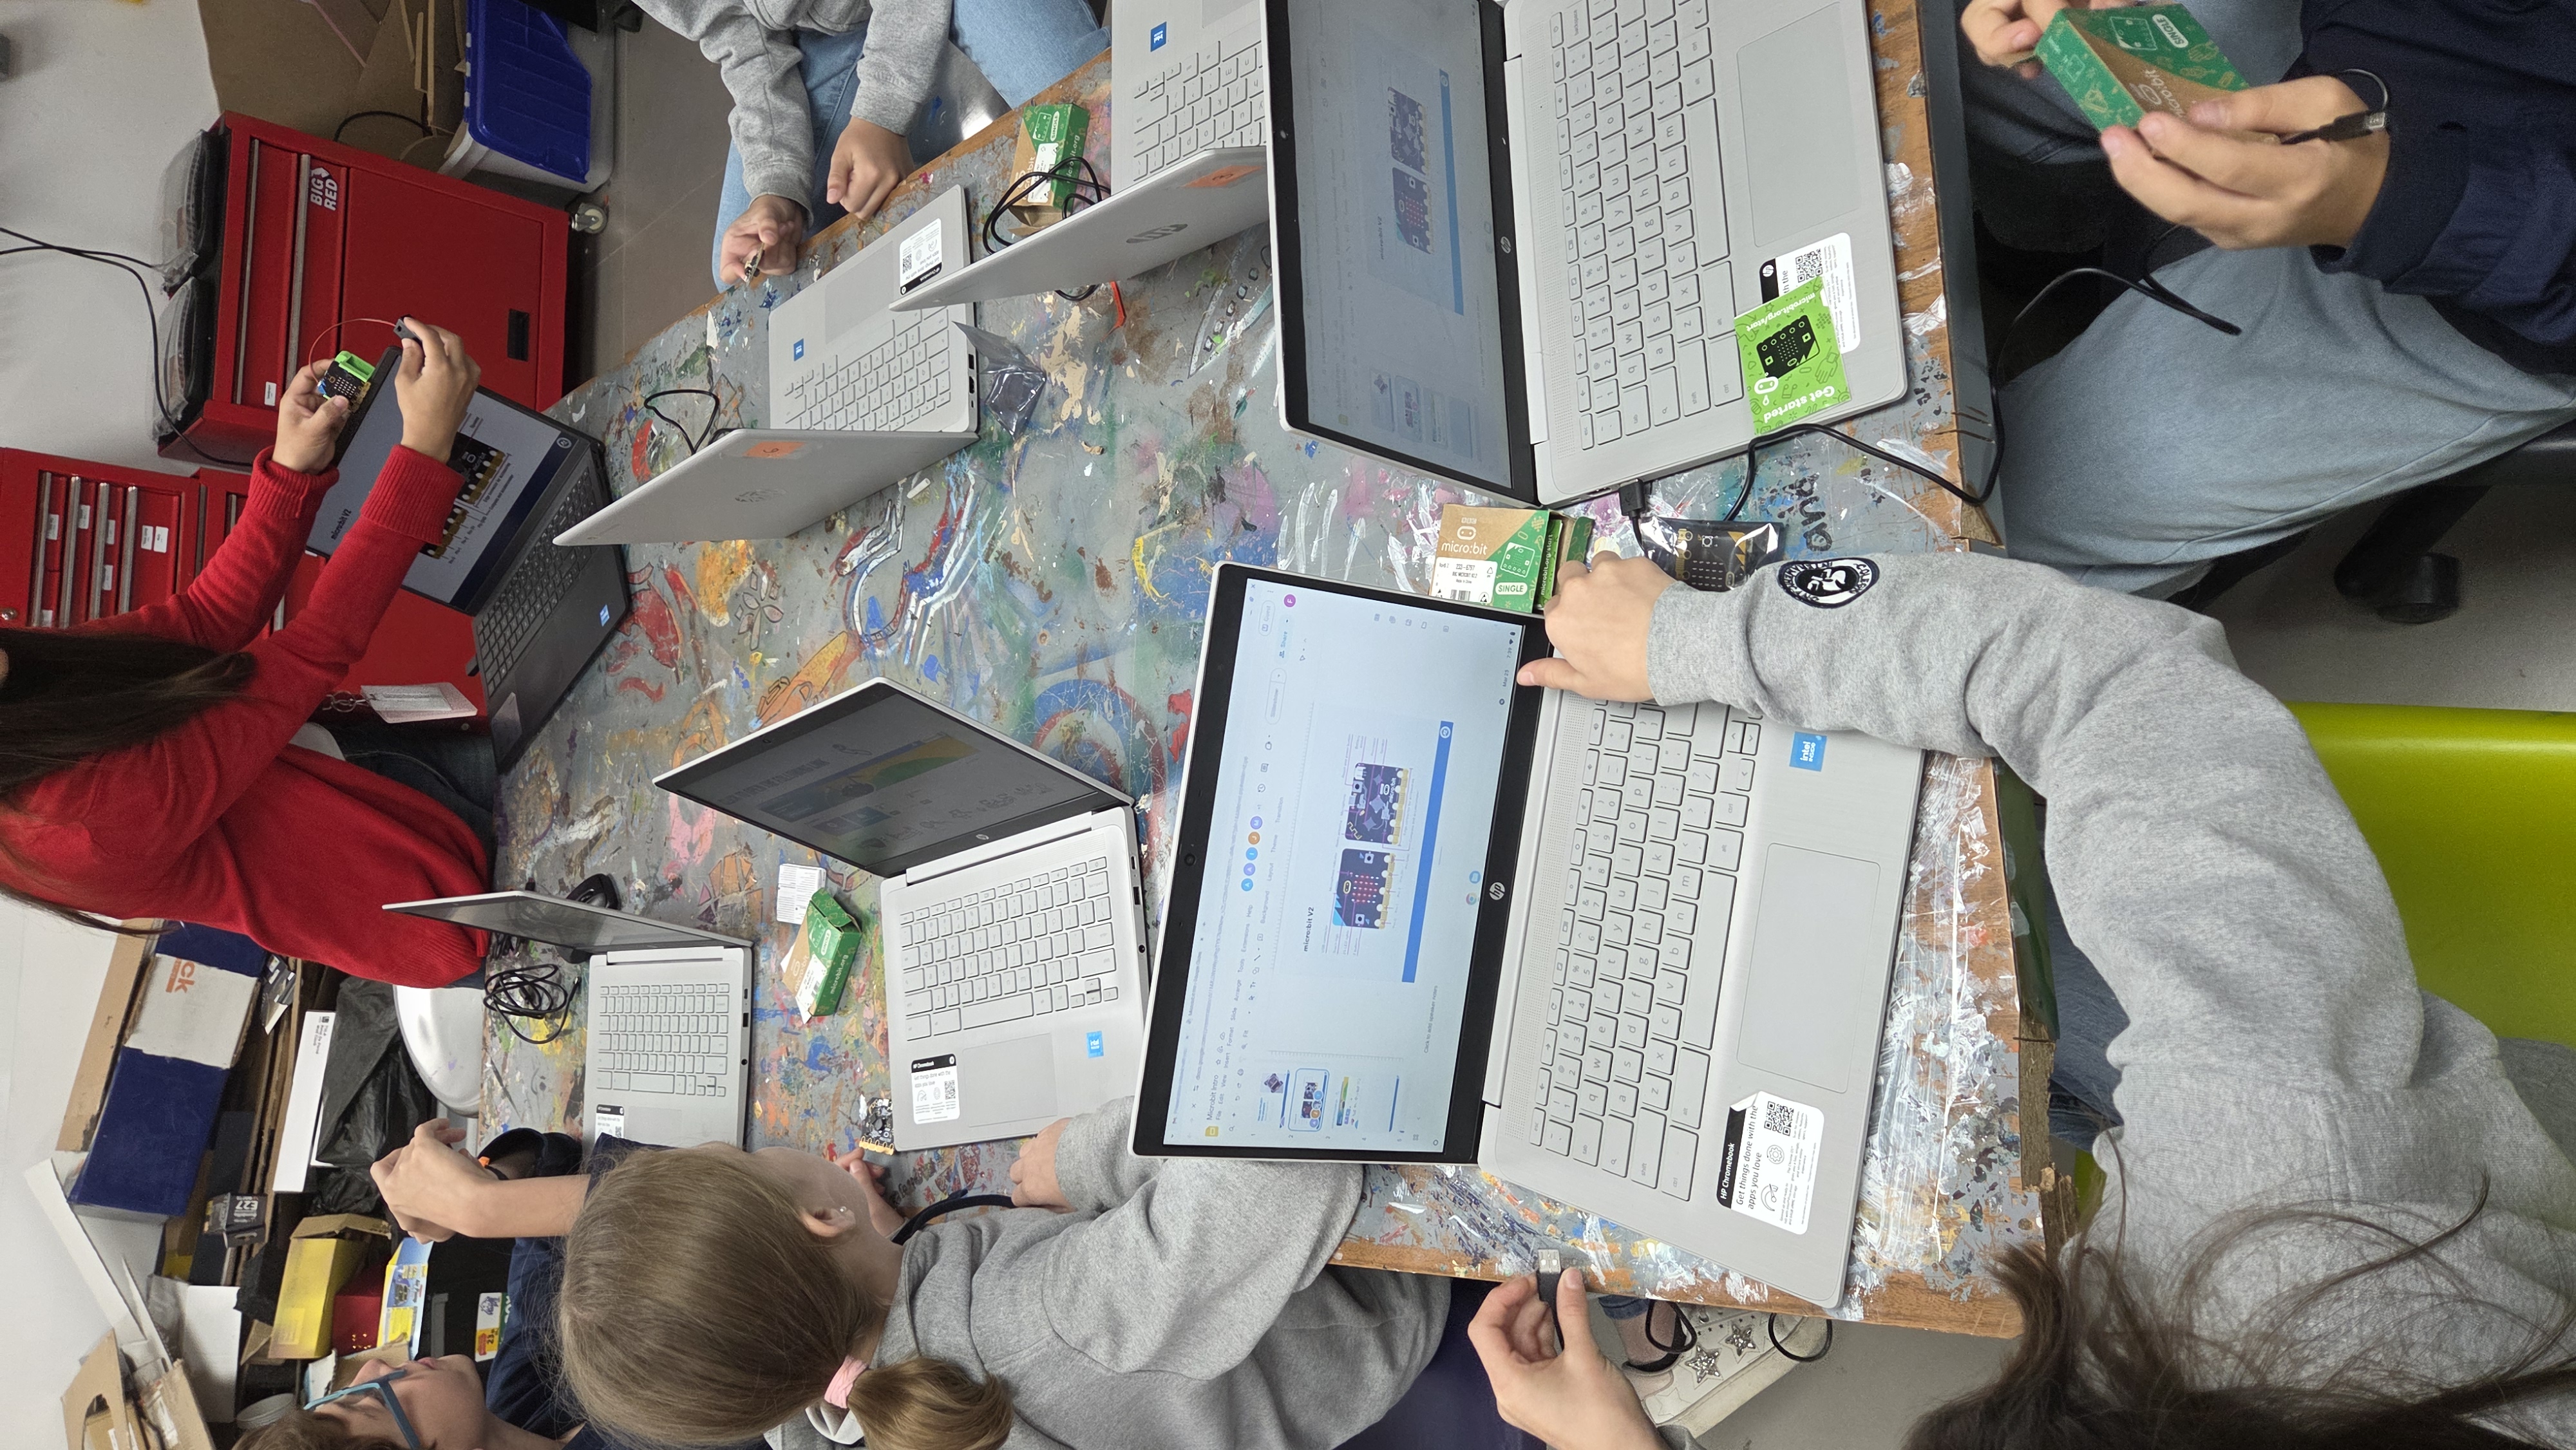
Students create a program where the MicroBit will register the acceleration. The program will ask the MicroBit to show a different "face" on the led lights according to the type of acceleration
Show students the program of MicroBit. It has small tutorials so students can practice and play a little with them if they have time.
As scafold, you can show students the code and have them change the faces that are displayed on each acceleration.
Have students upload the code to the MicroBit and connect the battery pack to it.
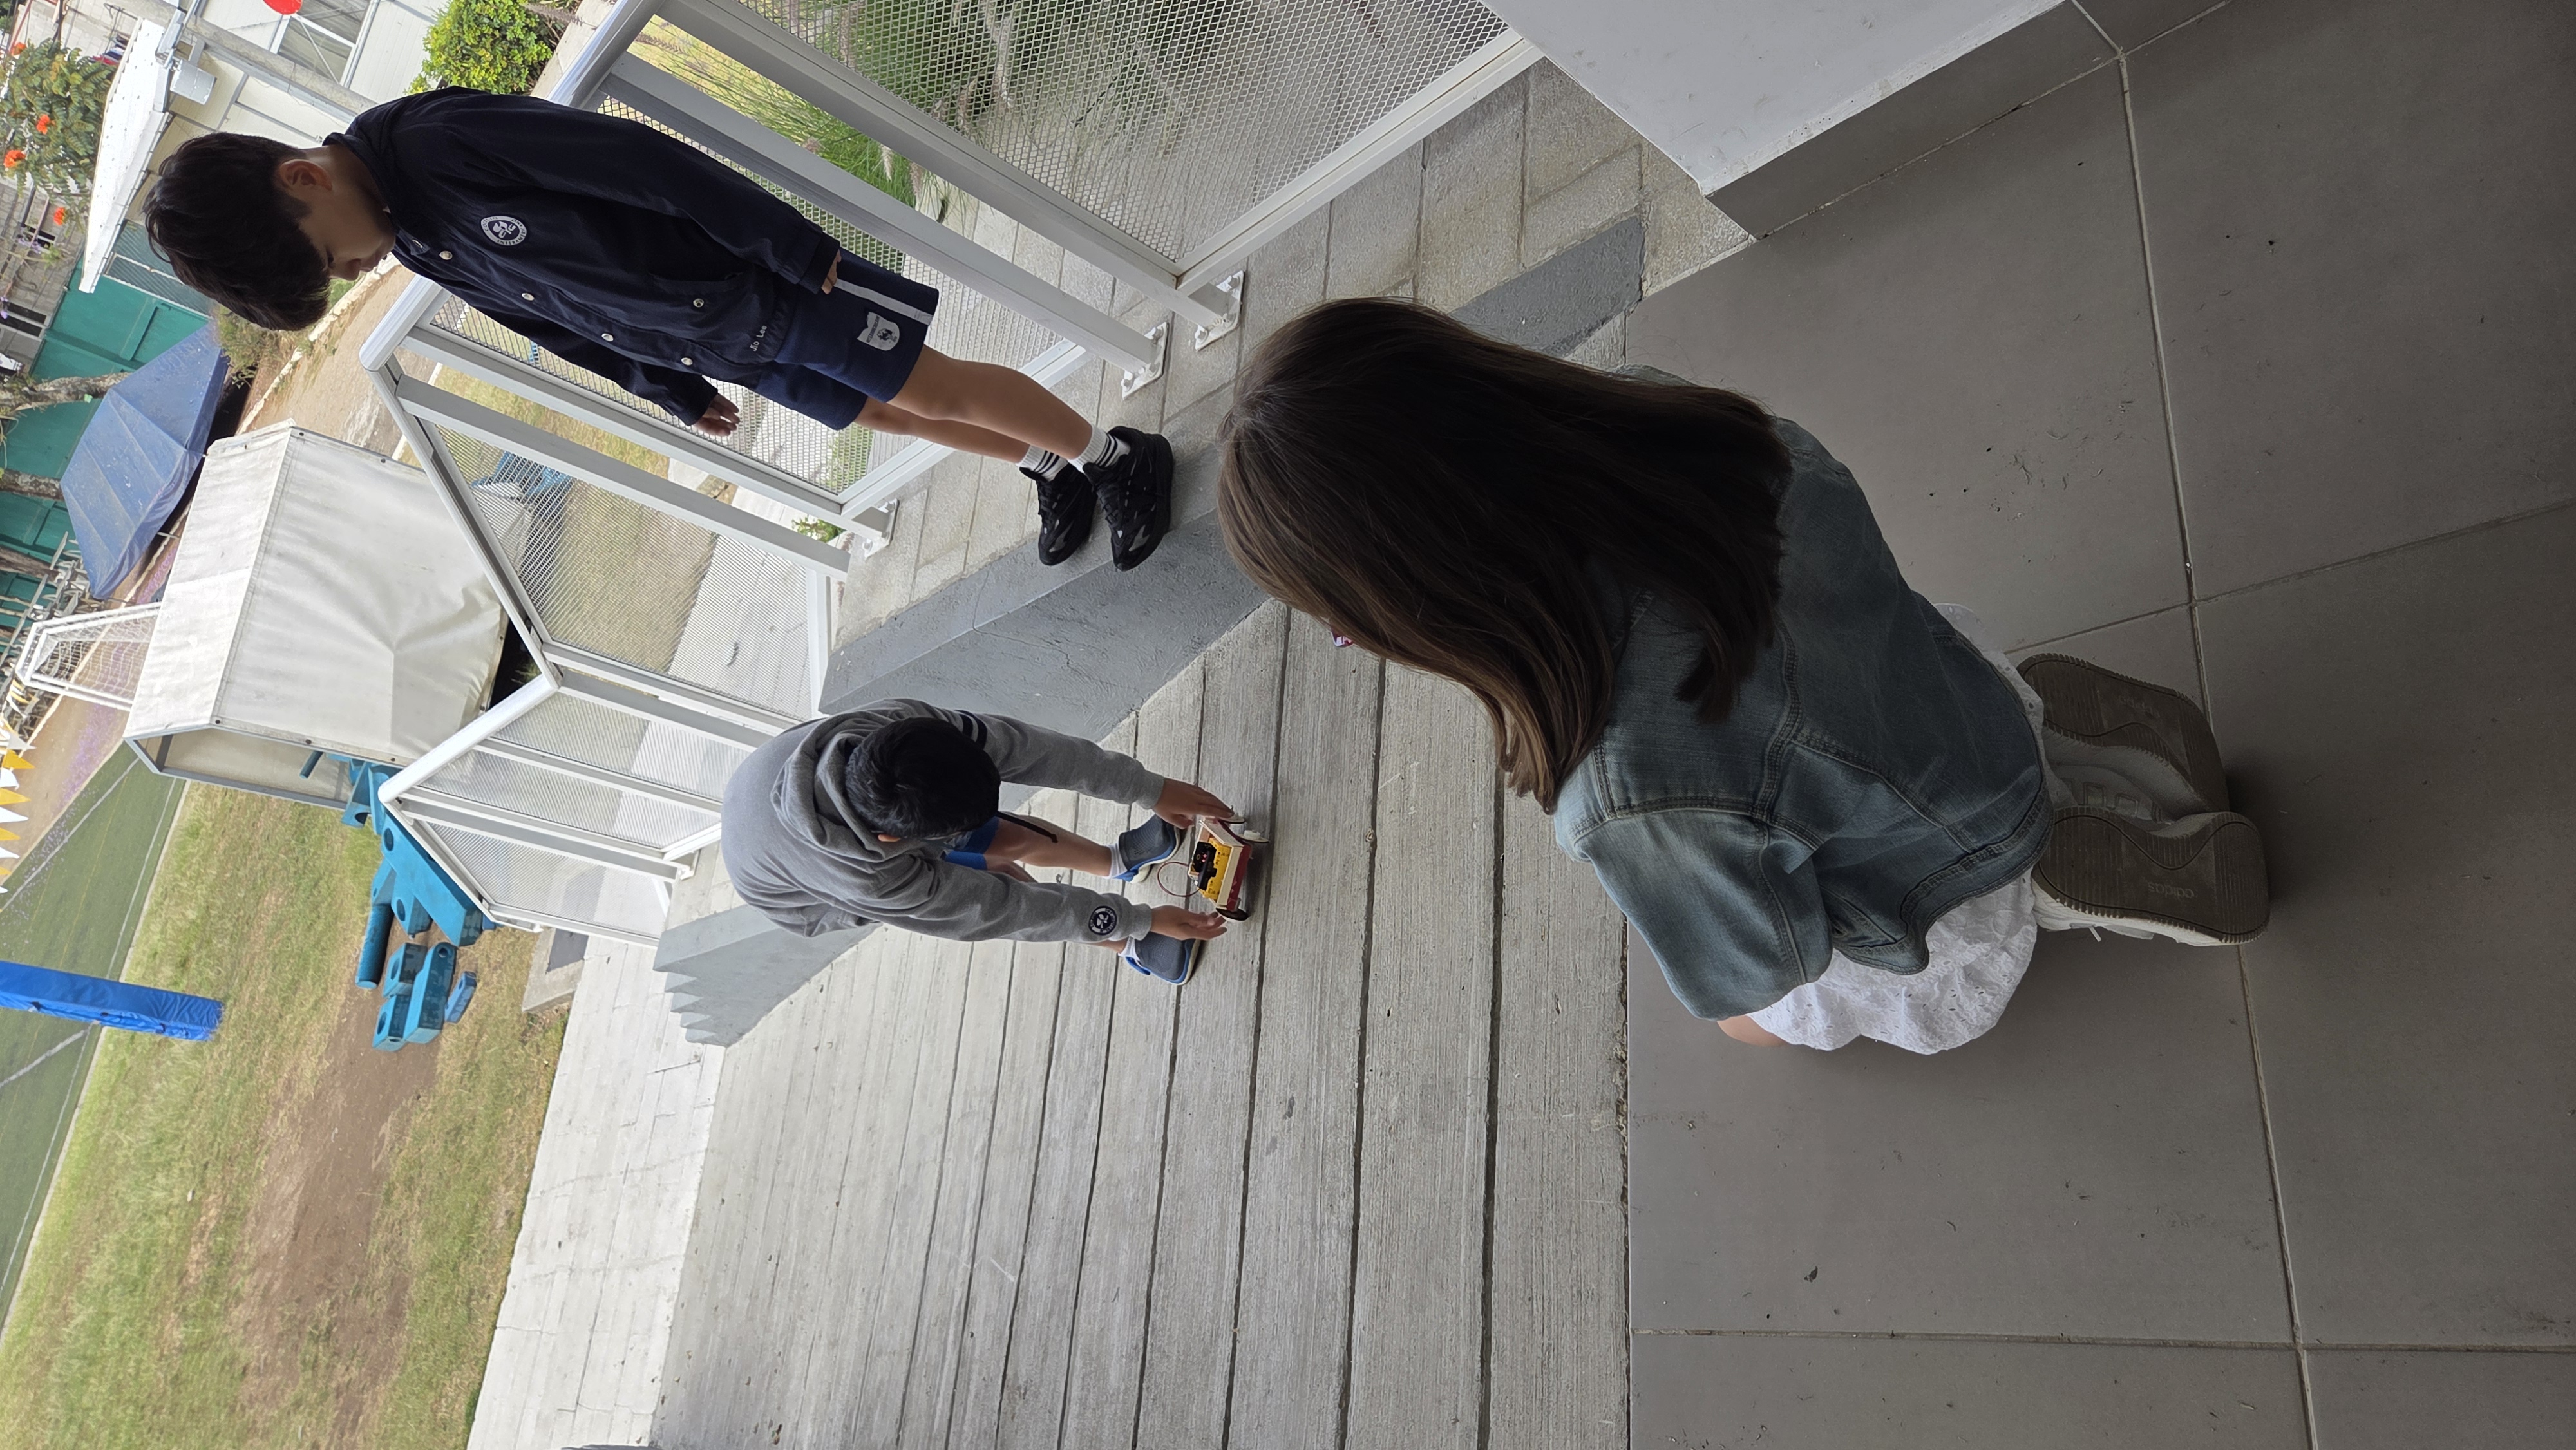
Students will put their MicroBit on their car and take it to different ramps to test it.
Show students how to connect the battery pack to the MicroBit.
Ask them to place both on their car.
Students will push the car around the FabLab in order to test the integrity of the car, how solid it is and how it moves.
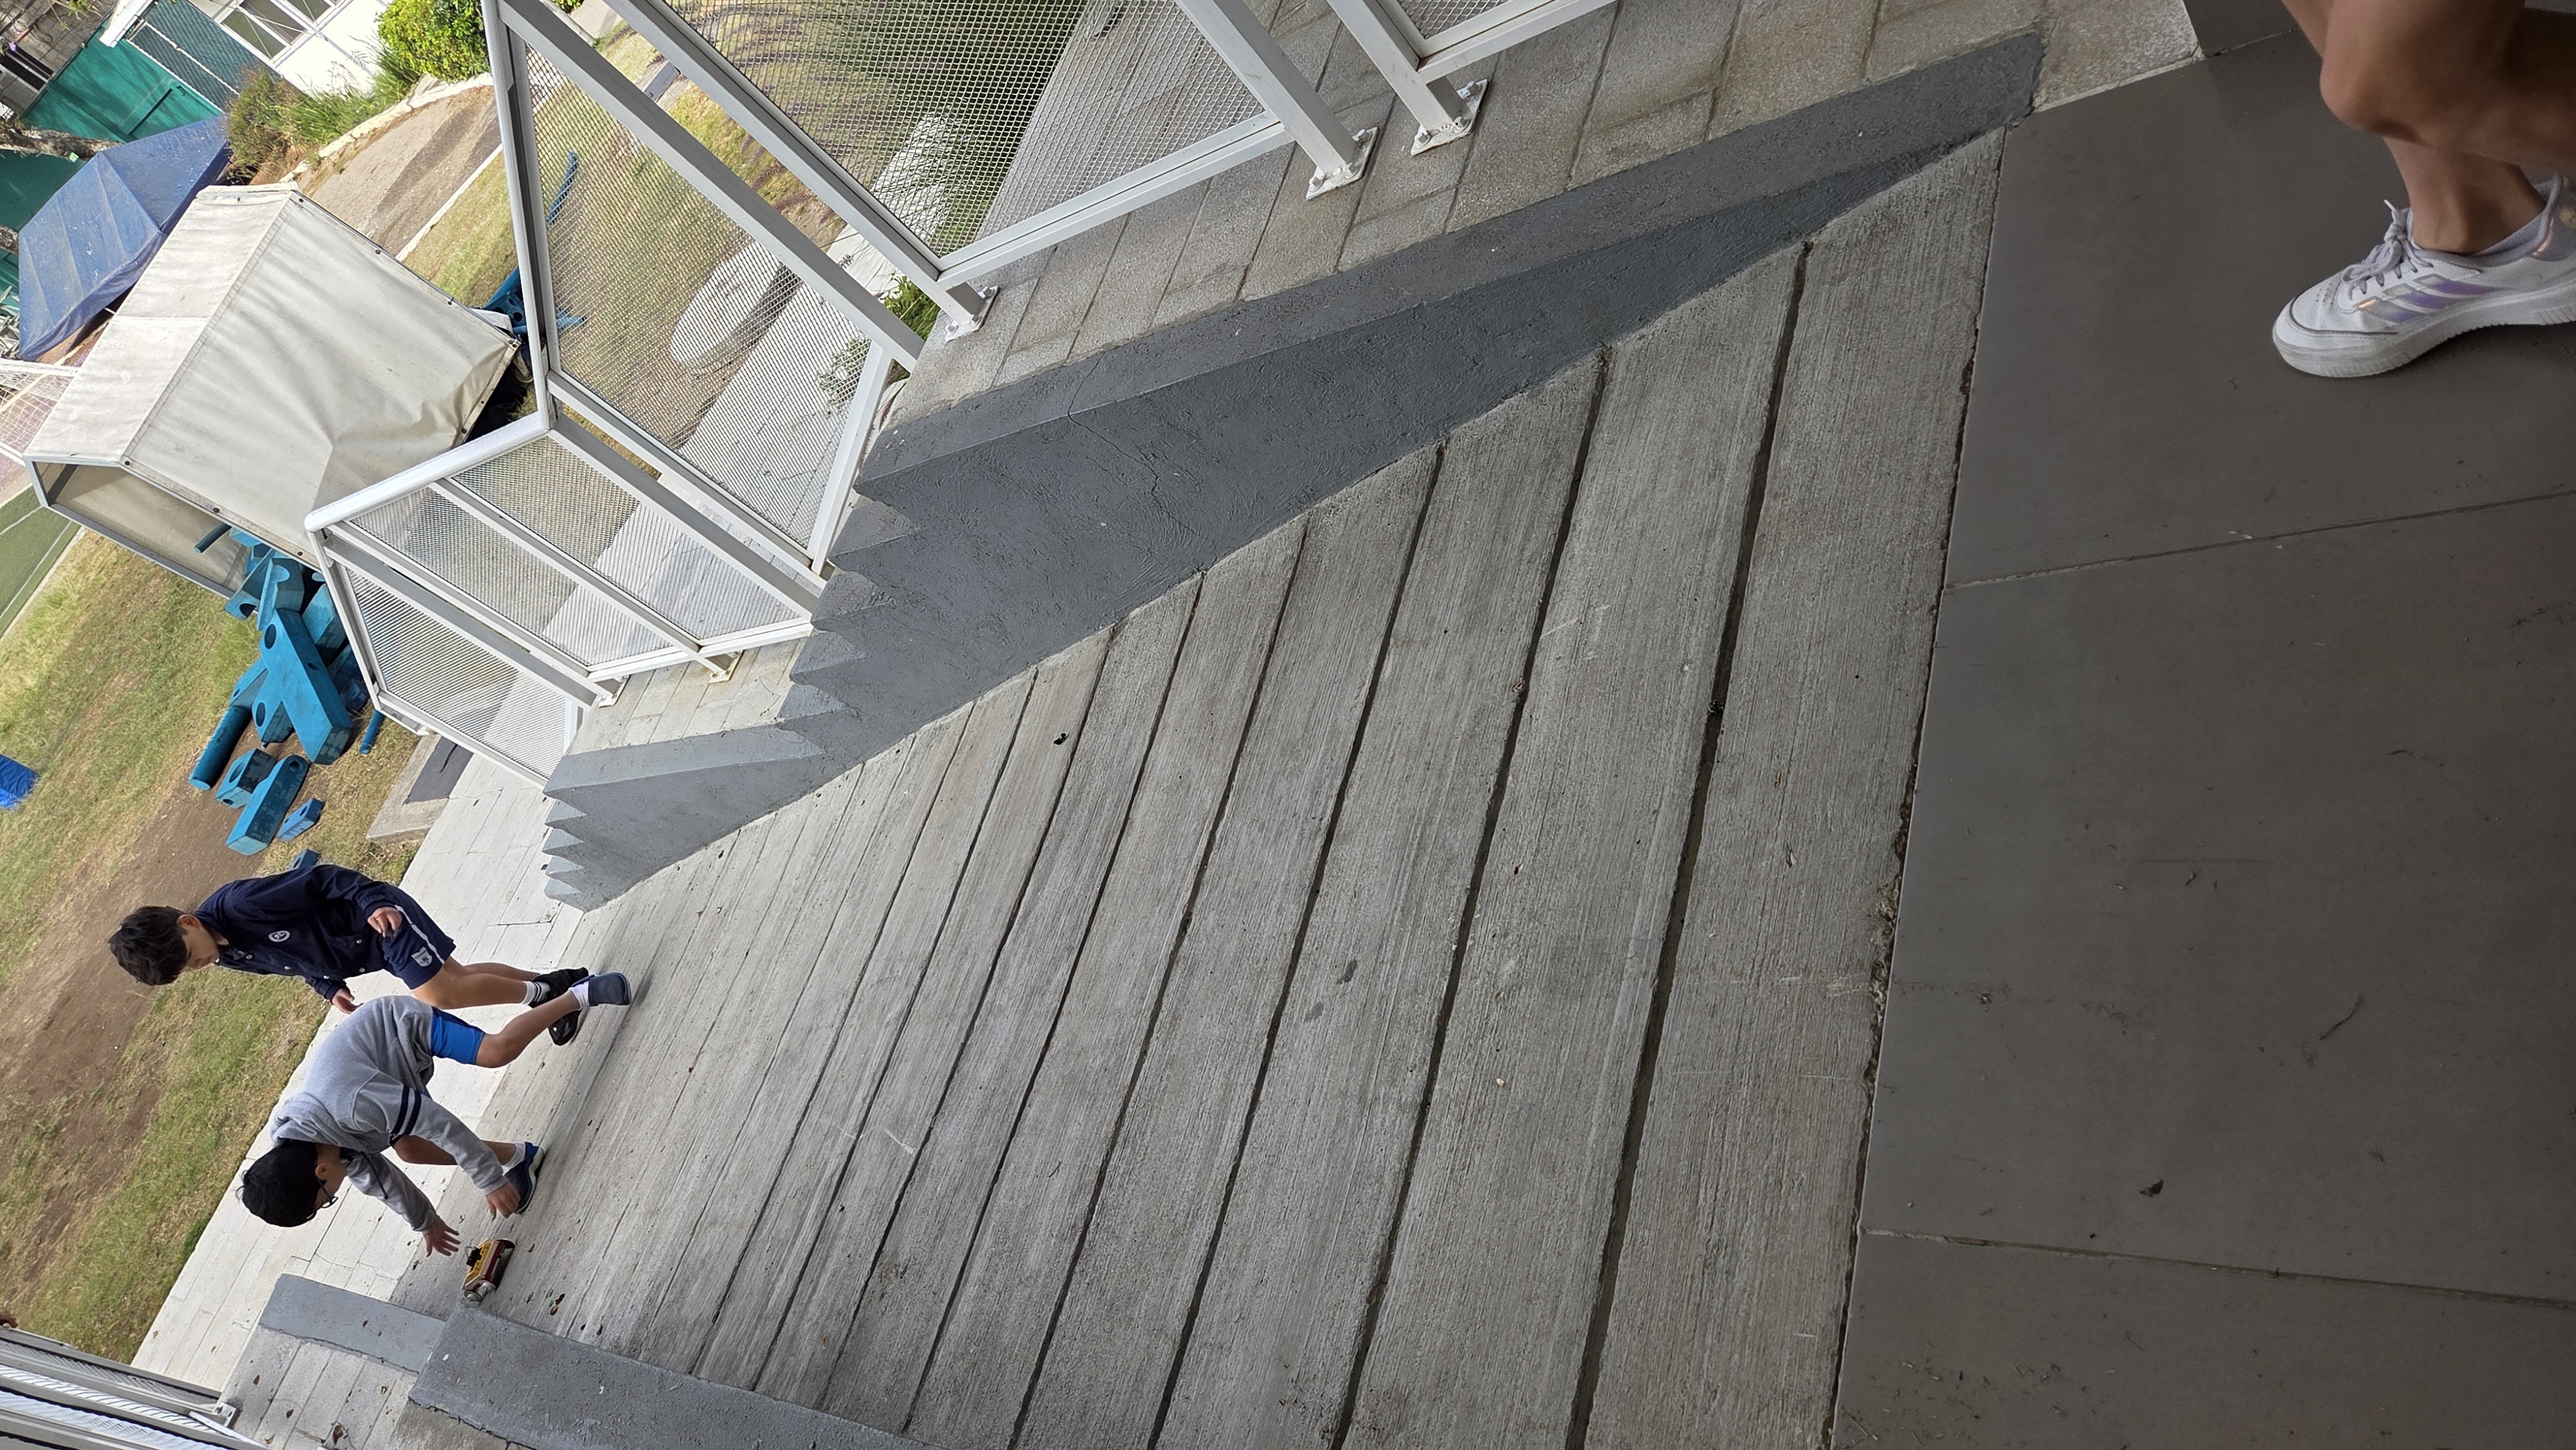
Once the car is ready, the students walk to the ramps. Put the car on top of the ramp, give it a small push in order to roll down the ramp.
As the car is rolling down, the led lights will show a different face according to the code built.
Students will record their findings on a worksheet
Students will take their findings, informatin taken and reflect on the results taken.
Give students questions for the reflection period. This can be doen as a worksheet attatched to the lesson plan, or display the questions on the board, and have a discussion as a class.
Having trouble? Let us know by completing the form below. We'll do our best to get your issues resolved quickly.
"*" indicates required fields