
- Loading…

This project combines physical computing with music, science, art, and math. It uses a micro:bit to detect the ideal sound of a rain stick and react two ways: “rain-like” sound vs. “too loud” based on a conversion from decibels to LUFS (Loudness Units relative to Full Scale).
LEARNING OUTCOMES:
Check our learning diary to read the reflection of each teacher:
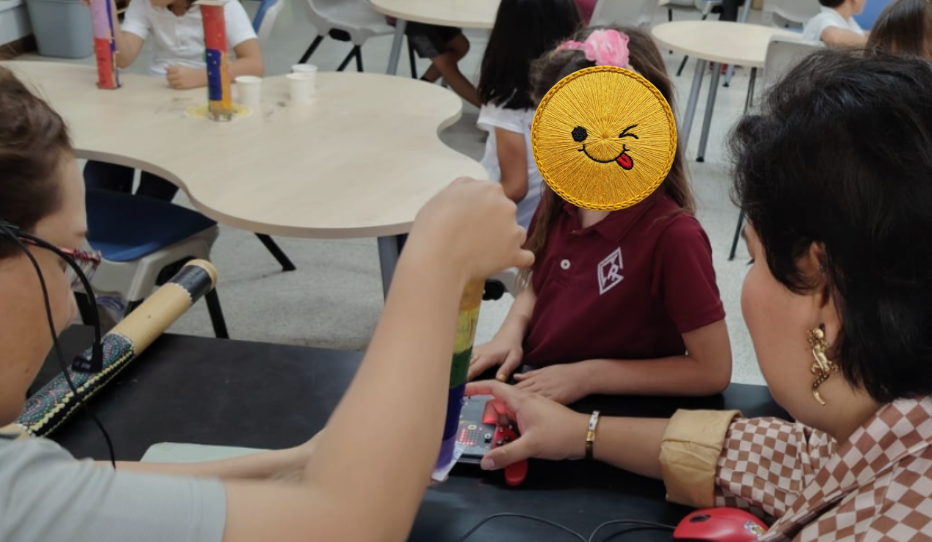
During this stage we worked together with Amaria Hernandez another FabLab student and a colleague of mine at American School of Guatemala, she is a STEAM teacher for elementary and I’m a visual arts teacher for middle school. While working on this project she was focused on the engineering process of the lesson and as I’m also a musician I was also focused on the sound element of our lesson and how this sound can imitate nature and be ideal for this representation. We did some research on how the instrument was build and I had one at home that I brought to school for students to experiment and brainstorm ideas about its design. Amaria pointed out how the specific alignment of the sticks instide the rain stick was going to change the sound level of the rain sticks that students were going to build.
While I focused on the artistic design process, visual creativity, engineering construction, and integration of the Micro:bit technology, Amaria Hernandez contributed disciplinary expertise related to sound dynamics, rhythm, listening analysis, and the interpretation of acoustic qualities in musical instruments.
Her contribution helped shape the lesson by encouraging students to analyze not only whether the instrument functioned technically, but also whether it produced an authentic and expressive “rain-like” sound. This shifted the project from simply building an object to intentionally designing for a musical and sensory outcome.
The collaboration strengthened student learning by connecting artistic decision-making, scientific testing, and musical listening practices into one design challenge.
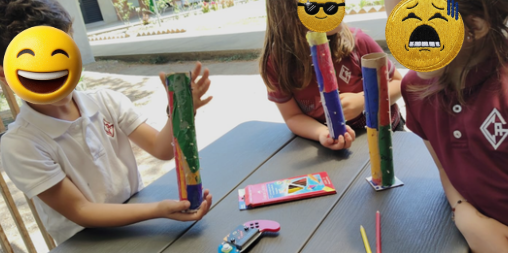
Students explore the cultural and physical origins of rainsticks and begin the external decoration of their instruments.
Engage & Research (15–20 min): Facilitate a brief discussion using the following guiding questions:
Listening Session: Play recordings of various rainstick rhythms. Encourage students to describe the textures and patterns they hear.
Rainstick Art (30–45 min): Provide each student with a paper towel cylinder.
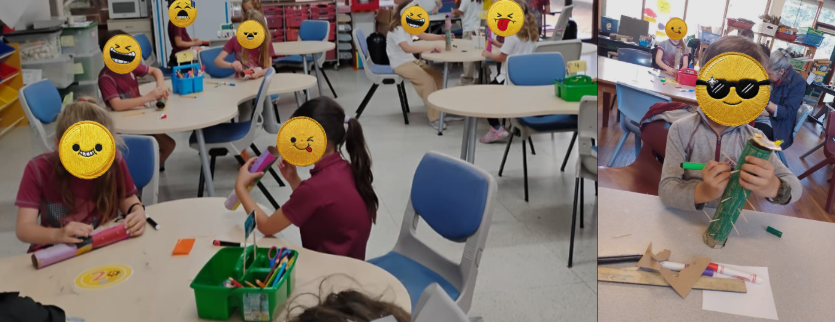
Students focus on the internal structure of the rainstick and explore the concept of volume (loud vs. soft).
Structural Planning: Students plan the placement of the internal “baffles” (toothpicks). (30 minutes)
Construction: Assist students in sealing one end of their rainstick to prepare for sound testing. (10 minutes)
Exploring dynamics: While students work, call them up in small groups to discuss loud vs. soft sounds. (10 minutes)
Students experiment with different materials to find the most realistic "rain" sound.
Inquiry-Based Testing: Students investigate which grains best imitate the sound of falling rain.
Variable Testing: Provide various materials (e.g., beans, rice, and chickpeas).
Decision Making: Students must decide on their final “recipe” based on the auditory results of their tests.
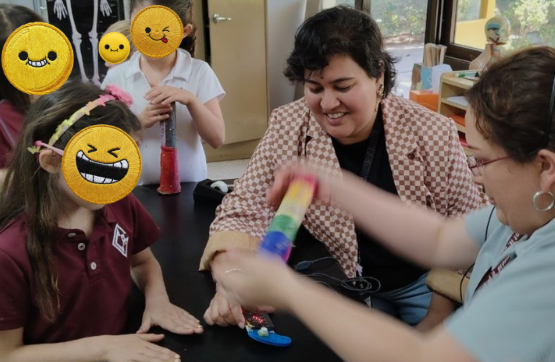
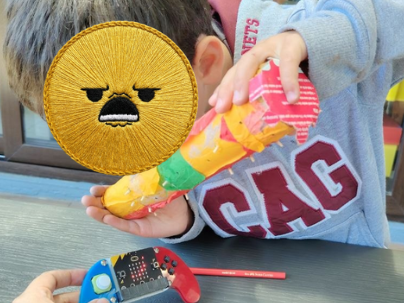
Students use a Micro:bit to scientifically measure if their rainstick falls within the target decibel range.
Preparation: Pre-load the Micro:bits with code designed to measure sound levels.
The “Target” Range: Explain that a standard rainstick typically falls between 20–35 decibels.
Testing & Iteration: Students test their instruments against the Micro:bit sensor.
Engineering Improvement: If students do not receive a checkmark, encourage them to iterate on their design by adjusting the toothpick density or changing the grain type/amount.
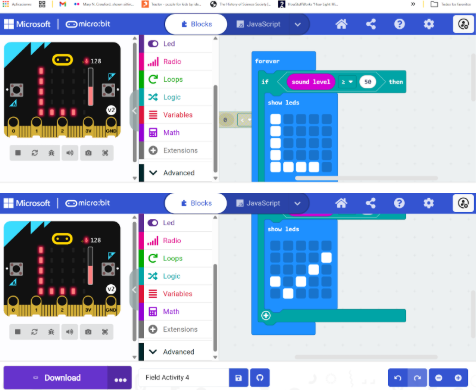
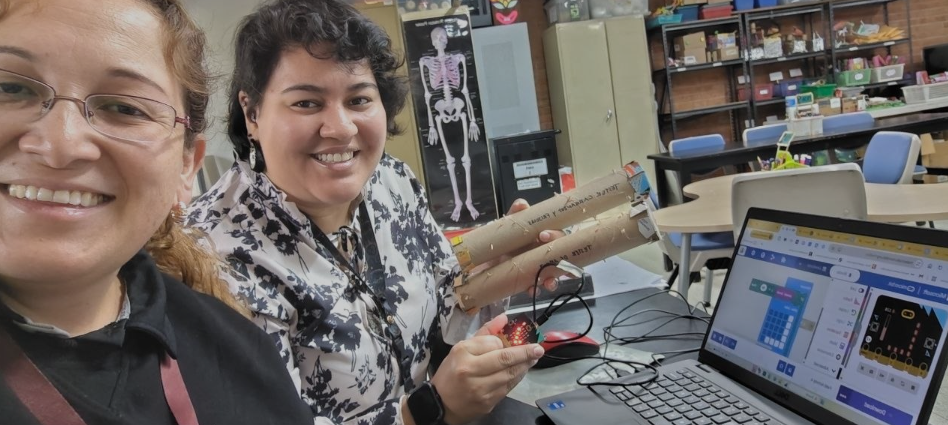
Evaluation Rubric includes the following aspects: -Functional Rainstick Construction -Use of Micro:bit for Measurement -Sound Classification -Problem-Solving & Persistence
Teacher can use the following evaluation rubric for this project
The Magic of Sound: Rain Stick Resonance Lab – EVALUATION RUBRIC
Having trouble? Let us know by completing the form below. We'll do our best to get your issues resolved quickly.
"*" indicates required fields