
- Loading…

Students will be able to experiment with different kinds of mechanisms and observe how their different pieces interact and work together.
3D Printers
PLA Filament
Paper
Pencils
Scale for measuring in grams
Craft Materials
Tape
Students will be able to observe some common mechanisms and understand how their parts together modify motion and force.
Students will be able to identify and differentiate between mechanisms, simple machines and complex machines.
Students will know how different gear ratios can be used to control speed and torque.
Students will understand the concept of friction and how to work with it to get desired results in mechanisms.
You’ll 3D print the different parts required for the activity.
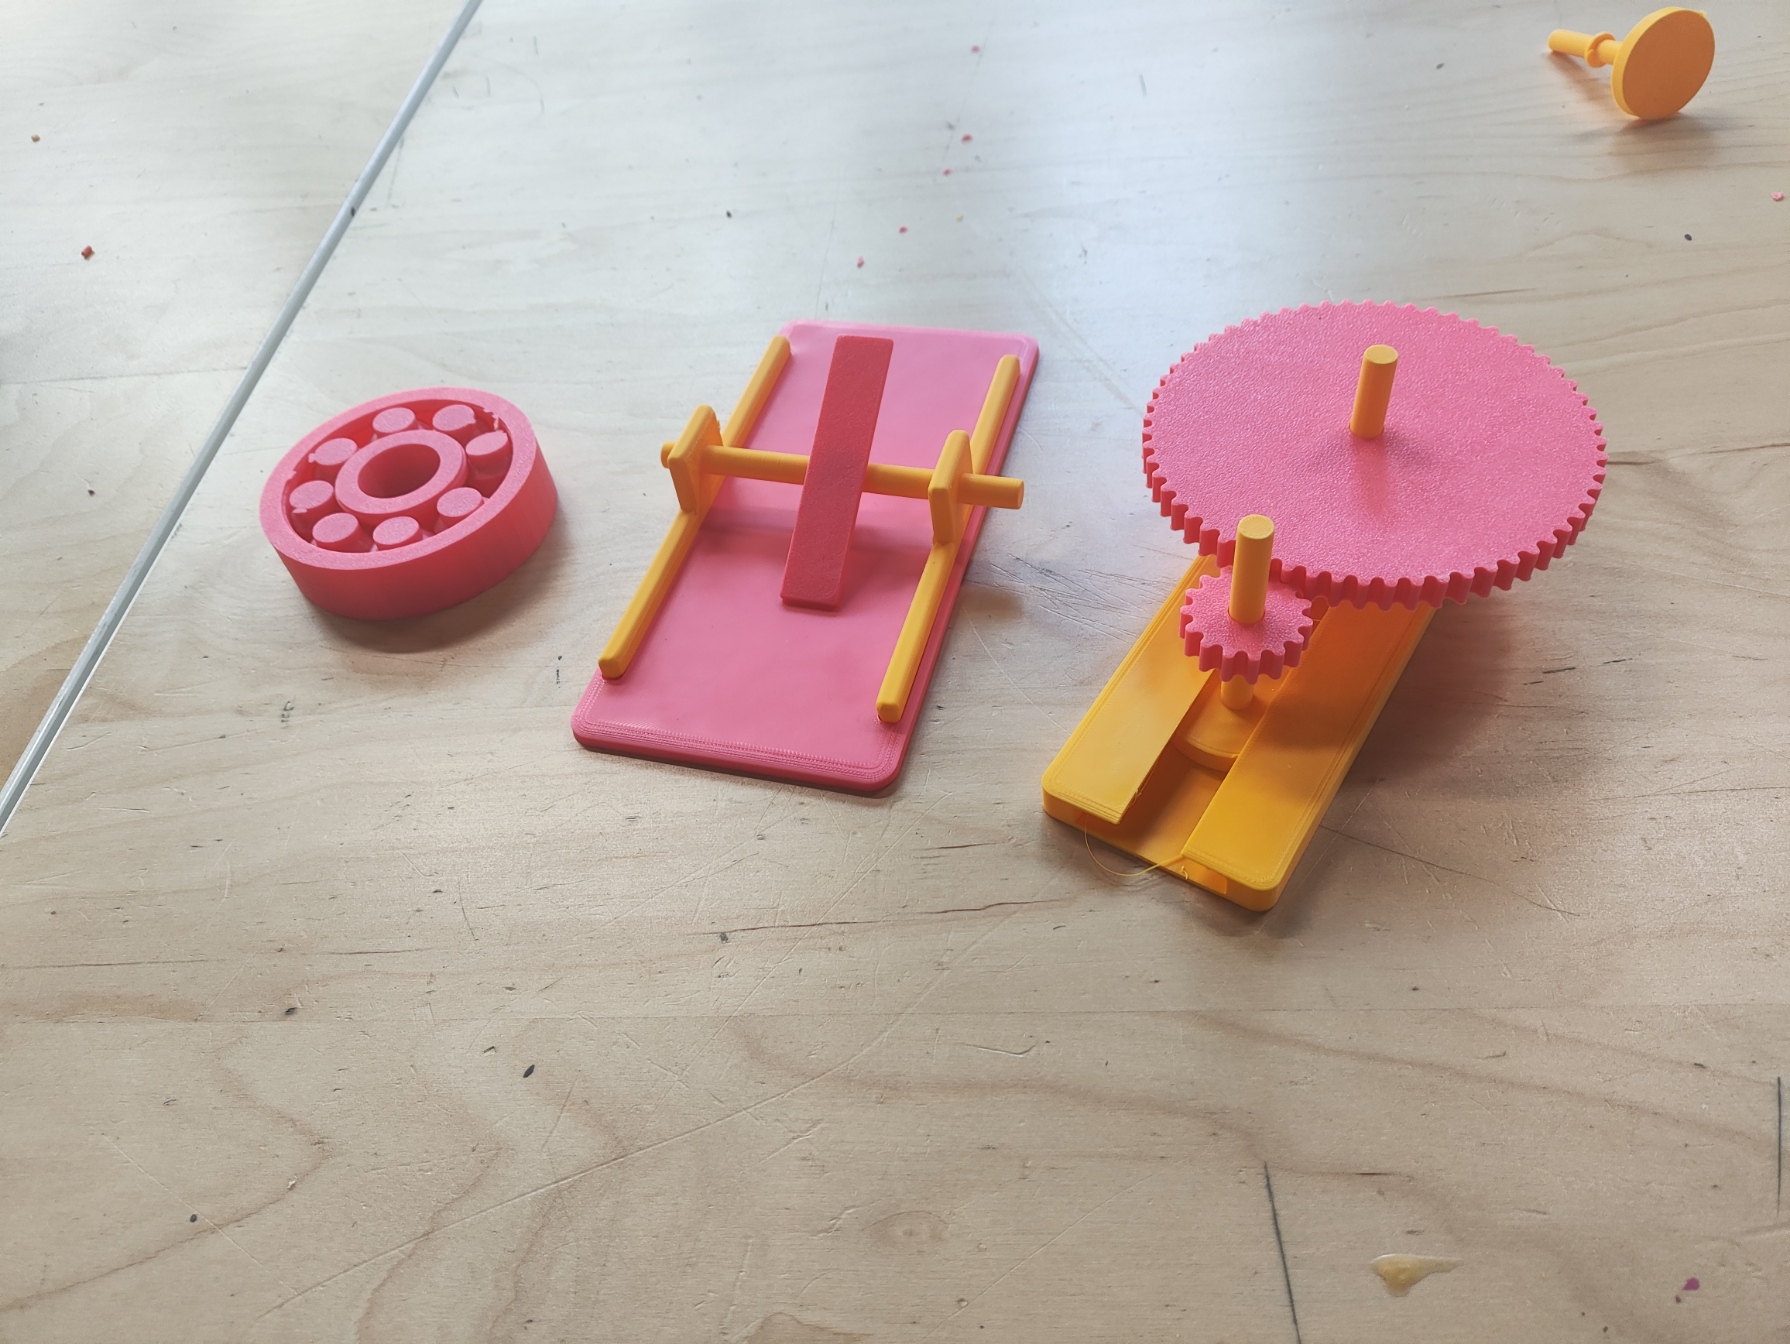
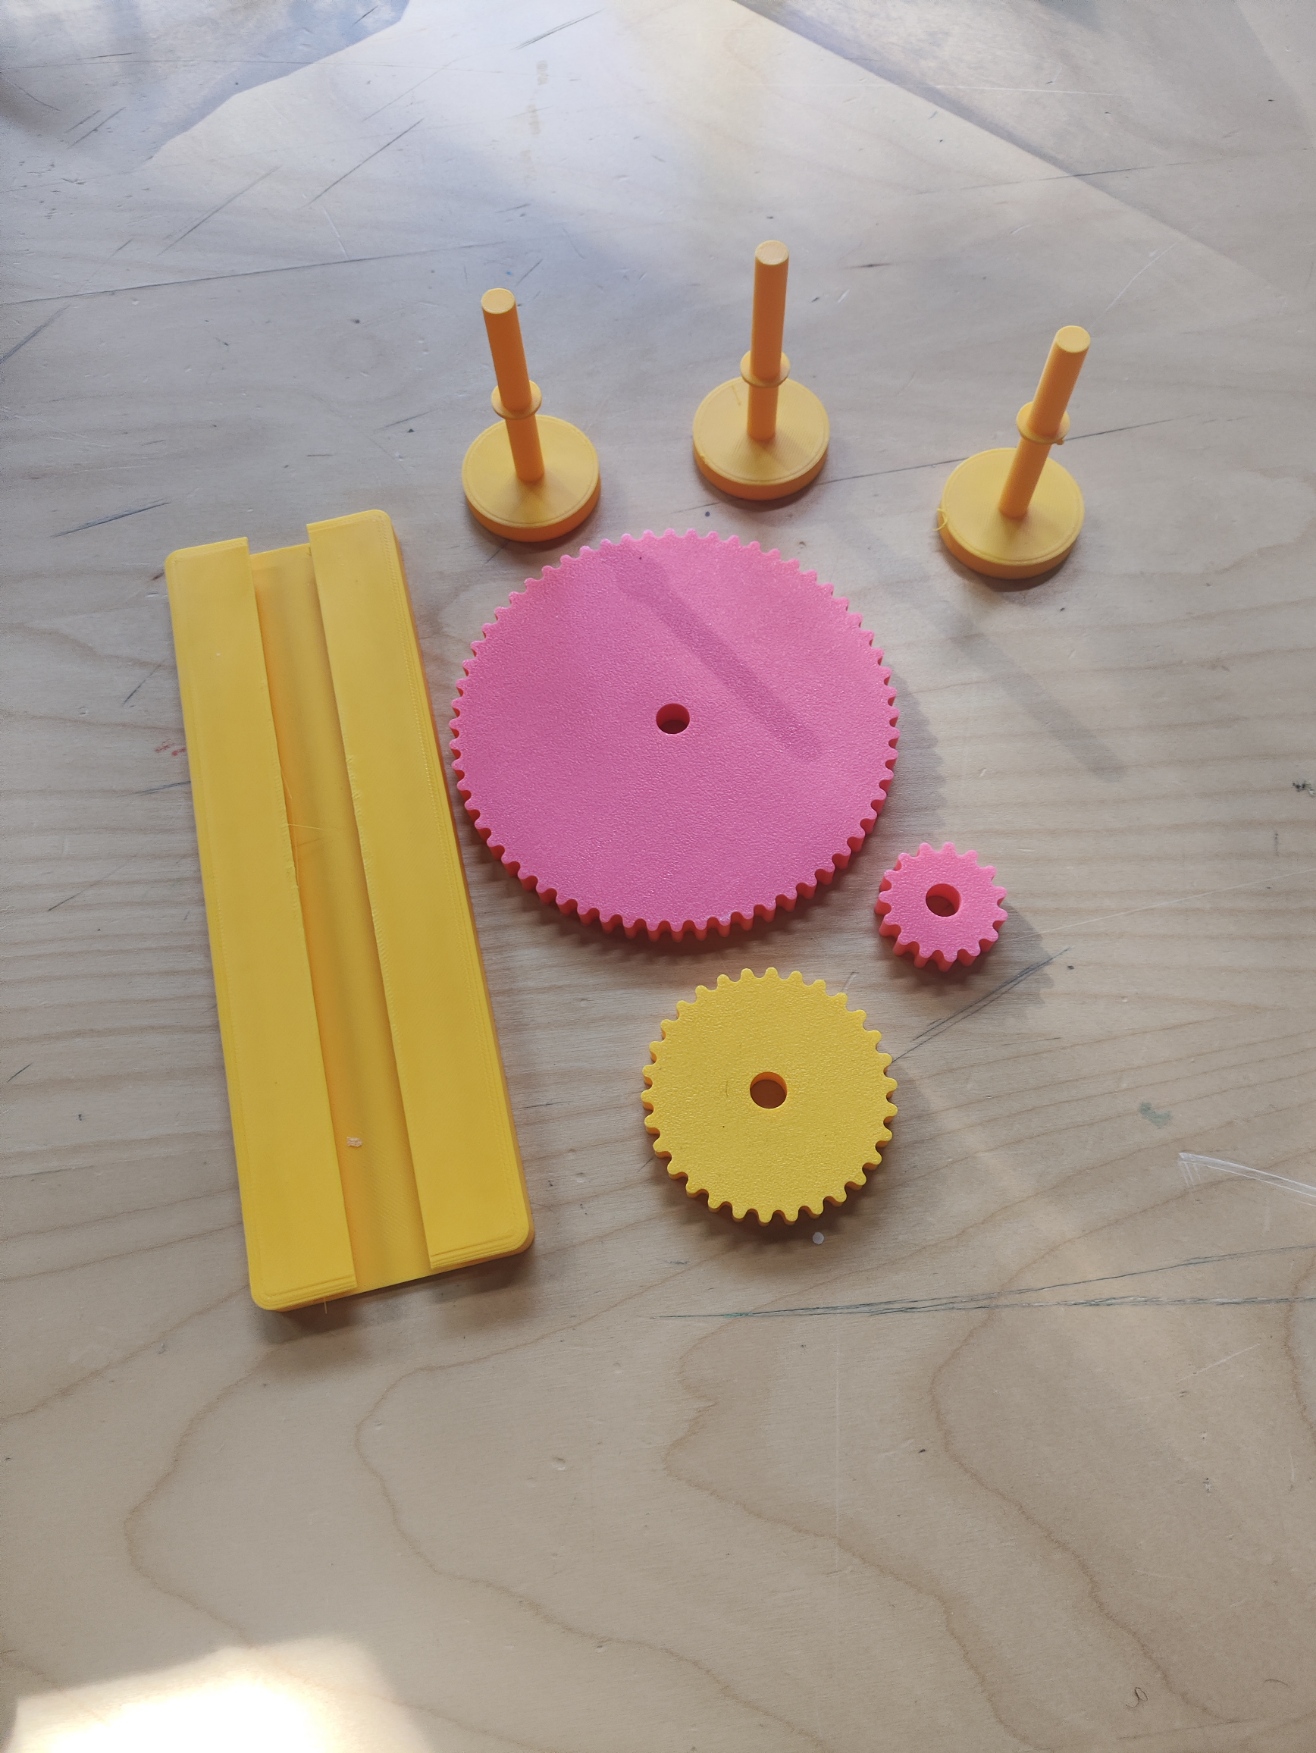
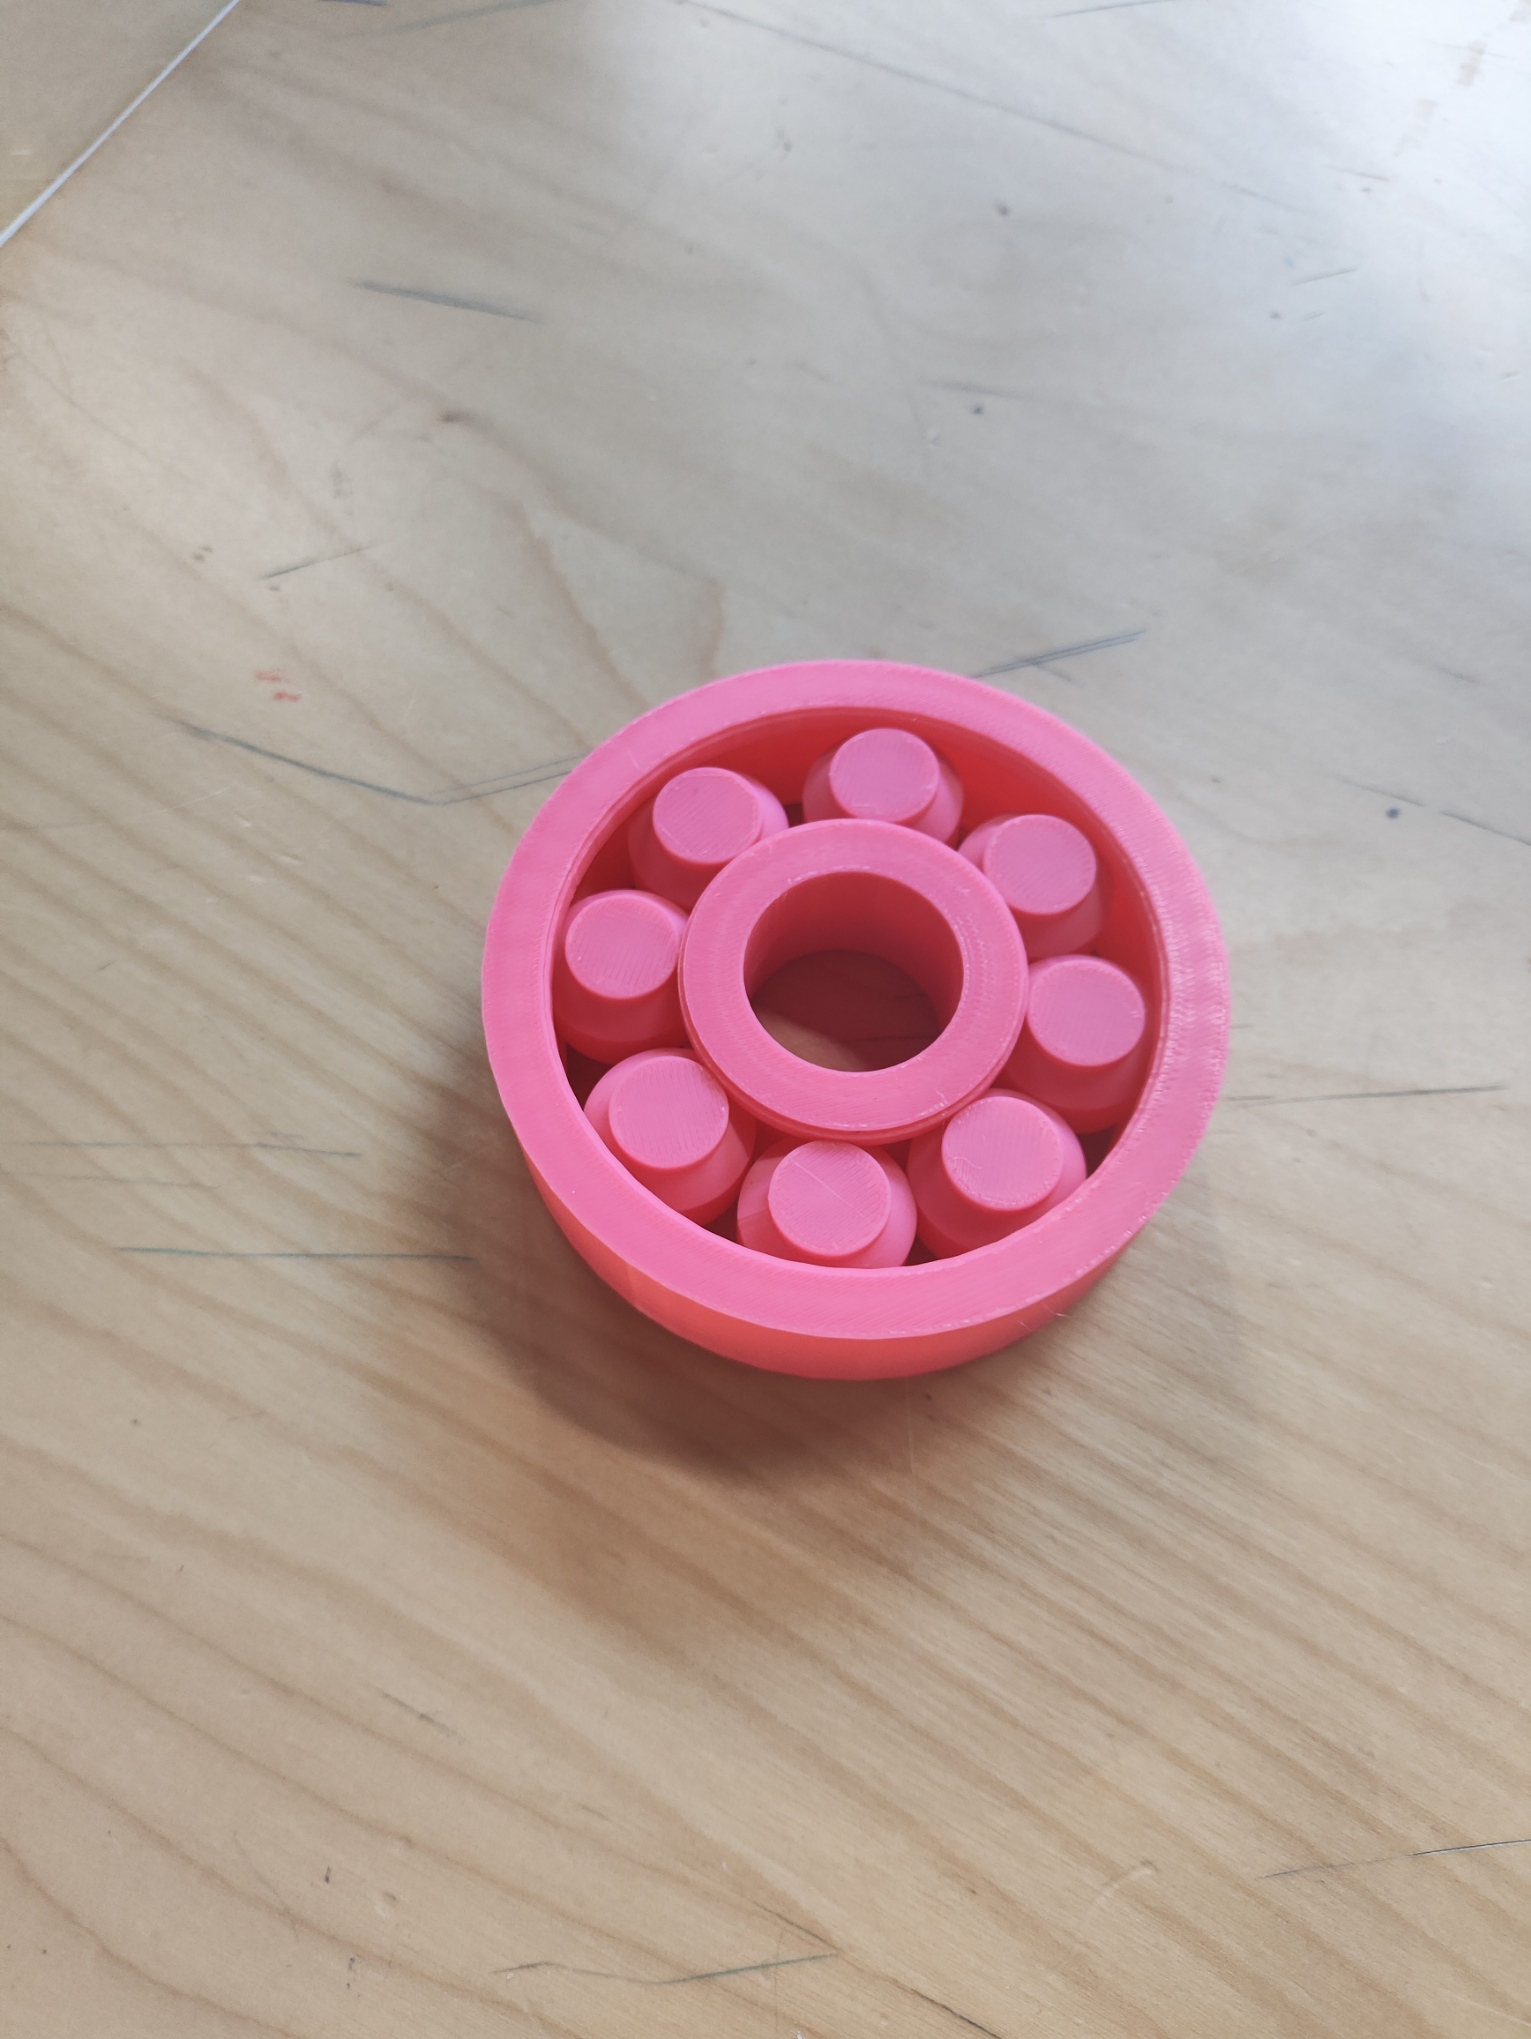
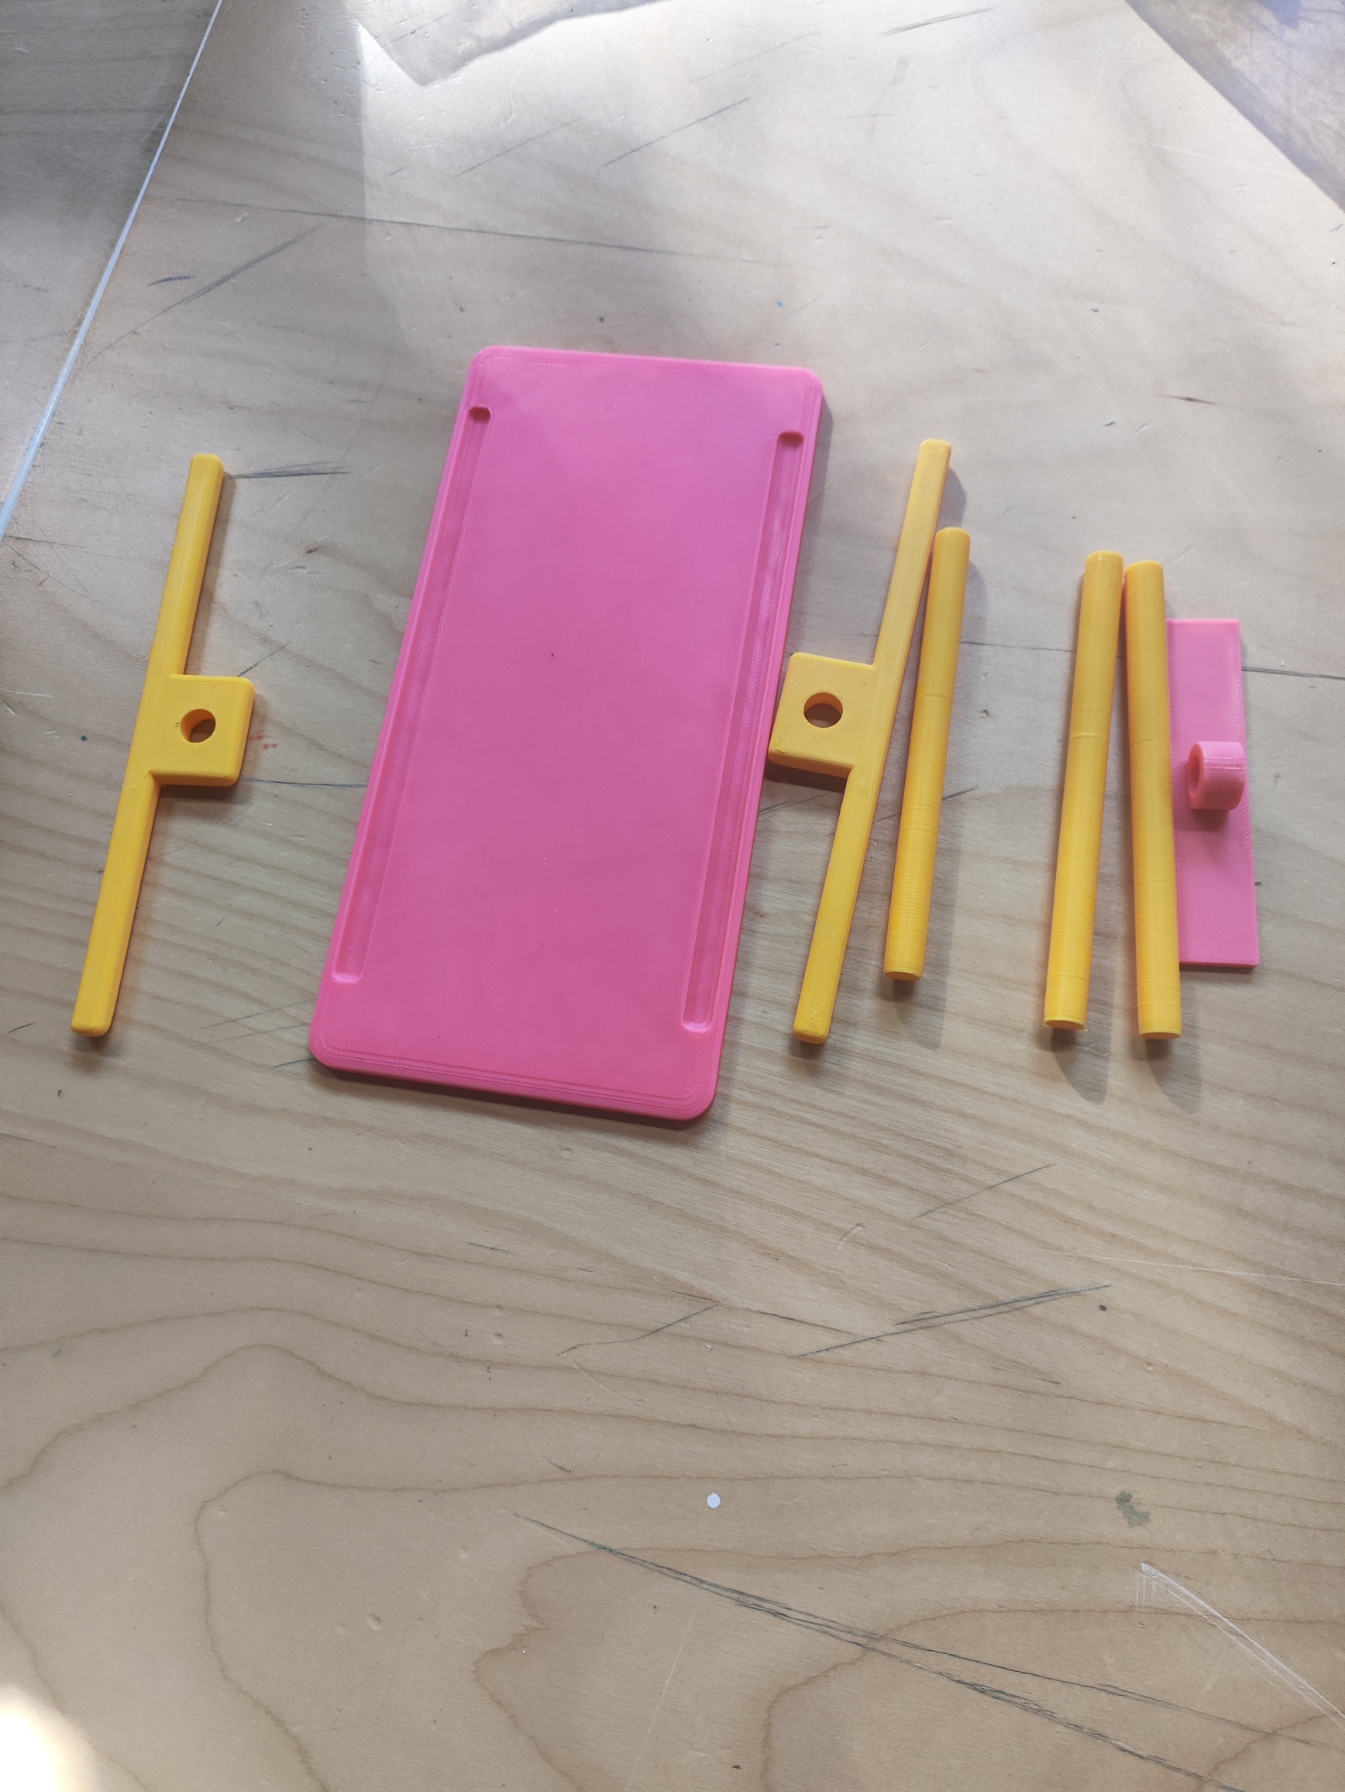
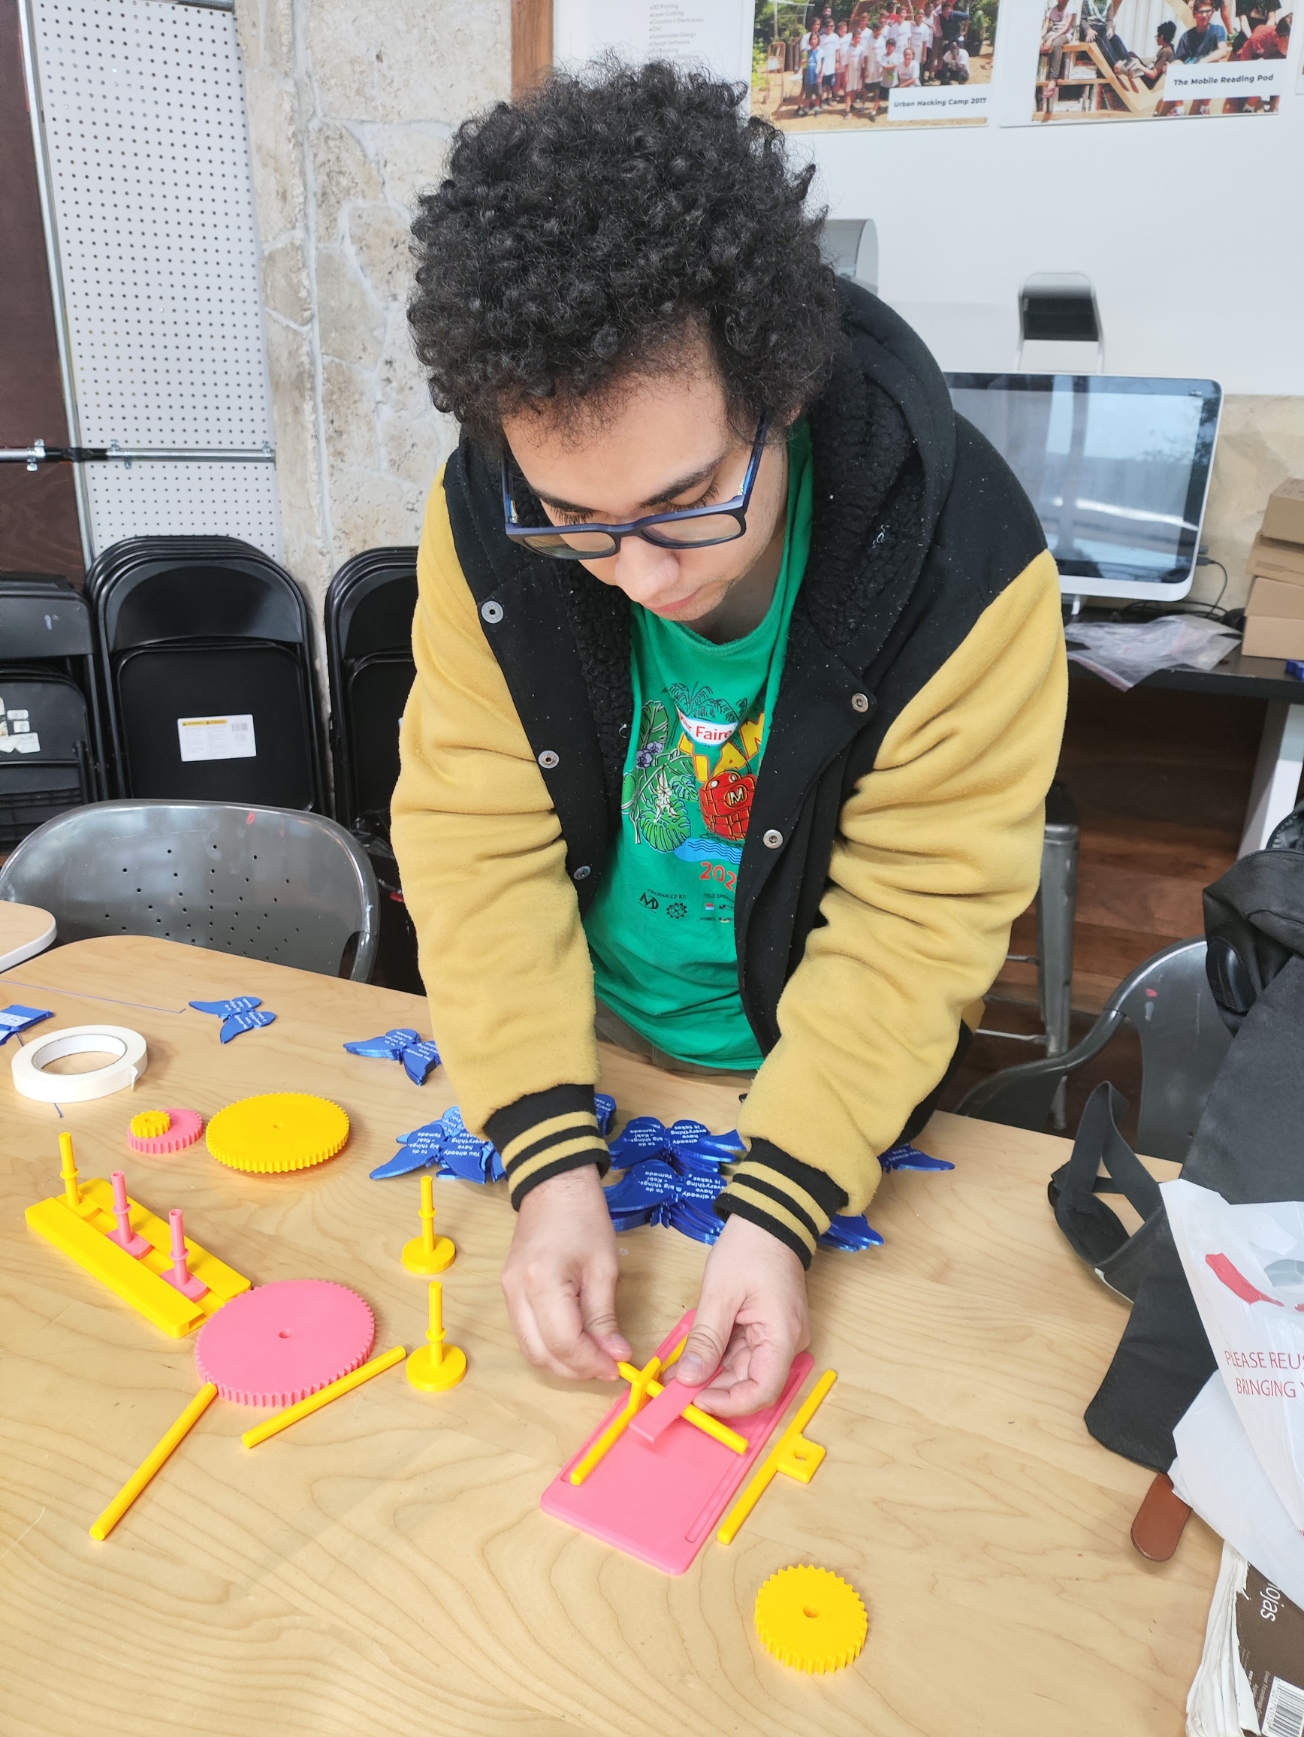
Utilizing the STL files in this lesson plan, you’ll use your slicer software and 3D printer of choice to get the different parts of the mechanisms the students will be interacting with. You’ll have the following parts:
You are free to modify or add to these parts to have more variety.
You’ll teach students about different types of machines.
Tell the students about simple machines (like the lever), complex machines (like a gear train) and mechanisms (like a ball bearing). It is important to note that simple machines produce work, therefore a ball bearing is not a simple machine as it only reduces friction and helps with power transmission (moving force from one place to another), as well as the fact that a gear is lever, but when put together with other gears to create a gear train, it creates a complex machine.
The students start interacting with the mechanisms.
The students will try to figure out how the ball bearing works. You’ll explain that the rotation and shape of the balls reduces friction, permitting an easier, smoother rotation. It also constraints motions to one axis. Afterwards, have them create something to attach to the bearing with craft materials, making it an actual functional mechanism. The creation can range from something as simple as a body for a fidget spinner, to something more complex like a car using the bearing as wheels.
They’ll try to put together the lever, using the base, a stick, the stands and the lever plank. They can try the three different sticks, each of which has a different thickness, therefore clearance, to see how friction affects the functionality of the lever. Using a scale, make them weight different small objects and have them annotate how much weight difference is needed to make each of the different sticks actually move the lever.
Finally they play with the gear by putting it on the gear sticks (each has a different elevation), inserting them in the base and spinning the gears. The gear is a lever with a rotational motion that when paired with other gears creates a gear train. They should discover that spinning a gear with more teeth makes the one with less teeth spin faster, and vice versa. They can also see the existence of idler gears: if you put the 30 teeth gear between the 60 teeth and 15 teeth, the speed change is the same as if connecting the 15 teeth directly to the 60 teeth. You can also explain how spinning a lower teeth gear increases the torque (the strength) the higher teeth gear produces. If you print multiple sets of gears you can also try introducing compound gear trains. With some tape they can make a mark on the gears and calculate how much more quickly the smaller gear spins compared to the other too. If you were able to build a compound gear by printing more gears, you can also tell them to calculate how many layers of compounding are needed to reach a specific increase in speed.
Students reflect and think of applications for what was learned.
The students will take notes on paper about how the mechanisms worked, what they discovered by using them and they’ll try to come up with ideas on things they are able to create using these mechanisms. They can present their ideas to the others before the end of class.
Having trouble? Let us know by completing the form below. We'll do our best to get your issues resolved quickly.
"*" indicates required fields