- Loading…

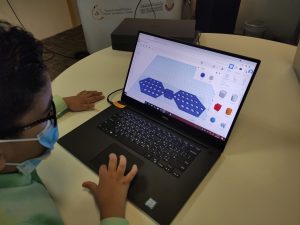
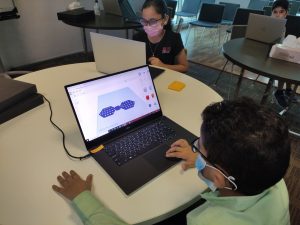
In this session, participants will get introduced to TinkerCad software to create and customize 3D Bow tie.
Participants will learn the fundamentals of 3D printing and Cura software to prepare their 3D models of the bow tie for 3D printing.
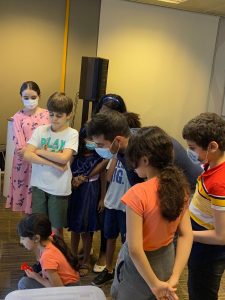

This lesson has been build based on project/ problem based learning, that's mean that the kids will have a problem and they need to solve it in a practical way by making their own projects. In the beginning of the lesson introduce a problem to them, and ask them about the possible solutions. I recommend to mention something related to the sustainable development goals - SDG- if it possible such as topics related to health, education, climate change, food, etc... Note: I recomment to iclude ice breaking activity within the introduction.

Introduce some examples of 3d printed or laser cut projects related to fashion

Explain about the process of digital manufacturing Design >>> Machining >>> Final product.

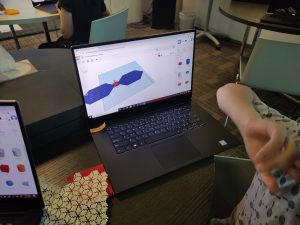
explain what is 3D design which is a 3d representation of any object or surface in a 3D space and introduce tinkercad software. explain the basics of tinkercad software and ask participants to follow you step by step inorder do design a bow tie.


3D printing explain Cura software and about the 3D printer machine
introduce 3D pring to participants

say 3D printing is adding layer above layer untel we get the final shape and engage them with some open questions
like:
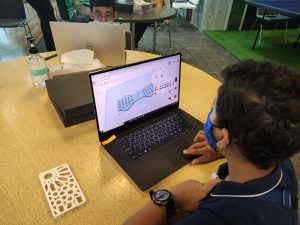
regarding the picture below what are the defirences between the two objects?
which object is the strongest?
why?
which object need more time to print?
.
.
.etc.

Introduce participants to cure software and explain what are the outcome and why we use the software.
explain to participant that this software help us to communicate with the machine and transform our design into codes that the machine can understand.
before participants start using cura they should learn about the 3D
ask them to come in groups and explain about the machine parts including
material filament
tubes
feeder – conroll the speed of the filament and move it towards the head
extruder heads – it heats the material and melt it
and explain about the filament path from the spool until the extrusion head.


Having trouble? Let us know by completing the form below. We'll do our best to get your issues resolved quickly.
"*" indicates required fields