- Loading…

In celebration of two decades of innovation and impact, this online session was held as part of the global Arduino Day events marking the 20th anniversary of the Arduino platform. The session offered participants a comprehensive introduction to the Arduino board and its capabilities, with a particular focus on circuit simulation using the Tinkercad platform. As a creative tribute, attendees designed and simulated a circuit programmed to play the “Happy Birthday” melody—honoring 20 years of Arduino’s contributions to open-source electronics.
1- Computers
2- Presentation
After attending this session, participants will be able to:
● Familiar with Arduino platform and what it do.
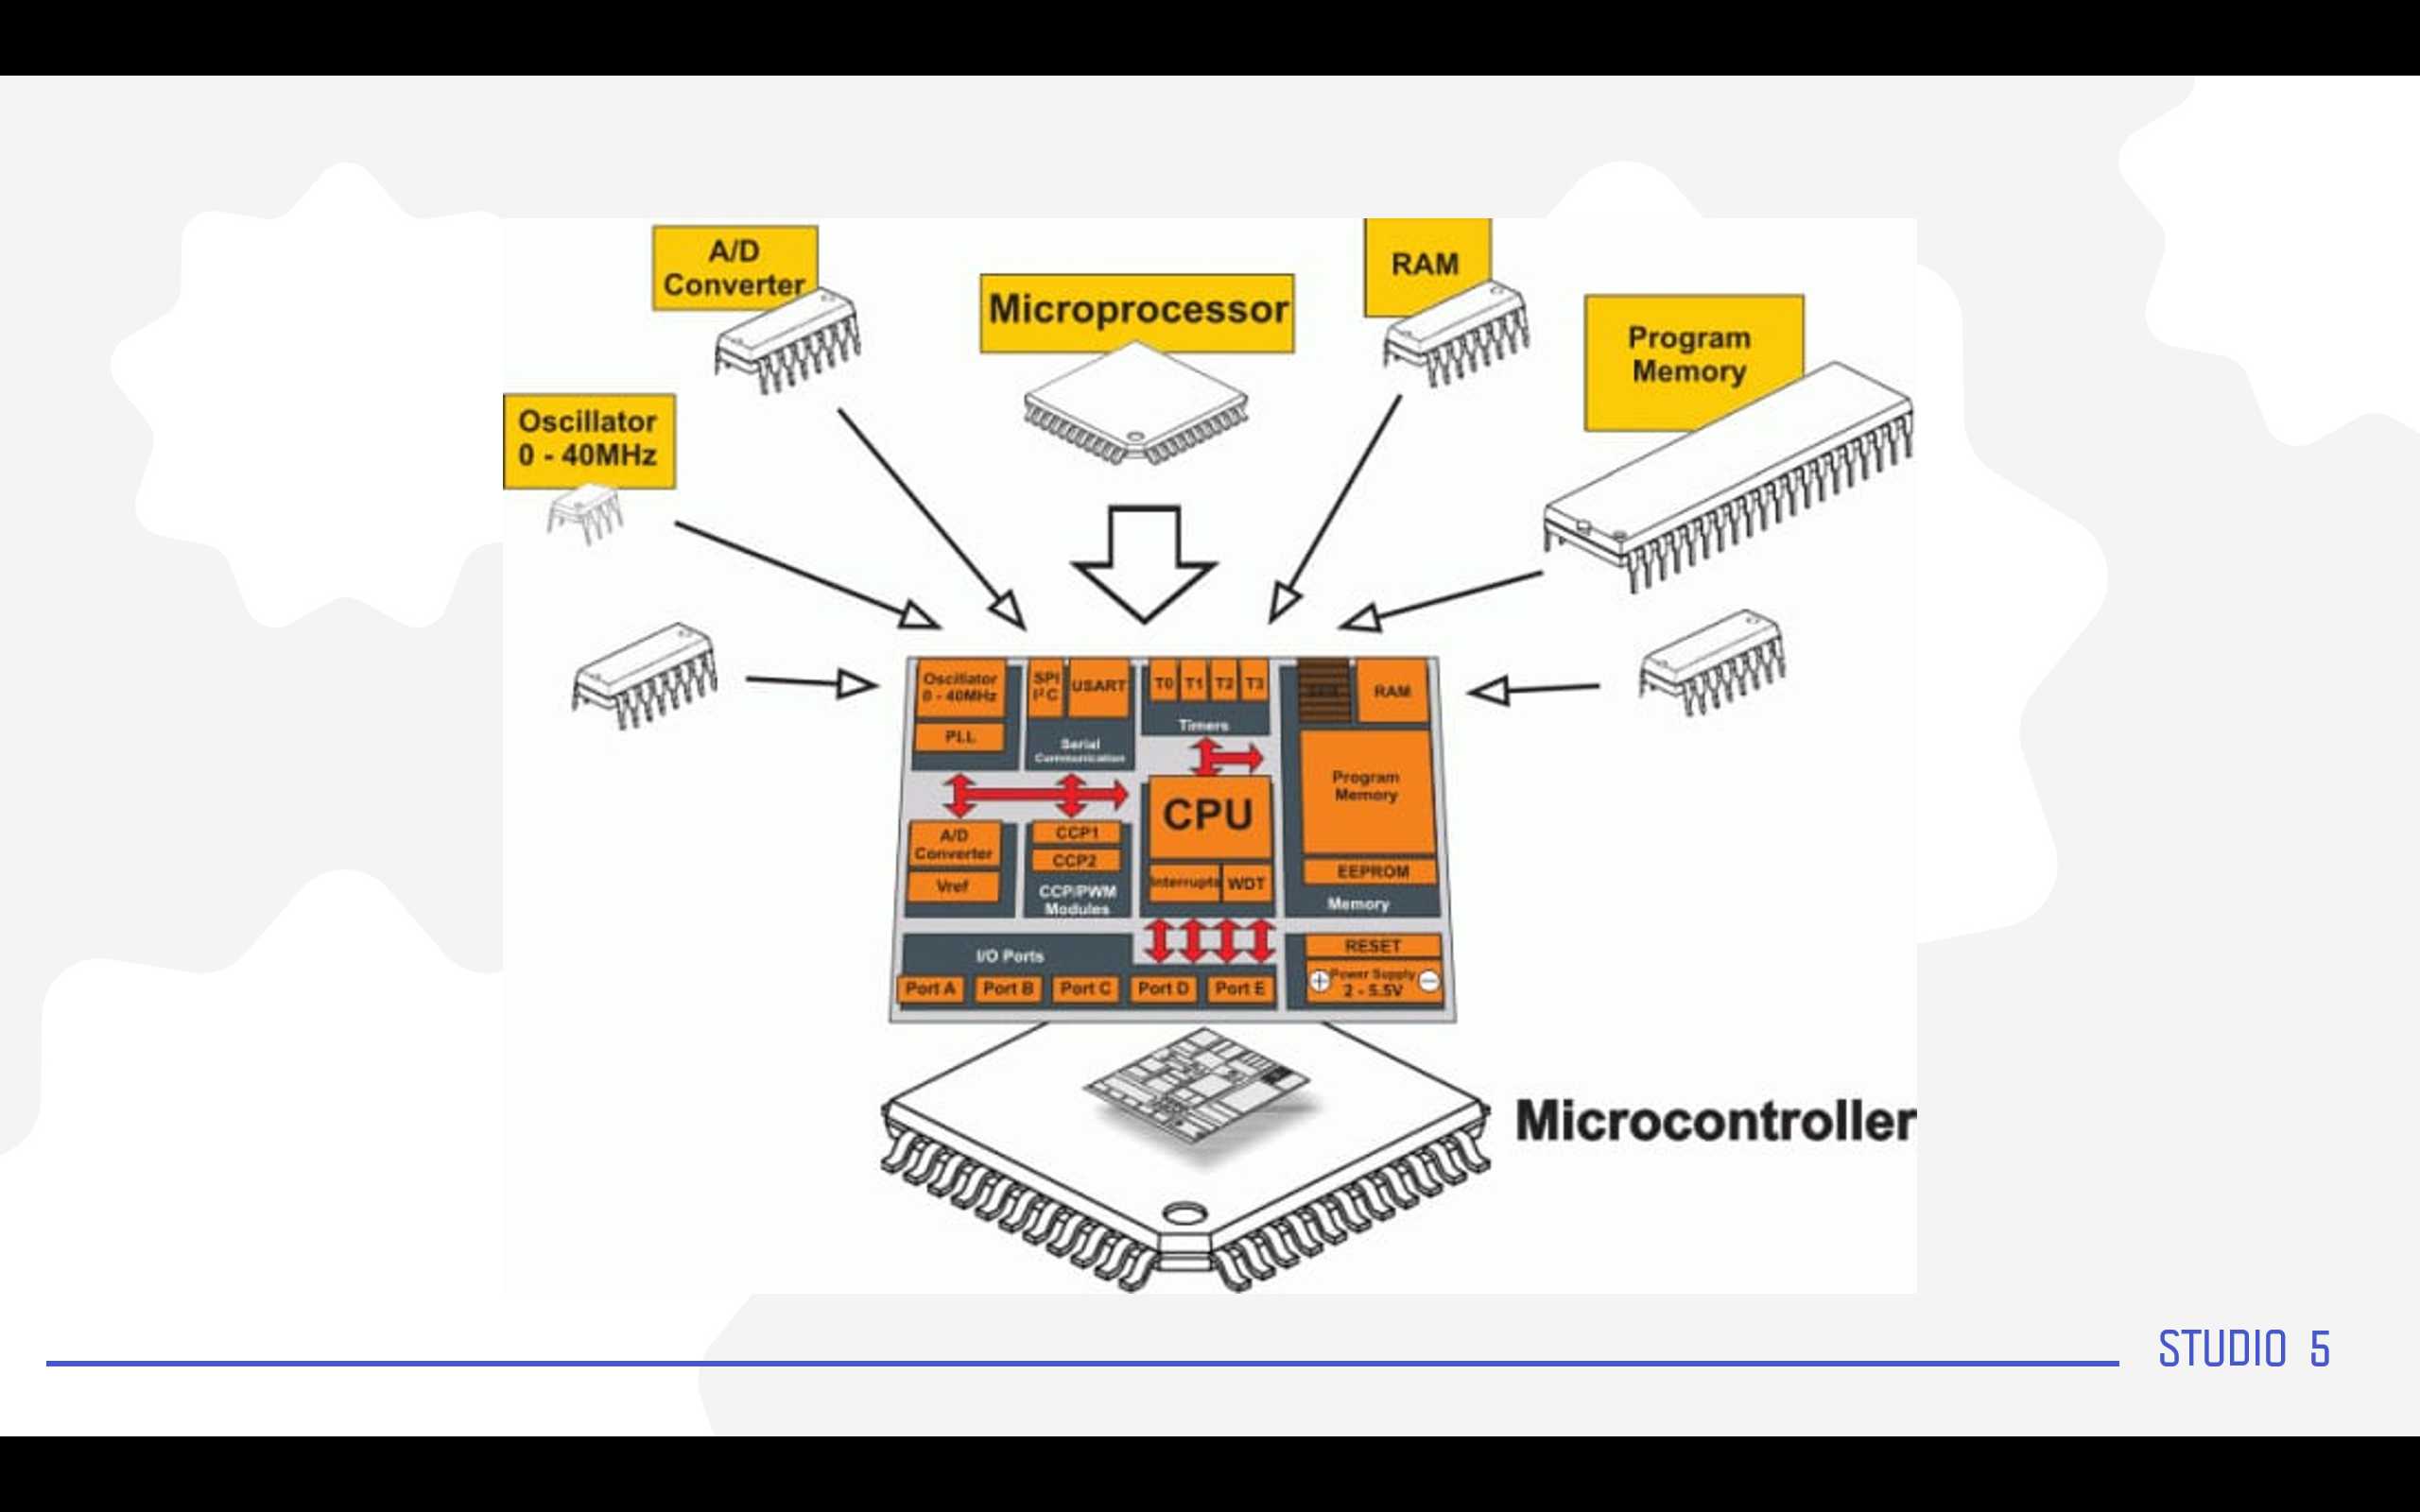
● Distinguish the difference between Microcontroller and normal computers.
● Know how to use simulation platform like Tinkercad.
This session is particularly engaging for participants who have an interest in music and musical notation. However, for those without a strong background in music theory, understanding the structure and placement of notes can be challenging.
Given the online format, the session may progress at a slower pace to accommodate participants as they follow along—especially during the coding segment, which can be difficult at first and requires step-by-step guidance to ensure effective learning.
A quick introduction about us and a way to break the Ice with the participant in order to engage with them in indirect way just to make a conversation and then a question to start the session.
Starting by Introducing who we are.

Now I need participant to start engaging with me so I will ask them a question to ensure that.
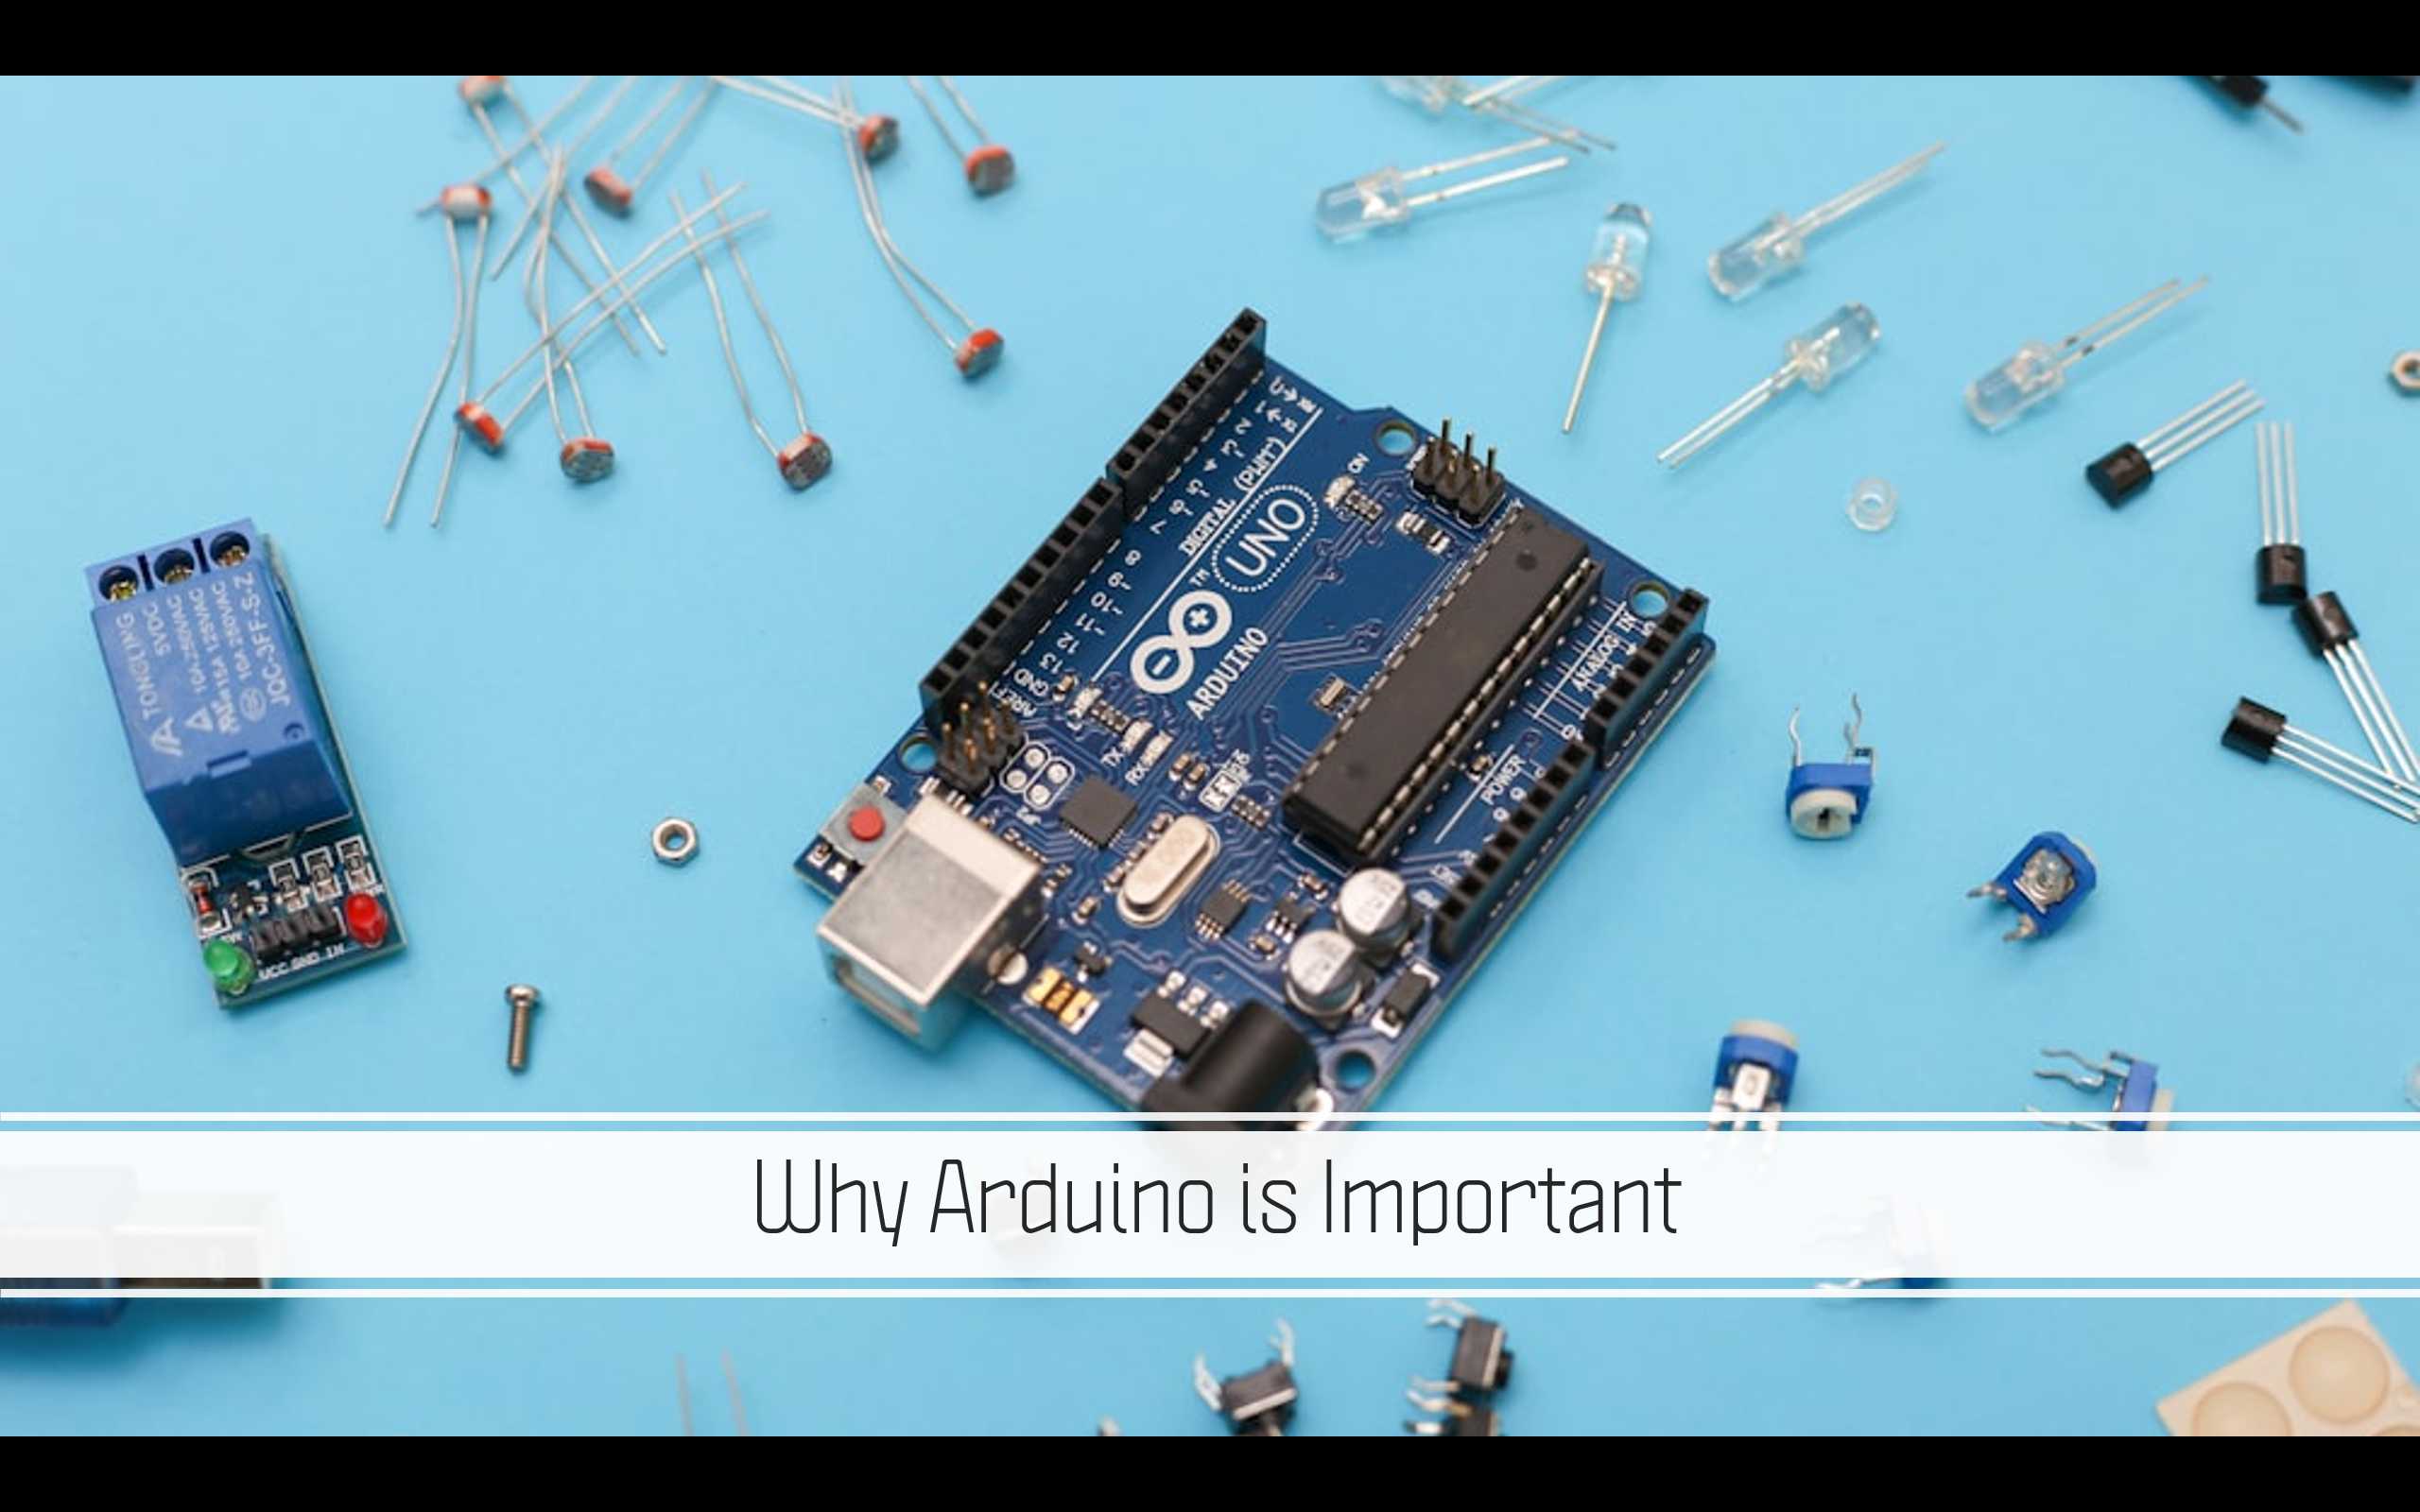
So this is the Arduino board and this year mark the 20 Anniversary.
Its Important for them to understand that Arduino is an open source platform which have a compatible hardware support their software.
The question now (How do you think they are celebrating this day)

Now why all of this is happening, why do you think this piece of hardware is important?
For the participant to understand the importance of this board they need to understand the difference between a normal computer and a microcontroller.
Now we need to link between Ideas and how this board made them real (Tangible).

In this part we will make sure to explain and discuss all component we are going to use before the practical part starts.
Lets start showing them what they will do today

Then I will list the needed parts they will be using.

Now I will be explaining each part aside.


Then I will explain the term simulation and why we need such process in this field.

In this part I will be explaining what we will need to start the hands on and connect the circuit so later on we can explain the code.

I will start by explaining how to access the platform (TINKERCAD)

Then How to sign up.

How to sign in

Class Room code if they are not welling to create or they don’t have.

Then How to create a new project.

Now we can start adding the component and wiring them up.

First step we need to search the component and place it in the working area.
I will start by picking the Microcontroller (Arduino UNO)

Then I will pick the piezo buzzer

Finally the LCD

At this point I need to create the connection between the component (Wiring)
I will start with the Buzzer


In this section the code is going to be explained and built step by step
We need to open the coding section in the platform (TINKERCAD)

Here we have the coding section and you can toggle between coding styles (Blocks, Block+Text, and text)

Now lets start with the on start loop –> Which is the loop are going to be executed once (Setup Loop) when the MCU start working.

Then we need to initialize the LCD

Make sure her to match the address with the LCD address and also the type.

Now lets code the forever loop

Lets write something on the LCD like (Happy birthday Arduino)

This is how its gonna look like

Now we will code the buzzer


Now its just a matter of having the same code just changing the tone and the delay in between

Until the end of the code
I will share the code in the attachment section also I will add a pictures here for each section of the code.


Having trouble? Let us know by completing the form below. We'll do our best to get your issues resolved quickly.
"*" indicates required fields