- Loading…

In this series of workshops, participants are going to learn about the concept of video game design and development using Buildbox software. They will be building an indie game from scratch, with different components and scenes.


Participants will be introduced to the concepts of video game design and development and will learn how to build their own jumping video game, using the Buildbox software.
Presentation:
1- Who are we and what we do in Studio 56.
2- Which zone we will be in today.
3- Introduction to teams UI.
4- Why we celebrate the Sports Day in Qatar.
5- How Studio 56 celebrated the sports day in 2019.
4- Client letter of the workshop.
5- What is the Hurdling sport.
6- What is game development.
7- Inspiring video about video game development.
8- Video about Buildbox software.
9- What is a mind map.
10- What is the 3D world.
11- Steps of downloading the Buildbox software.
12- Review of the UI of the Buildbox software.
Prototype:
1- Explain the steps of downloading the Buildbox software.
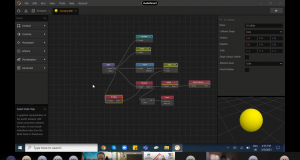
2- Explain the UI of the Buildbox software and structure of the platform.
3- Explain how you can add components to the UI.
4- Explain how you can change the properties of components.
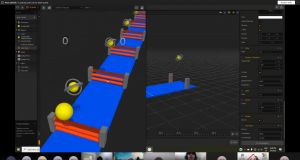
5- Design the user-interface of the game.
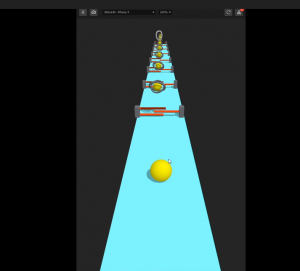
•Add ground entity and change the properties of it.
•Add the player (ball) entity and change the properties of it.
•Duplicate the scene to create the second scene.
•Delete the player (ball) entity from the second scene.
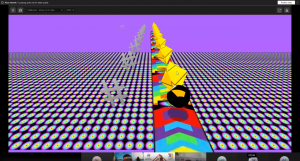
•Add the obstacle (spike) entity to the second scene.
6- Test the game to see if any issues are found.

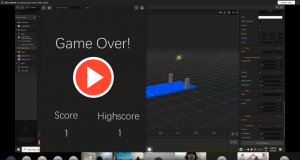
Participants will continue building the video game by adding the losing scenario, and the scoring system. They will also design the “gameover” user-interface.
Participants will continue working on game by adding a second level, with higher difficulty.
Presentation:
1- Overview on what was done on Day2.
2- Video about E-sports.
3- What are E-sports.
4- E-sports competition in Qatar.
5- What we will be doing today.
Prototype:
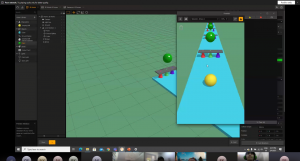
1- Duplicate the second scene to add the second level of the game (third scene).
2- Increase the difficulty by applying one of these:
•Increase the speed of the ball.
•Increase the frequency of the obstacles.
3- Be creative and add new design features to the new level.
4- Test the new level.
5- Fix any problems found.

Participants will continue working on game by adding a third level, with higher difficulty.
Presentation:
1- Overview on what was done on Day2.
2- What is a mind map.
3- Video about the meaning of mind map.
4- The uses of a mind map.
5- Discuss the mind map of the player component (the ball).
6- What we will be doing today.
Prototype:
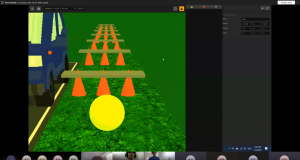
1- Duplicate the second scene to add the third level of the game (fourth scene).
2- Increase the difficulty by applying these two:
•Increase the speed of the ball.
•Increase the frequency of the obstacles.
3- Be creative and add new design features to the new level.
4- Test the new level.
5- Fix any problems found.

Participants will program the navigation between the different levels of the game, and add background sound to it. They will also build and test the final game.
Presentation:
1- Overview on what was done on Day4.
2- Video about Game design tips to follow.
3- Brainstorming for enhancement ideas to the game.
4- Adding the background sound.
5- Building the game.
Prototype:
1- Program the navigation of the game.
•The transition from one level to the other.
2- Add background sound.
•Search and download a sound file (.mp3).
•Program the game to play the sound continuity
3- Test if the game is fully working.
4- Fix any problems found.
5- Build the game and run it on the pc.
6- Ask the participants to share their final prototypes with others.
7- Discuss further improvements that can be made.

Having trouble? Let us know by completing the form below. We'll do our best to get your issues resolved quickly.
"*" indicates required fields